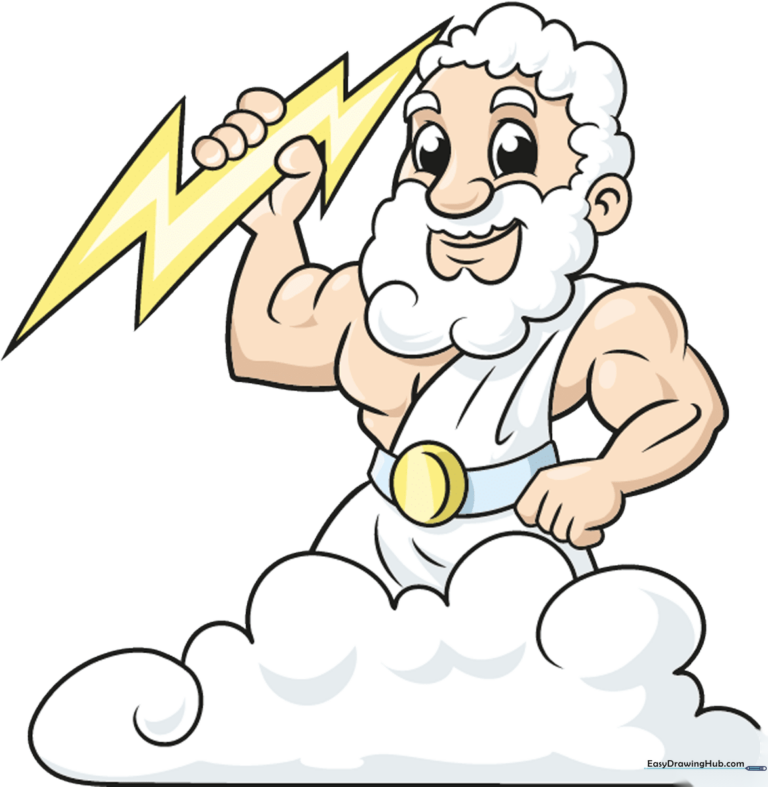
How to Draw Zeus: Easy 10-Step Cartoon Guide
Bring the King of Olympus to life with this fun, beginner-friendly drawing tutorial. Designed for young artists and mythology fans, this guide uses basic shapes to build a powerful character. Grab your pencil and paper, and let’s master the art of drawing a legendary hero.
🎯 Final Result
Step-by-Step Instructions
Step 1: Sketching the Eyes and Nose

Start by sketching the nose and the side of one eye. Draw a short curved line beneath each eye, then enclose the eye shape. Add the pupils by drawing two small circles and shading them in. Teacher's Tip: Keep your pencil lines light so you can easily erase any mistakes as you refine the face.
Step 2: Defining the Hair and Brows

Use a series of connected 'U' shaped lines to create Zeus's iconic fluffy hair. Add two curved lines above the eyes to form his expressive brows. Teacher's Tip: Vary the size of your 'U' shapes to make the hair look more natural and textured.
Step 3: Adding the Beard and Ear

Continue the 'U' shapes to form a full, majestic beard. Outline the smiling mouth inside the beard area and add a partial circle for the ear with internal curved details. Teacher's Tip: Don't press too hard; let the beard look soft and flowing.
Step 4: Sketching the Toga
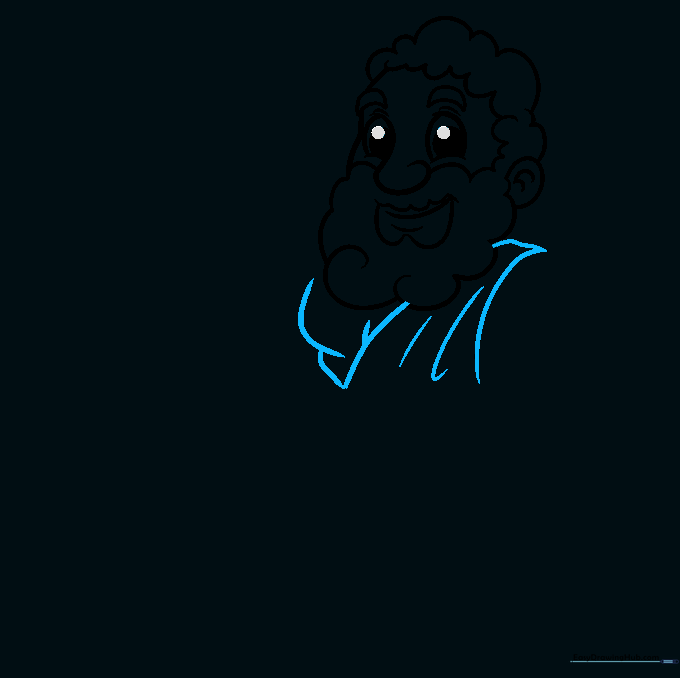
Begin the torso by drawing curved lines to represent the folds of his toga. Add subtle lines to define the chest muscles. Teacher's Tip: Think of fabric folds as 'S' curves; they add movement to your drawing.
Step 5: Drawing the First Arm
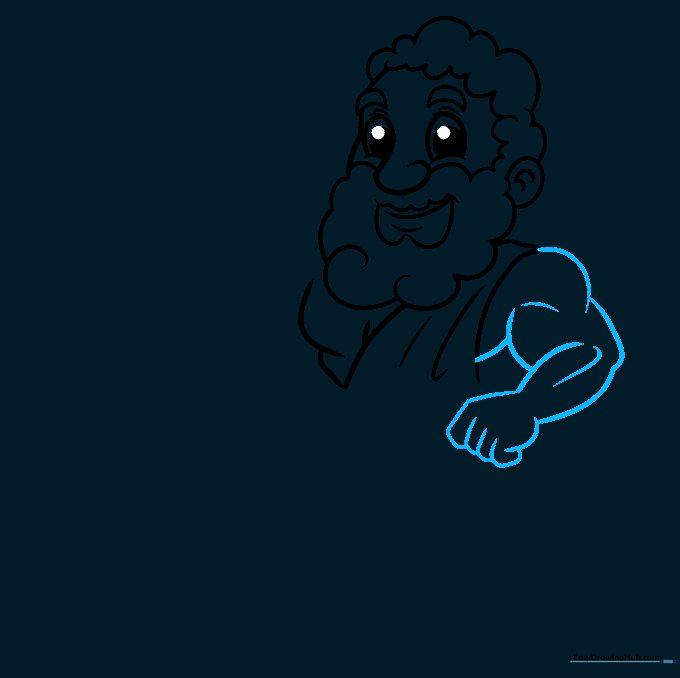
Sketch the shoulder, upper arm, and lower arm using strong, curved lines. Add small lines to show muscle definition. Teacher's Tip: Keep the joints rounded to maintain the cartoon style.
Step 6: Drawing the Second Arm
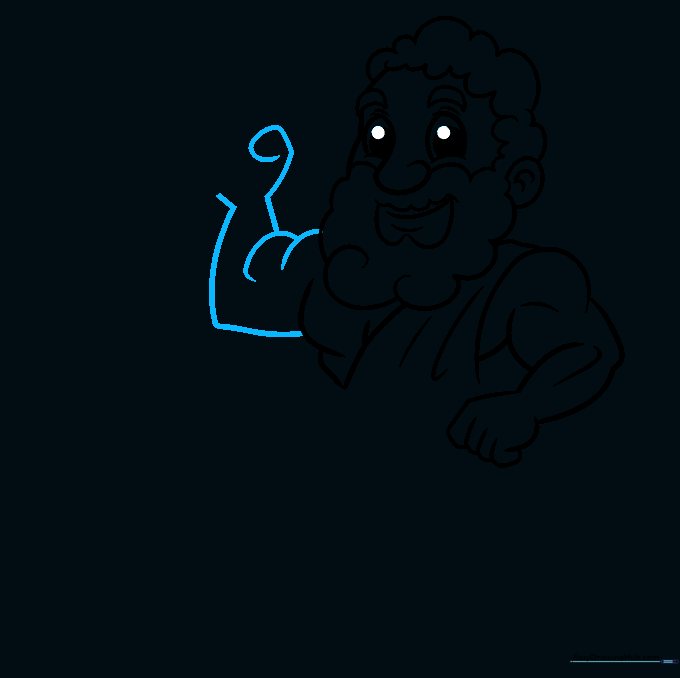
Draw the second arm with a bulging bicep and a hand ready to hold a lightning bolt. Teacher's Tip: Use a 'C' shape for the thumb to make the hand look like it is gripping something firmly.
Step 7: Adding the Lightning Bolt
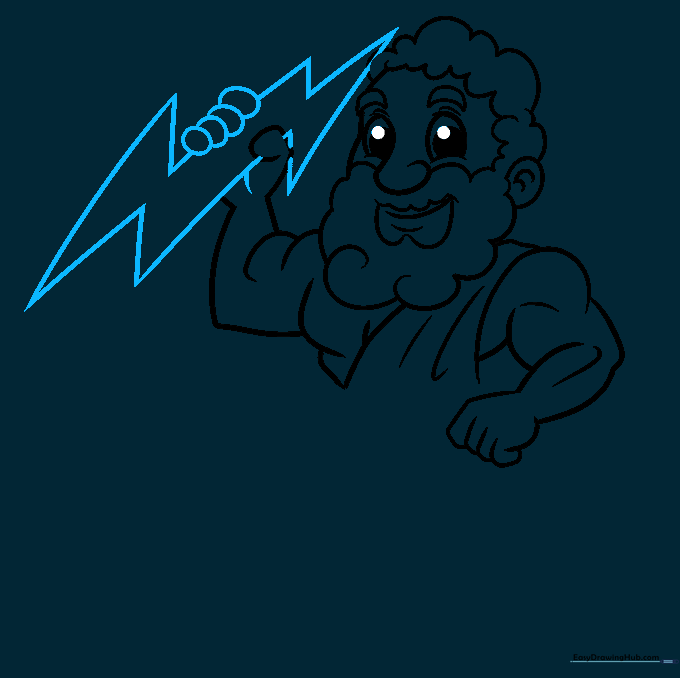
Use straight, jagged lines to create a lightning bolt in Zeus's hand. Draw overlapping ovals to show fingers wrapped around it. Teacher's Tip: Make the lightning bolt sharp and angular to contrast with the soft curves of the body.
Step 8: Detailing the Belt
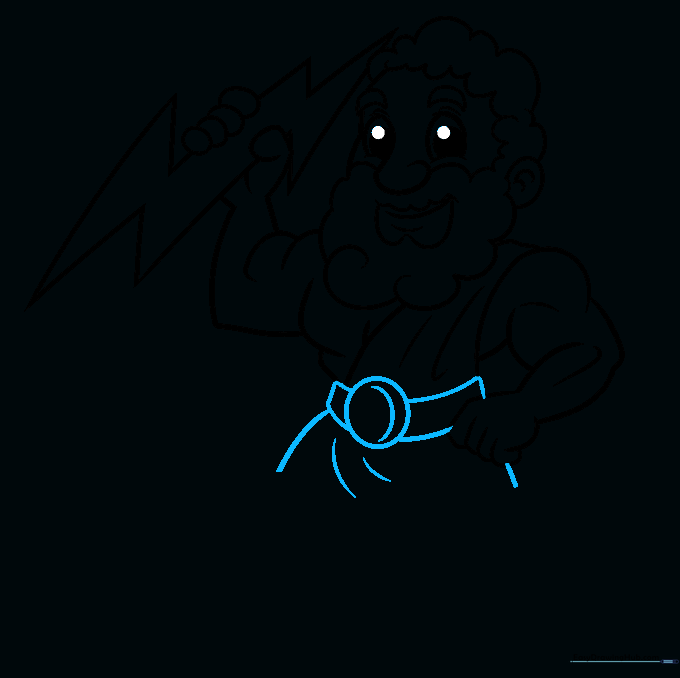
Draw a circle for the belt buckle with a curved line to give it depth. Add the belt strap and extra lines on the toga to show fabric texture. Teacher's Tip: Adding these small details makes your character look more professional.
Step 9: Adding the Cloud Base

Draw a horizontal line and use spiral and 'U' shapes to create a cloud base beneath Zeus. Teacher's Tip: Clouds are great for hiding feet if you find drawing feet tricky!
Step 10: Final Coloring
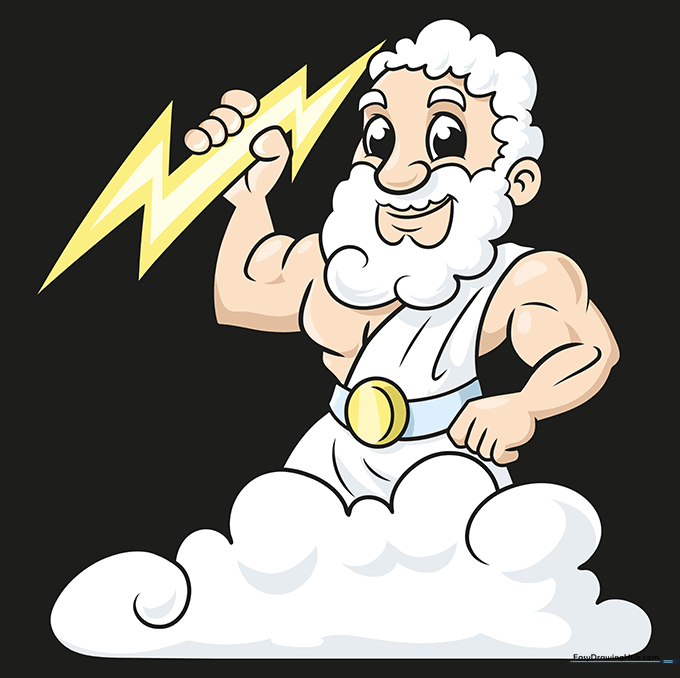
Add color to your Zeus! Use bright blues for the lightning and classic tones for his toga. Teacher's Tip: Use light shading on one side of the muscles to give your drawing a 3D effect.
More Tutorials


