How to Draw Yosemite Sam: Easy 10-Step Cartoon Guide
Ready to bring the loudest cowboy in the West to life? This tutorial is perfect for artists ages 6 and up who want to master cartoon proportions. Grab your favorite graphite pencil and a clean eraser, and let’s capture Sam’s iconic, fiery personality on paper.
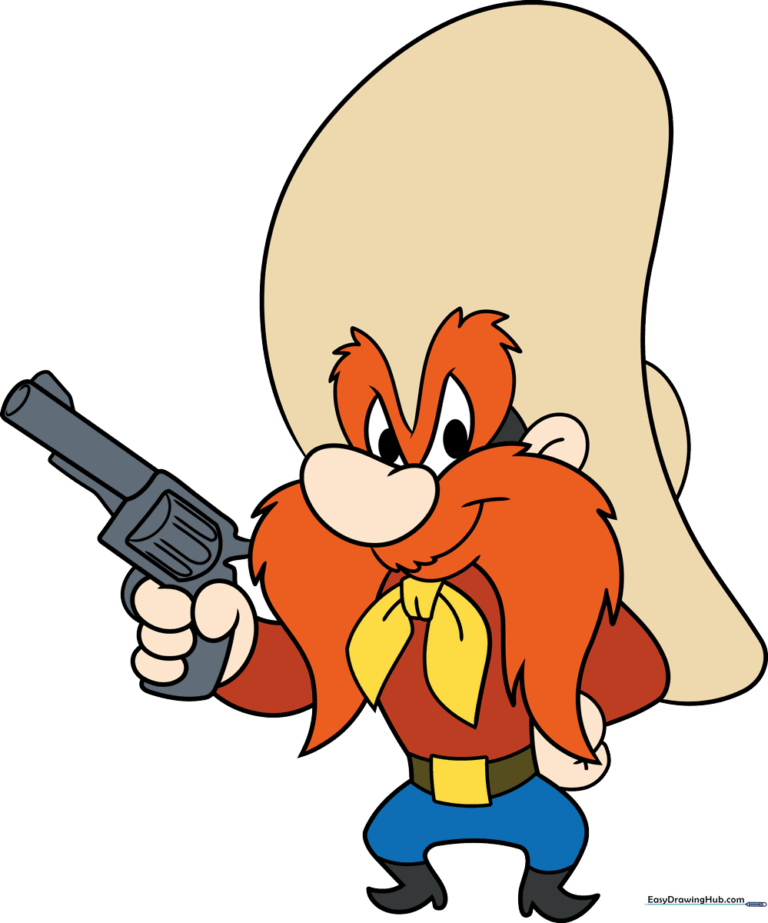
🎯 Final Result
Step-by-Step Instructions
Step 1: Sketching the Nose and Eyes

Start by drawing a rounded, bulbous shape for Sam’s nose. Above it, sketch two 'V' shaped lines for his eyes. Tip: Keep the pupils small and centered to give him that classic, intense cartoon expression.
Step 2: Defining the Mustache and Mouth
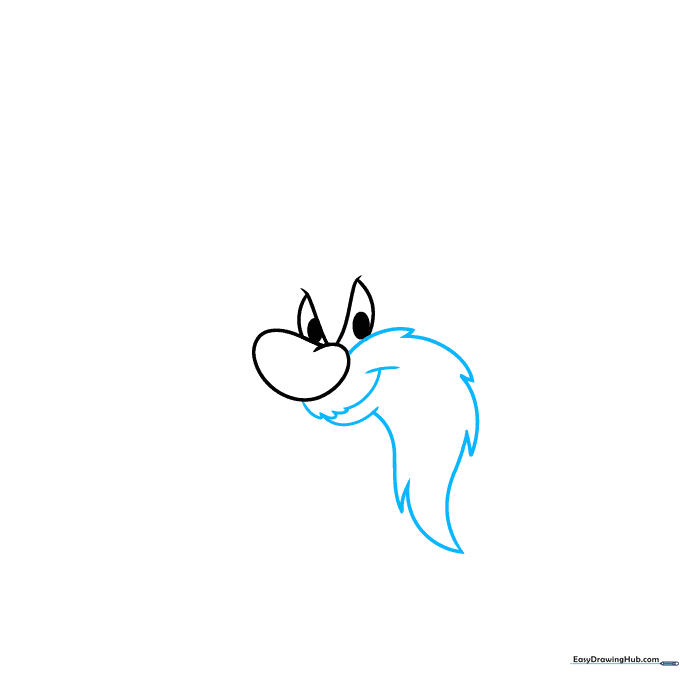
Draw one side of his massive, bushy mustache using jagged, overlapping curved lines. Below the nose, add a 'U' shaped mouth. Tip: Use quick, flicking motions with your pencil to make the mustache look hair-like rather than solid.
Step 3: Eyebrows and Ear Details
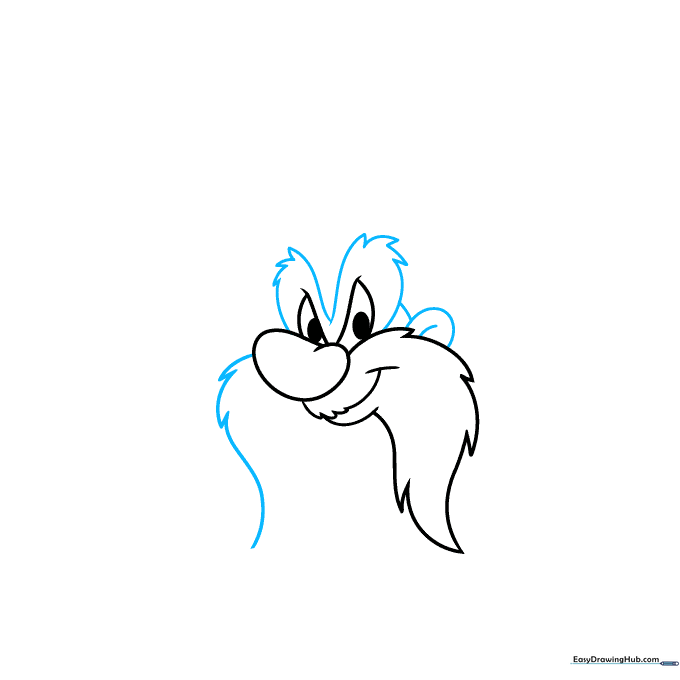
Add the thick, angry eyebrows above the eyes and complete the other side of the mustache. Add a small 'C' shape for the ear. Tip: Make the eyebrows look 'furrowed' by angling them downward toward the nose.
Step 4: The Bandana Knot
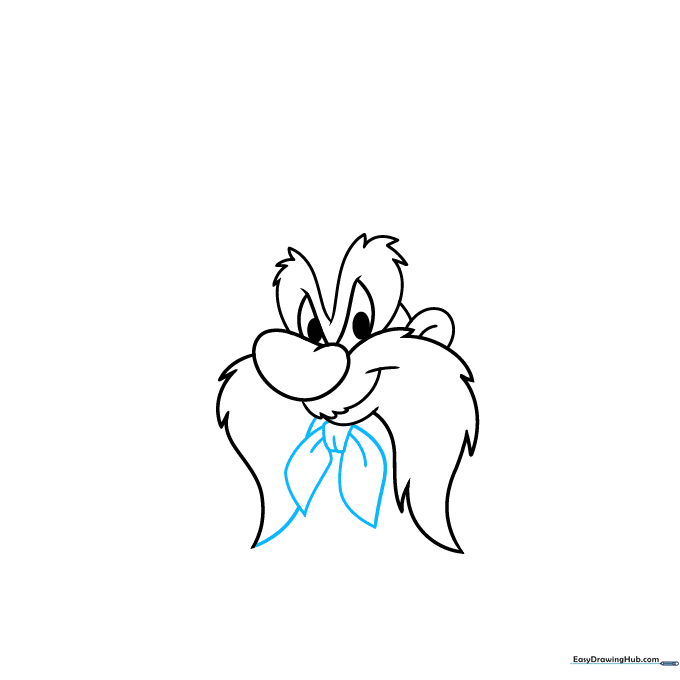
Draw a small rectangle at the neck for the knot of his bandana, then add two triangular shapes extending from it. Tip: Keep the lines for the bandana fabric slightly curved to show that it is tied tightly.
Step 5: Drawing the Arm and Pistol Grip
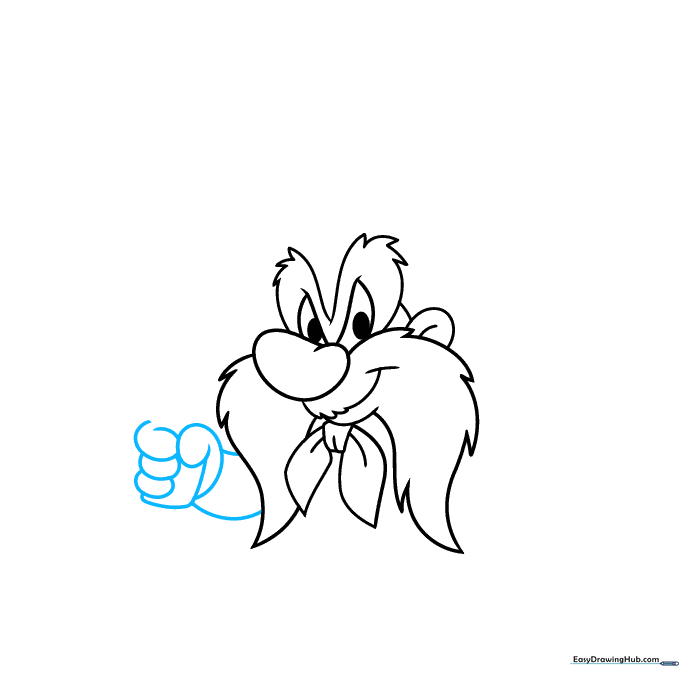
Extend the arm from the mustache area and draw the hand holding the gun grip. Tip: Use simple rectangles for the gun handle to keep the perspective easy for beginners.
Step 6: Adding the Gun Barrel
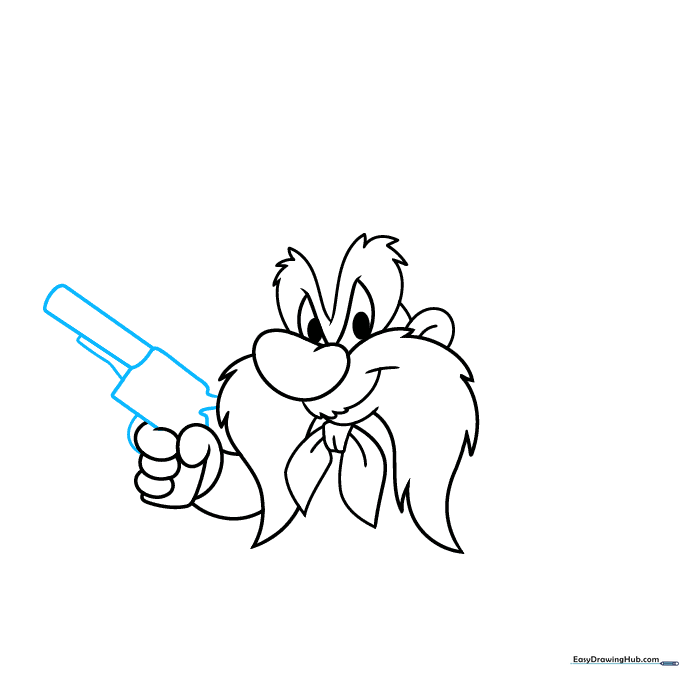
Extend the barrel of the pistol using straight, parallel lines. Tip: Use a ruler if you are having trouble keeping the barrel straight, but try freehand first to build your muscle memory!
Step 7: Detailing the Revolver and Torso
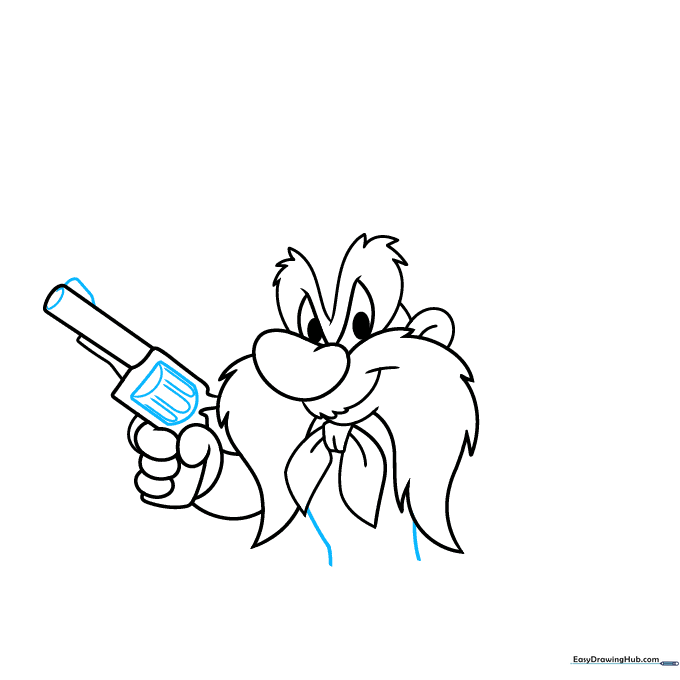
Add the cylinder to the revolver with small 'U' shapes. Then, draw the torso lines extending down from the mustache. Tip: Keep the torso small to emphasize Sam's 'short and stout' stature.
Step 8: Belt and Legs
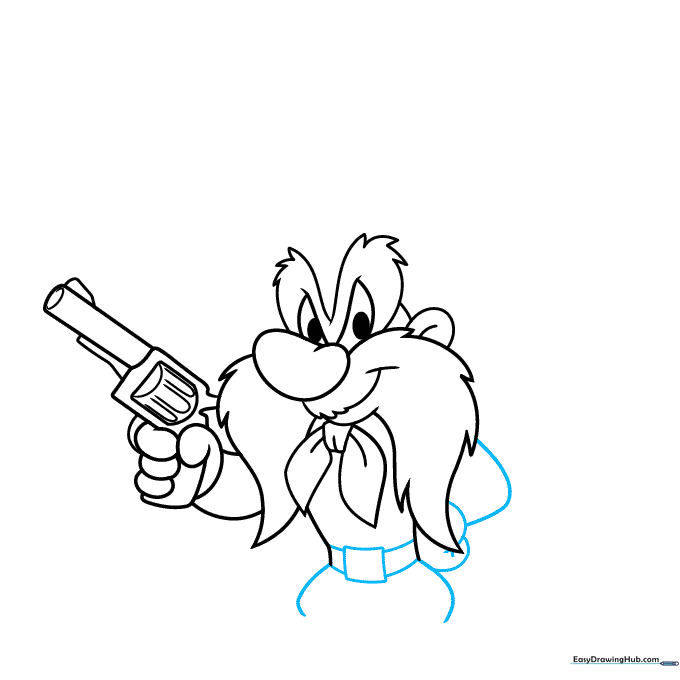
Draw a thick belt with a rectangular buckle, then sketch the legs and boots. Tip: Draw the legs slightly bowed to give him a classic 'cowboy' stance.
Step 9: The Cowboy Hat
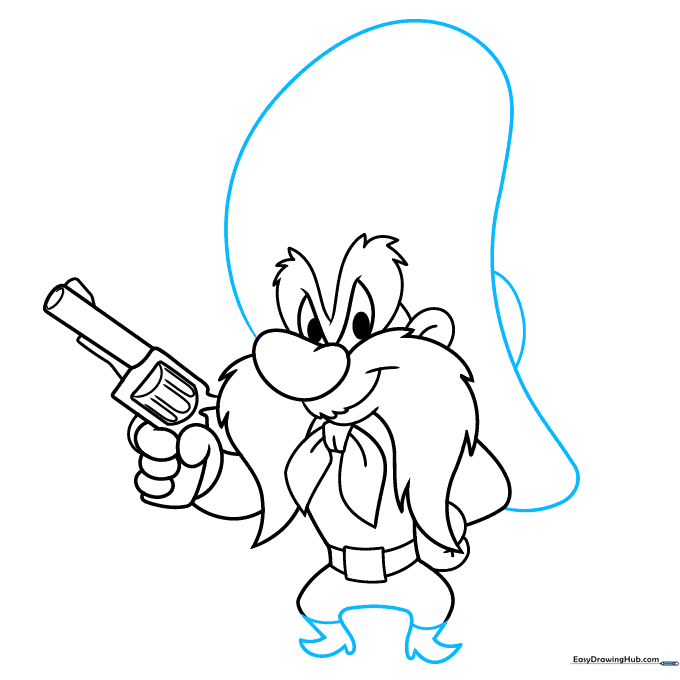
Draw a large, wide brim around the head and a smaller circle on top for the crown. Tip: Make the brim slightly uneven to give it a weathered, 'worn-in' cowboy look.
Step 10: Bringing Sam to Life with Color
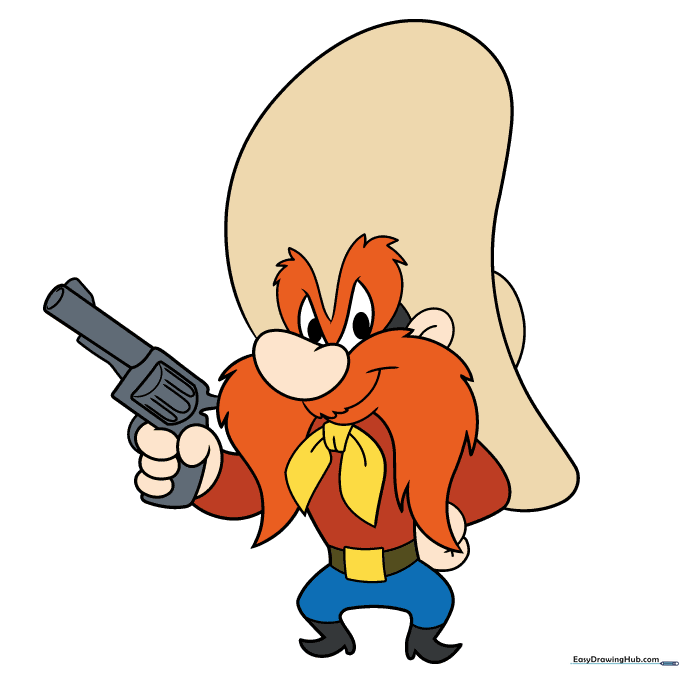
Time to color! Use bright red for his hair and mustache, a tan for the hat, a yellow bandana, and blue for his jeans. Tip: Use a darker shade of red in the shadows of the mustache to add depth to your drawing.
More Tutorials


