How to Draw Yoda: Easy 10-Step Star Wars Drawing Guide
Bring the Jedi Master to life with this step-by-step drawing tutorial designed for young Padawans and beginners. You will need a pencil, an eraser, and some paper to complete this character study. Follow along to develop your spatial awareness and character design skills while creating your very own Yoda.
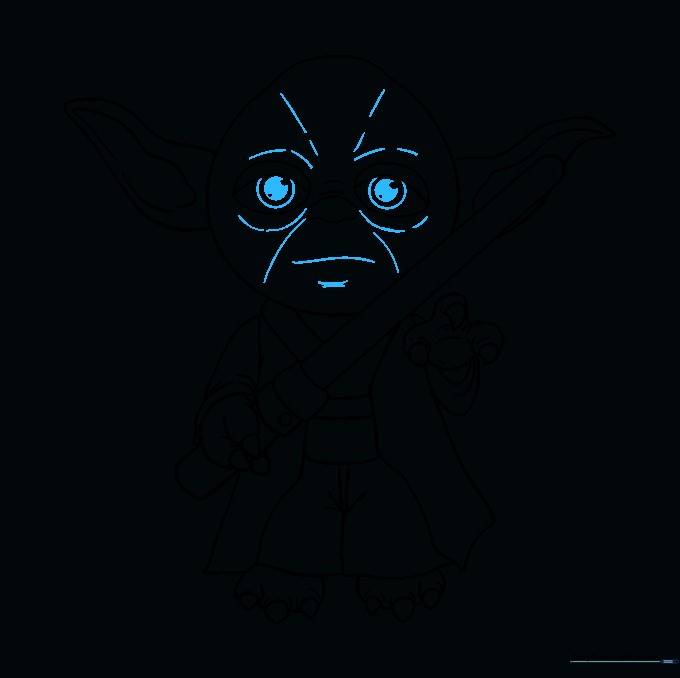
🎯 Final Result

Step-by-Step Instructions
Step 1: Sketching the Head Base

Draw a light circle to serve as the foundation for Yoda’s head. Teacher’s Tip: Keep your pencil pressure very light here so you can easily erase these guide lines later once the facial features are in place.
Step 2: Defining the Ears and Crown
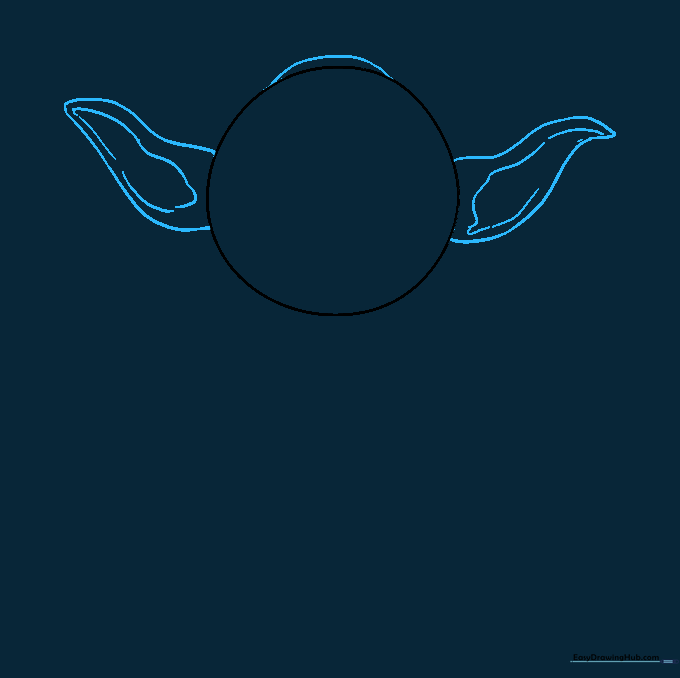
Draw a curved line across the top of the circle to define the skull. Extend two curved lines from the sides to form his iconic pointed ears. Teacher’s Tip: Yoda’s ears are quite large; don't be afraid to make them extend well past the width of the head circle!
Step 3: Cleaning the Silhouette

Gently erase the guide lines from the top of the head circle that are now inside the ear shapes. Teacher’s Tip: Use a clean eraser and short, gentle strokes to avoid smudging your graphite.
Step 4: Sketching the Robes
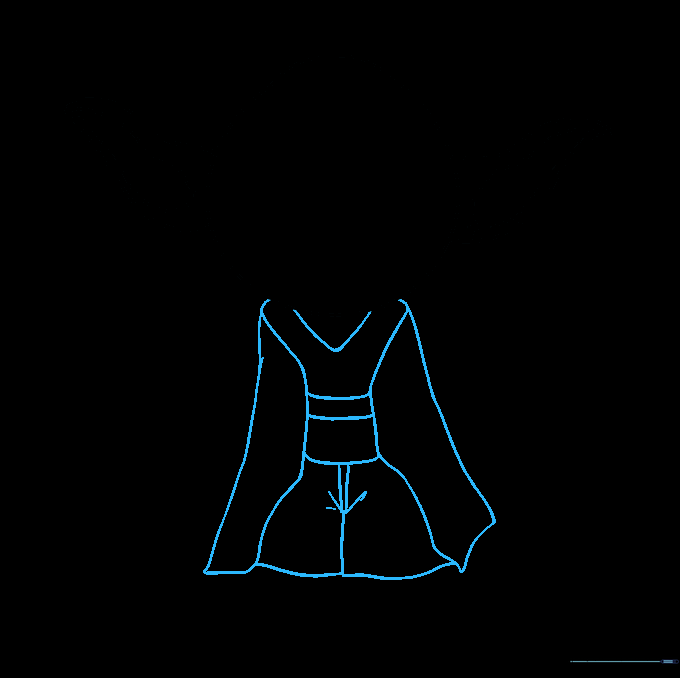
Draw a 'V' shape beneath the head for the collar, then extend lines to form the torso and robe. Add two short lines at the bottom for the legs. Teacher’s Tip: Focus on the flow of the fabric lines to make the robe look like it is draping naturally.
Step 5: Adding the Feet

Draw three small, rounded triangles at the base of each leg to represent Yoda's toes. Connect them with a curved line to finish the feet. Teacher’s Tip: Keep the toes small and stubby to match Yoda's unique anatomy.
Step 6: Drawing the Lightsaber
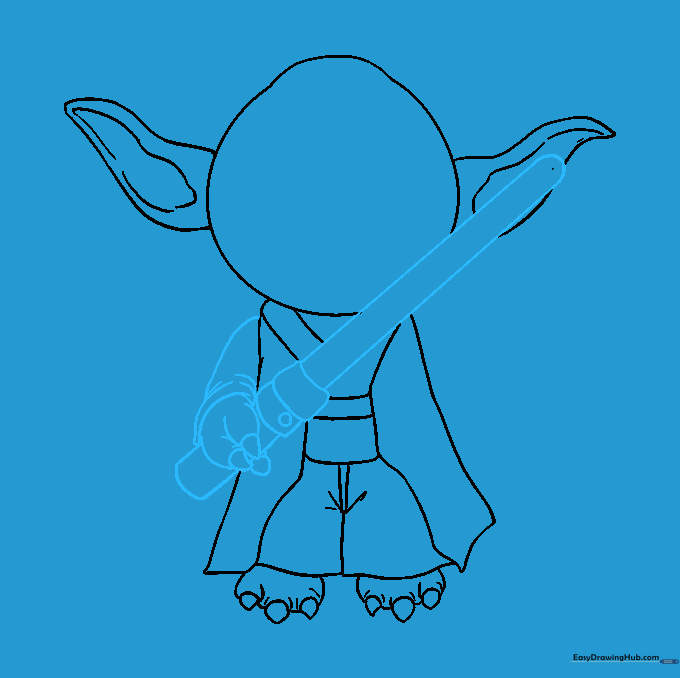
Sketch the arm and hand holding the lightsaber using simple rectangles. Teacher’s Tip: Ensure the lightsaber handle is straight to contrast with the organic, curved lines of the robe.
Step 7: Adding the Second Hand

Sketch the other hand with its sleeve, using rounded triangles for the claws. Teacher’s Tip: Think about how the sleeve drapes over the arm to add a sense of depth to the drawing.
Step 8: Facial Features
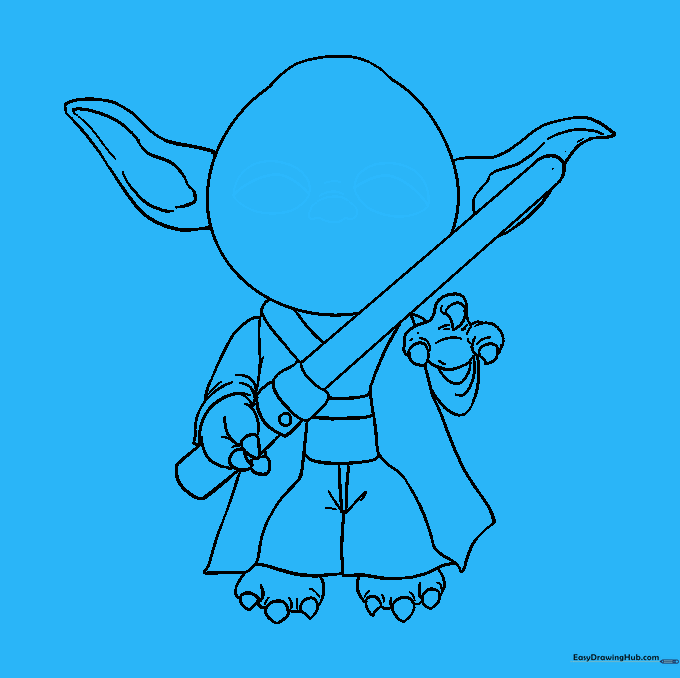
Draw the eyes as ovals with a line for the eyelid. Add the nose between the eyes with two small indentations for nostrils. Teacher’s Tip: Placing the eyes slightly lower on the head circle will give Yoda his wise, aged expression.
Step 9: Adding Character Details
Add wrinkles around the mouth, cheeks, and forehead to give Yoda his signature look. Teacher’s Tip: Use light, varying line weights to suggest the texture of aged skin.
Step 10: Bringing Yoda to Life with Color

Time to color! Use shades of green for his skin and earthy browns for his robes. Teacher’s Tip: Use a darker green for the shadows under his eyes and chin to make the drawing pop.
More Tutorials


