How to Draw Woody: Easy 10-Step Toy Story Guide
Bring Sheriff Woody to life with this fun, step-by-step drawing tutorial designed for ages 6 and up. You will need a pencil, an eraser, and some colored pencils or markers to complete your masterpiece. Follow along to practice character proportions and build confidence in your cartooning skills.
🎯 Final Result
Step-by-Step Instructions
Step 1: Sketching the Face Shape

Begin by sketching Woody's face. Use long, curved lines to contour his forehead, cheek, chin, and a "C" shaped ear. Teacher's Tip: Keep your pencil pressure light so you can easily erase any stray marks later.
Step 2: Adding the Hat and Neck
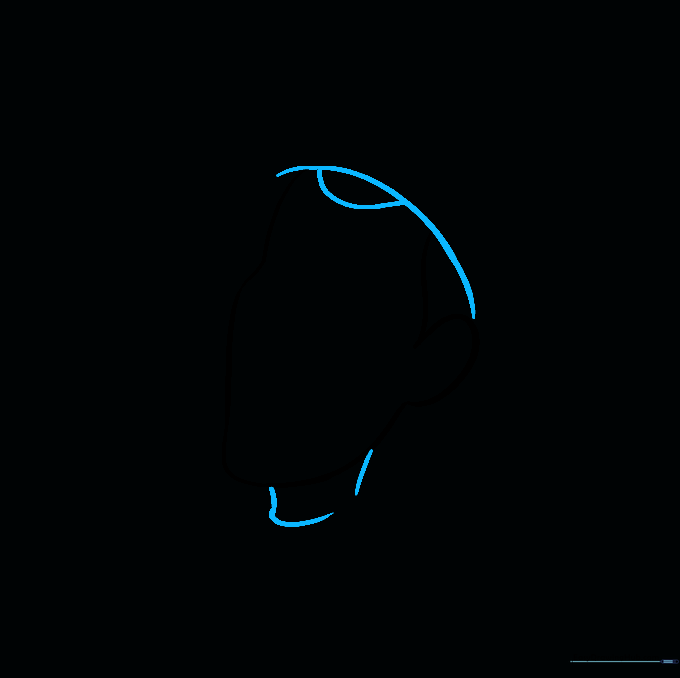
Draw a curved line across the forehead to the top of the ear to form the hat brim, and add a half-circle for his hair. Extend a curved "L" shaped line beneath the head for the neck. Teacher's Tip: Make sure the neck isn't too thick; Woody has a slender, friendly build.
Step 3: Sketching the Collar

Draw the collar of Woody's shirt using a curved triangular shape on one side and a rectangular shape on the other. Teacher's Tip: Think of these as two folded flaps resting against his neck.
Step 4: Vest and Arm Outline
Add three zigzag lines under the collar for the vest opening. Extend a curved line from the collar for the shoulder, and draw parallel curved lines for the arm. Teacher's Tip: Keep the arm lines smooth to give him a natural, relaxed pose.
Step 5: The Second Arm and Cuff
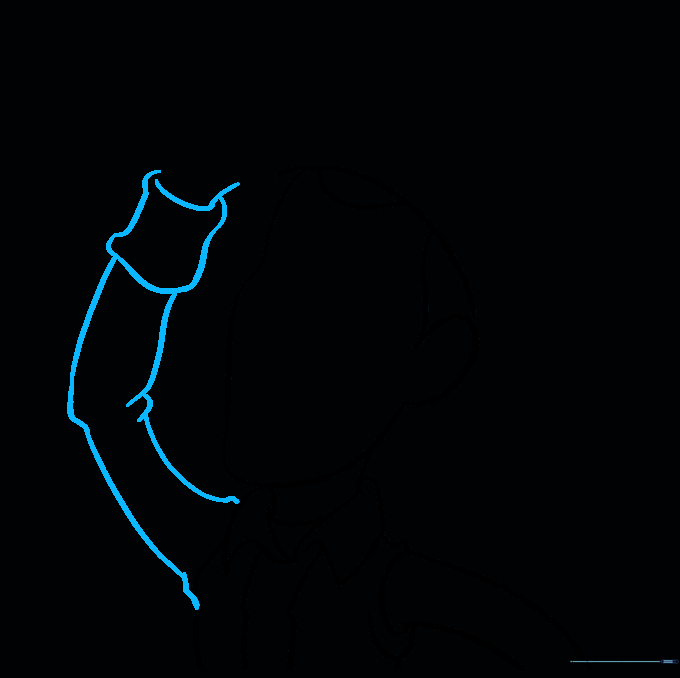
Extend lines from the opposite shoulder to form the second arm. At the elbow, use a gentle point. Enclose a wavy rectangle at the end for the sleeve cuff. Teacher's Tip: The wavy line for the cuff helps show the fabric texture of his shirt.
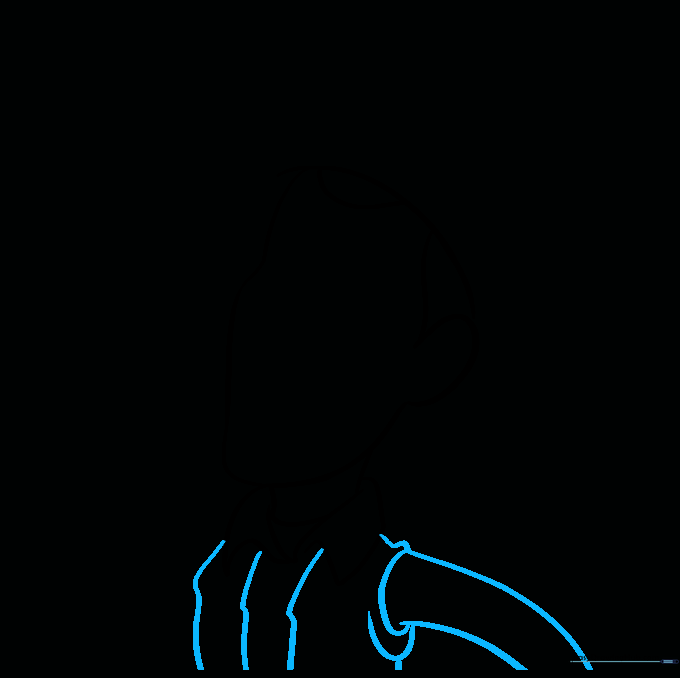
Step 6: Hands and Shirt Details
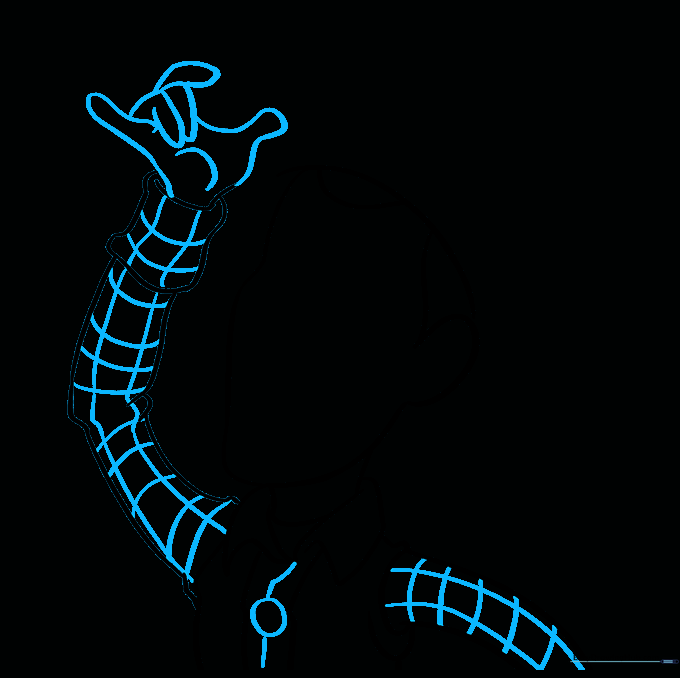
Complete the hands with small 'U' shapes for fingers. Add lines down the arms to create the checked shirt pattern. Teacher's Tip: Don't worry if the checks aren't perfect; Woody's shirt is meant to look like a classic cowboy print.
Step 7: Finishing the Cowboy Hat
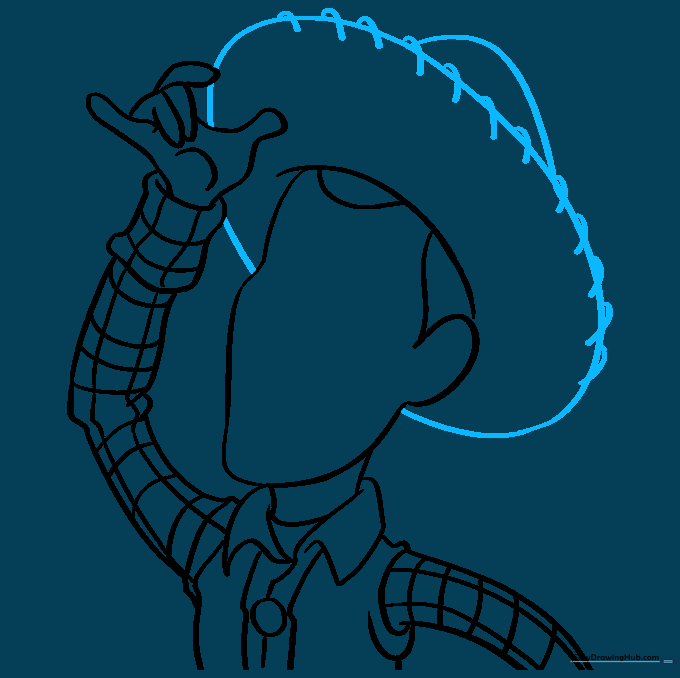
Draw a large oval over the head for the hat brim, adding small curved lines for the stitching detail. Enclose the crown of the hat on top. Teacher's Tip: The stitching lines add a nice 'leather' texture to your drawing.
Step 8: Eyes and Brows

Draw Woody's eyes using large circles and add curved lines for his eyebrows. Teacher's Tip: Position the eyebrows slightly angled to give him that classic, curious Woody expression.
Step 9: Facial Features

Add pupils, a nose, a smiling mouth, and teeth. Don't forget the bandana end near his neck! Teacher's Tip: Use a darker pencil for the pupils to make his eyes pop.
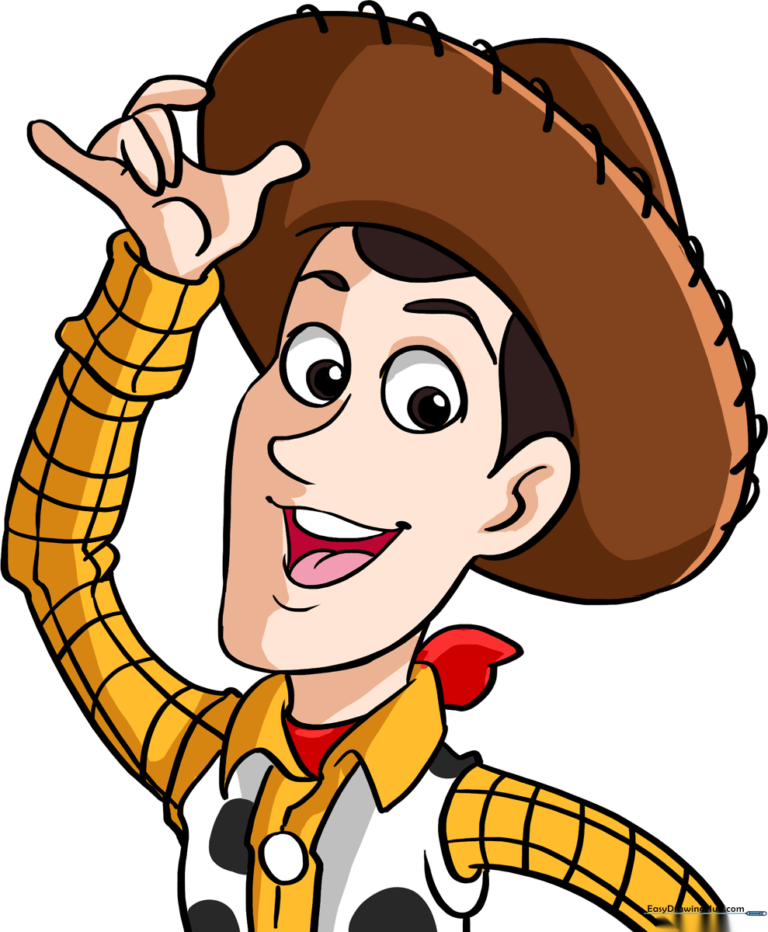
Step 10: Bringing Woody to Life with Color
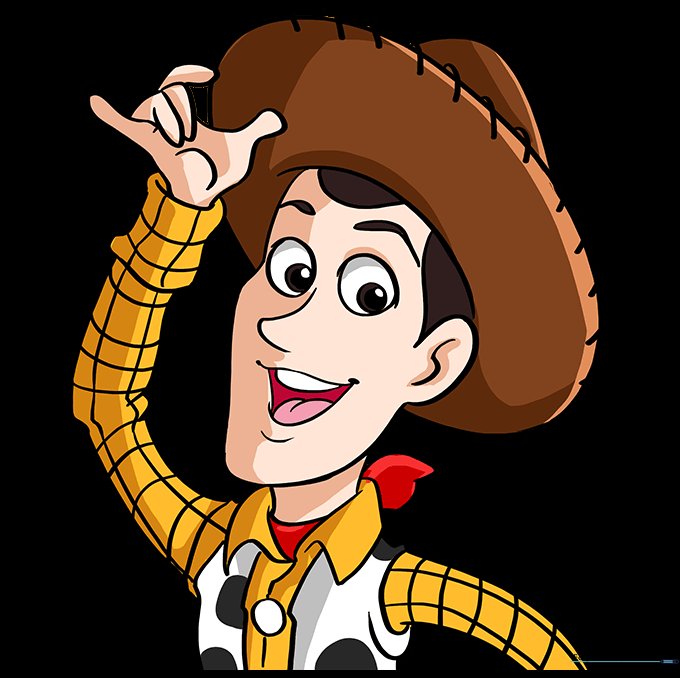
Time to color! Use brown for the hat, yellow for the shirt, red for the bandana, and black and white for the cow-print vest. Teacher's Tip: Use light, circular motions with your colored pencils for a smooth, even finish.
More Tutorials


