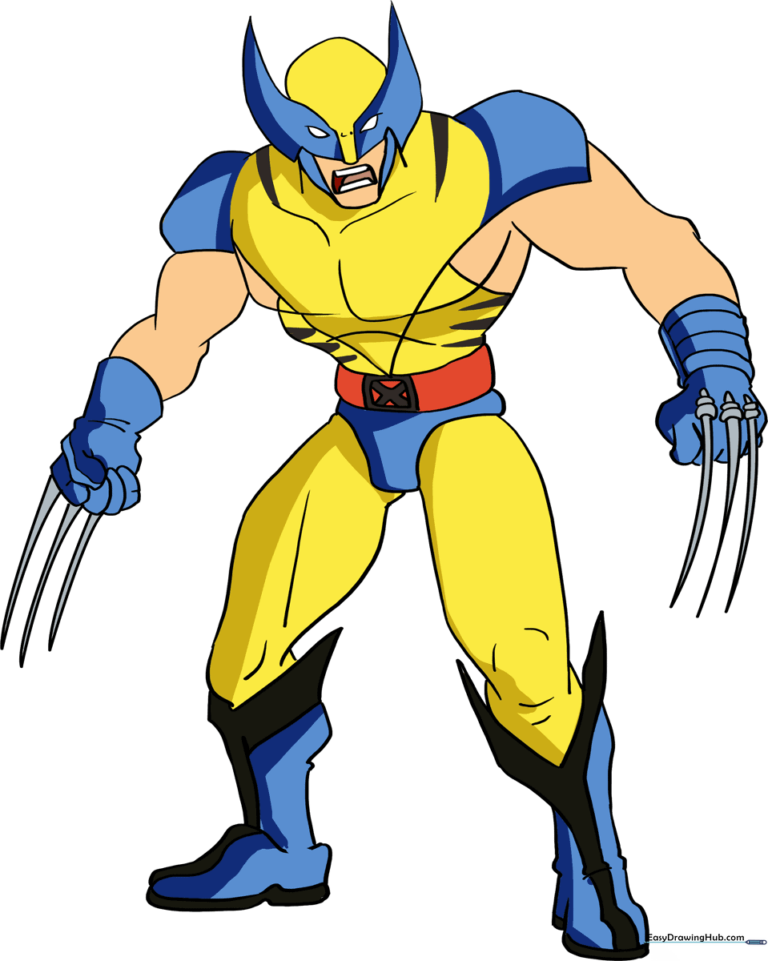
How to Draw Wolverine: Easy 10-Step Marvel Hero Guide
Ready to bring Logan to life? This tutorial is perfect for young Marvel fans looking to level up their character drawing skills. Grab a pencil, an eraser, and a piece of paper to follow along as we break down Wolverine's iconic mask, muscular build, and signature claws into manageable shapes.
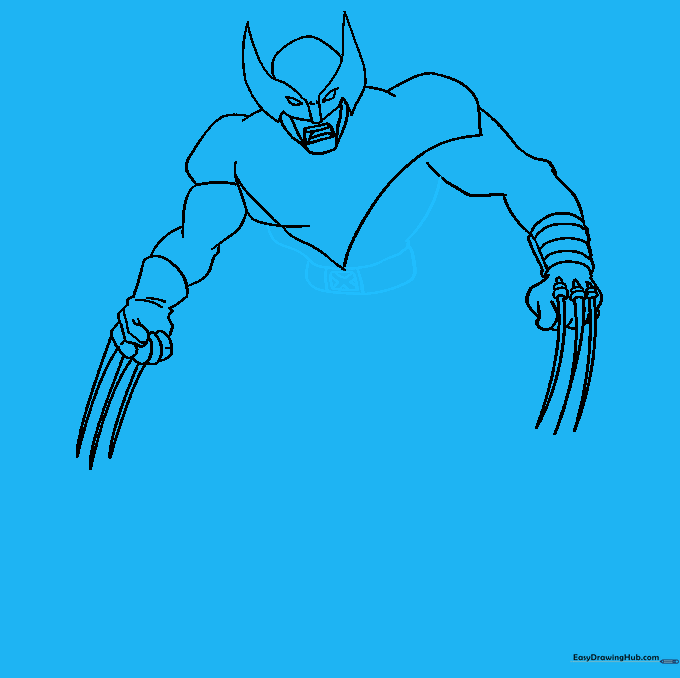
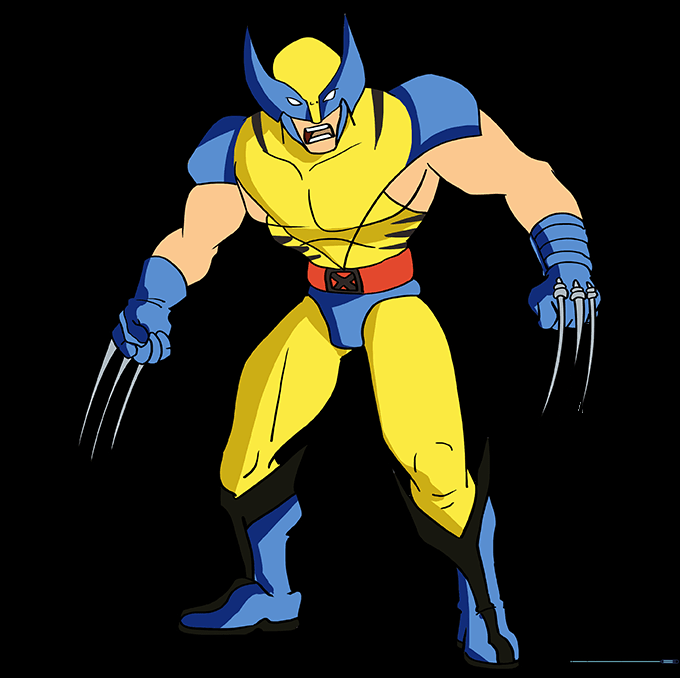
🎯 Final Result
Step-by-Step Instructions
Step 1: Sketching the Iconic Mask

Start by drawing the mask's silhouette. Use jagged, angular lines to create the 'M' shape across the forehead. Add small teardrop shapes for the eyes and a curved line for the nose. Teacher's Tip: Keep the mask symmetrical by checking the distance from the center line to both sides.
Step 2: Defining the Jawline

Extend curved lines down from the mask to form the chin. Sketch a trapezoid for the mouth area, then add detail lines inside to give it depth. Teacher's Tip: Use short, confident strokes here to make the jaw look strong and heroic.
Step 3: Building the Torso
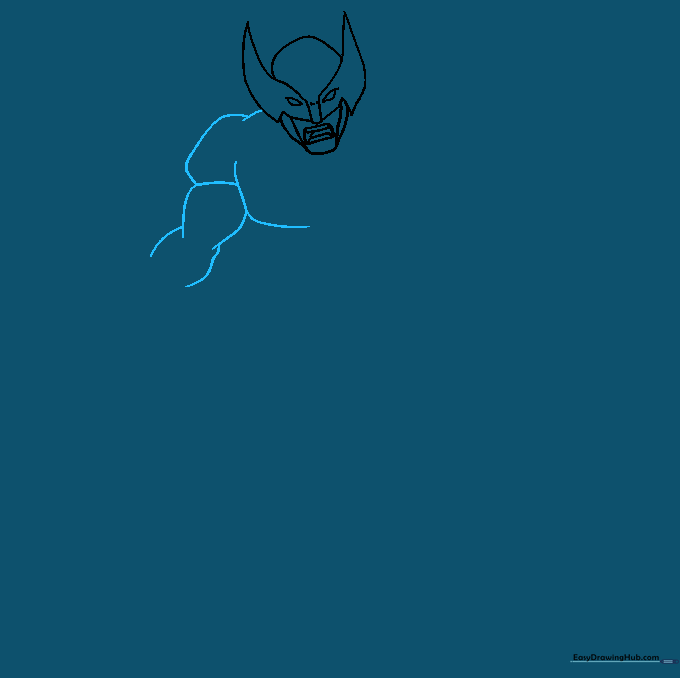
Use smooth, curved lines to outline the left side of the chest and upper arm. Teacher's Tip: Think of these as 'C' shapes; they help define the muscular build of a superhero.
Step 4: Drawing the Claws
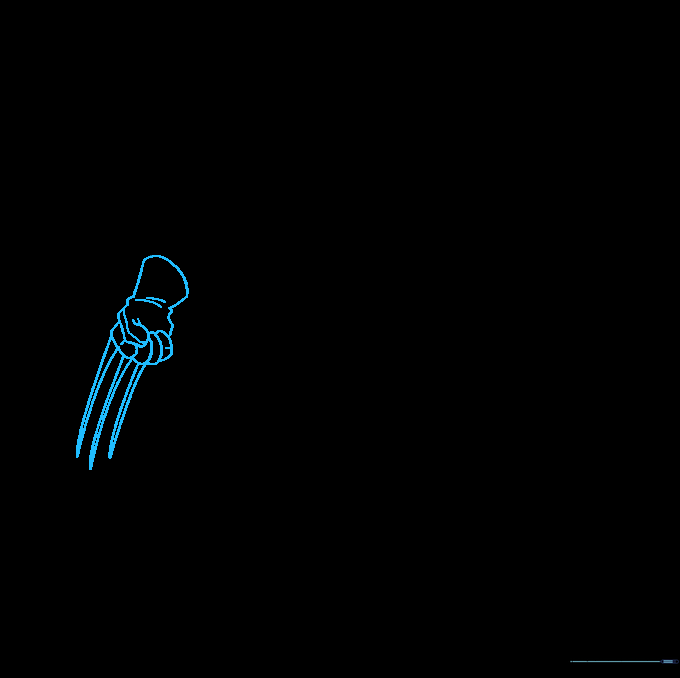
Sketch the glove using overlapping 'U' shapes for the fingers. Extend three long, sharp lines from the knuckles to create the signature claws. Teacher's Tip: Make sure the claws are perfectly straight to give them that 'metal' look.
Step 5: Adding the Second Arm
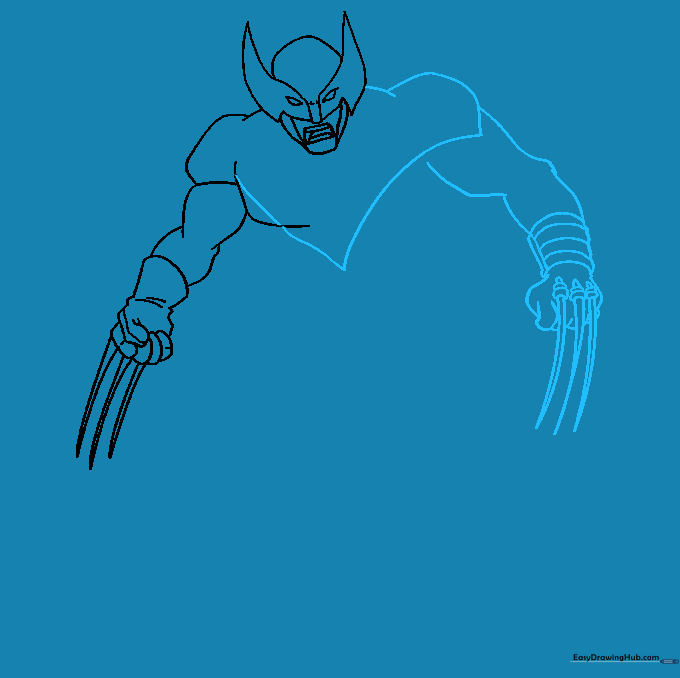
Draw a wide 'V' across the chest to connect the torso. Sketch the right arm and gauntlet, mirroring the claws from the previous step. Teacher's Tip: Use small ovals at the base of the claws to show where they emerge from the glove.
Step 6: The X-Belt
Draw a curved rectangle for the belt and add the iconic 'X' symbol in the center. Teacher's Tip: Draw the 'X' inside a smaller rectangle to keep it centered and neat.
Step 7: Sketching the Legs
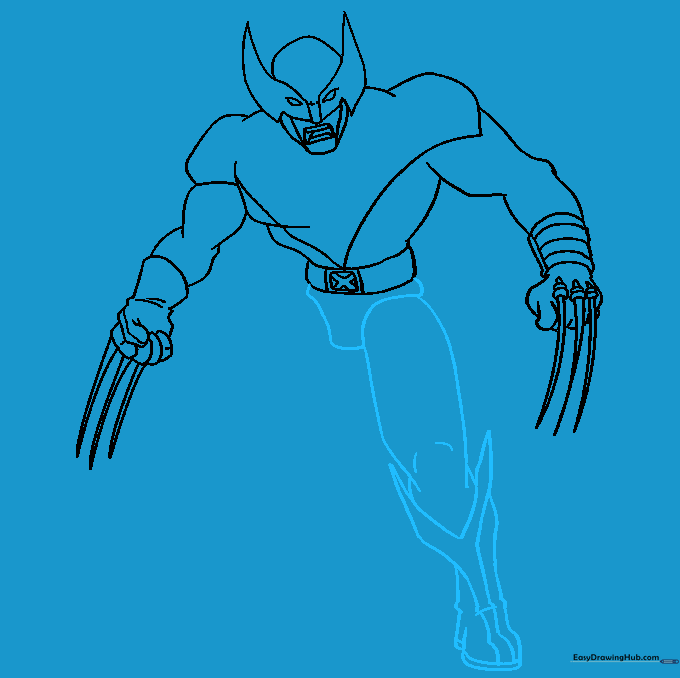
Outline the abdomen and thighs using long, sweeping curves. Add the 'Y' shape at the top of the boots. Teacher's Tip: Keep your lines fluid to emphasize the movement and power of the character.
Step 8: Completing the Lower Body
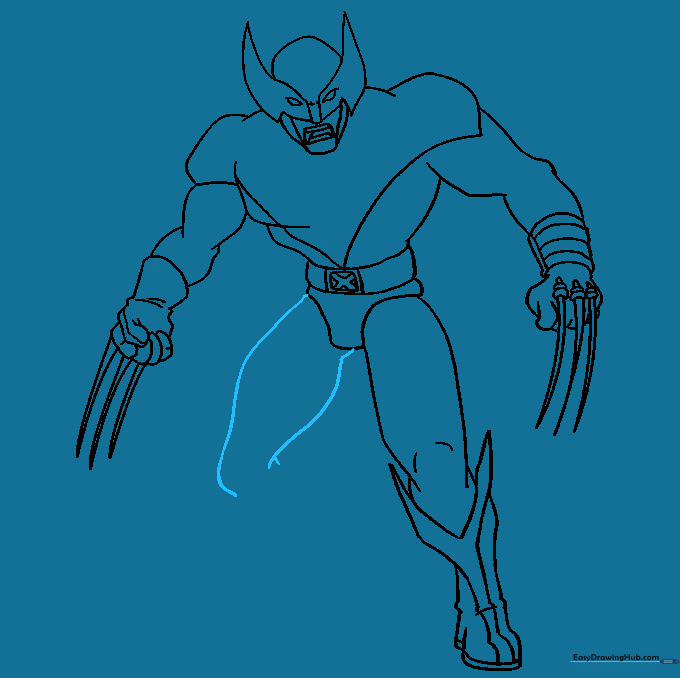
Use curved lines to outline the remaining leg. Teacher's Tip: Ensure the leg width matches the upper body to keep the proportions balanced.
Step 9: Final Details
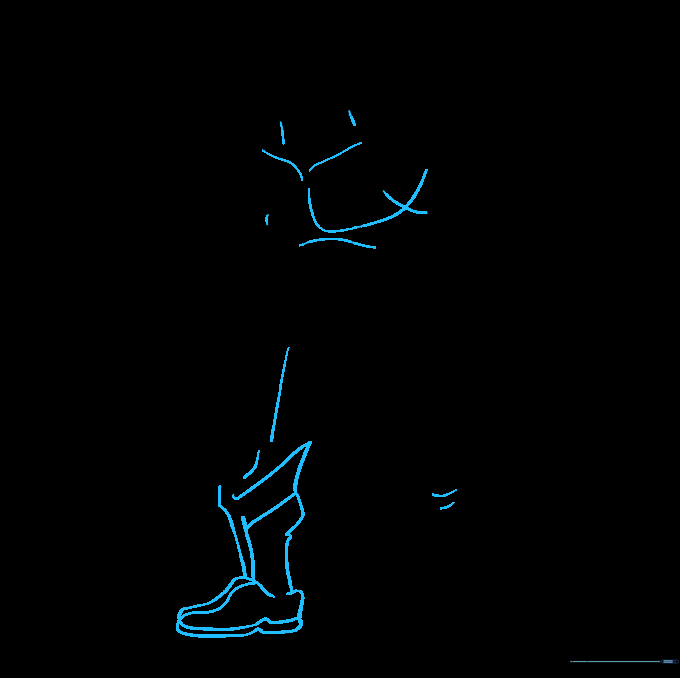
Add muscle definition to the legs and finish the boot details with the 'Y' embellishment. Teacher's Tip: Use a darker pencil to go over your final lines, then erase any stray construction marks.
Step 10: Bring Wolverine to Life with Color
Time to color! Use bright yellow for the suit and deep blue for the accents. Teacher's Tip: Use a silver or light grey pencil for the claws to make them look like real metal.
More Tutorials


