How to Draw a Winter Scene: Easy Step-by-Step Guide
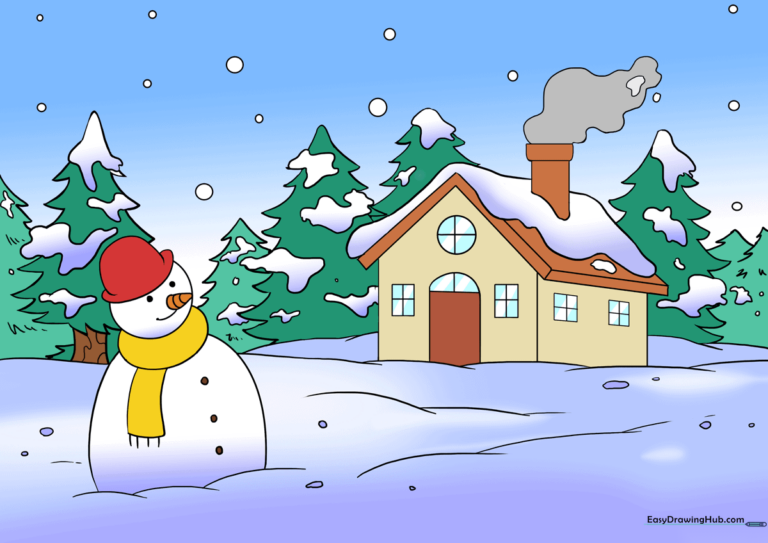
Capture the magic of a snowy day with this beginner-friendly winter landscape tutorial. Designed for artists ages 5 and up, this activity uses basic geometric shapes to build a charming scene featuring a house, a snowman, and pine trees. Grab your pencil and paper to create your own chilly masterpiece.
🎯 Final Result
Step-by-Step Instructions
Step 1: Sketching the Snow Drifts

Lightly sketch a wavy horizon line across your page. Tip: Use long, sweeping strokes to mimic the natural, uneven texture of snow piling up on the ground.
Step 2: Building the House Structure
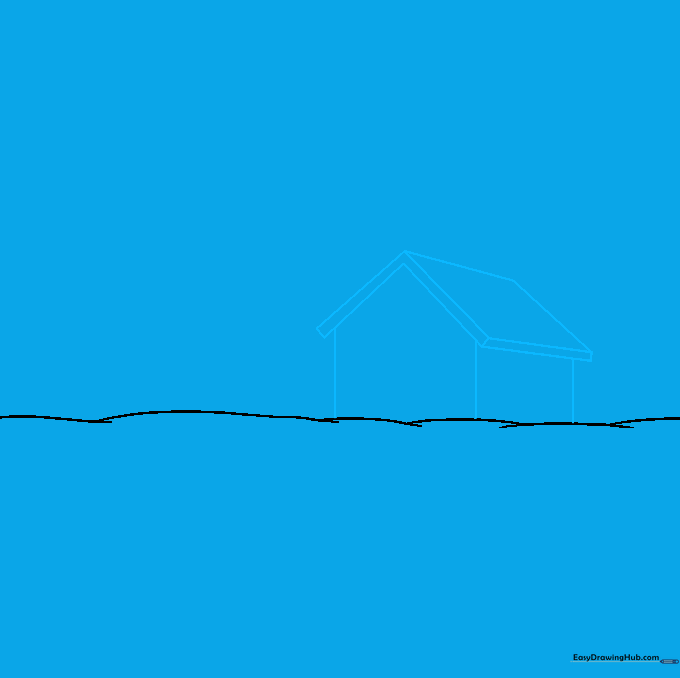
Draw three vertical lines to form the walls of your house, then connect them with horizontal lines for the roof eaves. Tip: Extend your roof lines slightly past the walls to give the house a cozy, cabin-like feel.
Step 3: Adding Architectural Details
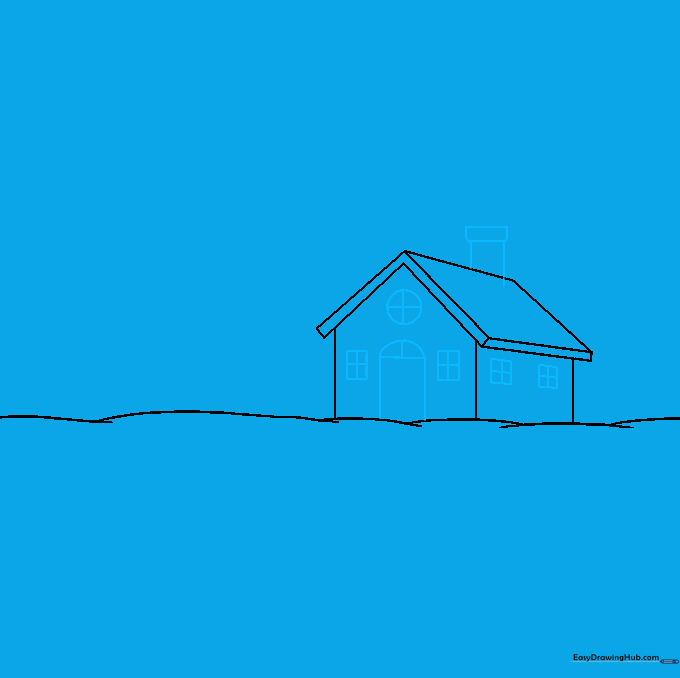
Add a chimney, a door with an arched top, and square windows. Tip: Draw a small cross inside each window to represent window panes; this adds instant realism to your drawing.
Step 4: Sketching the Snowman

Draw a small circle for the head and two larger, rounded shapes for the body. Tip: Overlap your lines slightly where the circles meet to make the snowman look like he is made of soft, packed snow.
Step 5: Adding Winter Accessories
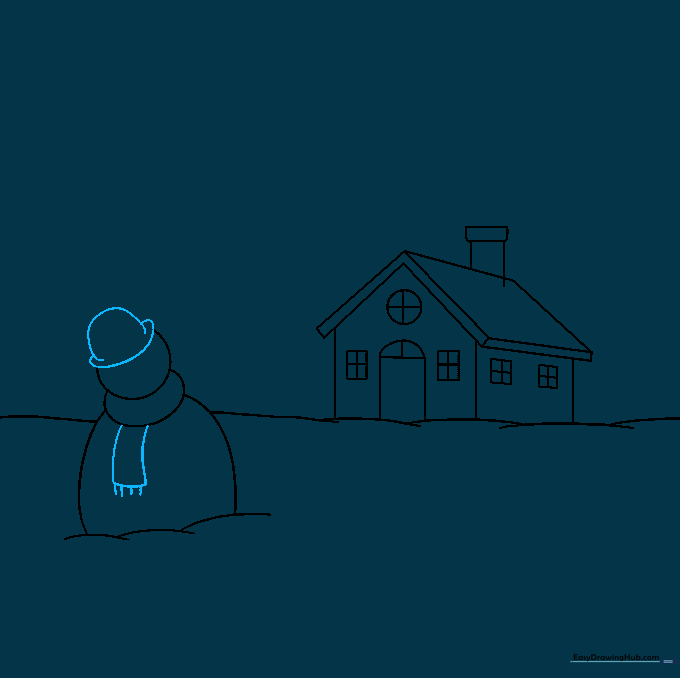
Draw a top hat on the snowman's head and a scarf around his neck. Tip: Add small, short lines at the end of the scarf to create a fringe effect.
Step 6: Drawing Pine Trees
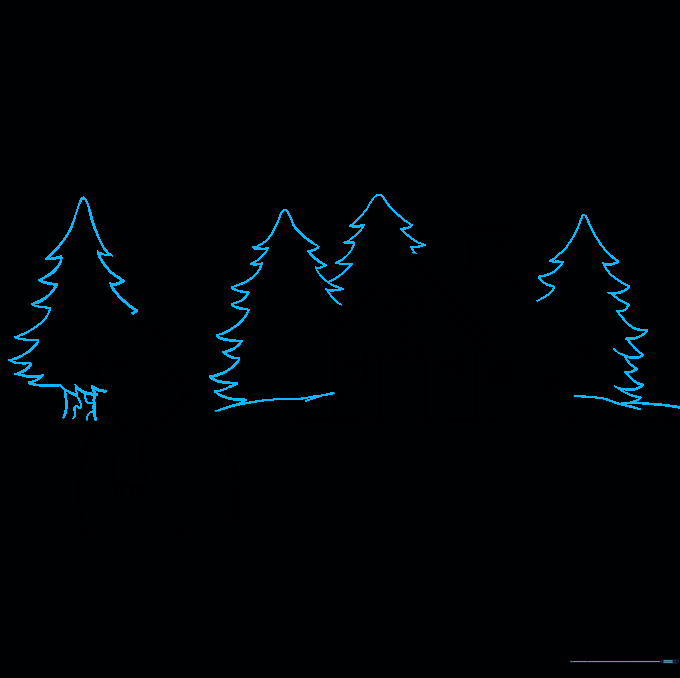
Use short, jagged, curved lines to create the silhouette of pine trees in the background. Tip: Vary the height of your trees to create depth in your landscape.
Step 7: Adding Snow Accents
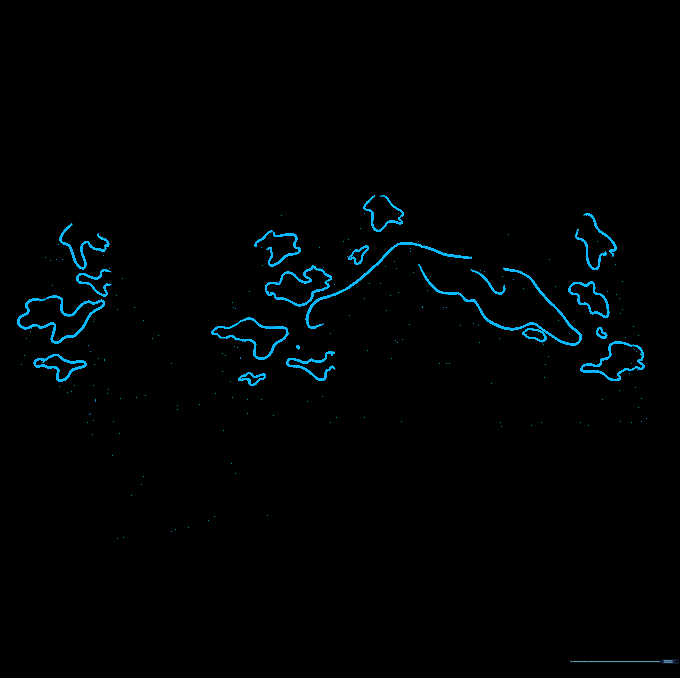
Draw irregular, wavy shapes on the roof and tree branches to represent heavy snow. Tip: Think of these as 'blankets' of snow resting on top of the objects.
Step 8: Cleaning Your Sketch

Carefully erase any overlapping guide lines inside your snow shapes. Tip: Use a kneaded eraser if you have one; it's gentler on the paper and easier to control for small areas.
Step 9: Final Details
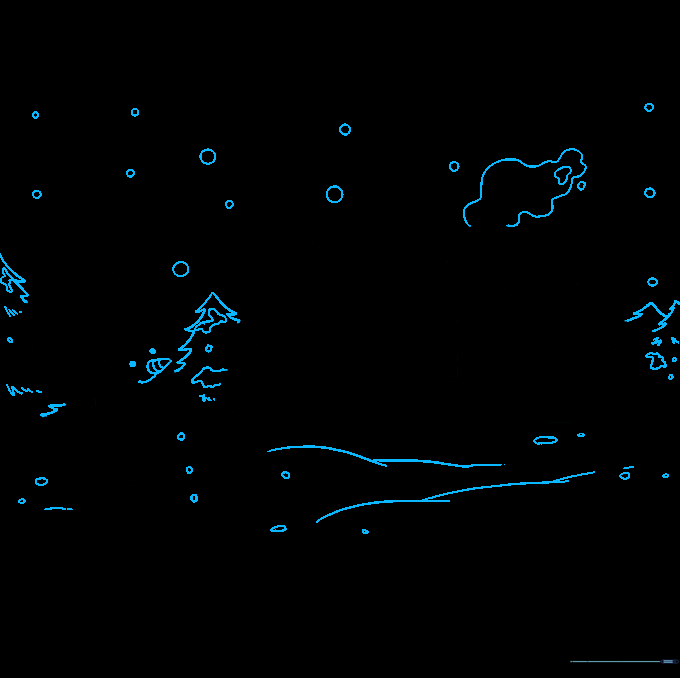
Add buttons, eyes, and a carrot nose to your snowman. Draw smoke rising from the chimney and small circles for falling snowflakes. Tip: Vary the size of your snowflakes to create a sense of perspective.
Step 10: Bringing it to Life with Color
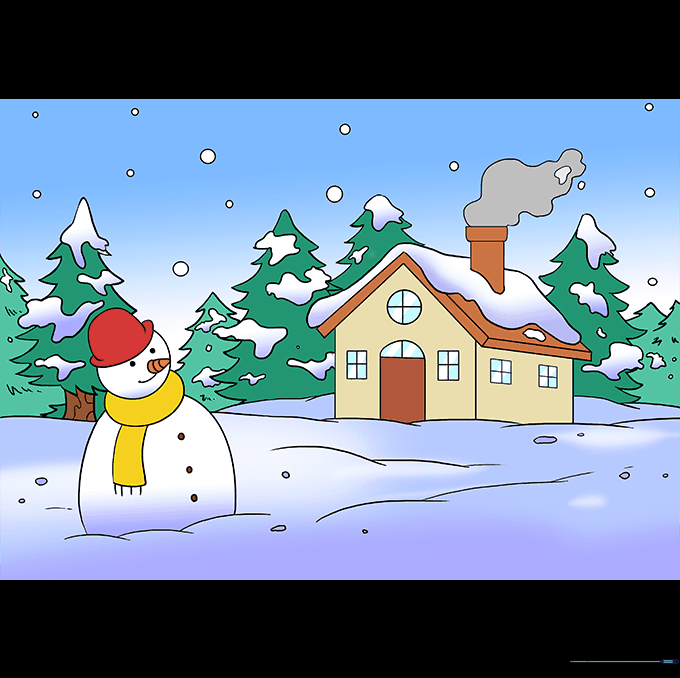
Add color to your scene! Use cool blues for shadows in the snow and warm tones for the house to make it look inviting. Tip: Use light pressure with your blue pencil to create a soft, icy look.
More Tutorials


