How to Draw William Shakespeare: Easy 10-Step Guide
Bring the Bard to life with this fun, cartoon-style drawing guide! Designed for ages 7+, this activity helps students practice facial proportions and historical character design using basic shapes. You will only need a pencil, an eraser, and a piece of paper to complete this portrait.
🎯 Final Result

Step-by-Step Instructions
Step 1: Sketching the First Eye

Draw a rounded triangle for the eye and add a dark pupil inside. Tip: Keep your pencil pressure light so you can easily adjust the shape if it looks a bit lopsided.
Step 2: Adding the Second Eye

Repeat the process to draw the matching eye on the right. Tip: Use the first eye as a guide to ensure they are level with each other on the page.
Step 3: Brows and Nose

Add crescent-shaped eyebrows above the eyes, then sketch the bridge of the nose and the start of the mustache. Tip: Keep the nose small; it helps make the character look more like a friendly cartoon.
Step 4: Mustache and Goatee

Use scalloped lines to create the iconic mustache, then add a small mouth and a V-shaped goatee. Tip: Use short, quick strokes for the hair to give it a textured, realistic look.
Step 5: Defining the Face

Outline the jawline and add the ear. Tip: Don't worry if the jawline isn't perfect; Shakespeare's style is all about character, not perfect symmetry!
Step 6: Hair and Beard
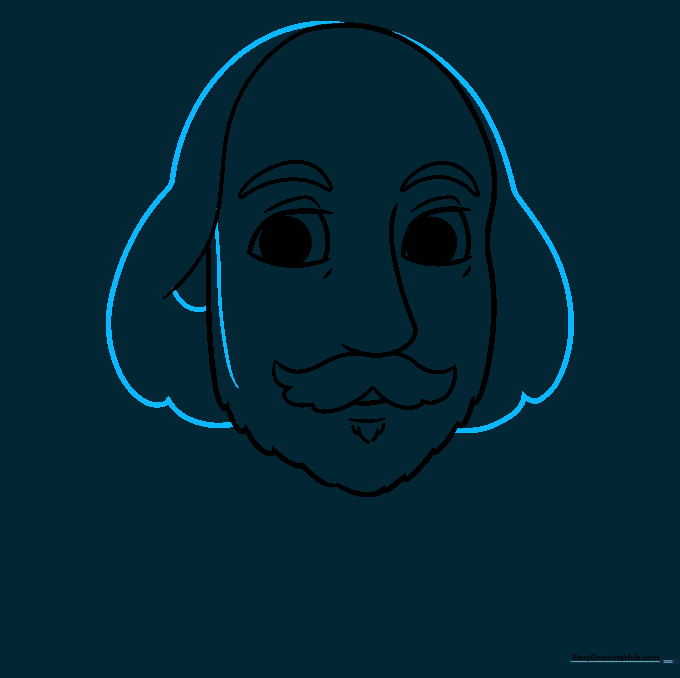
Add his signature wavy hair and continue the beard line. Tip: Use long, flowing curved lines to make the hair look soft and voluminous.
Step 7: The Elizabethan Collar
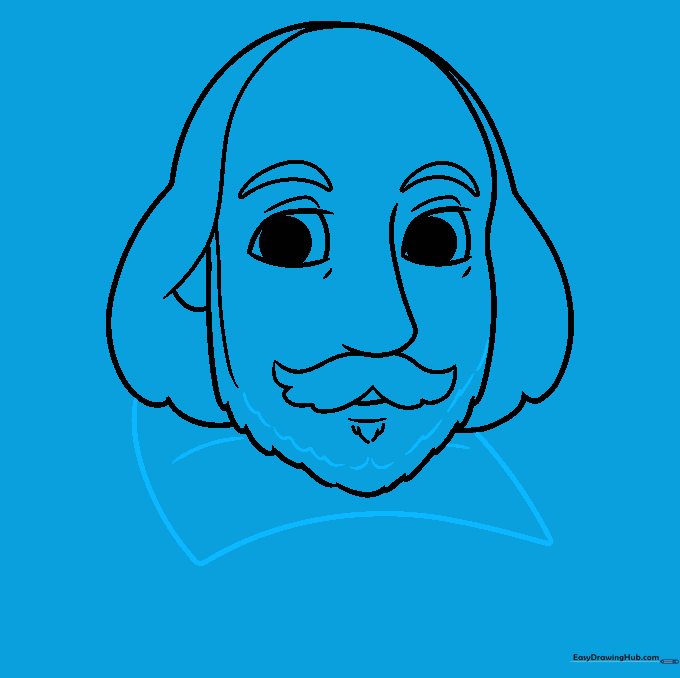
Draw a rectangular shape below the chin to represent the ruff collar. Tip: Add small, curved lines inside the rectangle to show the folds of the fabric.
Step 8: Shoulders and Sleeves
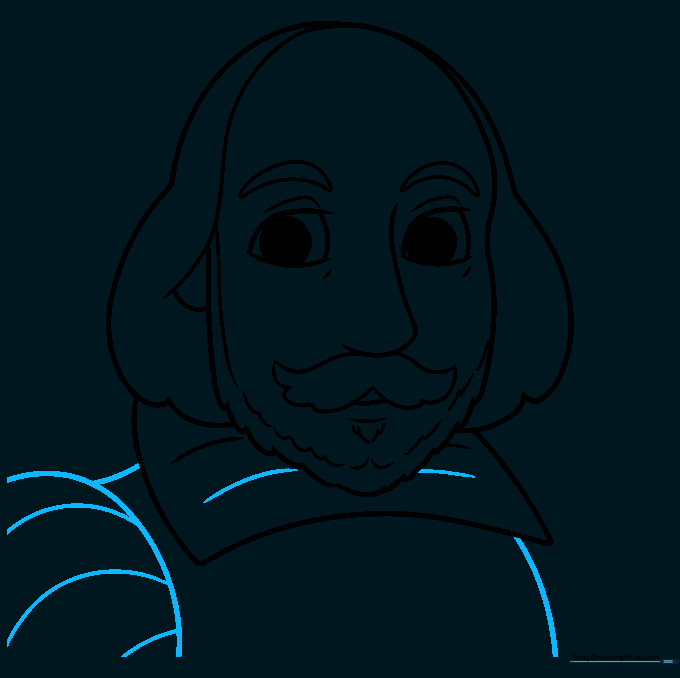
Sketch the shoulders and the striped sleeves. Tip: Keep your stripes parallel to give the clothing a structured, historical appearance.
Step 9: Final Details

Complete the outfit with the second sleeve and add buttons down the center. Tip: Use a steady hand for the buttons to keep them aligned.
Step 10: Color Your Masterpiece

Bring your drawing to life with color! Tip: Use earthy tones for the clothing to reflect the historical era, and don't forget to sign your work.
More Tutorials


