How to Draw a Weightlifter: Easy 9-Step Guide for Kids
Ready to draw a champion? This guide is designed for young artists ages 6+ to practice character proportions and action poses. All you need is a pencil, an eraser, and a sheet of paper to bring this powerful athlete to life.
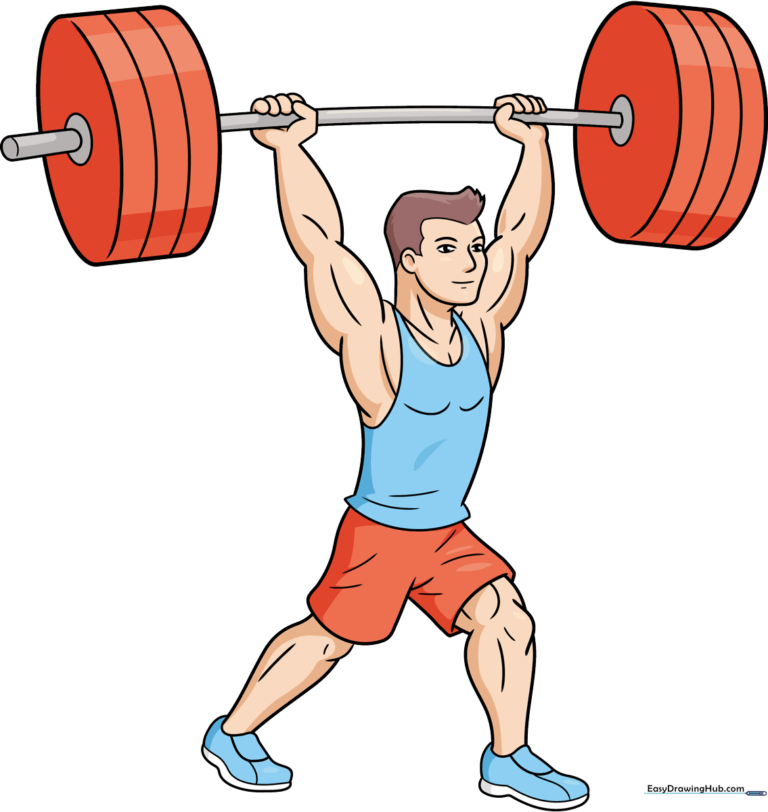
🎯 Final Result
Step-by-Step Instructions
Step 1: Sketching the Face
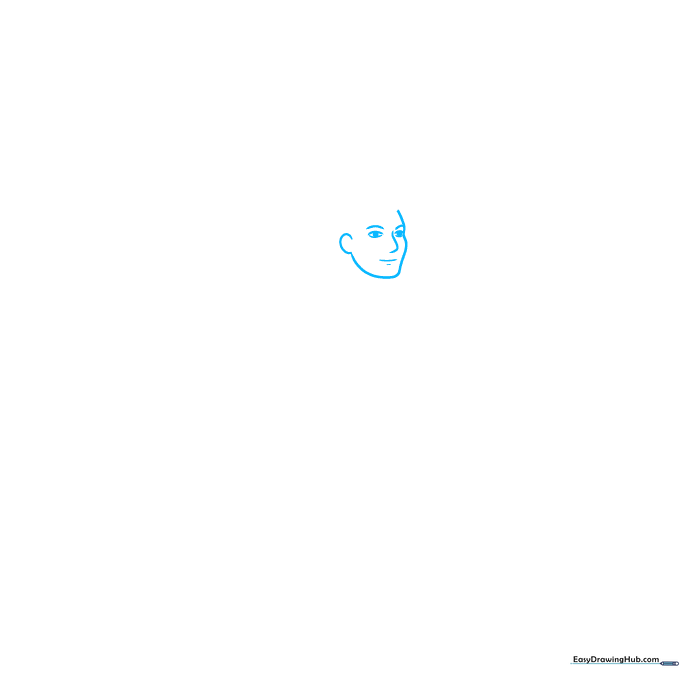
Start by drawing the profile of the face, including the chin and ear. Add the eyebrows, eyes, nose, and mouth. Teacher's Tip: Keep the eyes simple with small shaded circles to give your character a focused, determined expression.
Step 2: Adding Hair and Neck
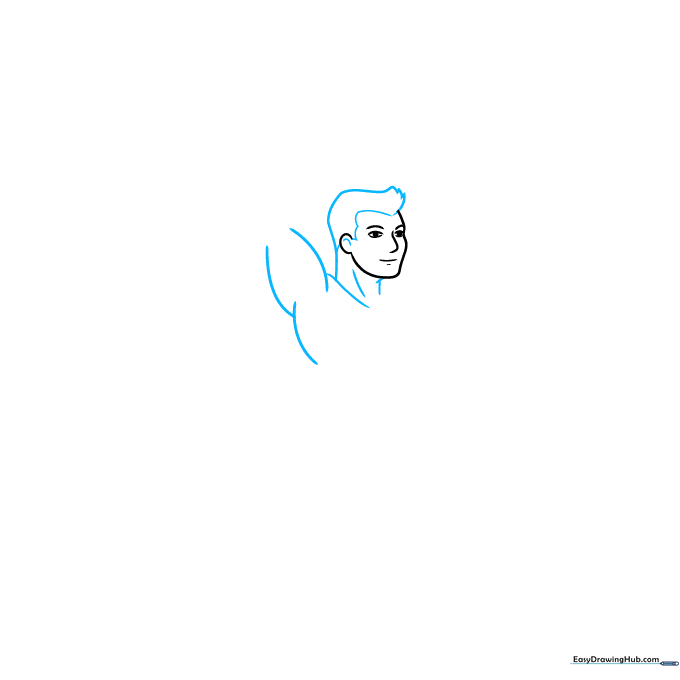
Enclose the hair using jagged, overlapping curved lines to create texture. Add the neck and the beginning of the muscular arm. Teacher's Tip: Use short, quick strokes for the hair to make it look natural and messy.
Step 3: Defining the Torso and Arms
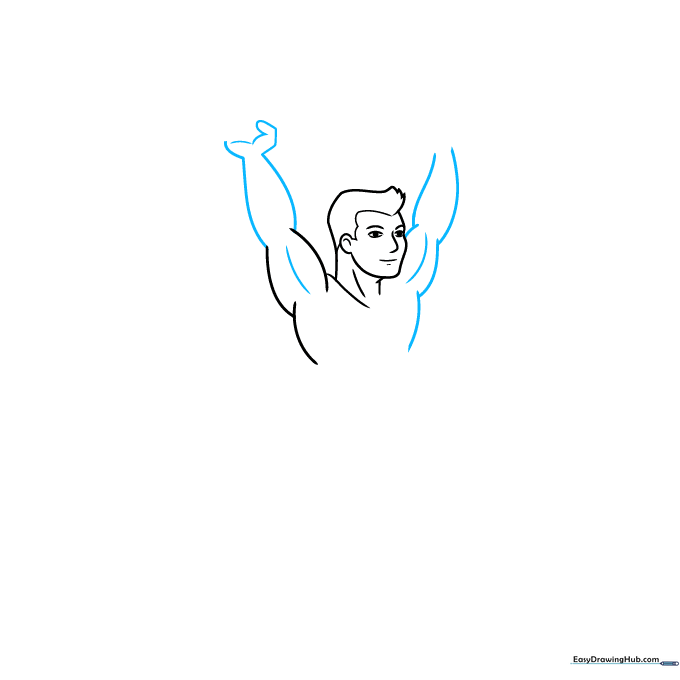
Draw the muscular arms and chest using fluid, curved lines. Sketch the palm and thumb of the first hand. Teacher's Tip: Think of the arm as a series of rounded shapes to emphasize the athlete's strength.
Step 4: Gripping the Bar
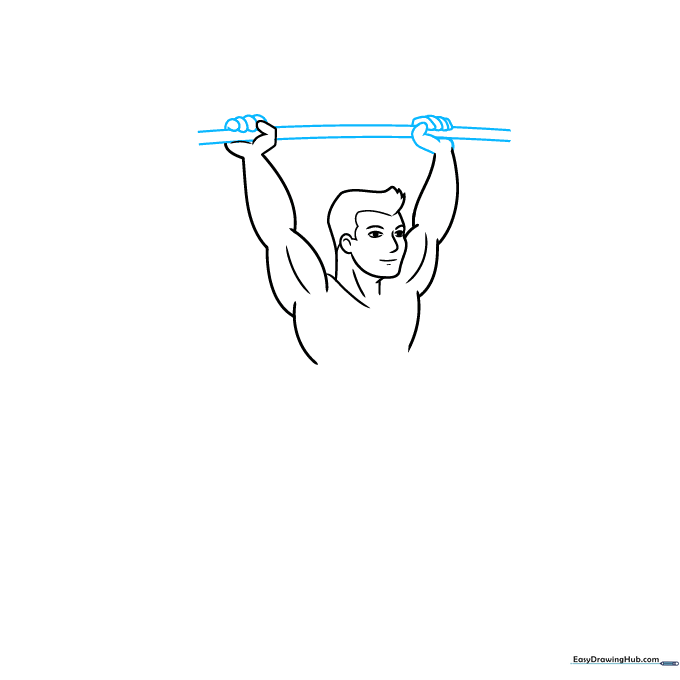
Draw the second hand and the barbell. Use parallel lines to create the bar, and wrap the fingers around it. Teacher's Tip: Ensure the bar is horizontal to keep the weightlifter looking balanced.
Step 5: Adding the Weights
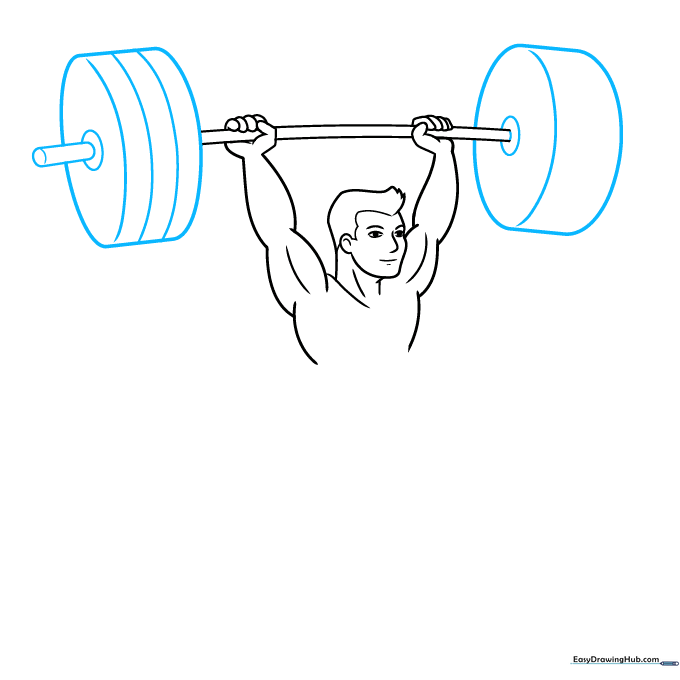
Draw large cylinders at each end of the bar. Add small ovals and bands to detail the weight plates. Teacher's Tip: Make the weights look heavy by drawing them slightly wider than the bar.
Step 6: Drawing the Outfit

Outline the tank top and shorts using clean, curved lines. Teacher's Tip: Keep the lines for the clothing simple so they don't distract from the muscle definition you drew earlier.
Step 7: Sketching the Legs
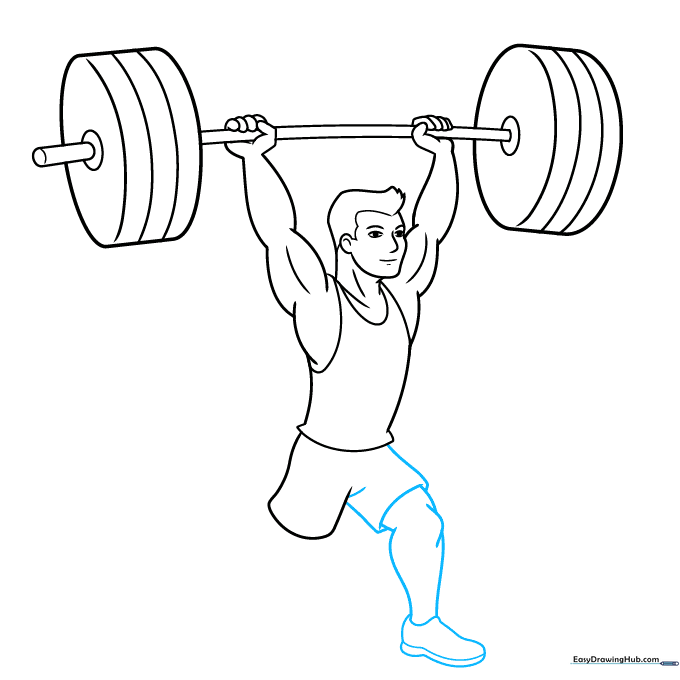
Complete the shorts and draw the first leg and shoe. Use overlapping lines at the knee to show movement. Teacher's Tip: A slight bend in the knee makes the character look like they are bracing for a lift.
Step 8: Completing the Stance
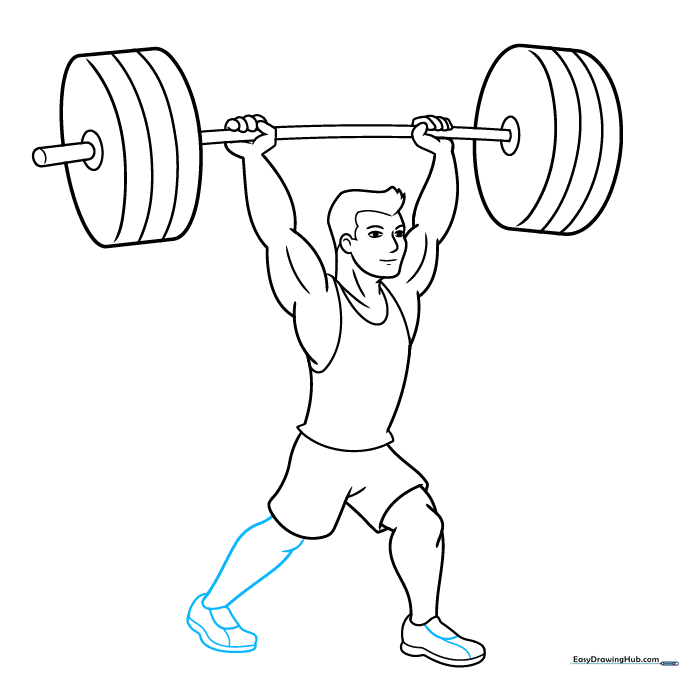
Draw the second leg and shoe to complete the stance. Teacher's Tip: Ensure both feet are positioned firmly on the ground to give your weightlifter a stable base.
Step 9: Final Contours
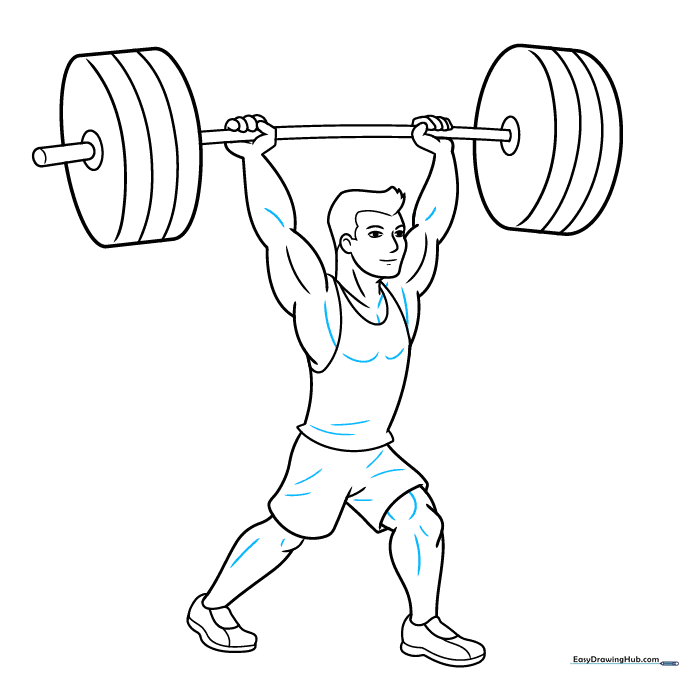
Add final contour lines to the muscles and fabric to give your drawing depth. Teacher's Tip: Use a darker pencil for these final lines to make your character stand out.
Step 10: Color Your Masterpiece
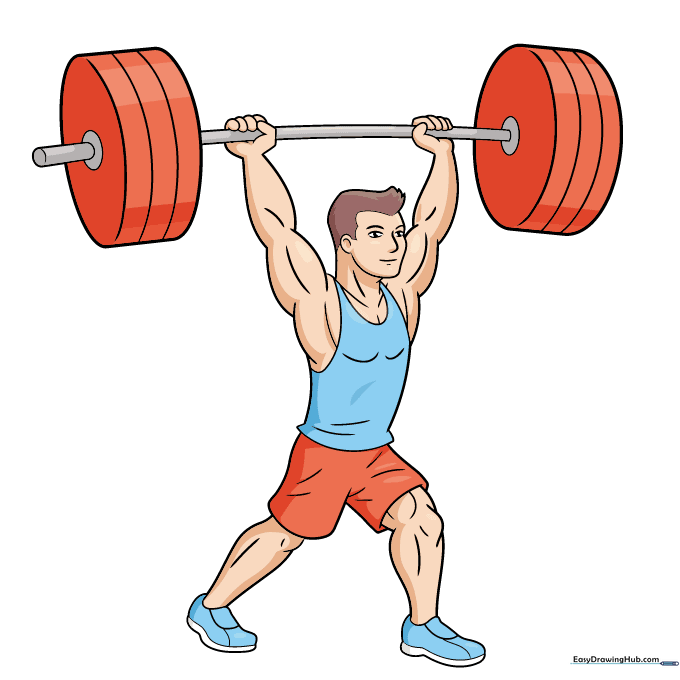
Bring your weightlifter to life with color! Use metallic silver for the weights and your favorite colors for the gym gear. Teacher's Tip: Use light and dark shades of the same color to create a 3D effect on the muscles.
More Tutorials


