How to Draw WALL-E: Easy 10-Step Guide for Kids
Bring everyone's favorite waste-collecting robot to life with this simple drawing guide, perfect for young artists ages 6 and up. You will only need a pencil, an eraser, and a sheet of paper to get started. Follow these steps to master the geometric shapes that make up WALL-E’s iconic, lovable design.
🎯 Final Result
Step-by-Step Instructions
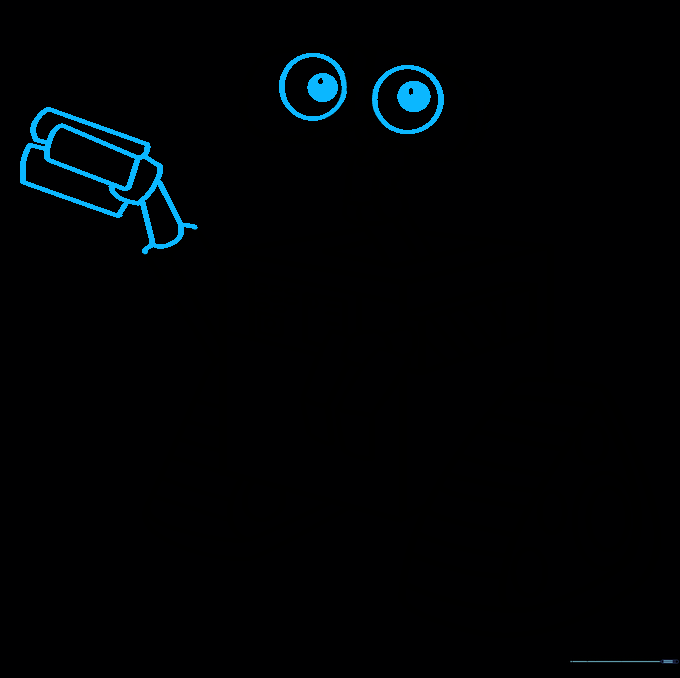
Step 1: Sketching the Optical Sensors

Start by drawing two teardrop shapes for the eyes. Connect them with curved lines to create the bridge. Tip: Keep your pencil pressure light here; these are just the foundation for his expressive lenses.
Step 2: Defining the Neck Structure
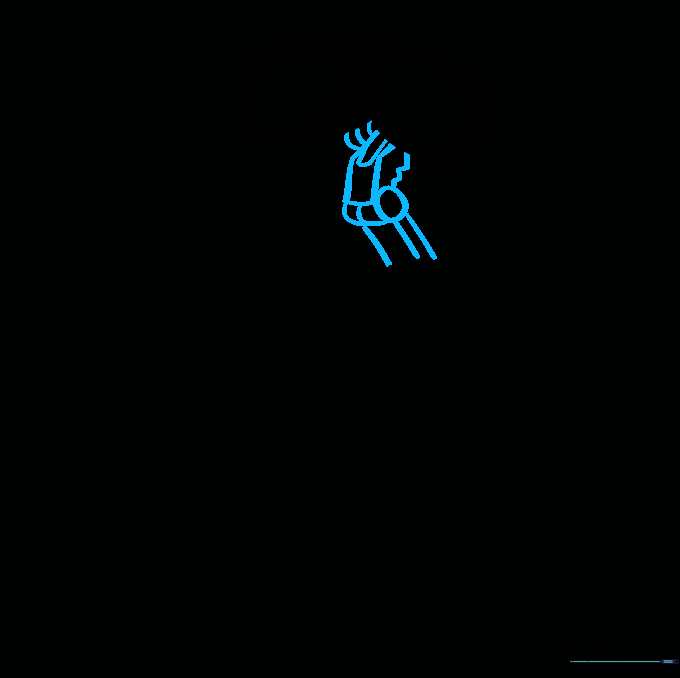
Draw a narrow, rounded shape beneath the eyes to form the neck. Add small rectangles and ovals to create the mechanical joints. Tip: Use short, deliberate strokes to make the mechanical parts look rigid and sturdy.
Step 3: Constructing the Main Body
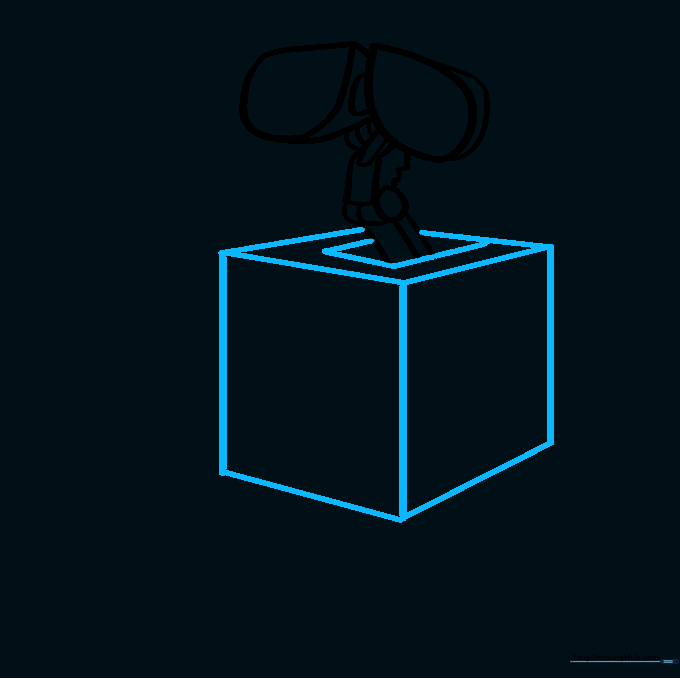
Draw a large rectangle around the neck to form the torso. Add smaller squares on the sides to give it a 3D boxy look. Tip: Use a ruler if you struggle with straight lines, but freehand drawing helps develop better hand control!
Step 4: Adding the First Arm
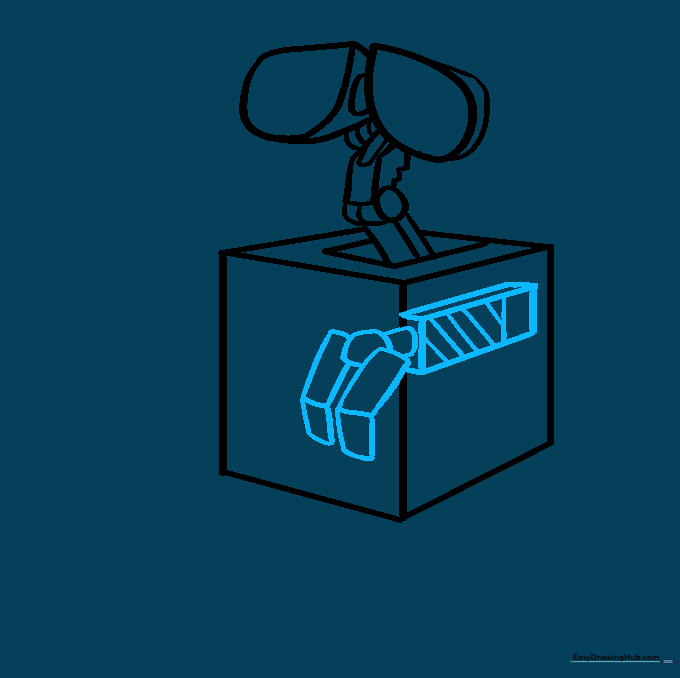
Draw a horizontal rectangle extending from the side of the body. Use diagonal lines to create the arm's segments and add small rectangles for the fingers. Tip: Think of his fingers like small blocks—keep them simple and chunky.
Step 5: Refining the Arm Details
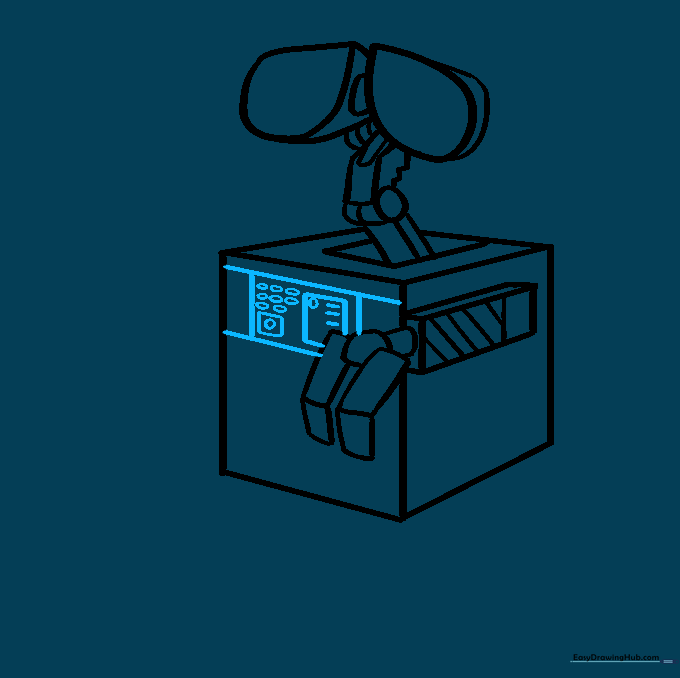
Add depth to the arm by drawing extra parallel lines. This makes the arm look like it has hinges. Tip: If you make a mistake, use your eraser to lift the graphite gently before redrawing.
Step 6: Drawing the Tread Base
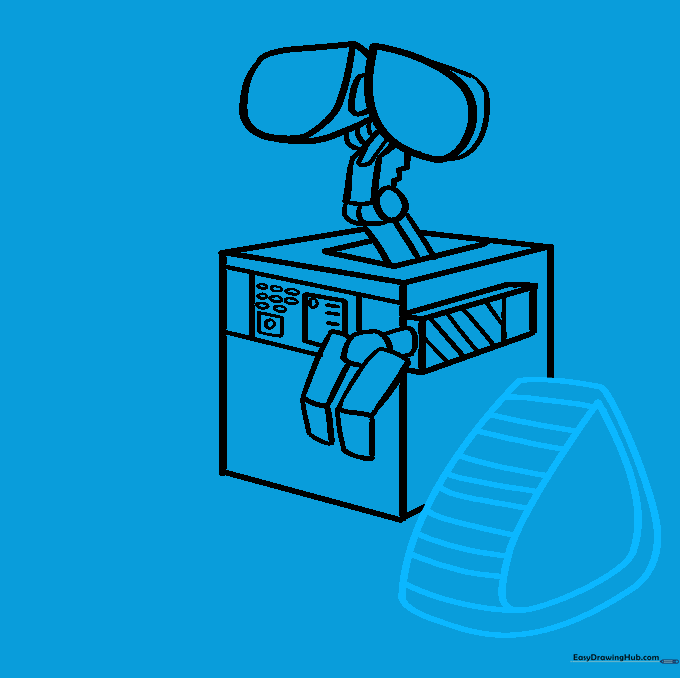
Draw a large, flat teardrop shape at the base of the body for the tread. Connect it to the body with parallel lines. Tip: This is the foundation of his movement, so make sure it looks stable and grounded.
Step 7: Adding Tread Texture
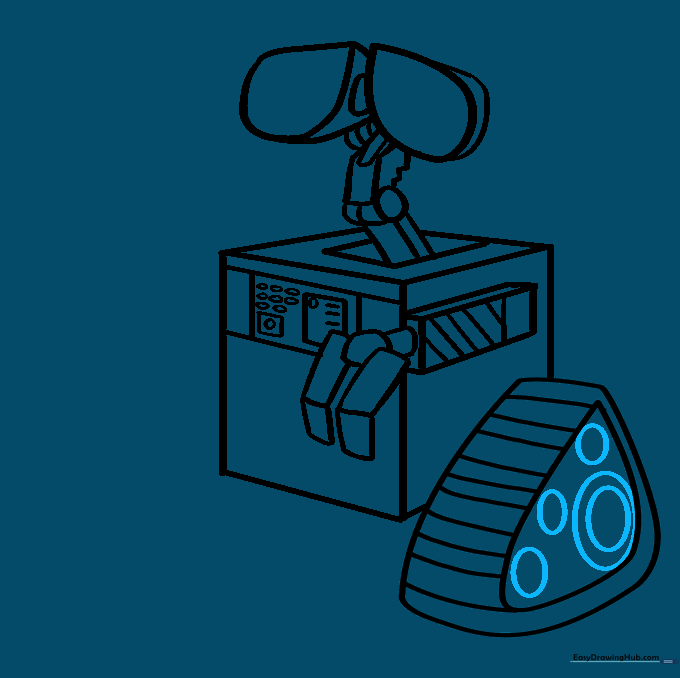
Fill the tread area with small circles to represent the gears. Tip: Vary the size of the circles slightly to make the mechanical parts look more realistic.
Step 8: Completing the Second Side
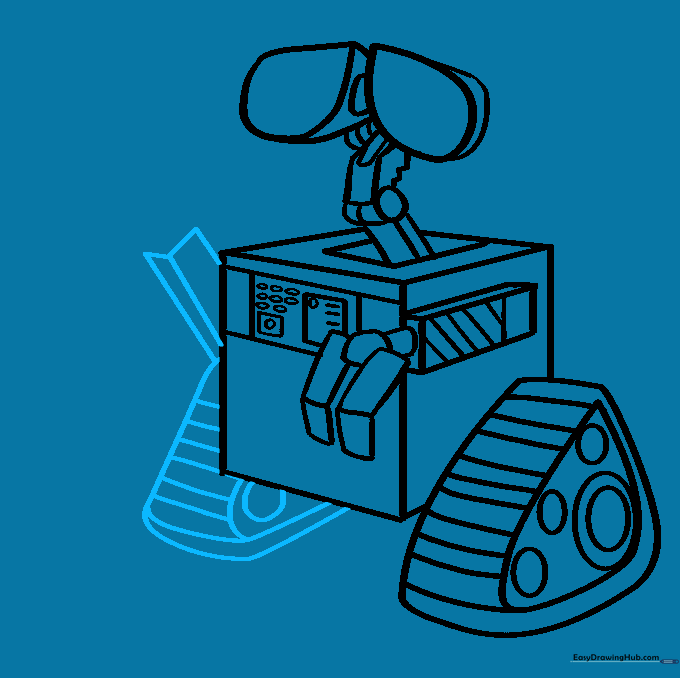
Mirror the tread and arm on the opposite side of the body. Tip: Symmetry can be tricky, so take your time to match the proportions of the first side.
Step 9: Finalizing the Eyes
Draw three smaller circles inside each eye and shade the center to create the pupils. Tip: Darkening the pupils makes him look much more alive and friendly!
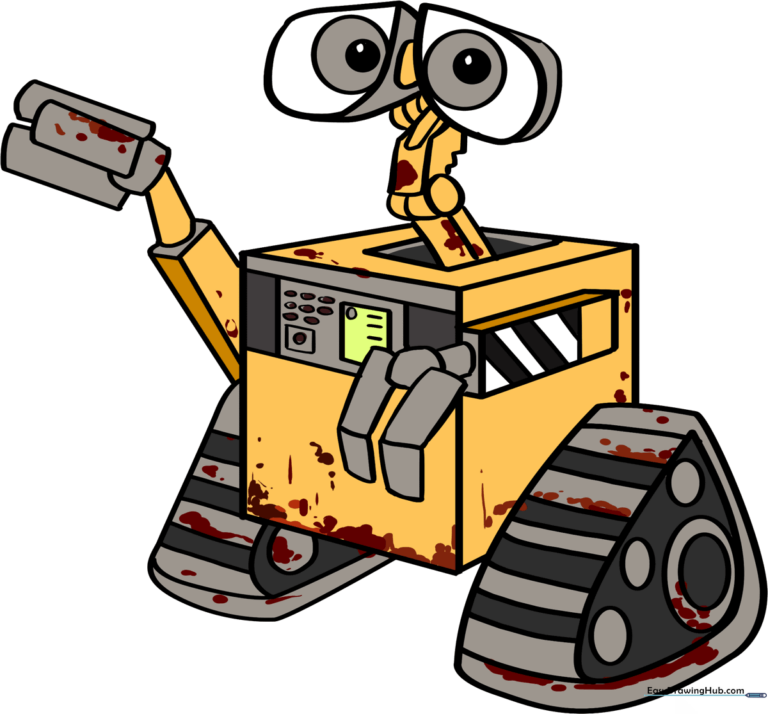
Step 10: Adding Color and Texture
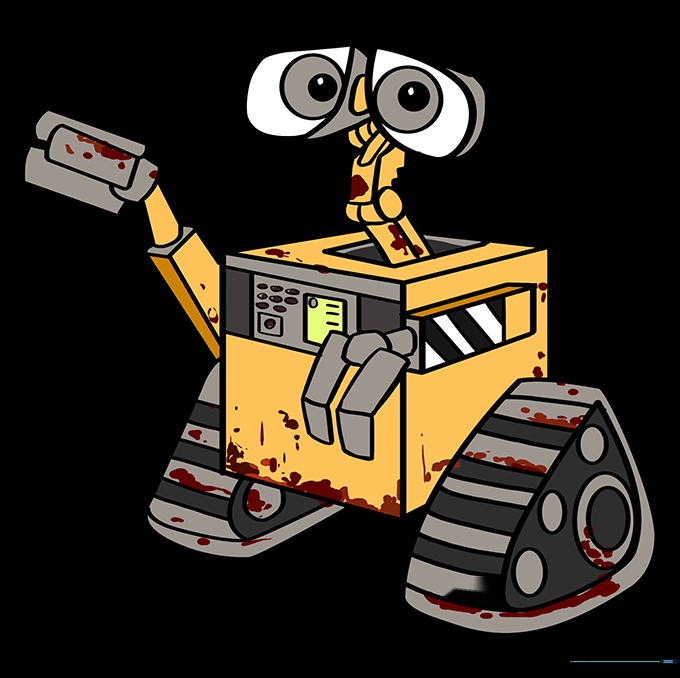
Color your robot using shades of yellow and grey. Add some brown 'rust' spots to give him that weathered, adventurous look. Tip: Use a light touch with the brown to make the rust look natural.
More Tutorials


