How to Draw Violets: Easy 10-Step Guide for Beginners
Bring the beauty of spring to your sketchbook with this simple violet drawing tutorial. Designed for ages 5 and up, this project requires only a pencil, paper, and an eraser to build confidence in floral sketching. Follow along to master the delicate, heart-shaped leaves and overlapping petals that make violets so iconic.
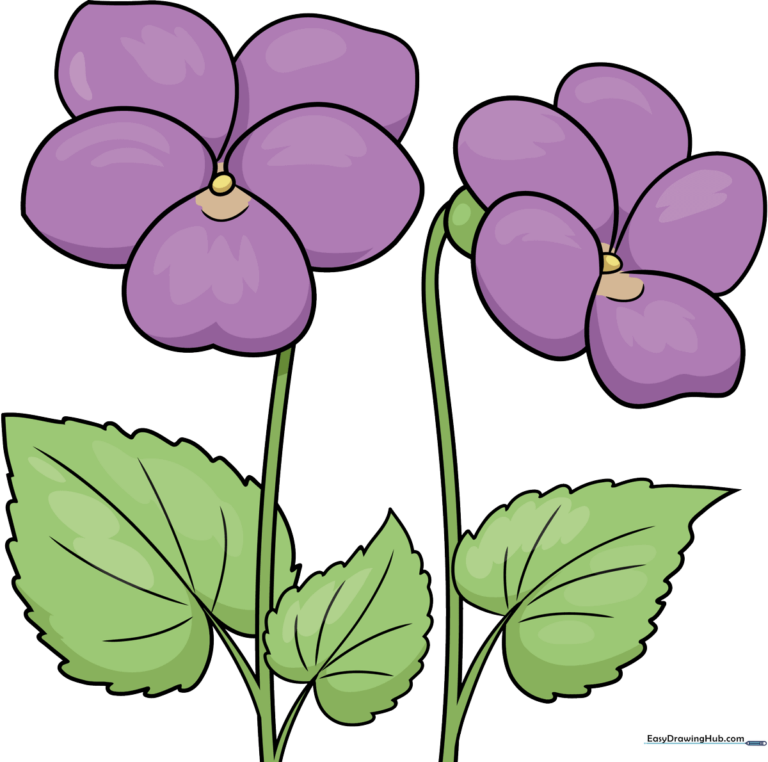
🎯 Final Result
Step-by-Step Instructions
Step 1: Sketching the First Petal Base
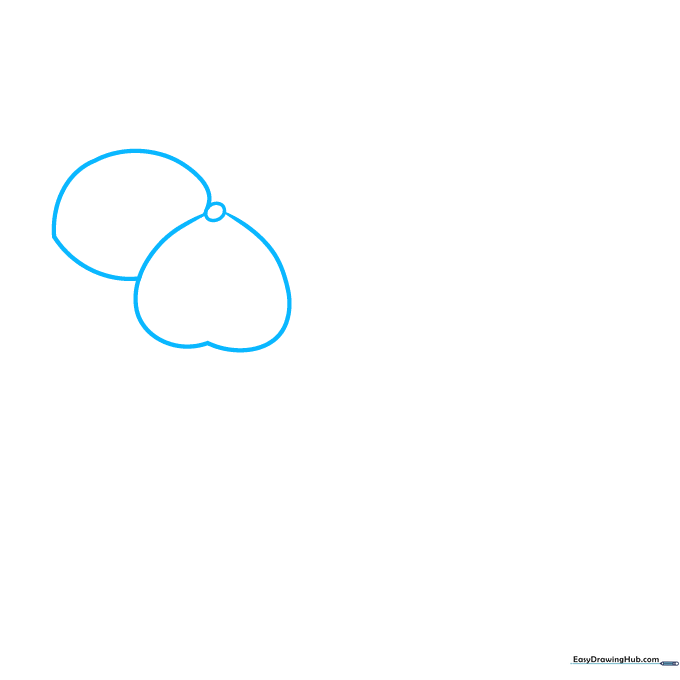
Start by drawing a small oval for the center. Below it, use a long curved line to enclose a subtle heart shape. Add another round shape partially hidden behind the first. Teacher's Tip: Keep your pencil pressure light so you can easily adjust the petal shapes later.
Step 2: Adding Overlapping Petals

Use long, sweeping curved lines to enclose three more overlapping petals. Add a short curved line near the center to give the flower depth. Teacher's Tip: Violets have a natural, ruffled look, so don't worry if your lines aren't perfectly symmetrical!
Step 3: Starting the Second Blossom
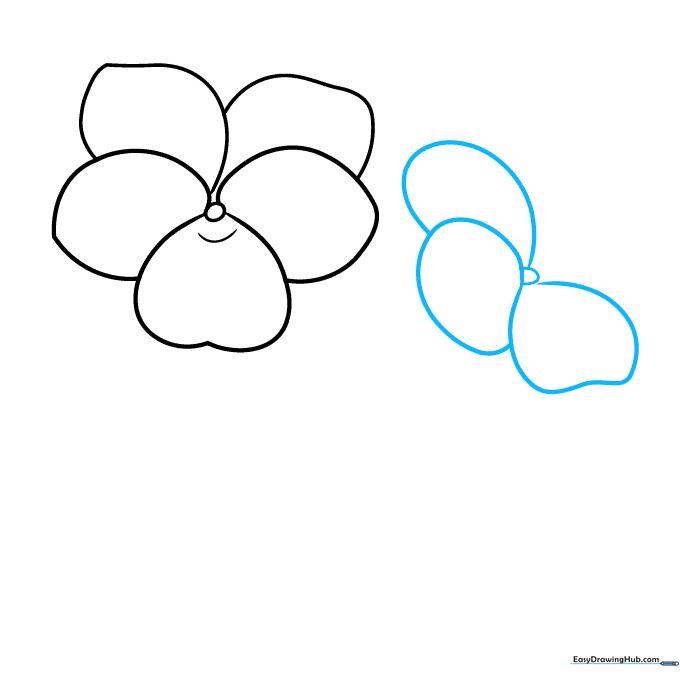
Draw another small oval nearby to serve as the center for your second flower. Use long, graceful curved lines to sketch three overlapping petals around it. Teacher's Tip: Varying the size of your flowers makes the drawing look more realistic and organic.
Step 4: Completing the Second Flower and Stem
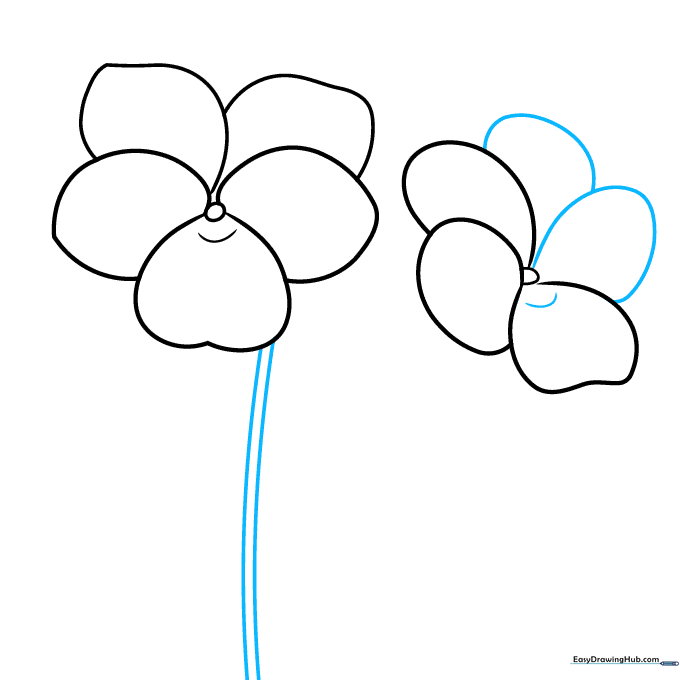
Add two more petals to finish the five-petal count. Draw a short curved line under the center, then extend two parallel curved lines downward to form the stem. Teacher's Tip: Keep the stem lines close together for a delicate, natural look.
Step 5: Sketching the First Leaf
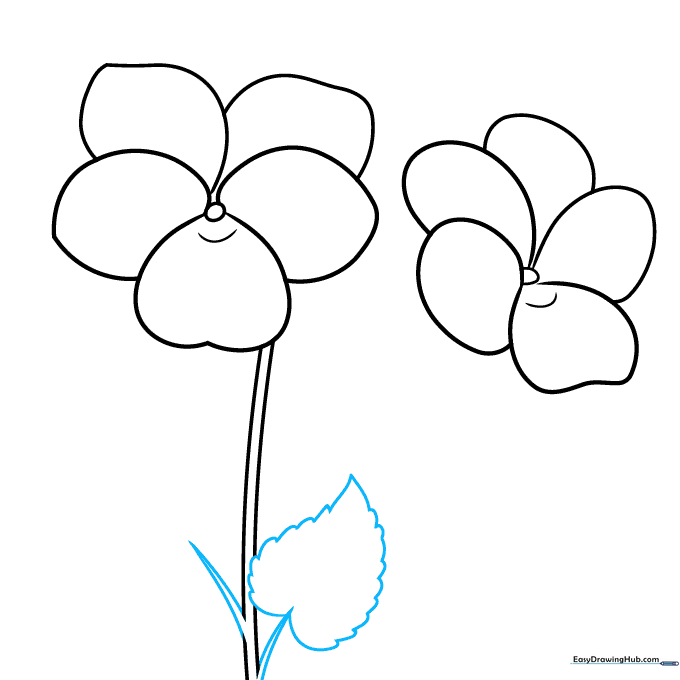
Extend two sets of curved lines from the stem to create twigs. At the tip of one, draw a heart-shaped leaf using short, connected lines to create a serrated edge. Teacher's Tip: Use a 'zig-zag' motion with your pencil to get that jagged, natural leaf texture.
Step 6: Adding the Second Leaf
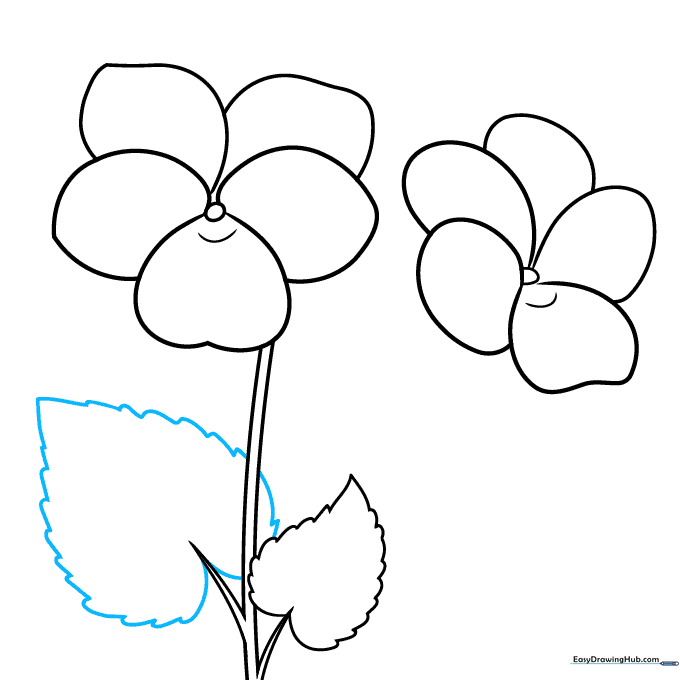
Draw a larger heart-shaped leaf on the remaining twig using the same serrated technique. Teacher's Tip: Try to make this leaf slightly larger than the first to create visual interest and balance in your composition.
Step 7: Detailing the Receptacle

Draw a half-circle at the side of the second blossom to represent the receptacle. Extend a stem from it, ending in a sharp point. Teacher's Tip: This small detail connects the flower head to the stem, making your drawing look much more professional.
Step 8: Finalizing the Foliage
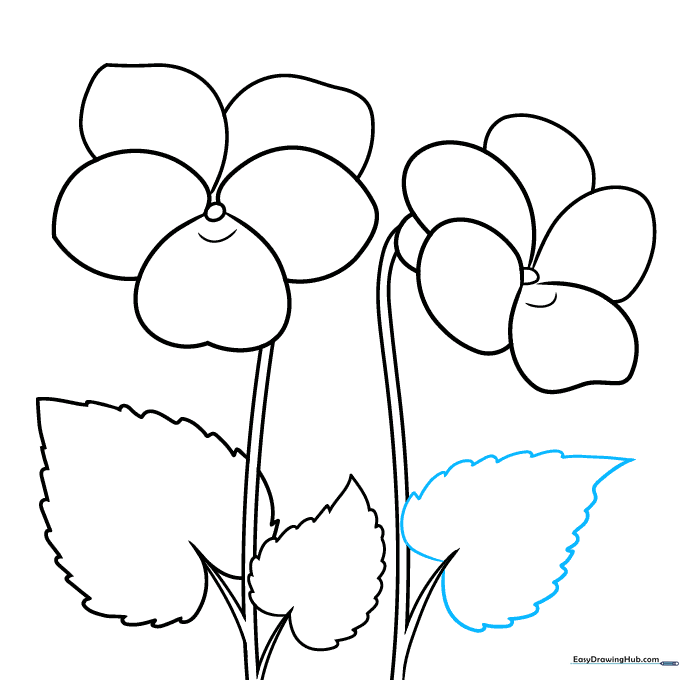
Add one more serrated, heart-shaped leaf to the twig. Teacher's Tip: Ensure the leaf overlaps slightly with the stem to create a sense of depth and layering.
Step 9: Adding Leaf Veins
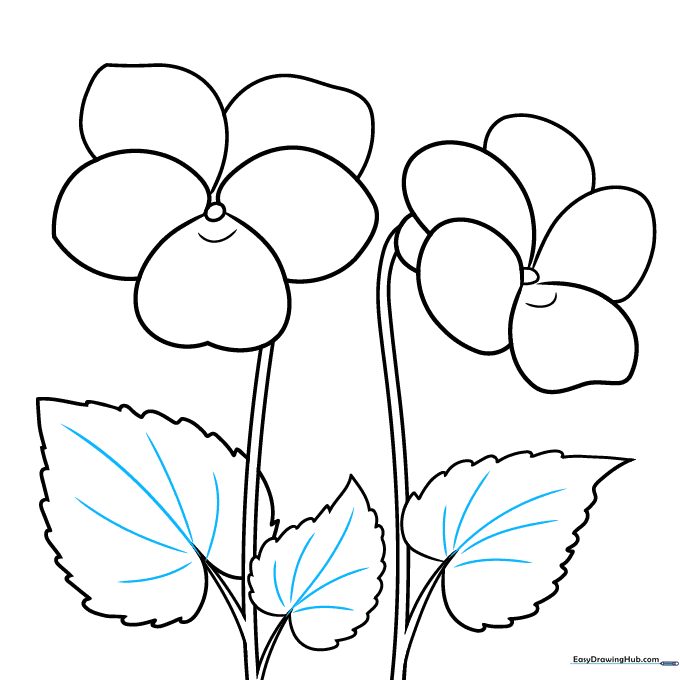
Add texture to your leaves by drawing five curved lines in a ray pattern across each. Teacher's Tip: Draw these lines very lightly; they should look like delicate veins, not heavy branches.
Step 10: Bringing Your Violets to Life with Color
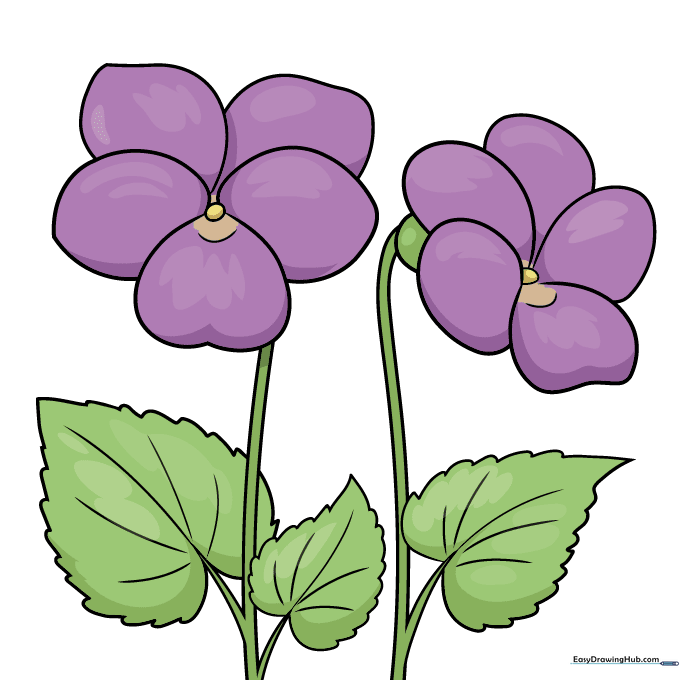
Your outline is complete! Now, add color. Use deep purples for the petals and vibrant greens for the leaves. Teacher's Tip: Use a lighter shade of purple near the center of the petals to create a beautiful, natural gradient effect.
More Tutorials


