How to Draw Venom: Easy Step-by-Step Guide for Beginners
Ready to bring the anti-hero to life? This tutorial is designed for young artists and Marvel fans looking to master character proportions. You will need a pencil, an eraser, and a black fine-liner to capture Venom’s iconic, menacing look.
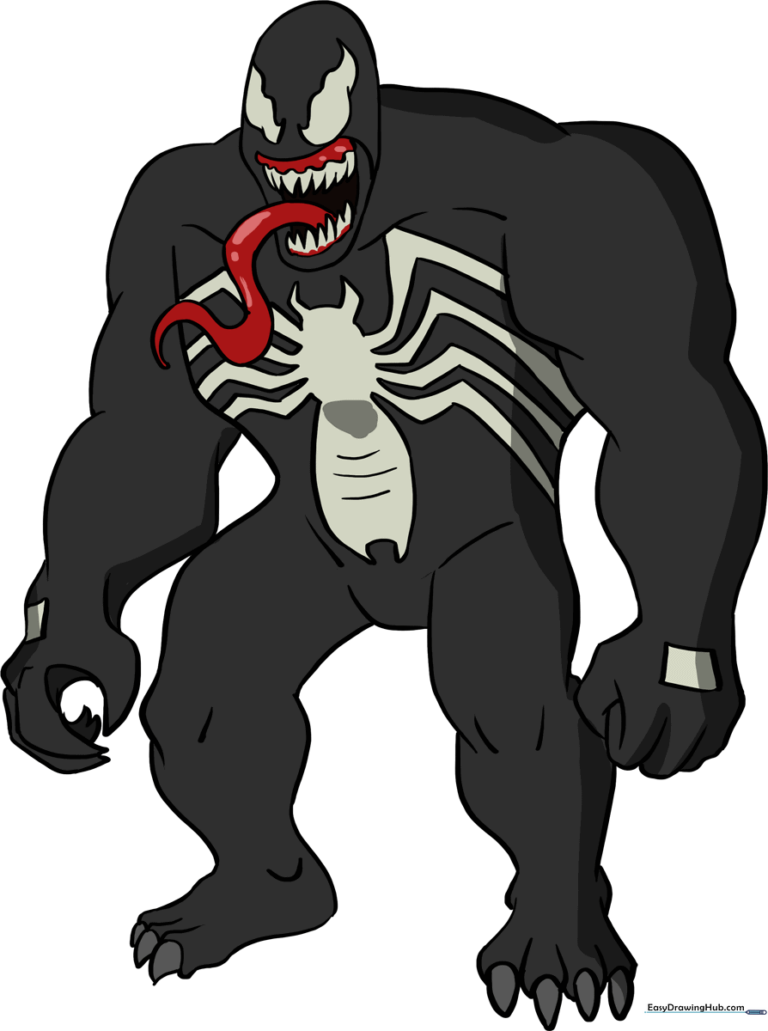
🎯 Final Result
Step-by-Step Instructions
Step 1: Sketching the Head Shape

Lightly sketch an irregular oval for the head. Teacher's Tip: Keep this shape loose and organic; Venom’s head isn't a perfect circle, so don't worry about making it symmetrical.
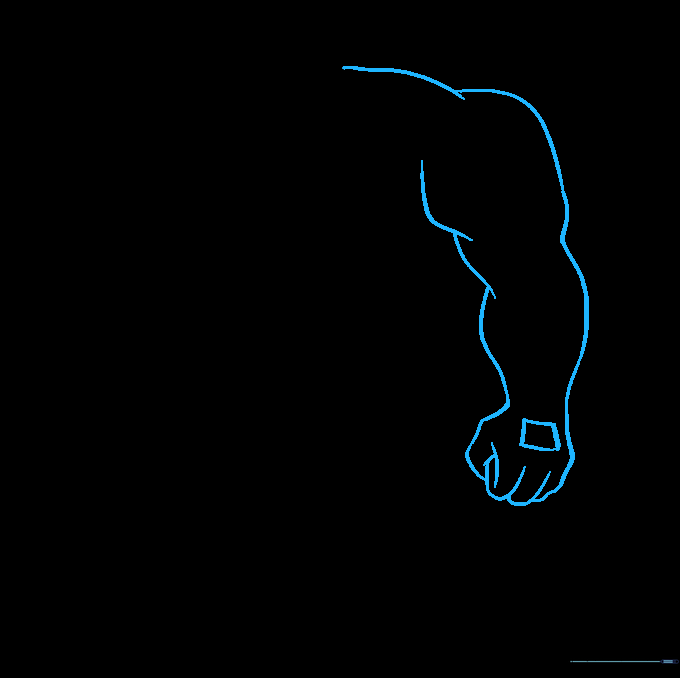
Step 2: Outlining the Muscular Arm
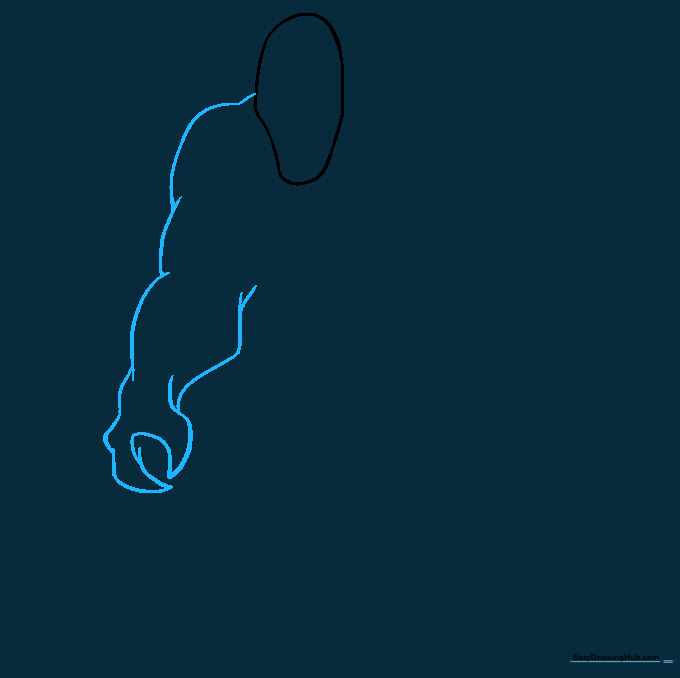
Draw the arm using curved, flowing lines to suggest muscle mass. Finish with a 'U' shape for the hand. Tip: Use quick, confident strokes to give the arm a sense of power.
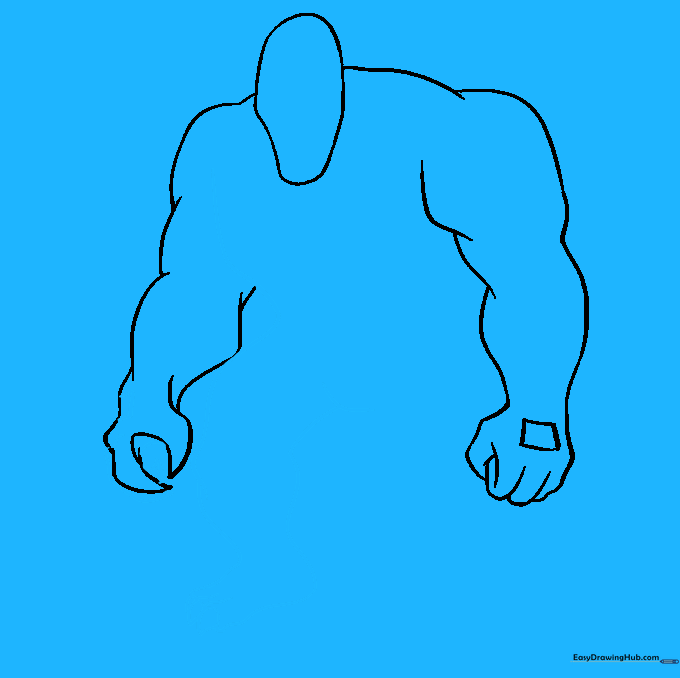
Step 3: Adding the Second Arm
Use overlapping curves to build the shoulder and the second arm. Add a small rectangle on the back of the hand for detail. Tip: Overlapping lines are the secret to creating depth in comic book anatomy.
Step 4: Sketching the Torso and Leg
Connect the chest to one muscular leg using curved lines. Add claw-like triangles for the toes. Tip: Make the toes look sharp and aggressive to match Venom's personality.
Step 5: Completing the Lower Body
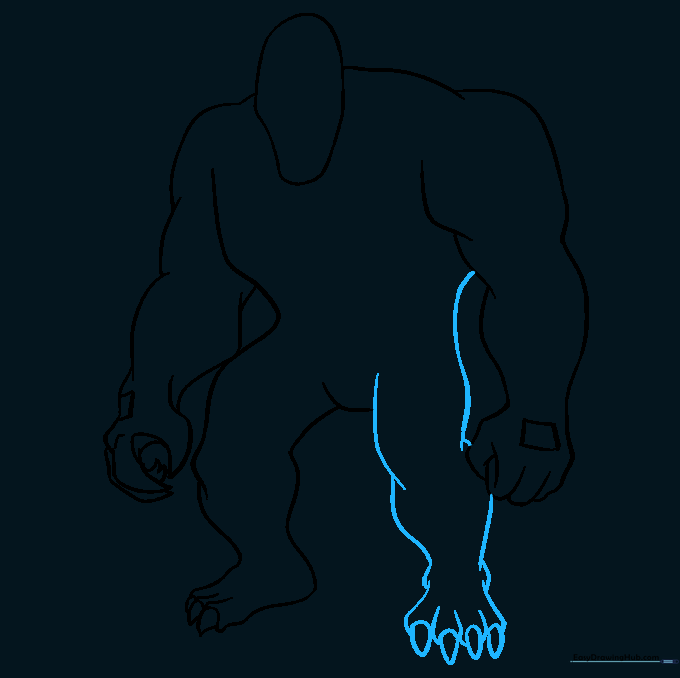
Draw the second leg and refine the hand details. Tip: Ensure the legs look sturdy by using wider, curved lines at the thighs.
Step 6: Adding Muscular Definition

Add short, curved lines at the joints—shoulders, knees, and ankles—to suggest muscle tension. Tip: Less is more; don't over-detail, or the drawing will look cluttered.
Step 7: Drawing the Face and Teeth
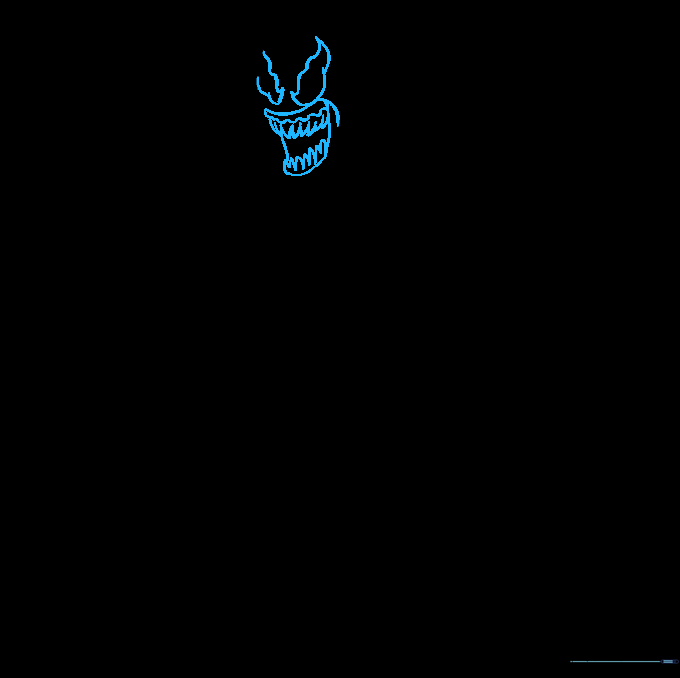
Draw large, teardrop-shaped eyes and a wide, triangular mouth. Add sharp, triangular teeth inside. Tip: Make the eyes look slightly slanted to give him that signature menacing glare.
Step 8: Adding the Tongue
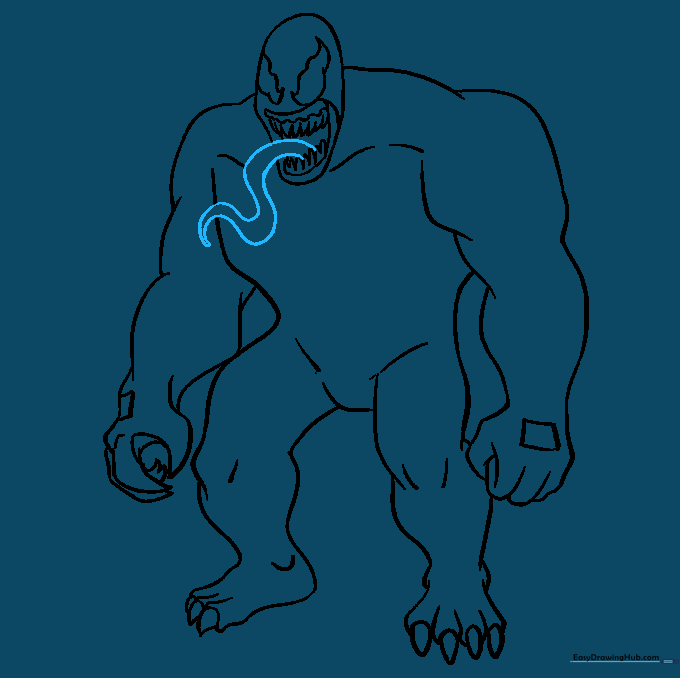
Draw a long, 'S' shaped tongue extending from the mouth. Tip: Erase any overlapping guide lines inside the tongue to make it look like it's coming from inside the throat.
Step 9: The Spider Emblem

Draw the spider symbol on the chest using geometric lines. Tip: Keep the spider legs sharp and pointed to match the overall aesthetic of the character.
Step 10: Final Coloring
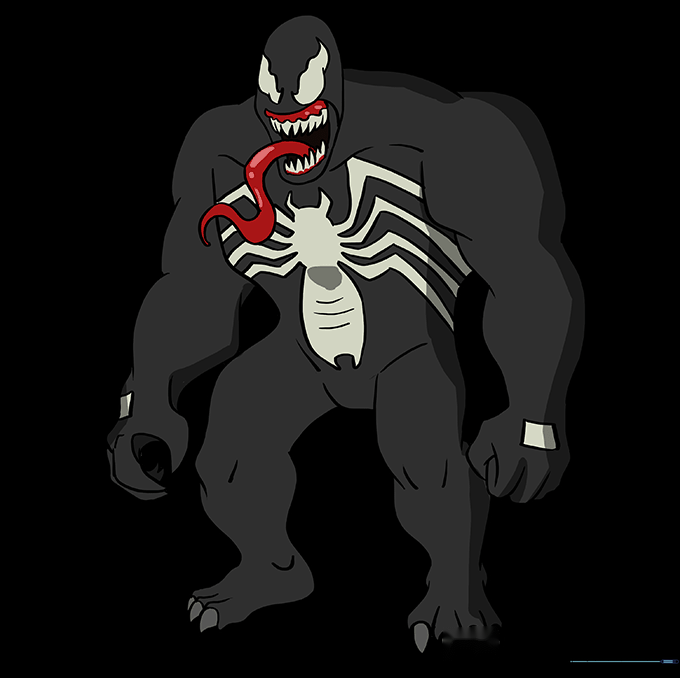
Color Venom using deep blacks and greys, with a vibrant red for the tongue. Tip: Use a white gel pen to add highlights to the black areas to give him a 'slimy' look.
More Tutorials


