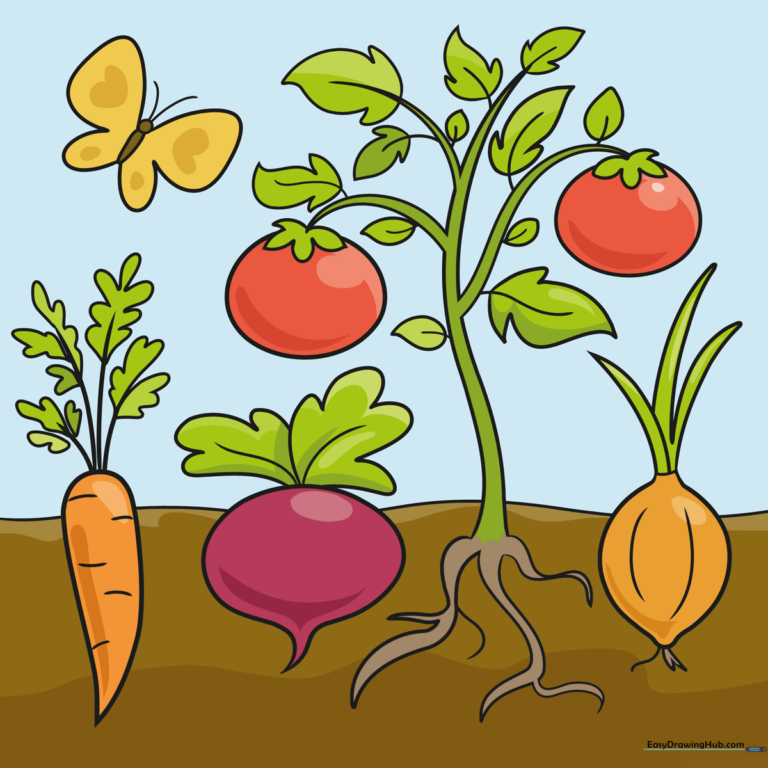
How to Draw a Vegetable Garden: Easy 9-Step Guide
Bring a garden to life on your page! This tutorial is perfect for young artists ages 5+ who want to practice drawing organic shapes. You only need a pencil, an eraser, and your favorite coloring tools to create this healthy harvest scene.
🎯 Final Result
Step-by-Step Instructions
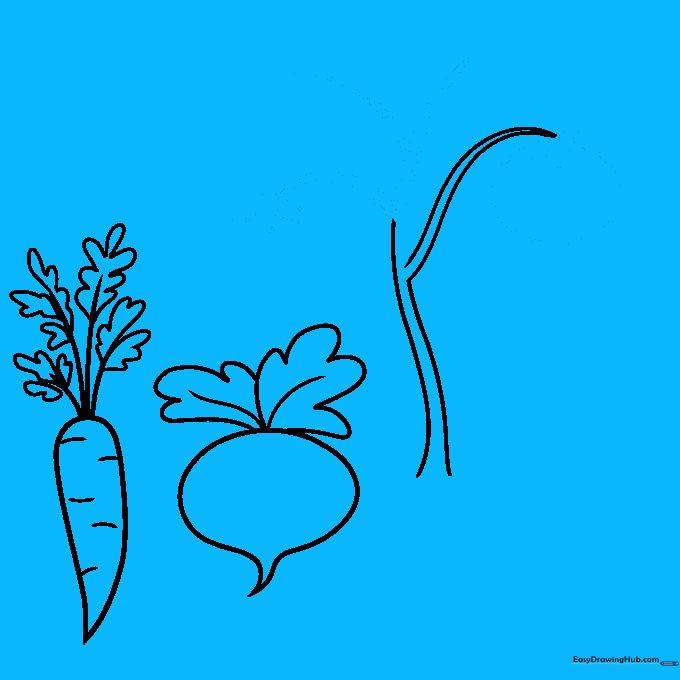
Step 1: Sketching the Carrot Base
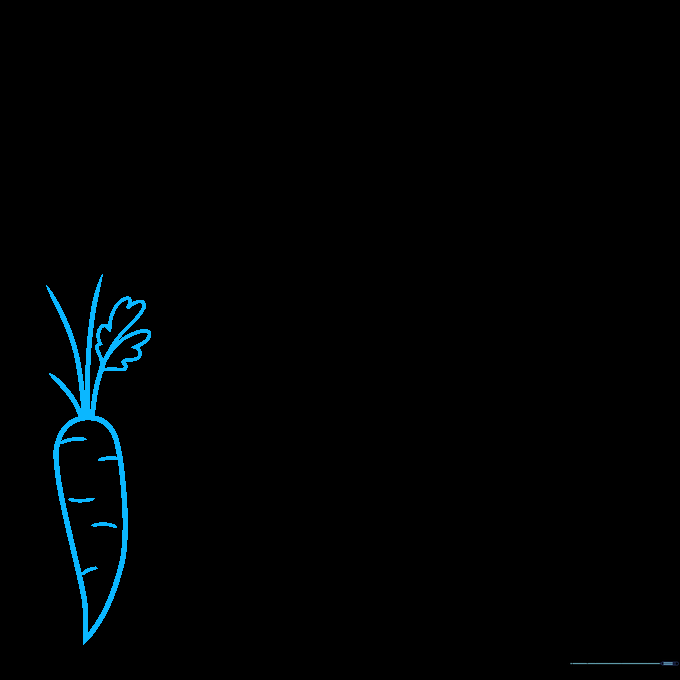
Draw a long, tapered cylinder for the carrot. Add vertical, wavy lines at the top to represent the leafy greens. Teacher's Tip: Keep your pencil pressure light here so you can easily refine the leaf edges later.
Step 2: Adding Leafy Texture
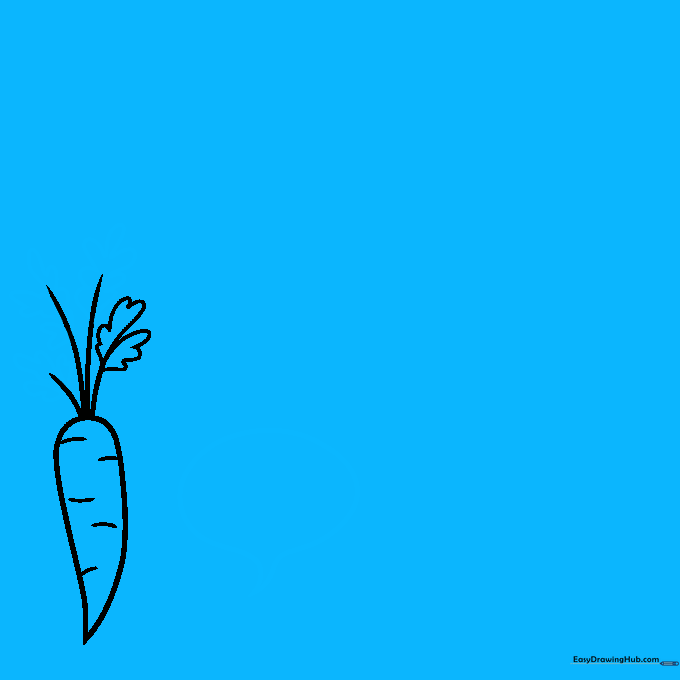
Continue adding wavy, hill-like lines to fill out the carrot greens. To the right, sketch an oval with a pointed tip—this will become our next vegetable. Tip: Use quick, fluid wrist motions to make the leaves look natural.
Step 3: Forming the Turnip Greens
Add more wavy 'hill' shapes for the turnip leaves. Beside it, draw two parallel vertical lines to create a narrow stem. Tip: Vary the height of your stems to make the garden look realistic and diverse.
Step 4: Layering the Leaves
Add more stems and draw lemon-shaped leaves. Overlap these shapes with your previous oval to create depth. Tip: Overlapping is a great way to make a 2D drawing look more 3D!
Step 5: Defining the Larger Leaves

Outline a new oval beneath the leaves. Use a combination of wavy points and triangles to create 'flame' shapes for the larger foliage. Tip: Don't press too hard; keep the edges soft and organic.
Step 6: Adding Leaf Veins

Add smaller teardrop shapes for additional leaves. Draw a single line down the center of each leaf to represent the vein. Tip: This small detail adds a professional touch to your botanical drawing.
Step 7: Sketching the Roots
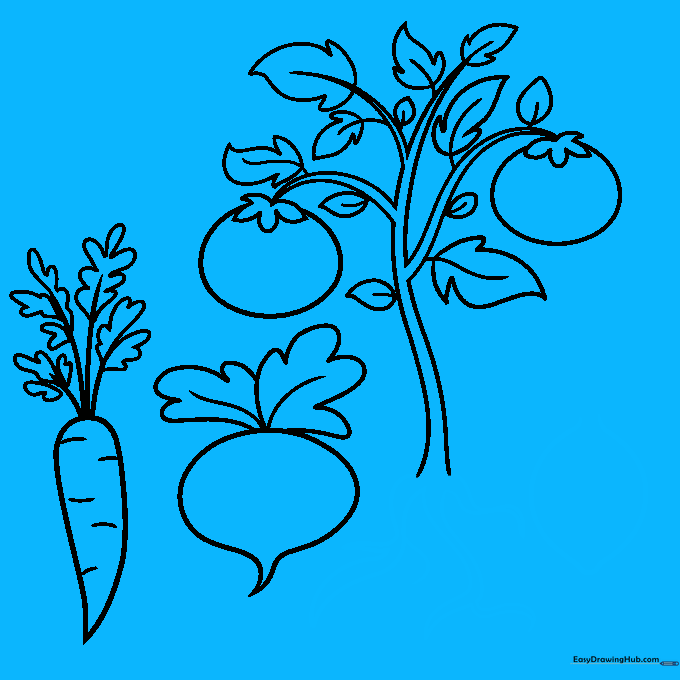
Draw loose, wavy lines at the base to represent roots. Add another lemon-shaped vegetable to the right. Tip: Roots don't need to be straight—the wavier they are, the more 'real' they look!
Step 8: Finalizing Details

Draw narrow triangles for onion tops. Add short, quick lines for roots and a wavy line in the background to ground your vegetables. Tip: Use two curves inside the onion to give it volume.
Step 9: Adding a Garden Friend

Every garden needs a visitor! Draw a narrow oval for a butterfly body, a circle for the head, and wide curved lines for wings. Add two simple lines for antennae.
Step 10: Bringing Your Garden to Life with Color
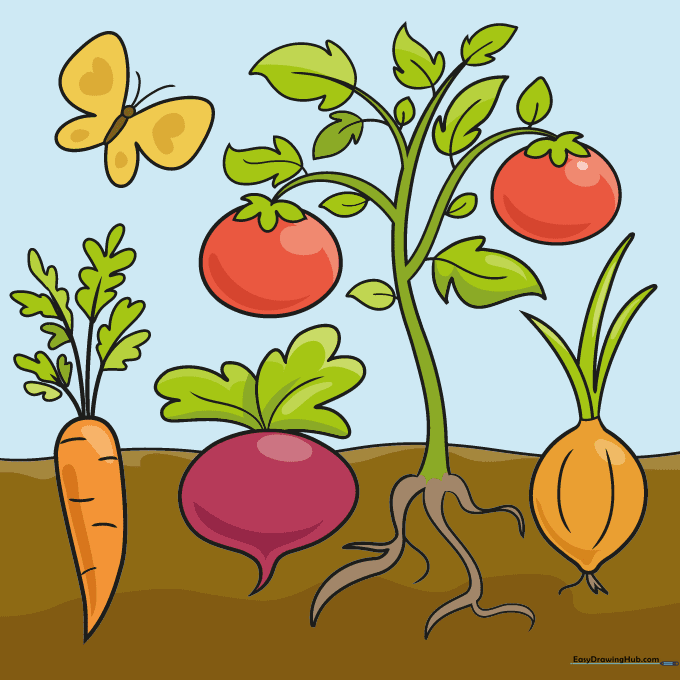
Outline your drawing with a black pen. Use vibrant reds for tomatoes, oranges for carrots, and purples for turnips. Use bright greens for leaves and a touch of blue for the sky. Tip: Use different shades of brown to create a realistic soil effect.
More Tutorials


