How to Draw Vegeta: Easy Full-Body Anime Guide
Ready to bring the Prince of Saiyans to life? This tutorial is designed for aspiring anime artists ages 8 and up. You will need a pencil, eraser, and paper to follow along as we break down Vegeta's iconic armor and powerful stance into manageable shapes.
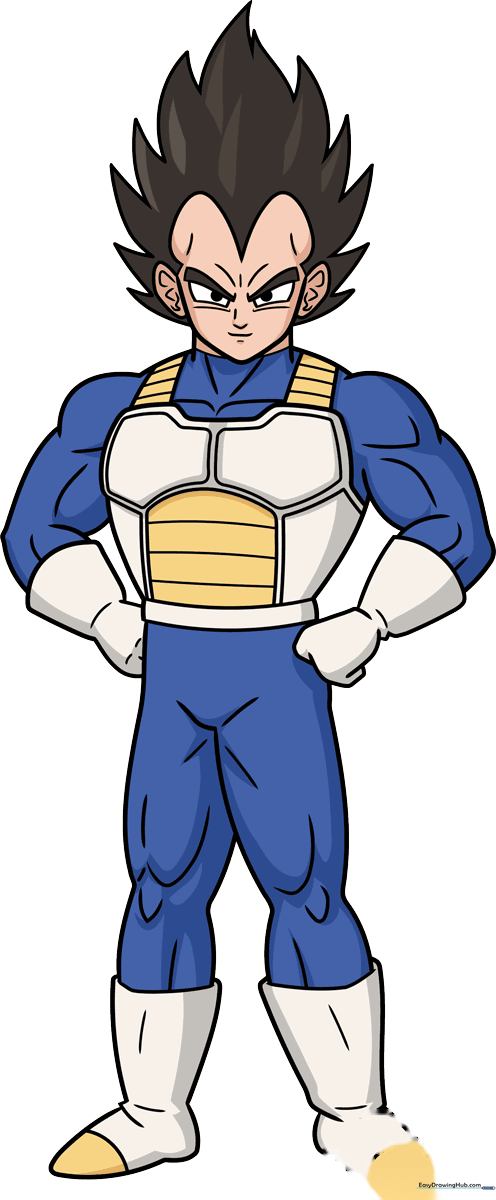
🎯 Final Result
Step-by-Step Instructions
Step 1: Sketching the Head and Facial Features
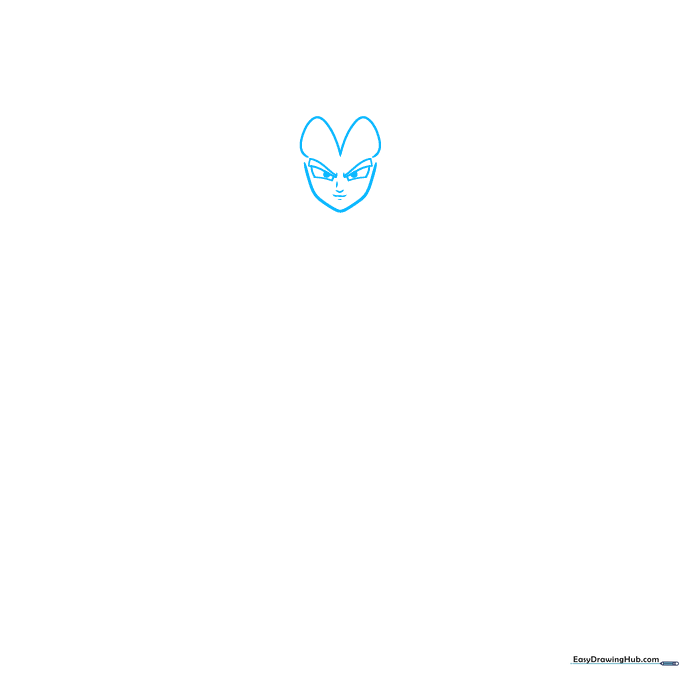
Start by drawing the outline of Vegeta's face using a curved jawline and an 'M' shape for his hairline. Add his signature sharp, rectangular eyes and angled eyebrows. Teacher's Tip: Keep your pencil lines light and loose here so you can easily adjust the proportions before committing to darker lines.
Step 2: Defining the Iconic Hair
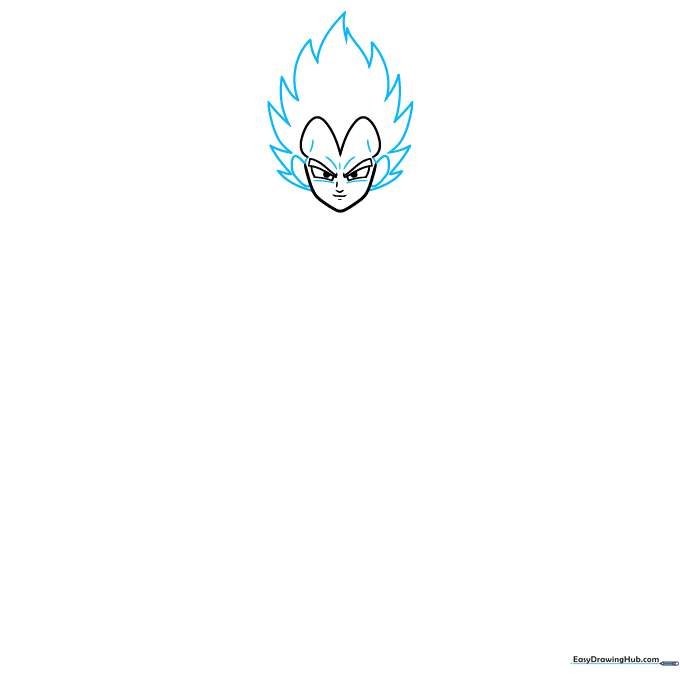
Enclose the eyes with curved lines, then draw his flamelike hair using jagged, triangular points. Use short, curved lines to contour the cheeks. Teacher's Tip: Think of the hair as a series of triangles—don't worry about perfect symmetry, as anime hair looks best with a bit of dynamic flow.
Step 3: Neck and Shoulders
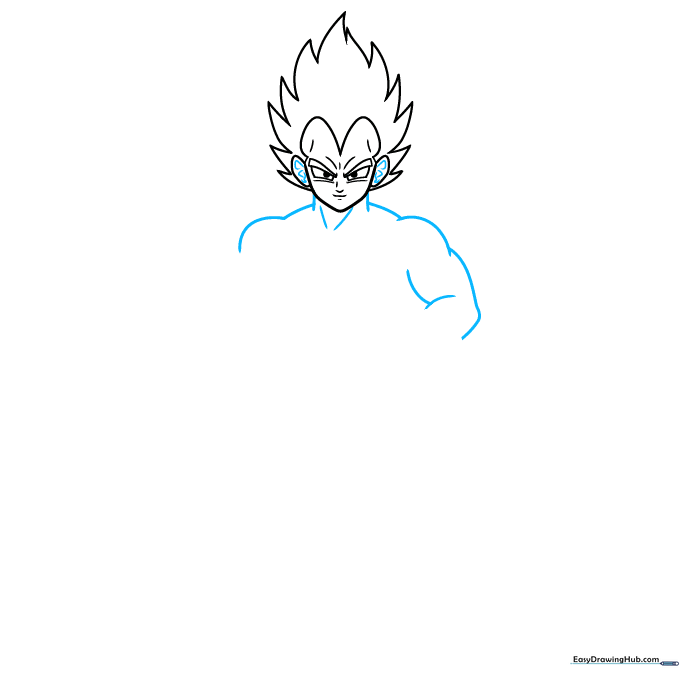
Draw the neck using two vertical lines, then extend the shoulders and muscular arms. Add small details to the ears and neck to show muscle definition. Teacher's Tip: Use light, curved strokes to suggest muscle—too many lines can make the drawing look cluttered.
Step 4: Drawing the Gloves and Torso
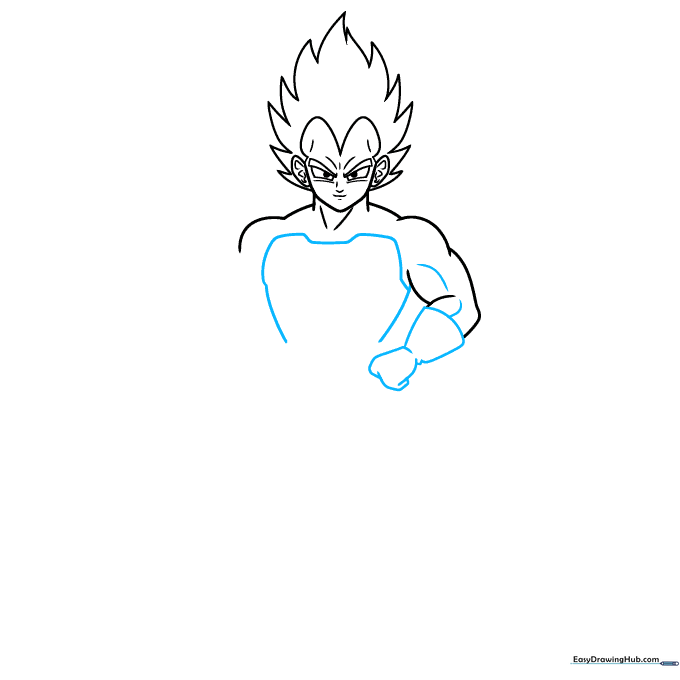
Outline the gloved fists and the top of his armor using long, sweeping curved lines. Add shorter lines to contour the arm muscles. Teacher's Tip: When drawing gloves, focus on the cuff shape first to establish the wrist position before adding the fingers.
Step 5: Adding the Belt and Stance
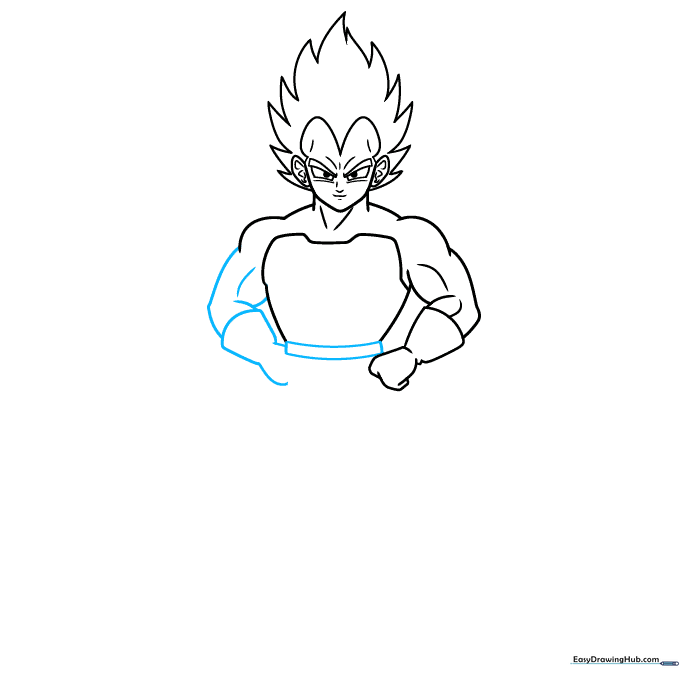
Draw a curved rectangular belt below the torso. Sketch the second arm and glove resting on his hip. Teacher's Tip: Placing the hand on the hip helps create a 'heroic' posture. Ensure the elbow is bent at a sharp angle to maintain the character's intensity.
Step 6: Detailing the Chest Armor
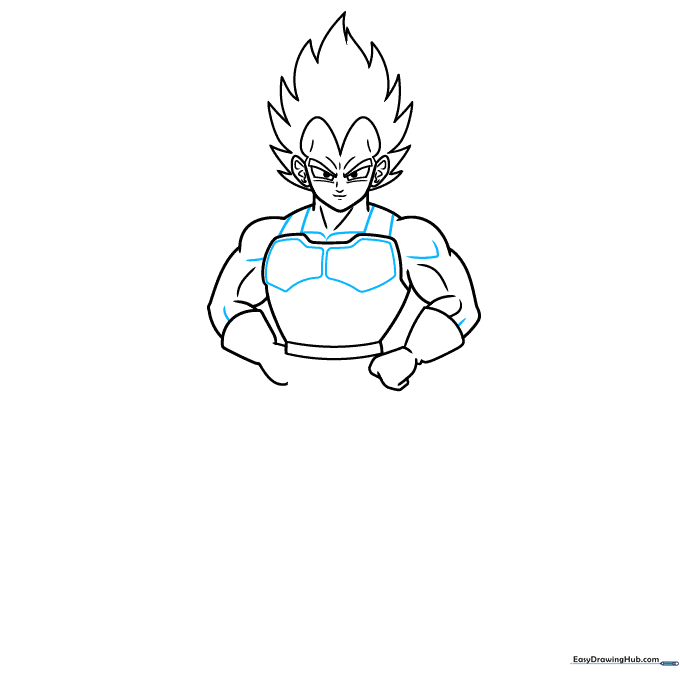
Contour the chest armor using curved lines and add shoulder straps. Use small, quick strokes to suggest muscle definition beneath the armor. Teacher's Tip: Keep your lines parallel to the armor's edge to make it look like solid plating.
Step 7: Lower Body and Leg Contours
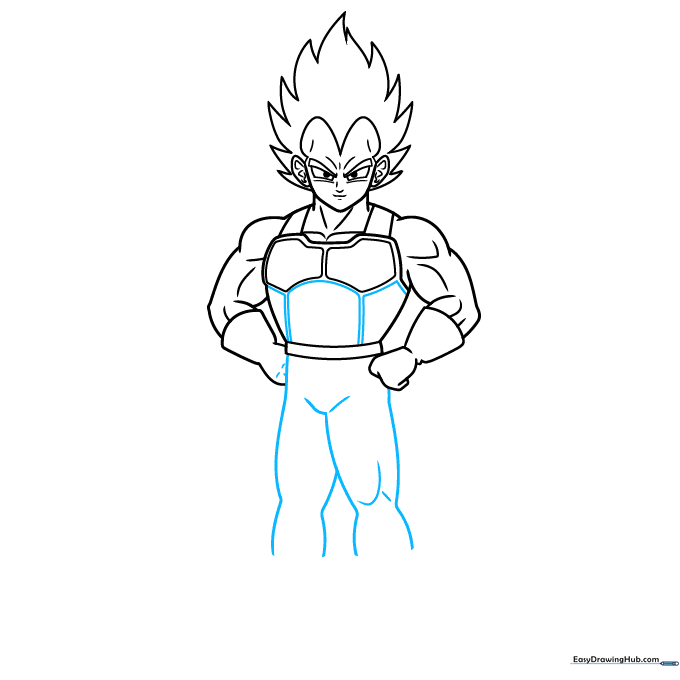
Add the rest of the armor plating and draw the long, sweeping lines for the legs. Use shorter lines to indicate the joints at the knees. Teacher's Tip: Longer lines create a sense of height and power, which is essential for Vegeta's character design.
Step 8: Drawing the Boots
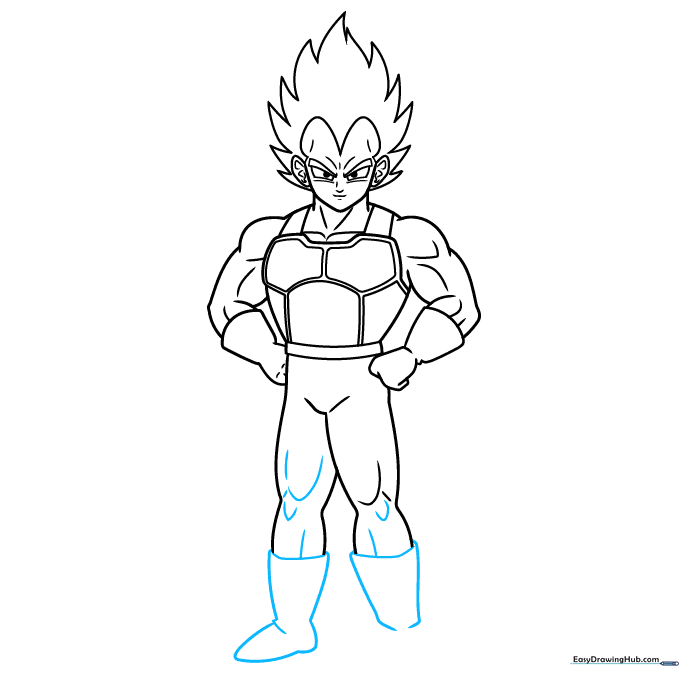
Draw the irregular shapes of the boots and add contour lines to the leg muscles. Teacher's Tip: Vegeta's boots are bulky. Make sure to draw them slightly wider than the legs to give them a heavy, protective look.
Step 9: Final Touches
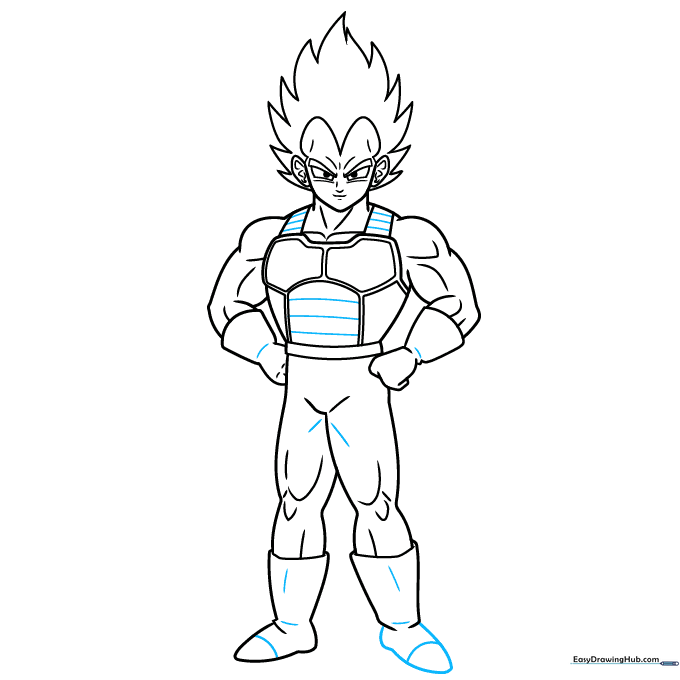
Complete the boots with a toe-cap line and add horizontal details to the armor straps. Add final contour lines to the garments. Teacher's Tip: Use a darker pencil or pen to go over your final lines, then erase any stray construction marks for a clean, professional look.
Step 10: Coloring Your Masterpiece

Your Vegeta outline is ready! Use black for his hair, and a classic blue for his bodysuit. The armor should be white with yellow accents. Teacher's Tip: Use light pressure with your colored pencils to create smooth gradients on the armor, making it look shiny and metallic.
More Tutorials


