How to Draw Vault Boy: Easy Step-by-Step Guide
Bring the iconic Fallout mascot to life with this easy, kid-friendly drawing guide. Designed for ages 7+, this activity requires only a pencil, paper, and an eraser to master Vault Boy's classic look. Follow along to build confidence in character sketching and line control.
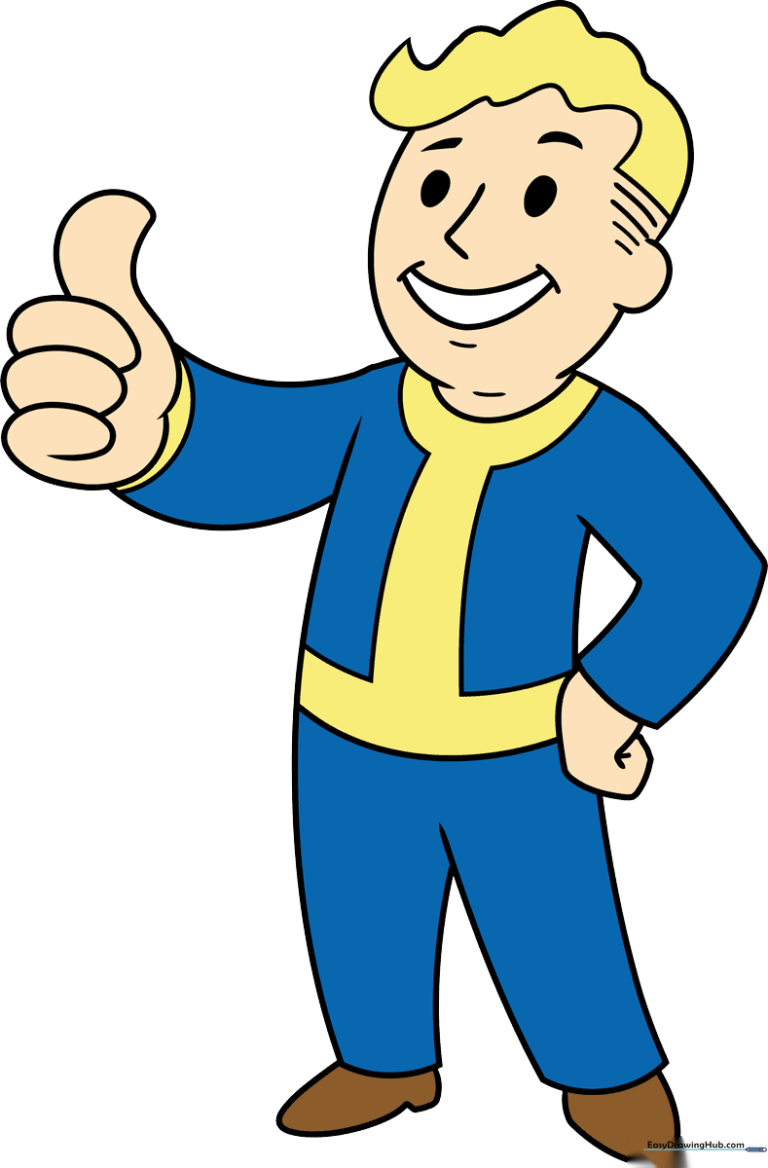
🎯 Final Result
Step-by-Step Instructions
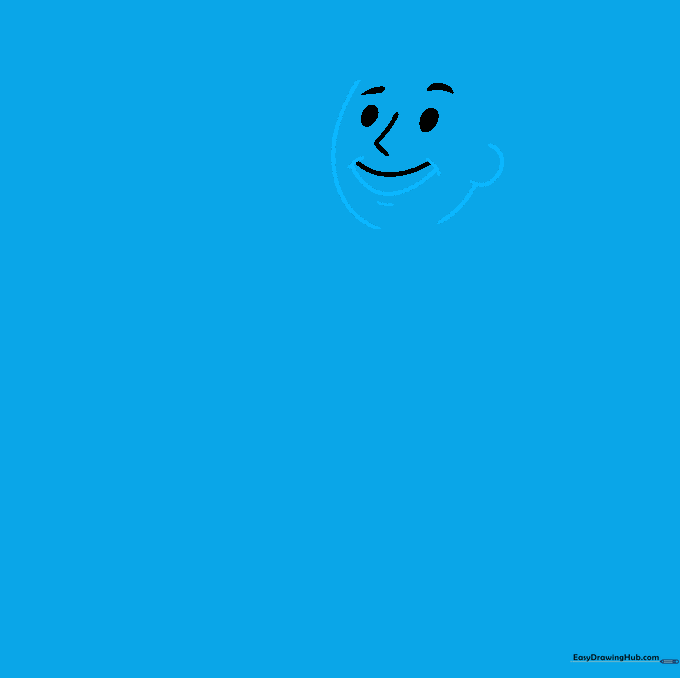
Step 1: Sketching the Face

Start by lightly sketching the face. Use a wide, gentle curve for the mouth and a small 'L' shape for the nose. Add two ovals for the eyes and thick, curved lines above them for the eyebrows. Teacher's Tip: Keep your pencil pressure light here so you can easily adjust the proportions later.
Step 2: Defining the Chin and Ears
Draw a curved line beneath the mouth, connecting it with short strokes at the corners to define the chin. Outline the face with curved lines and add a 'C' shape for the ear. Teacher's Tip: Make sure the ear aligns with the eye line for a balanced look.
Step 3: Sketching the Hair
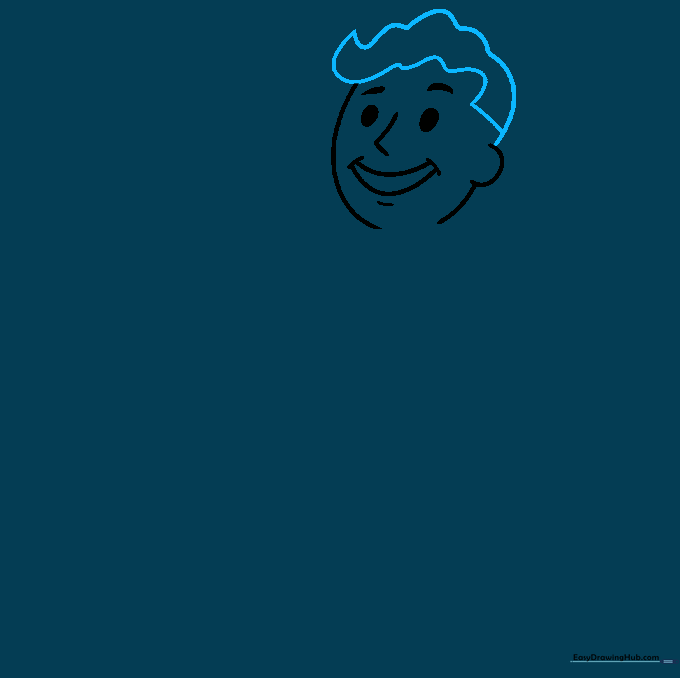
Extend a long, wavy curved line over the head to create the hair. Connect it to the side of the head with a short, straight line. Teacher's Tip: Use loose, flowing wrist movements to make the hair look natural rather than stiff.
Step 4: Adding the Neck and Torso
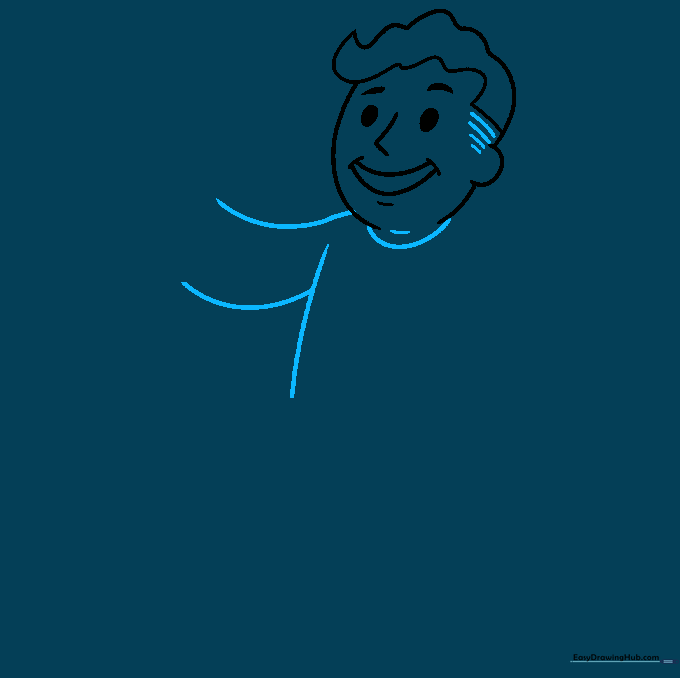
Draw short lines between the hair and ear. Use a 'U' shape for the shirt collar and long, curved lines to sketch the arm and torso. Teacher's Tip: Think of the torso as a simple rectangular shape with rounded corners to keep it easy.
Step 5: Drawing the Hand
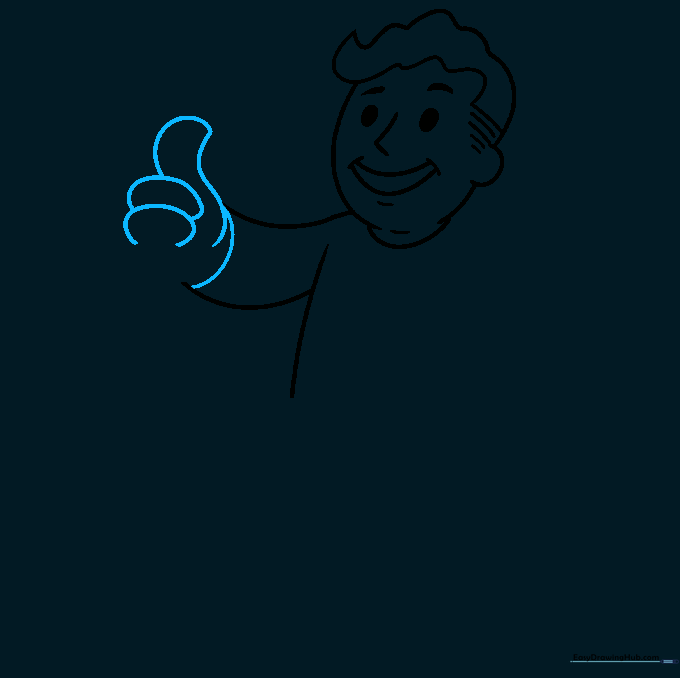
Complete the sleeve with a short curved line. Sketch the hand using overlapping curved lines for the thumb and fingers. Teacher's Tip: Hands are tricky! Focus on the rounded shapes of the knuckles rather than drawing individual fingers.
Step 6: Finishing the Arms
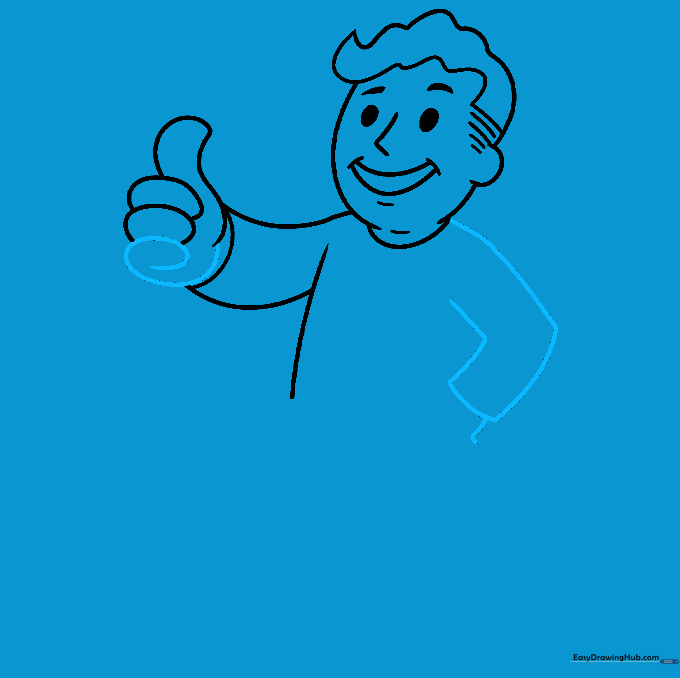
Use a spiral line to complete the pinky and side of the hand. Outline the remaining arm with curved lines that bend at the elbow. Teacher's Tip: A slight bend at the elbow adds movement and life to your drawing.
Step 7: Outlining the Body
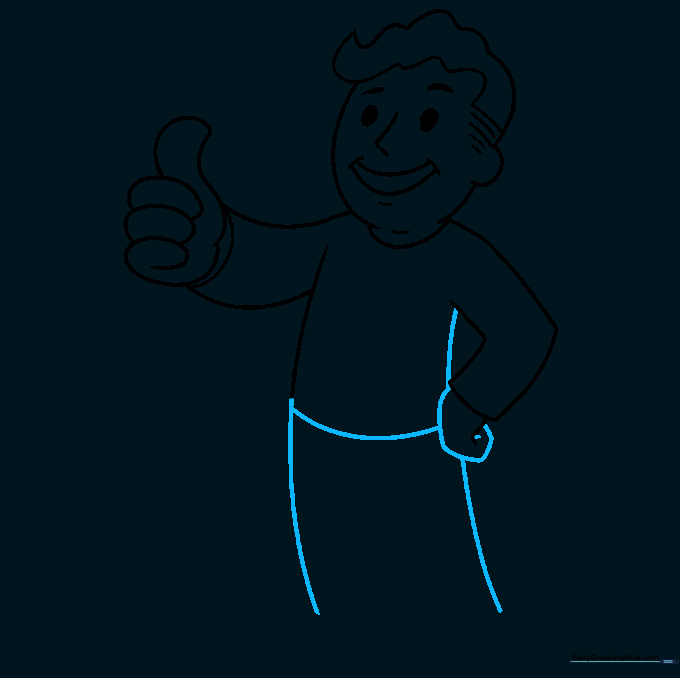
Use a curved line to finish the hand. Sketch the sides of the torso and legs. Draw a horizontal line across the middle to separate the shirt from the pants. Teacher's Tip: Keep your horizontal line slightly curved to show the shape of the body.
Step 8: Adding Legs and Shoes
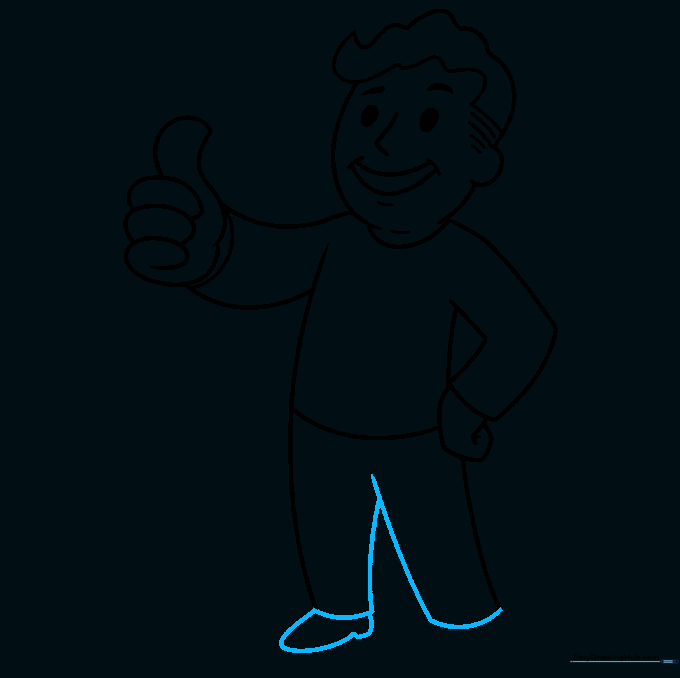
Draw an inverted 'Y' shape for the pant legs and connect them at the bottom. Use curved lines to outline the shoes. Teacher's Tip: Shoes should look slightly bulky to match the cartoon style.
Step 9: Final Details
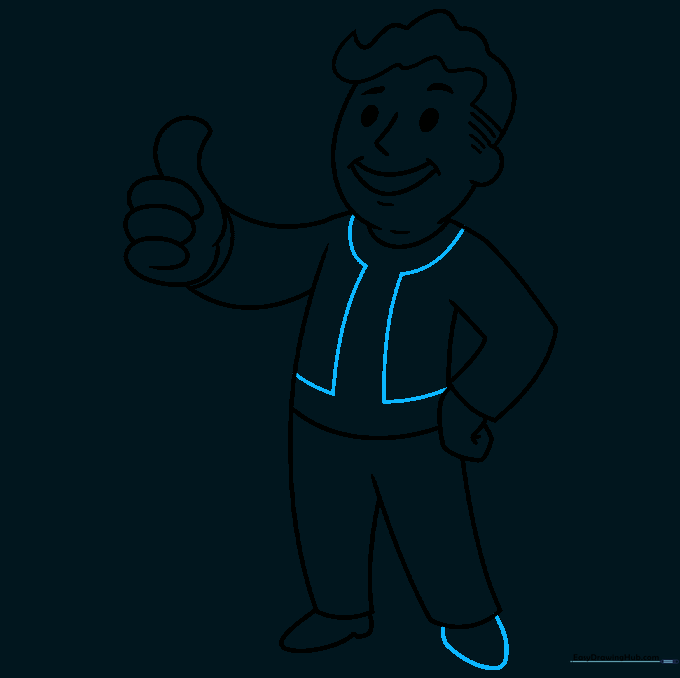
Enclose the remaining shoe. Add parallel lines down the center of the torso for the shirt detail, connecting them to the shoulders. Teacher's Tip: Use a ruler if you struggle with straight lines, but freehand is better for a cartoon look!
Step 10: Bring Him to Life with Color
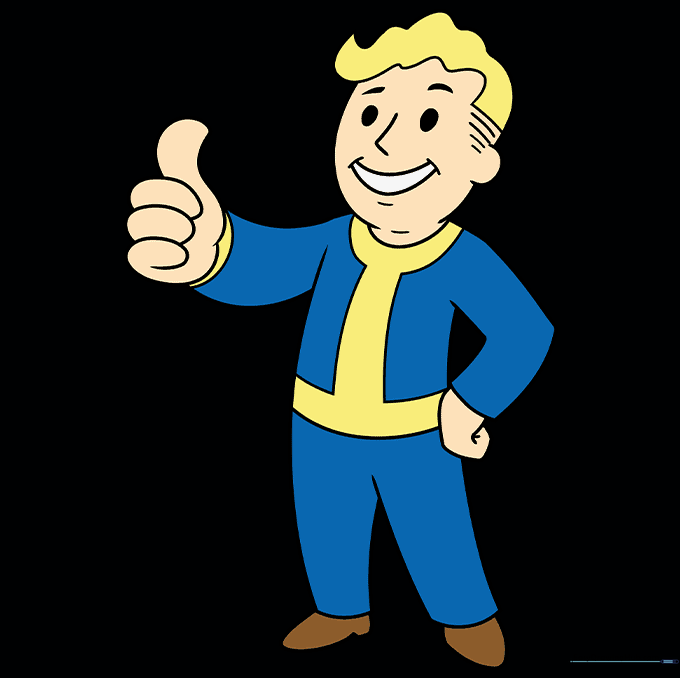
Time to color! Use bright blue and yellow for the classic jumpsuit and golden yellow for his hair. Teacher's Tip: Use a darker blue for the shadows under the arms to give your drawing more depth.
More Tutorials


