How to Draw Vans: Easy Step-by-Step Guide
Ready to design your own kicks? This tutorial is perfect for young artists ages 6+ who want to master drawing classic skate shoes. All you need is a pencil, an eraser, and a piece of paper to start building your own custom sneaker designs.
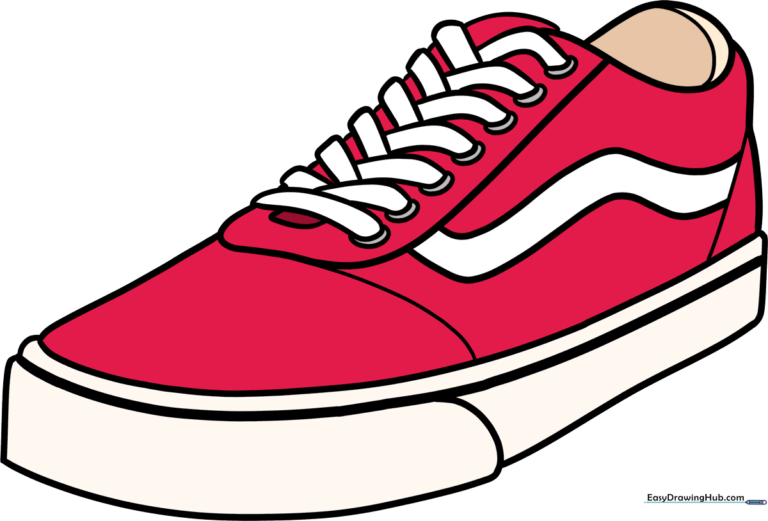
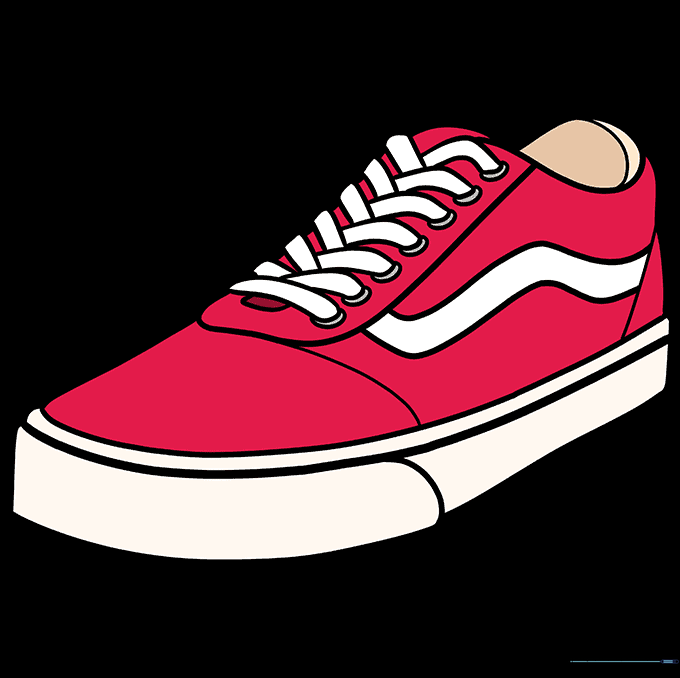
🎯 Final Result
Step-by-Step Instructions
Step 1: Sketching the Toe Cap

Start by drawing the rounded toe of the shoe. Use a series of soft, curved lines to outline the toe guard. Teacher's Tip: Keep your pencil pressure light here so you can easily adjust the shape if it looks a bit lopsided.
Step 2: Outlining the Sole
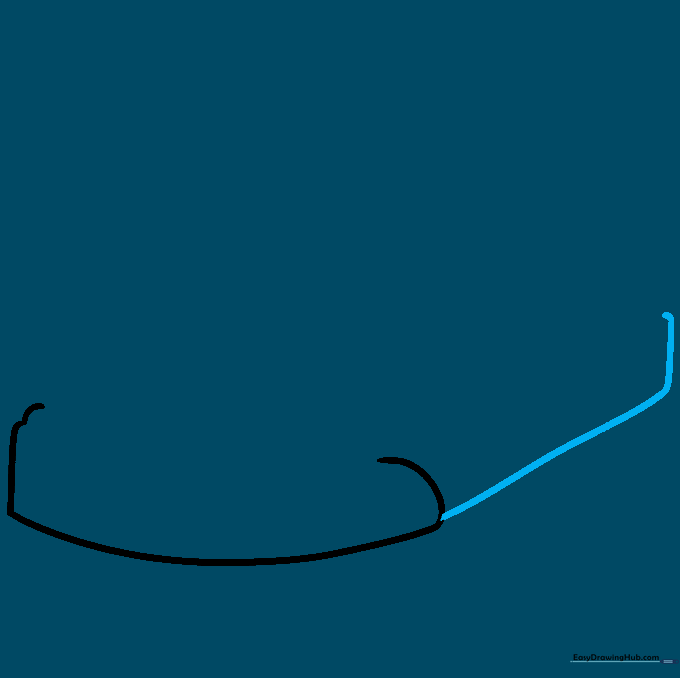
Draw a long, sweeping curved line to form the bottom and back of the shoe's sole. Tip: Imagine the shoe is resting flat on the ground; keep the bottom line horizontal to give it a stable look.
Step 3: Connecting the Sole

Connect the front toe area to the back of the sole using two thick, parallel curved lines. Tip: These lines define the rubber foxing tape, so make sure they follow the curve of the shoe naturally.
Step 4: Drawing the Heel
Add the heel counter and collar at the back using curved lines. Use an 'S' shaped line that loops back on itself to create the opening for your foot. Tip: This is where the shoe gets its height, so don't make it too flat!
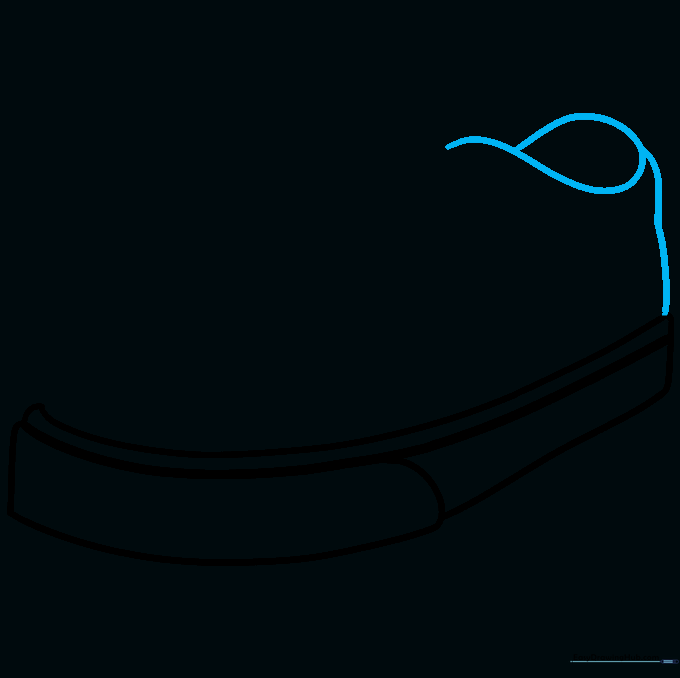
Step 5: Defining the Vamp
Draw the top of the toe box and a 'J' shaped line for the vamp, where the laces sit. Tip: The vamp is the 'bridge' of the shoe; keep this shape rounded to make the sneaker look comfortable and realistic.
Step 6: Adding Contours
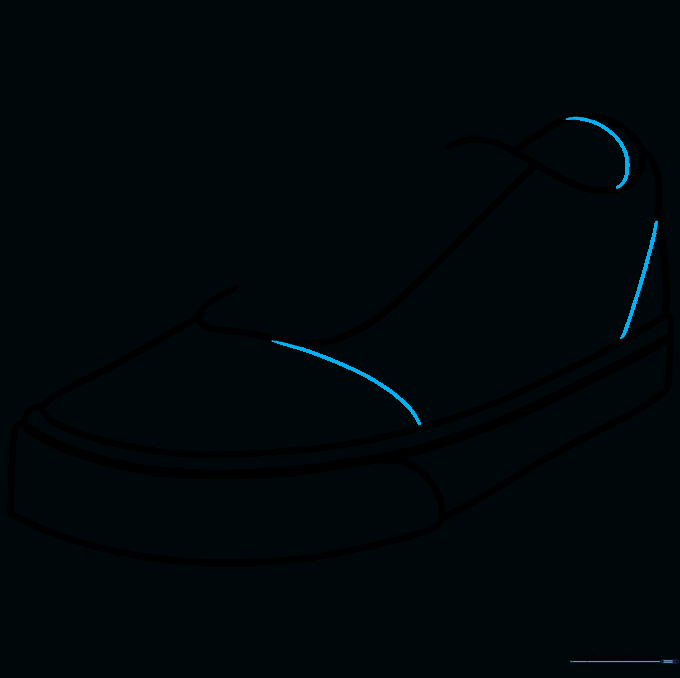
Add curved lines across the toe box and above the heel to show the shoe's panels. Tip: Think of these as the seams where the fabric pieces are stitched together.
Step 7: The Iconic Sidestripe
Draw the famous 'jazz stripe' using two wavy lines along the side. Then, add small 'C' shapes for the eyelets. Tip: Make sure the eyelets are evenly spaced so your laces look neat later!
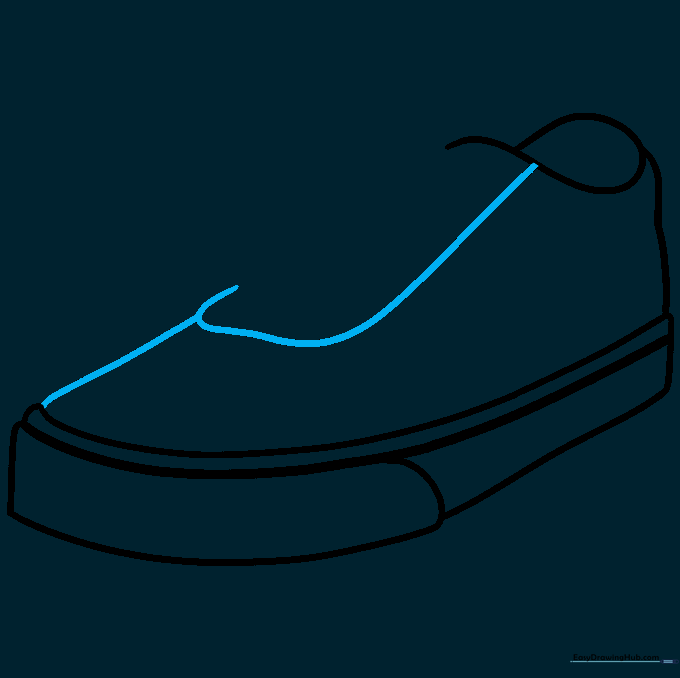
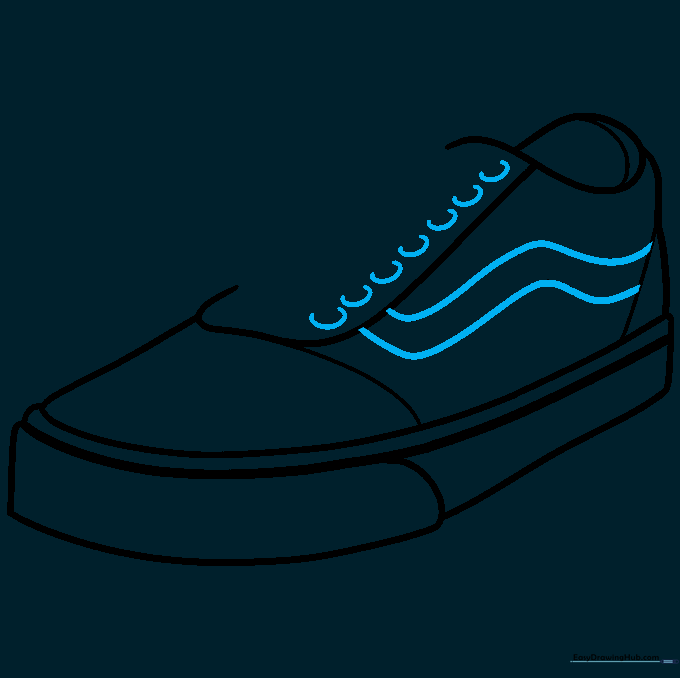
Step 8: Lacing Up
Draw the laces using pairs of curved lines that criss-cross. Tip: Don't worry if they overlap; that's what makes them look like real, tied laces!
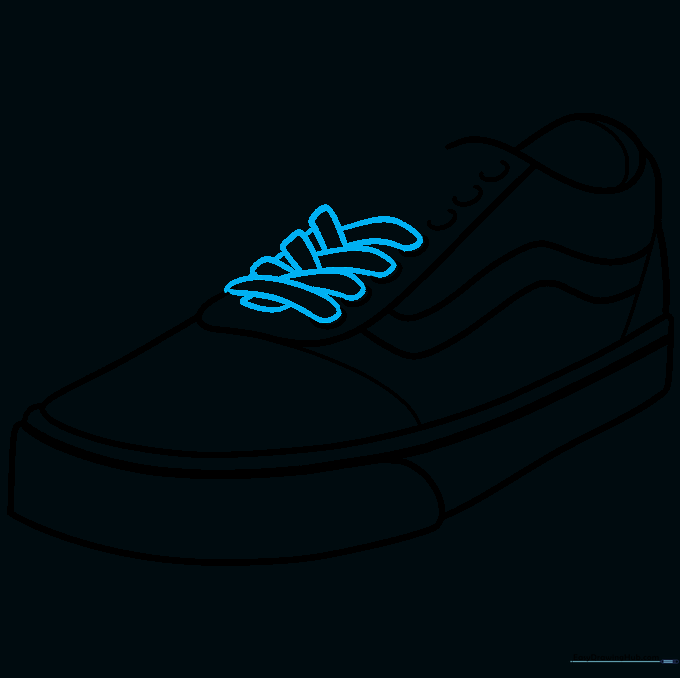
Step 9: Final Details
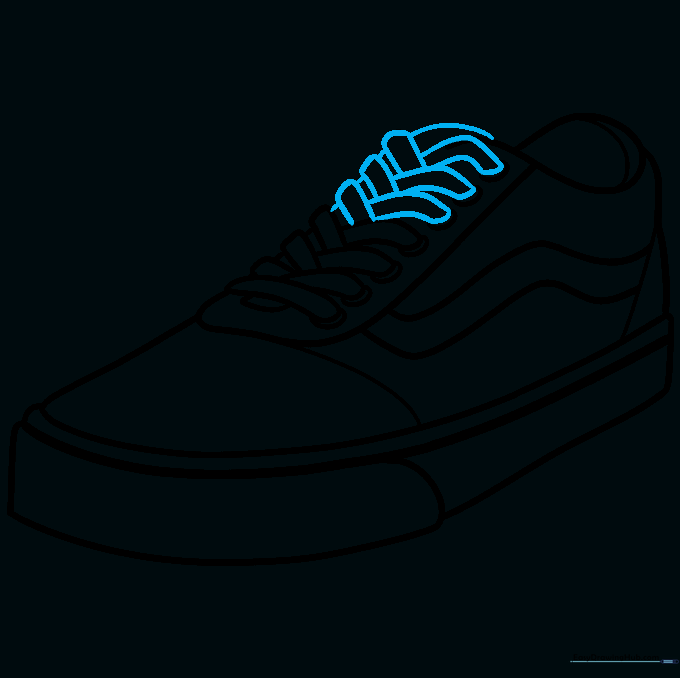
Finish the laces and draw the tongue peeking out from the top. Tip: Use short, quick strokes for the tongue to give it a soft, fabric-like texture.
Step 10: Color Your Design
Time to customize! Use your favorite markers or colored pencils to fill in your Vans. Tip: Try a classic black-and-white checkerboard pattern or go wild with bright neon colors to make your design unique.
More Tutorials


