How to Draw Uncle Sam: Easy 10-Step Guide for Kids
Bring a piece of American history to life with this fun Uncle Sam drawing tutorial, perfect for ages 8 and up. All you need is a pencil, an eraser, and some colored markers to complete this iconic character. Follow these steps to master facial proportions and classic costume details while building your confidence as an artist.
🎯 Final Result

Step-by-Step Instructions
Sketching the Iconic Top Hat

Start by drawing the brim and crown of the top hat. Use a wide 'U' shape for the brim and add a band with three stars. Teacher's Tip: Draw the stars as simple 'V' shapes if five-pointed stars are too tricky at this stage.
Adding the First Side of Hair

Draw the hair on one side of the face using pairs of wavy lines that meet at a point. Teacher's Tip: Keep the lines loose and flowing to make the hair look soft and natural.
Completing the Hairline

Mirror the hair on the opposite side using the same wavy technique. Teacher's Tip: Don't worry about making both sides identical; hair is naturally asymmetrical!
Defining the Face and Goatee
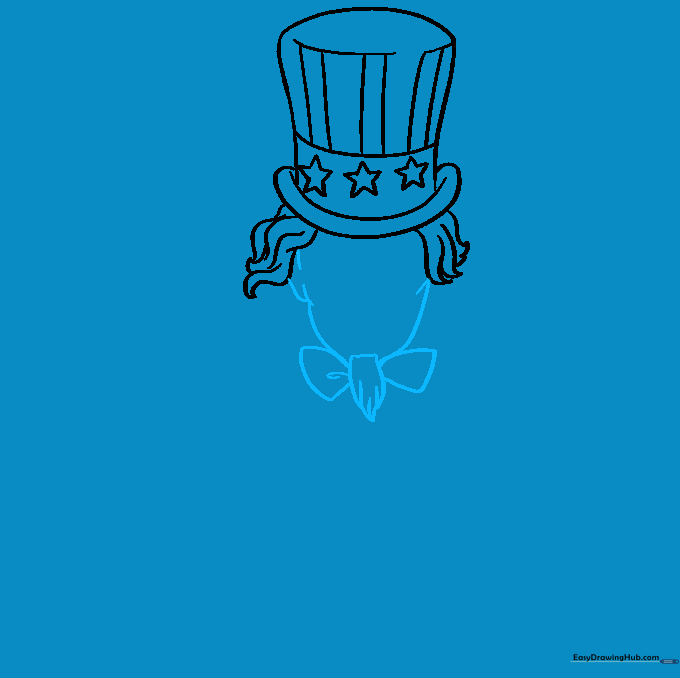
Sketch the face shape, ears, and the signature goatee using curved lines. Add the bow tie beneath the chin. Teacher's Tip: Use short, quick strokes for the beard to give it a textured, bristly look.
Drawing the Collar
Add the coat collar using bent triangular shapes. Teacher's Tip: Add a few extra curved lines near the collar to represent fabric folds, which adds depth to your drawing.
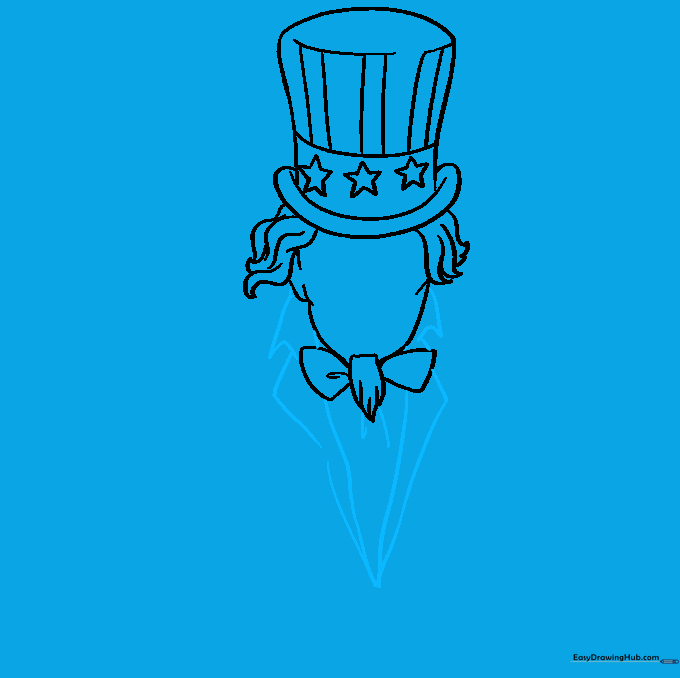
Sketching the Jacket
Outline the side and arm of the jacket. Use overlapping lines to suggest the weight of the fabric. Teacher's Tip: Keep your lines slightly curved to show the natural drape of the coat.
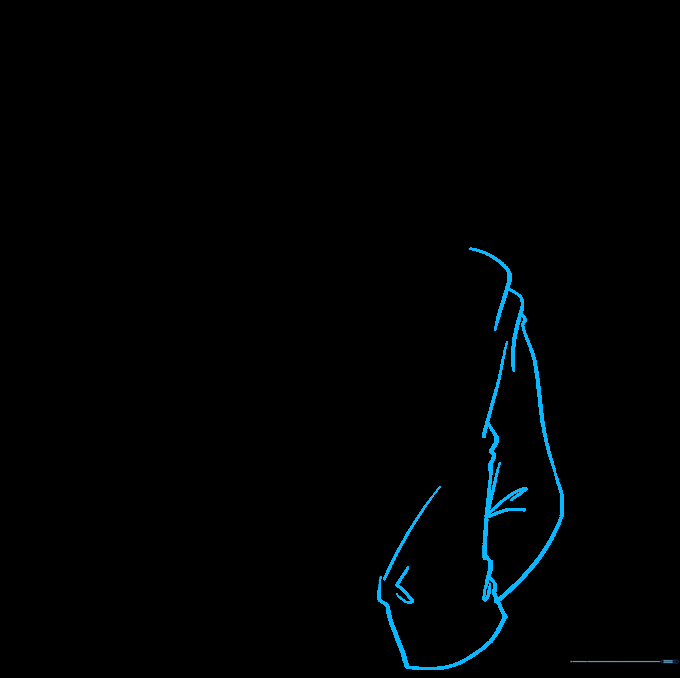
Adding the Pointing Hand
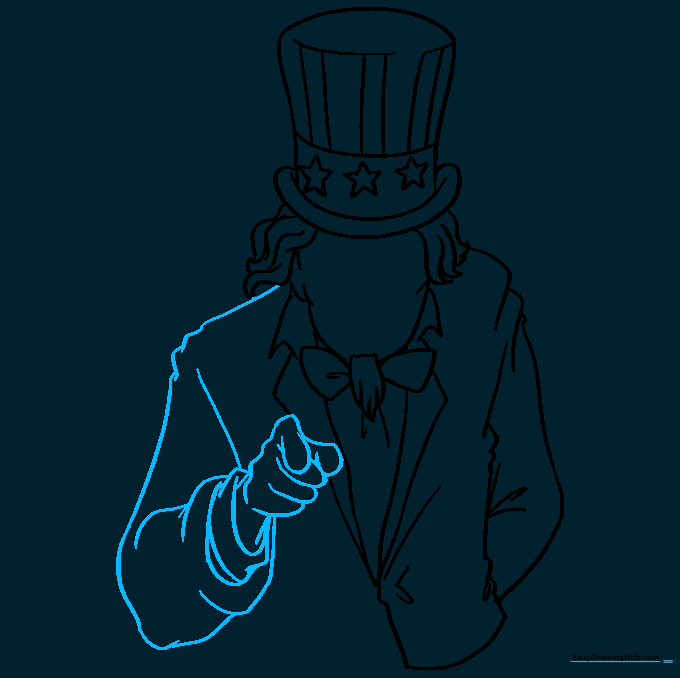
Draw the opposite shoulder and the iconic pointing finger. Teacher's Tip: Hands are tricky! Focus on the 'U' shapes for the fingers rather than trying to draw perfect fingernails.
Adding Facial Features
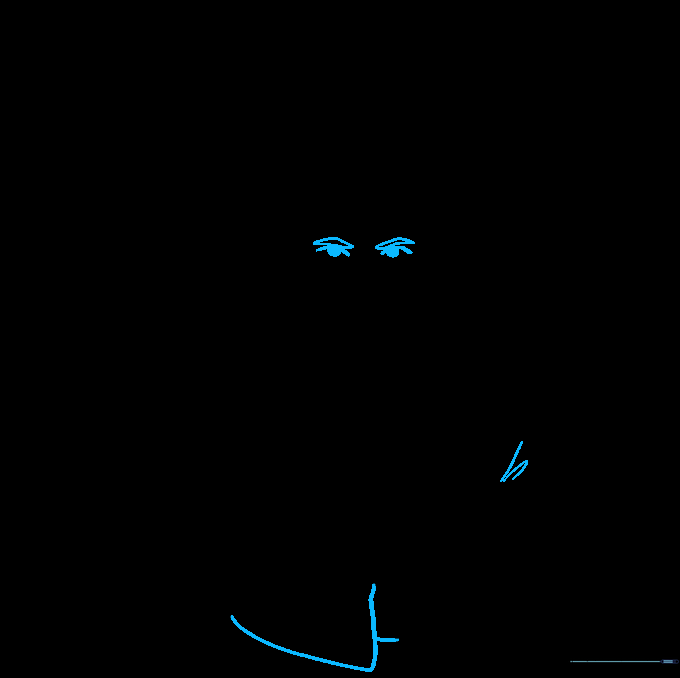
Draw the eyes and eyebrows. Shade the pupils to give him a focused look. Teacher's Tip: Keep the eyebrows angled slightly downward to give him that stern, determined expression.
Finalizing Facial Details
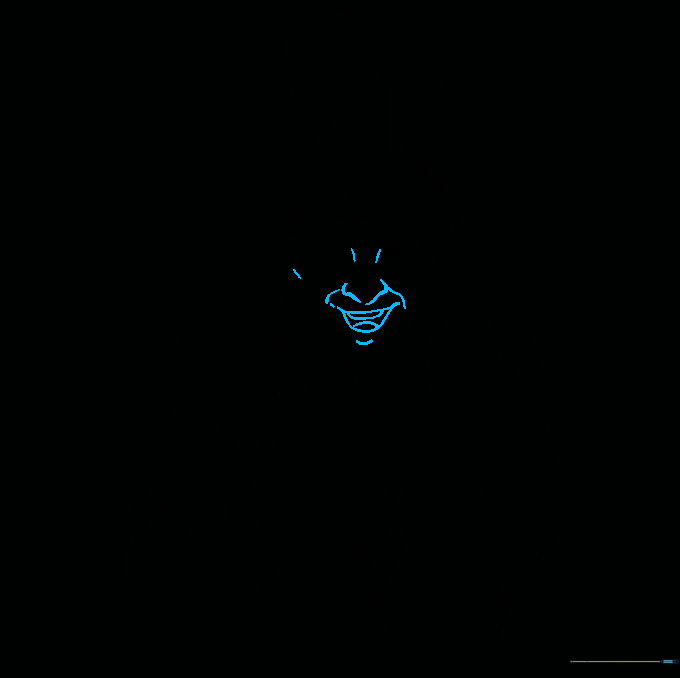
Add the mouth, nose, and extra lines around the face to show character. Teacher's Tip: Use very thin lines for the wrinkles around the mouth to keep him looking friendly rather than too old.
Coloring Your Masterpiece

Bring your drawing to life with red, white, and blue. Teacher's Tip: Use a light blue for the shadows on the coat to make the white parts look bright and crisp.
More Tutorials


