How to Draw Tweety Bird: Easy 10-Step Guide for Kids
Bring the iconic Tweety Bird to life with this simple, kid-friendly drawing guide. Designed for ages 5 and up, this lesson uses basic shapes to build confidence and artistic skill. Grab your pencil, eraser, and paper, and let's start sketching this classic cartoon character together!
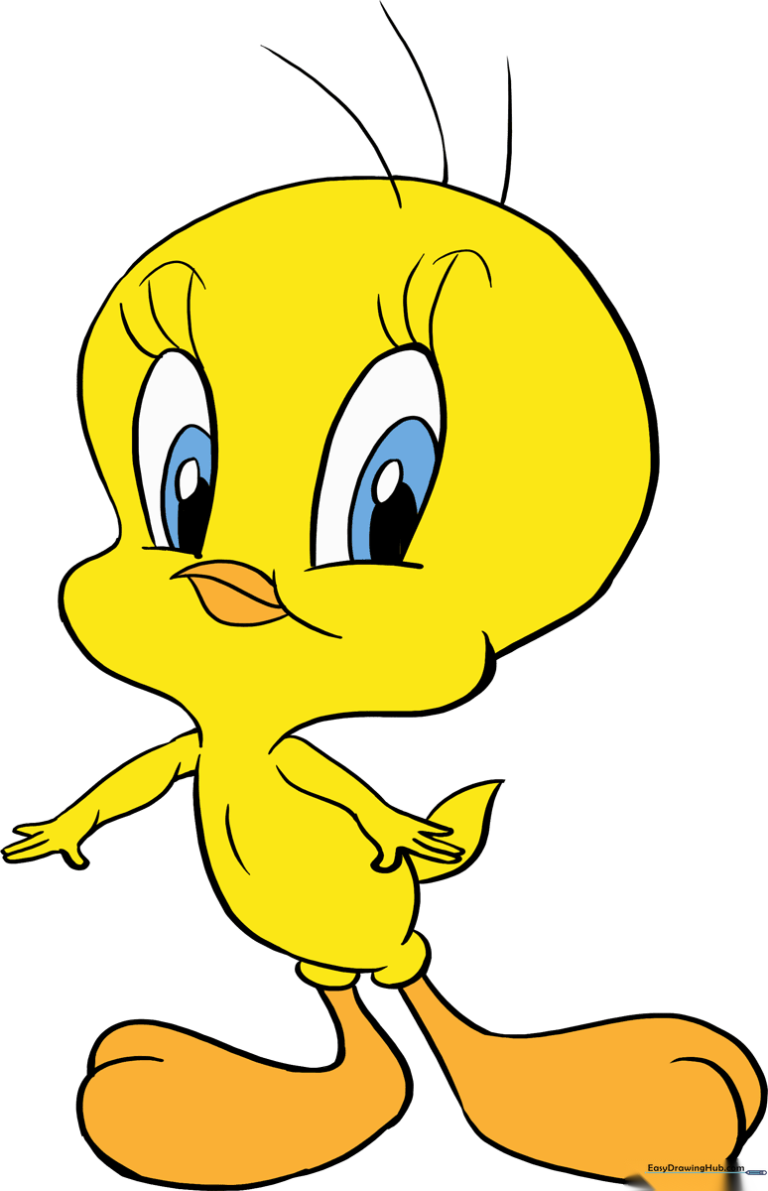
🎯 Final Result
Step-by-Step Instructions
Step 1: Sketching the Head

Draw a light, rounded shape for the head, including the cheeks and neck. Teacher's Tip: Keep your pencil strokes very light so you can easily erase any guidelines later!
Step 2: Forming the Body

Sketch a teardrop shape for the body, leaving the bottom open for the legs. Teacher's Tip: Think of this as a soft, rounded pear shape to get the proportions just right.
Step 3: Adding the First Wing

Draw the arm using two parallel lines and add small 'U' shapes for the fingers. Add a tiny inverted 'V' on the chest for a feather tuft. Teacher's Tip: Keep the fingers small and close together to maintain Tweety's cute look.
Step 4: Drawing the Second Wing

Mirror the process on the other side to draw the second arm and fingers. Teacher's Tip: If the wings look uneven, don't worry—cartoons are all about character, not perfect symmetry!
Step 5: Sketching the Tail

Add a pointed, teardrop-shaped tail at the back. Teacher's Tip: Make the tail slightly curved to give your drawing a sense of movement.
Step 6: Drawing the First Foot

Draw a large, curved foot with overlapping lines to show the toes. Teacher's Tip: Tweety has big feet, so don't be afraid to make them nice and chunky!
Step 7: Drawing the Second Foot
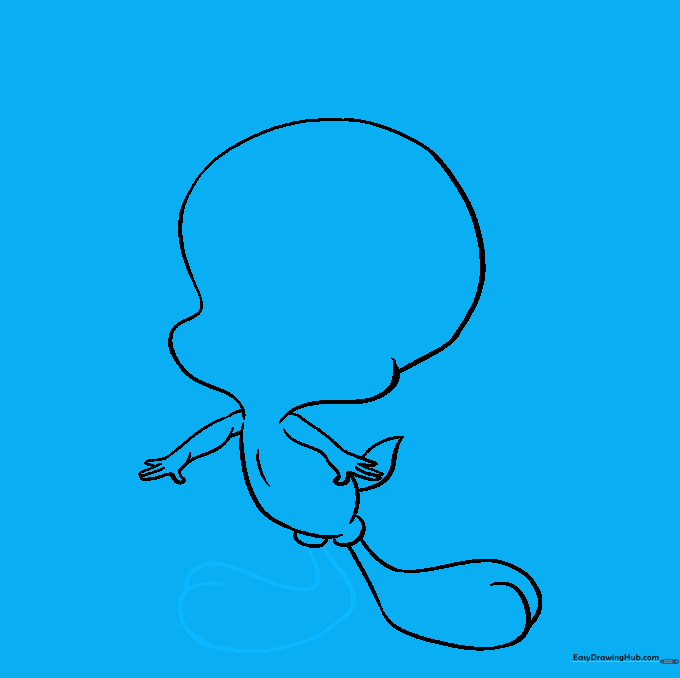
Repeat the foot shape on the other side, ensuring it overlaps slightly with the body. Teacher's Tip: Use the first foot as a guide to keep the size consistent.
Step 8: Detailing the Face

Add the large eyes, eyelashes, eyebrows, and a tuft of hair on top. Teacher's Tip: The eyebrows give Tweety that classic curious expression, so draw them with a gentle arch.
Step 9: Final Facial Features
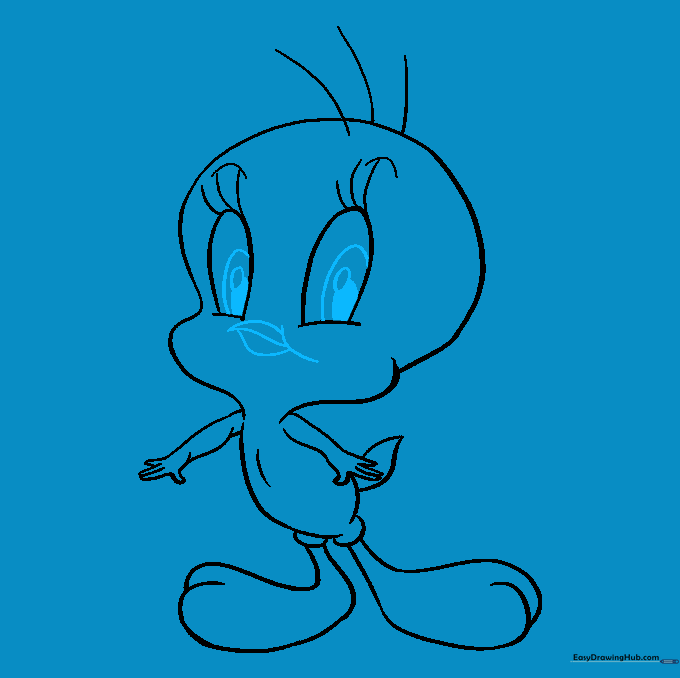
Draw the pupils and the double-pointed beak. Teacher's Tip: Shade the pupils carefully to give Tweety that bright, wide-eyed look.
Step 10: Color Your Masterpiece
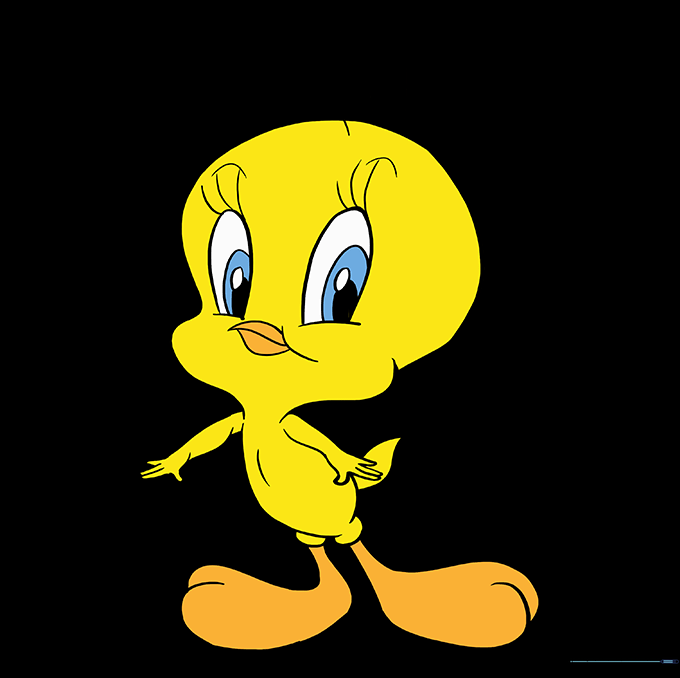
Fill in your drawing with bright yellow for the body and orange for the feet and beak. Teacher's Tip: Use light, circular motions with your crayons or markers for a smooth, even finish.
More Tutorials


