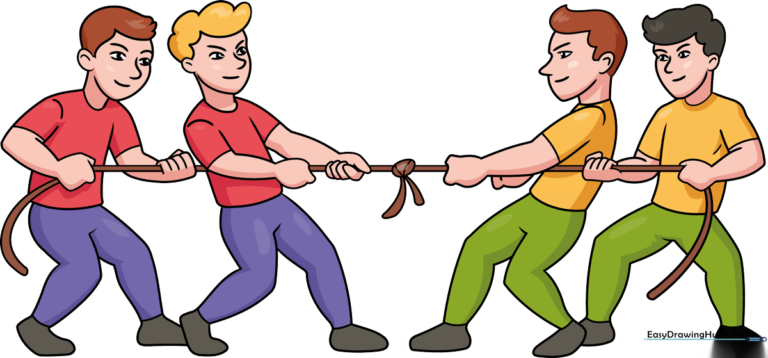
How to Draw Tug of War: Easy 10-Step Guide for Kids
Ready to capture the excitement of a playground game? This tutorial is perfect for ages 7+ and helps young artists practice drawing figures in motion. All you need is a pencil, an eraser, and a piece of paper to bring this competitive scene to life.
🎯 Final Result
Step-by-Step Instructions
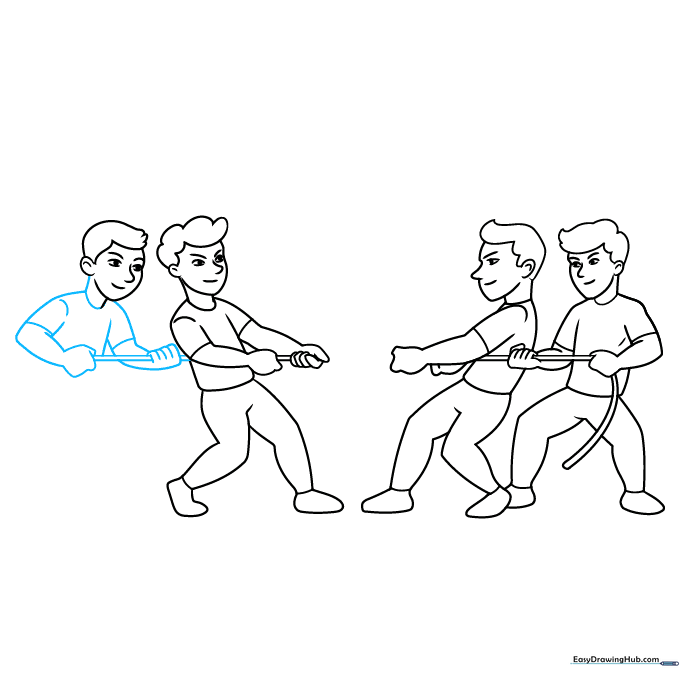
Step 1: Sketching the First Participant
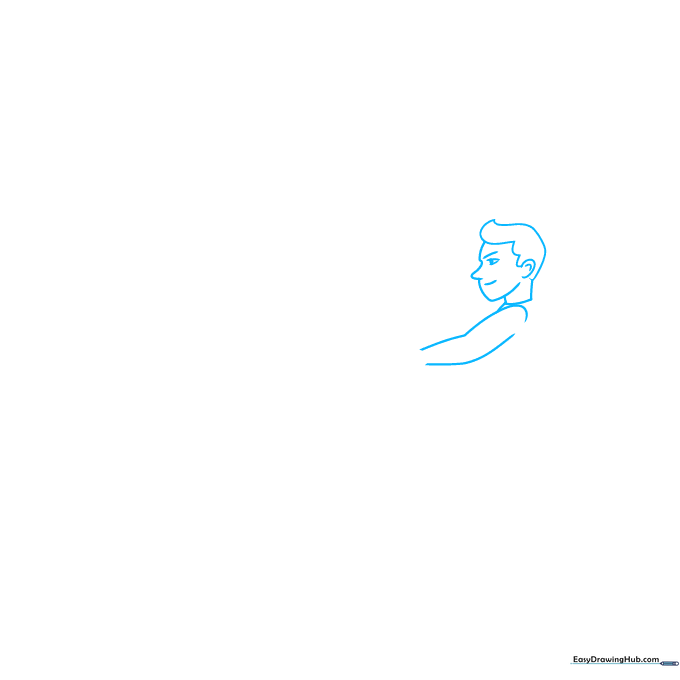
Start by drawing the profile of the first player. Focus on the facial features and the intense expression. Teacher's Tip: Keep your pencil lines light and soft so you can easily adjust the shape of the hair and jawline later.
Step 2: Adding the Body and Stance
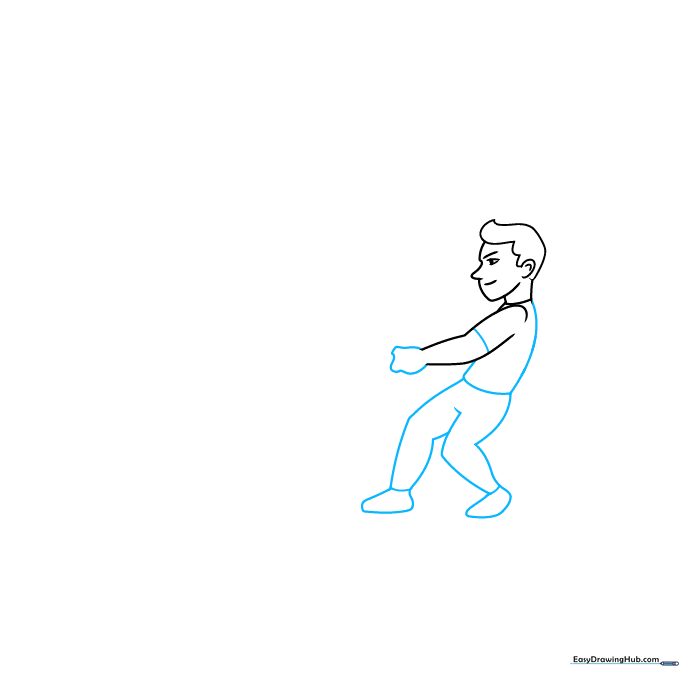
Draw the torso, arms, and legs using curved lines to show the strain of pulling. Teacher's Tip: Bend the knees slightly to show the character is leaning back—this creates a sense of real physical effort.
Step 3: Introducing the Teammate
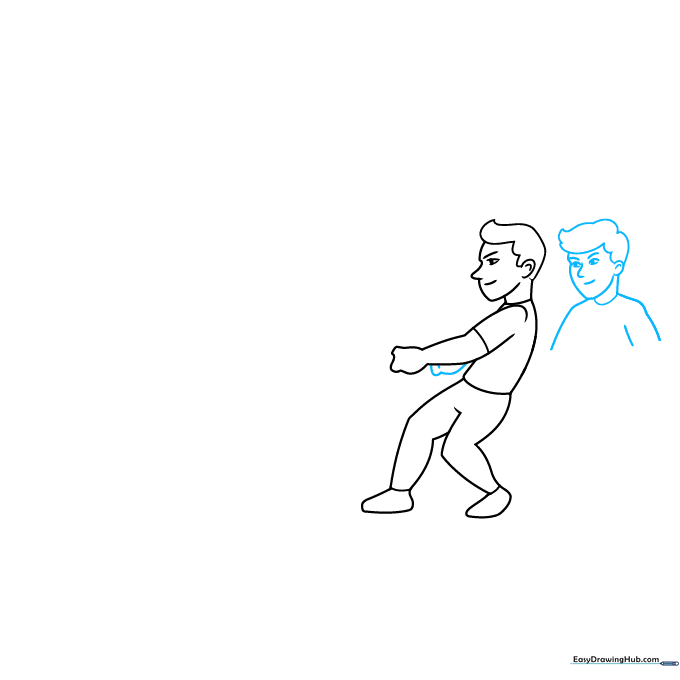
Draw the second player standing behind the first. Use simple curved shapes to outline his head and shoulders. Teacher's Tip: Make sure the heads are roughly the same size to keep your characters in proportion.
Step 4: Connecting the Rope
Draw the arms for the second player and add two parallel lines stretching between the hands of both boys. Teacher's Tip: Keep the rope lines straight and firm to show that it is pulled tight.
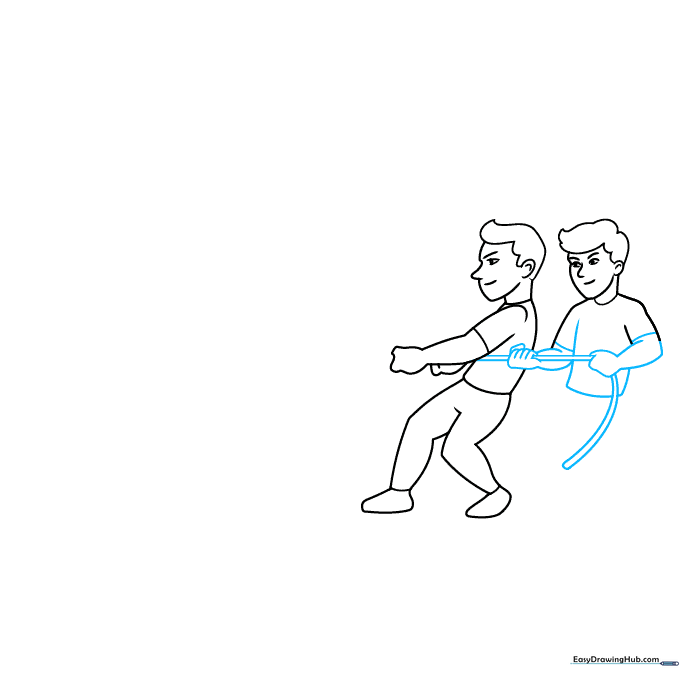
Step 5: Establishing the Opposing Team
Draw the legs of the second boy and begin the first player of the opposing team. Teacher's Tip: Use a 3/4 view for the new face to add depth and variety to your drawing.
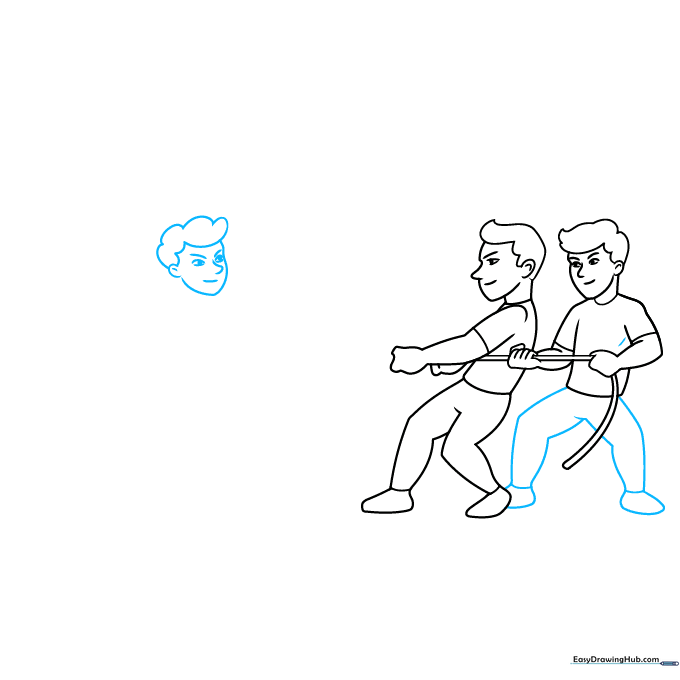
Step 6: Detailing the Opponent
Sketch the neck, shoulders, and arms for the opposing player. Teacher's Tip: Think about the direction of the pull; draw the shoulders angled away from the rope to show resistance.
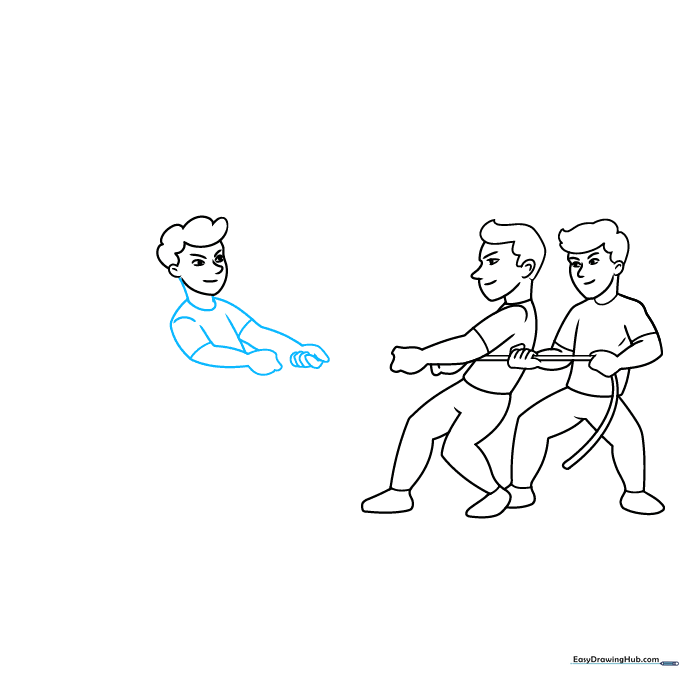
Step 7: Extending the Rope
Continue the rope lines and draw the second player on the opposing team. Teacher's Tip: Keep the rope parallel; if the lines get too close together, it will look like a thin string instead of a sturdy rope.
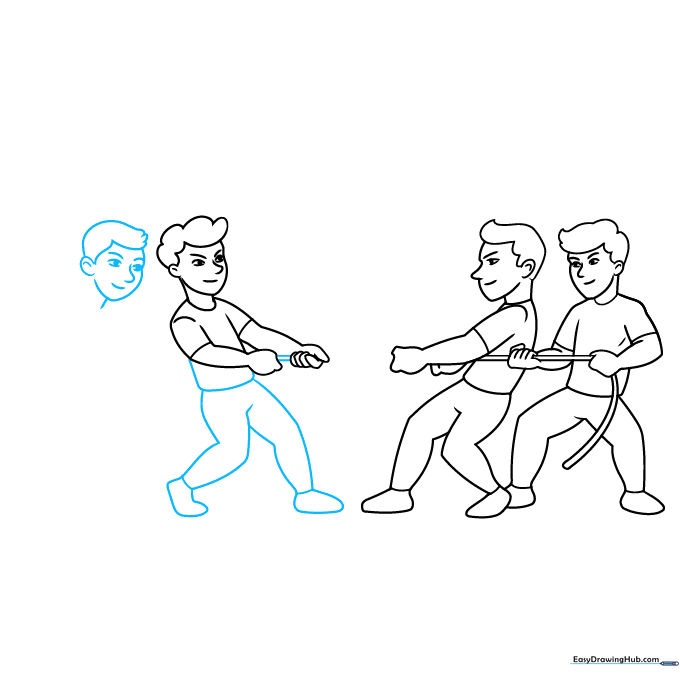
Step 8: Adding Final Team Members
Draw the final player's arms and connect the rope to his hands. Teacher's Tip: Use overlapping lines where the hands grip the rope to make it look like they are actually holding it.
Step 9: The Center Knot
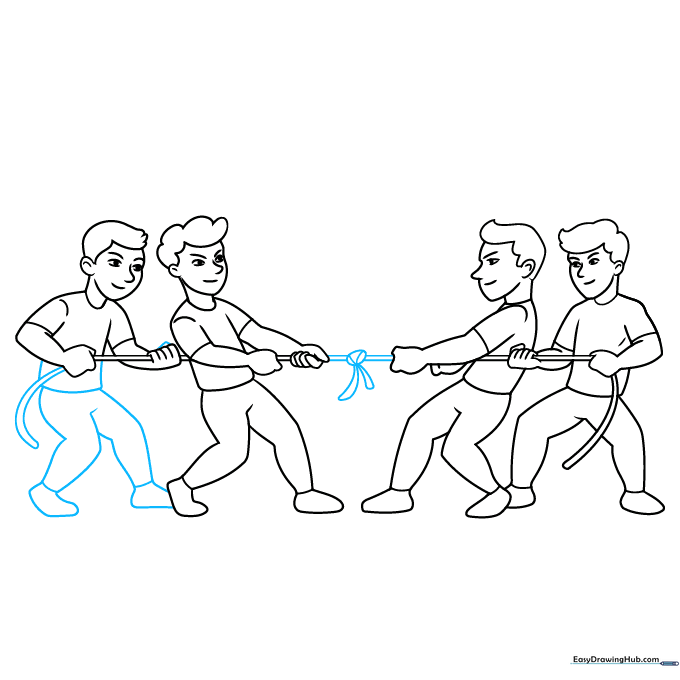
Finish the legs and feet, then draw a small oval in the center of the rope with curved bands to represent the knot. Teacher's Tip: The knot is the focal point of the game—make it slightly larger than the rope to show its importance!
Step 10: Bring It to Life with Color
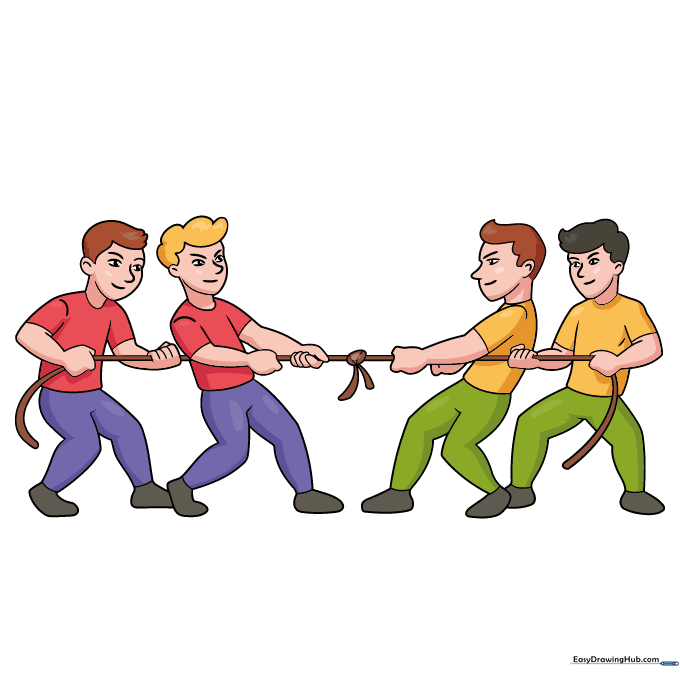
Erase any stray guidelines and color your drawing. Teacher's Tip: Use two distinct colors for the shirts to clearly show which team is which. Have fun with your color choices!
More Tutorials


