How to Draw Trollface: Easy 10-Step Cartoon Guide
Ready to capture the classic Trollface expression? This tutorial is perfect for artists ages 7+ looking to master expressive cartoon faces. All you need is a pencil, an eraser, and a black marker to bring this internet icon to life.
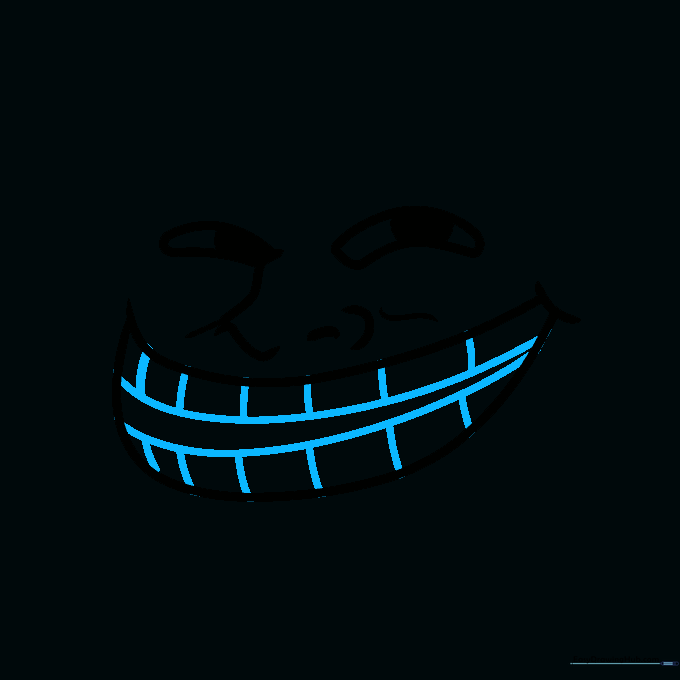
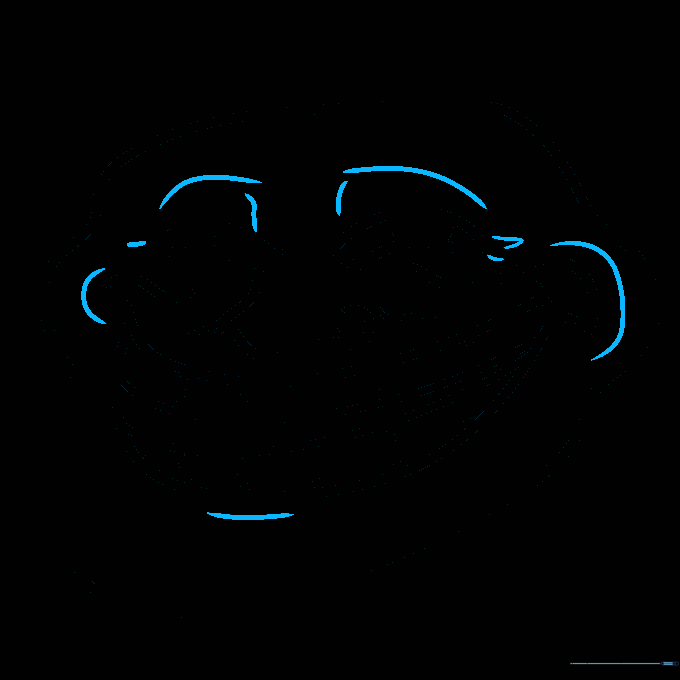
🎯 Final Result

Step-by-Step Instructions
Step 1: Sketching the Head Base

Draw a banana-shaped curve for the top of the head and place a small circle inside for the eye. Teacher's Tip: Keep your pencil pressure light so you can easily erase your guidelines later.
Step 2: Defining the Brow and Nose
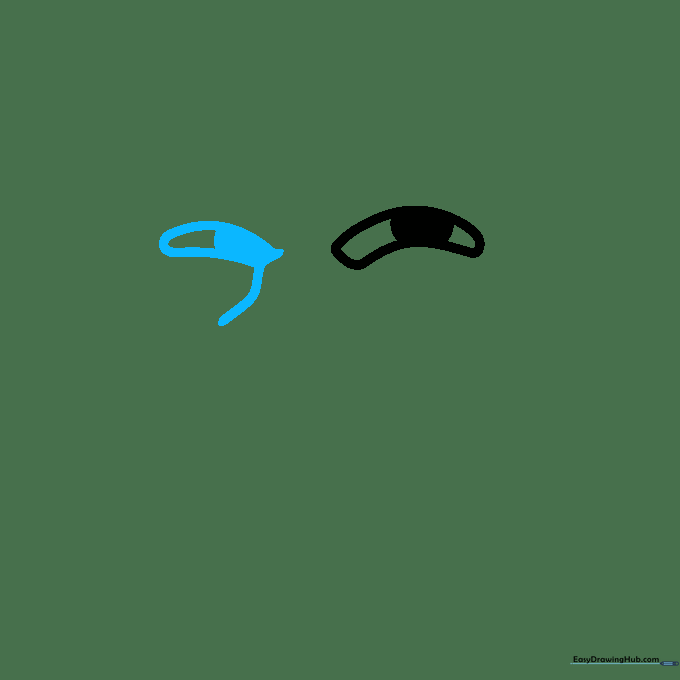
Add a second tube shape for the brow and connect it to an elongated S-shape for the nose. Teacher's Tip: Focus on the flow of the line; the S-shape gives the character its signature mischievous look.
Step 3: Detailing the Nose and Nostril

Create a similar S-curve under the nose with a small dash to the left. On the right, add a nostril dash and a wavy line. Teacher's Tip: Use short, quick strokes to keep the lines looking organic and cartoonish.
Step 4: Shaping the Wide Mouth

Use wide, sweeping curves to create a large, banana-shaped mouth. Add a small dash on the right side. Teacher's Tip: Don't worry if it looks too big; the exaggerated mouth is what makes the Trollface recognizable!
Step 5: Adding Teeth
Draw two curves inside the mouth, then add vertical lines to create the teeth. Teacher's Tip: Keep the teeth slightly uneven to enhance the 'troll' aesthetic.
Step 6: Outlining the Head
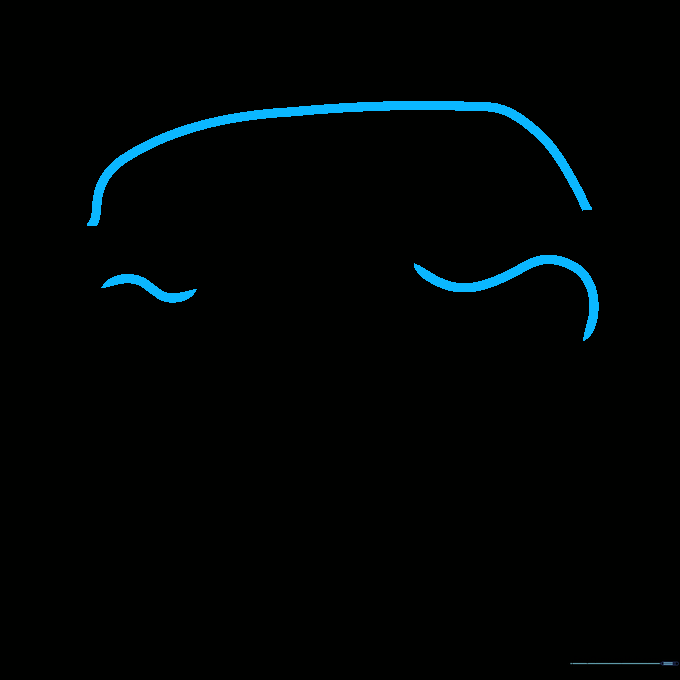
Outline the head using a loose, rectangular shape and add extra curves around the mouth. Teacher's Tip: Use a confident hand for the outline to make the drawing pop.
Step 7: Defining the Jawline
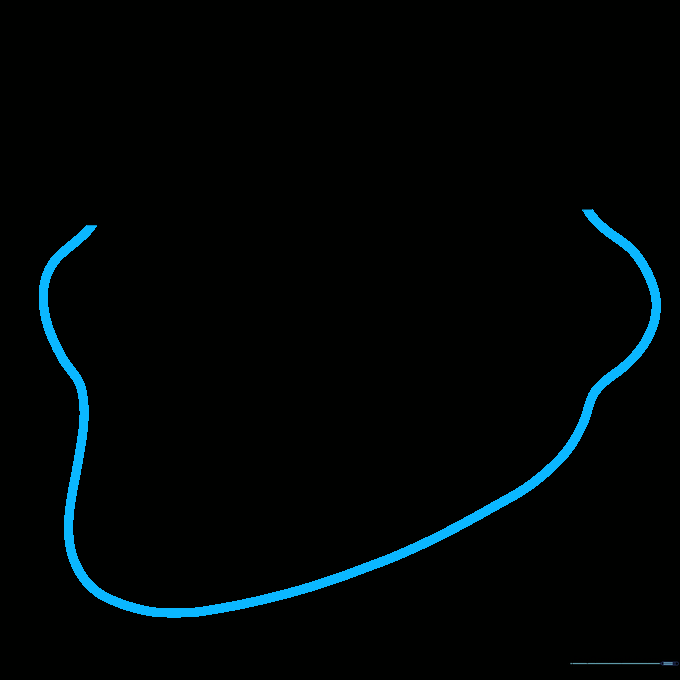
Start with a curve on the left, carry it downward, and bring it back up on the right. Teacher's Tip: This creates the chin area; make sure the transition between curves is smooth.
Step 8: Adding Facial Texture
Sketch additional curves inside the face to add depth. Teacher's Tip: These lines represent the character's wrinkles and expressions, so don't make them too perfect.
Step 9: Finalizing the Outline

Draw bolder, darker lines around the face to finalize the structure. Teacher's Tip: Use a thicker pencil or marker here to create a clean, finished look.
Step 10: Coloring and Finishing

Outline with a black marker, fill in the mouth and pupils with solid black, and leave the rest white. Teacher's Tip: Use a steady hand for the black areas to avoid smudging!
More Tutorials


