How to Draw Thomas the Train: Easy 10-Step Guide
Ready to bring the Number 1 Engine to life? This tutorial is perfect for young fans and budding artists ages 5+. All you need is a pencil, an eraser, and a piece of paper to start building your own railway adventure.
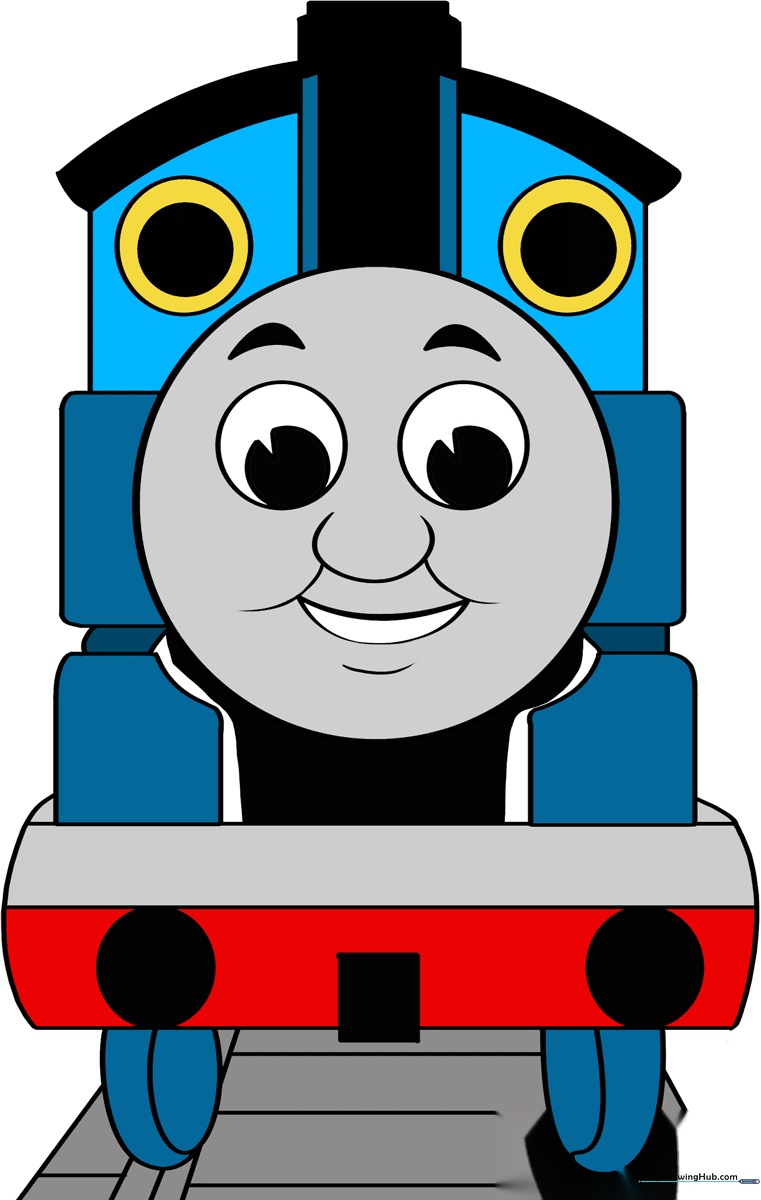
🎯 Final Result
Step-by-Step Instructions
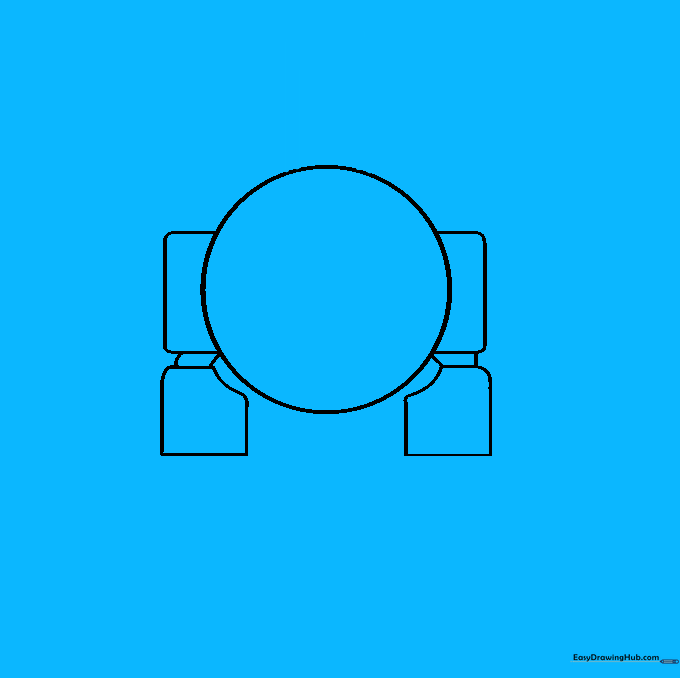
Step 1: Sketching the Face
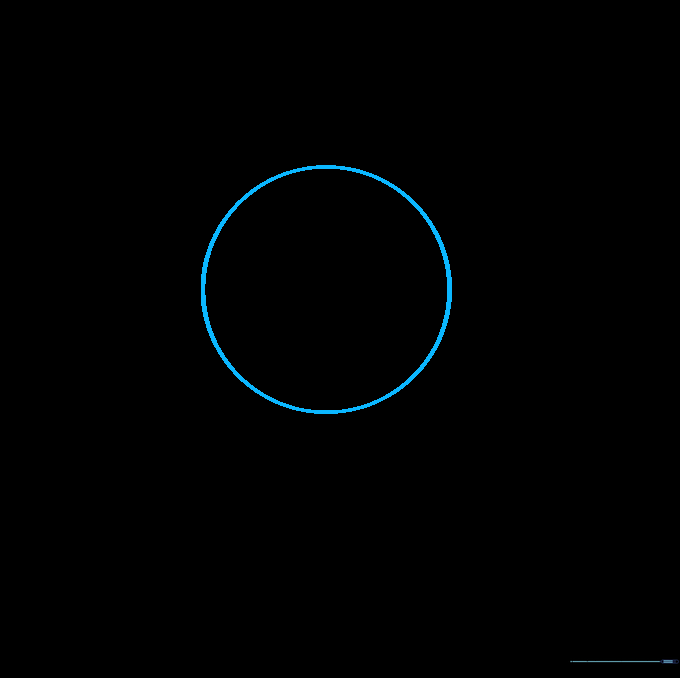
Draw a light circle to serve as Thomas's face. Tip: Keep this circle about the size of a coin so you have plenty of room for the rest of the train body.
Step 2: Adding the Water Tanks
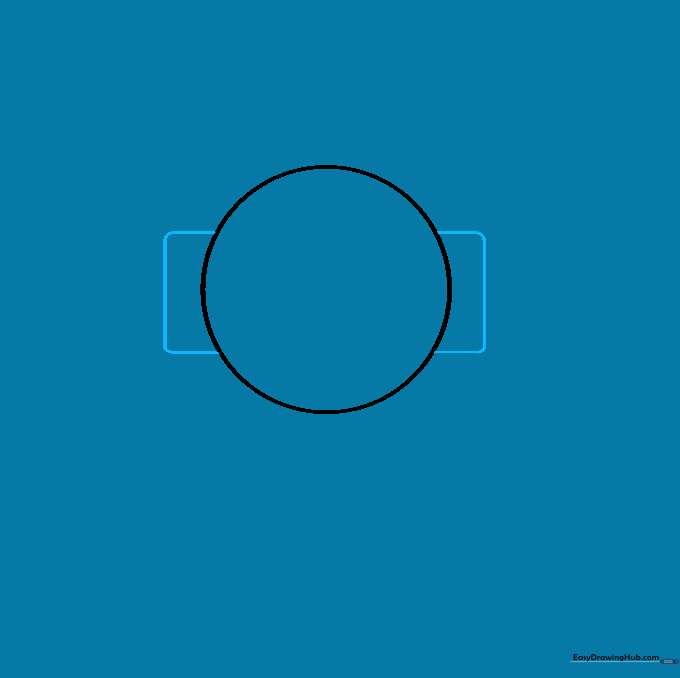
Draw a narrow, rounded rectangle on each side of the face. These represent the side tanks. Tip: Try to make them symmetrical to keep the train looking balanced.
Step 3: Defining the Chassis
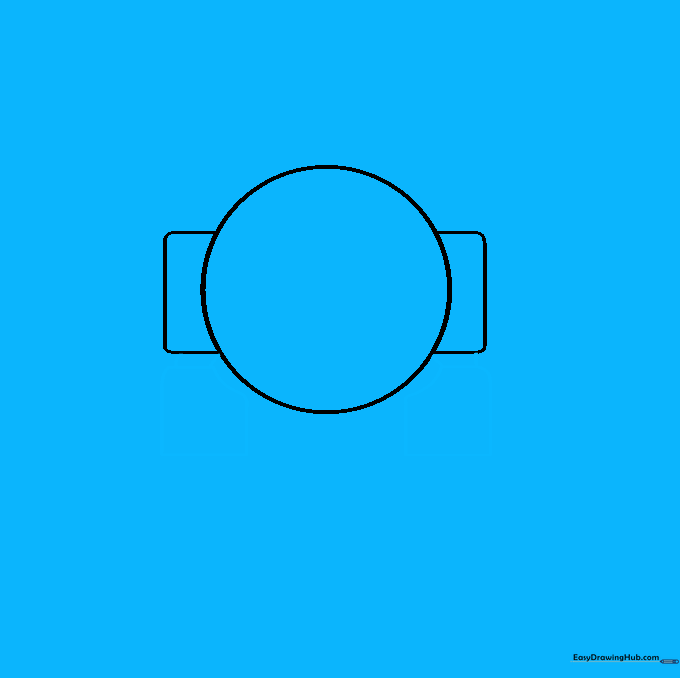
Add a small parallelogram under each tank, then a 5-sided shape for the base. Tip: Think of this as the 'feet' of the train that keep it steady on the tracks.
Step 4: Drawing the Chimney
Draw a rectangle on top of the boiler, then add a wider, concave-topped shape for the chimney. Tip: Use short, confident strokes to keep the chimney looking sturdy.
Step 5: Sketching the Cab
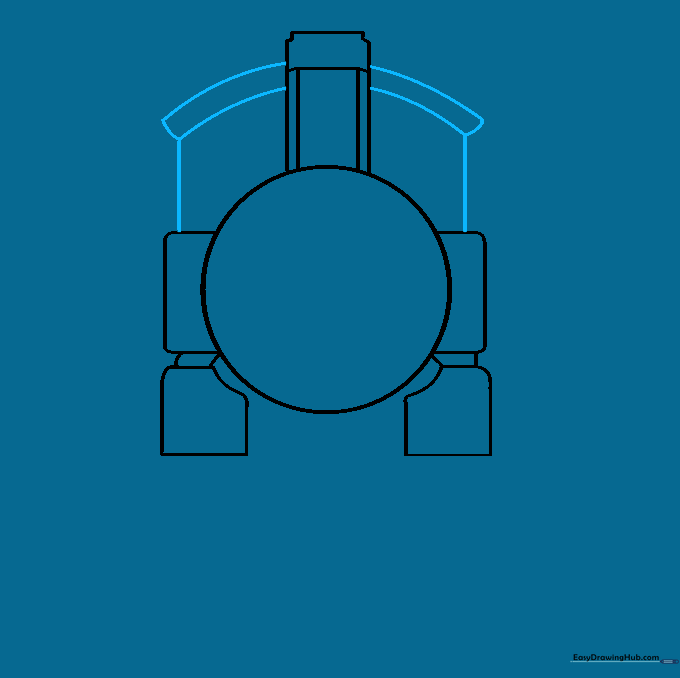
Extend lines upward from the tanks to create the cab, finishing with a curved roof. Tip: Imagine the cab is like a little house for the driver.
Step 6: Adding Windows
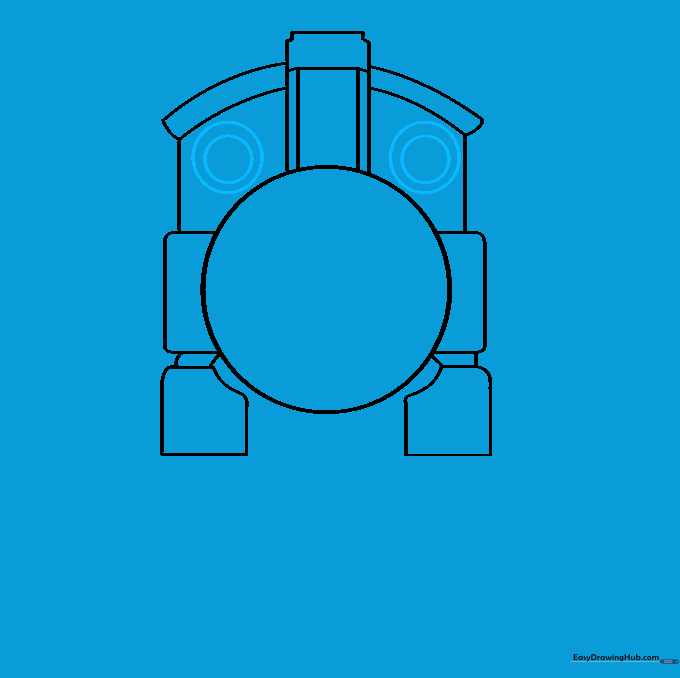
Draw circles within circles on the front of the cab. Tip: Use a circular object like a bottle cap as a stencil if you find drawing perfect circles tricky!
Step 7: The Cowcatcher
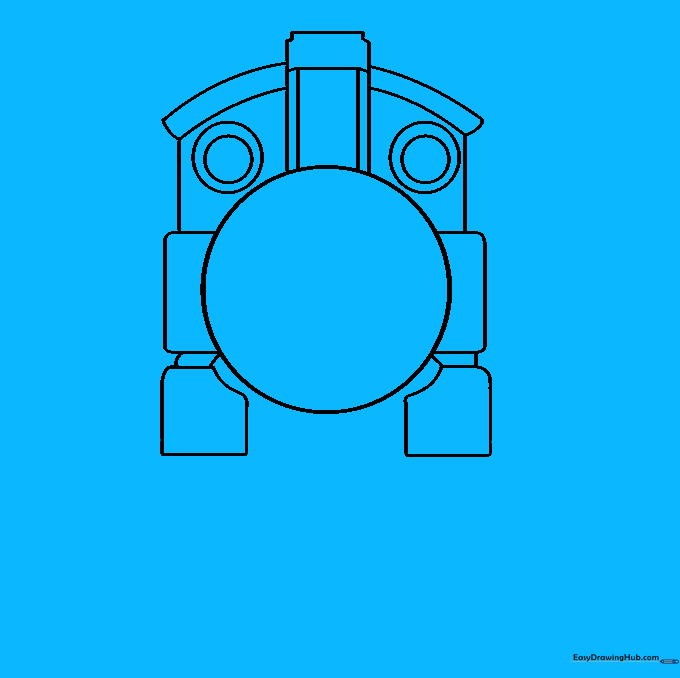
Draw the buffer and cowcatcher at the front using narrow rectangles and small circles. Tip: This part protects the train, so make it look solid and strong.
Step 8: Bringing Thomas to Life
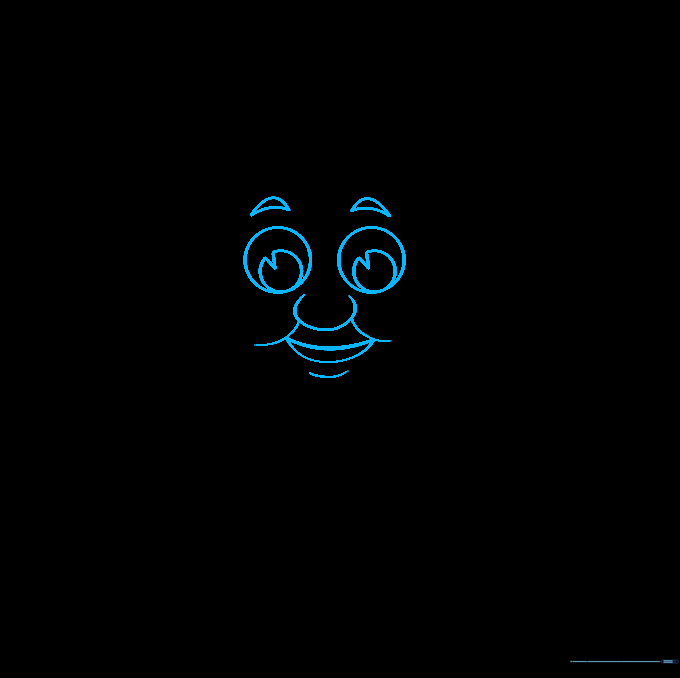
Draw the eyes, eyebrows, and a big, friendly smile. Tip: The expression is what makes Thomas look happy, so take your time with the curve of the mouth.
Step 9: Adding Wheels and Tracks
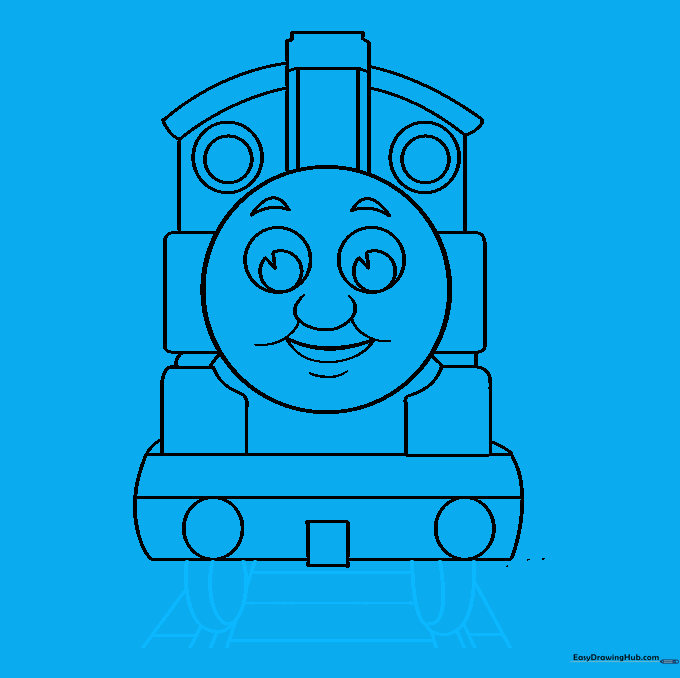
Draw the wheels as ovals and add the railway tracks beneath. Tip: Use a ruler for the tracks to make them look nice and straight.
Step 10: Color Your Masterpiece
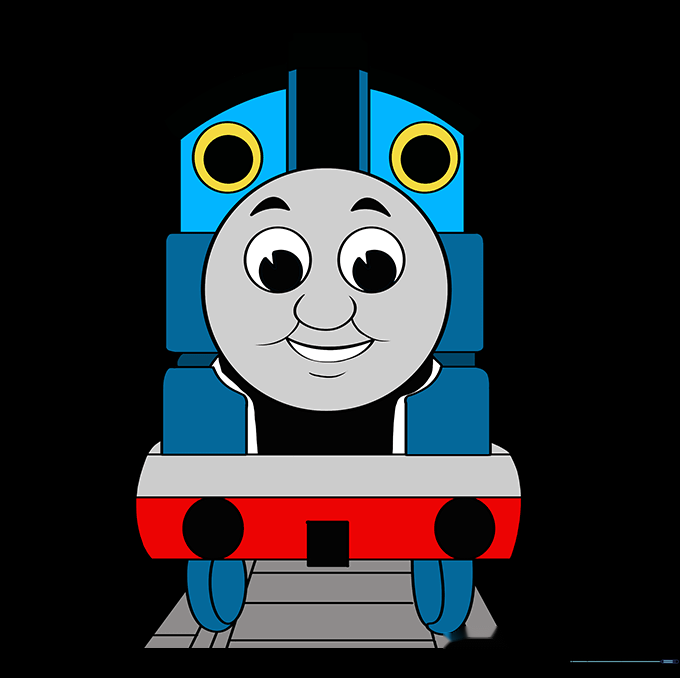
Color Thomas in his signature bright blue with a grey face. Tip: Use light pressure with your crayons for a smooth, even look.
More Tutorials


