How to Draw a Yin Yang Symbol: Easy 10-Step Guide
Master the art of balance with this simple Yin Yang drawing tutorial, perfect for artists ages 5 and up. All you need is a pencil, paper, and a steady hand to create this iconic symbol of harmony. Follow these clear steps to practice your circular symmetry and precision shading.
🎯 Final Result

Step-by-Step Instructions
Step 1: Sketching the Outer Boundary

Draw a clean, large circle to serve as the boundary for your symbol. Teacher's Tip: If you struggle with freehand circles, trace the bottom of a cup to get a perfect shape every time.
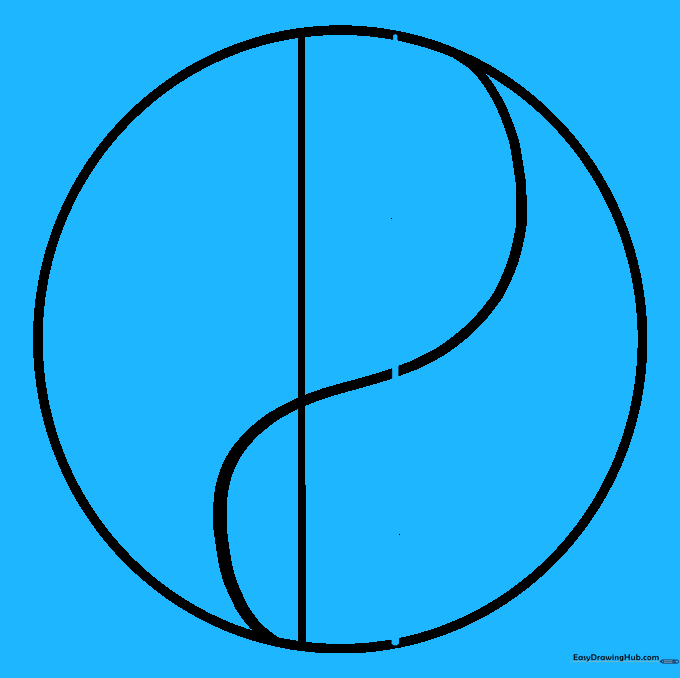
Step 2: Creating the S-Curve

Draw a smooth, backward 'S' shaped line through the center to divide the circle into two teardrop-like halves. Teacher's Tip: Keep your wrist loose to ensure the curve looks fluid rather than jagged.
Step 3: Establishing Vertical Guides

Lightly draw a straight vertical line just off-center. This acts as a structural guide to help you place the smaller circles accurately later.
Step 4: Adding the Second Guide
Draw a parallel line to the first one, keeping them close together. These lines define the center axis of your symbol.
Step 5: Placing the First Dot

Draw a small circle centered between your guide lines in the upper section. Teacher's Tip: Make sure it's not touching the outer edge of the main circle.
Step 6: Placing the Second Dot

Repeat the process in the lower section, creating a second small circle of equal size. Using the guide lines ensures perfect symmetry.
Step 7: Cleaning Up

Carefully erase your vertical guide lines. You should now be left with the main circle, the S-curve, and the two small circles.
Step 8: Shading the Top

Fill in the upper section and the bottom small circle with black. Teacher's Tip: Use small, circular motions with your pencil to get a solid, even fill without streaks.
Step 9: Final Shading

Ensure the contrast is sharp. The top section should be black, and the bottom section should be white, with the small circles inverted.
Step 10: Final Touches

Review your work! If you used a pencil, you can go over the lines with a fine-liner pen to make the symbol pop.
More Tutorials


