How to Draw the Tree of Life: Easy 10-Step Art Guide
This tutorial is perfect for artists ages 8+ looking to master flowing, organic shapes and symmetrical patterns. You will need a pencil, an eraser, and a fine-liner pen to create this symbolic masterpiece. By the end, you'll have a stunning, balanced Tree of Life that celebrates growth and connection.
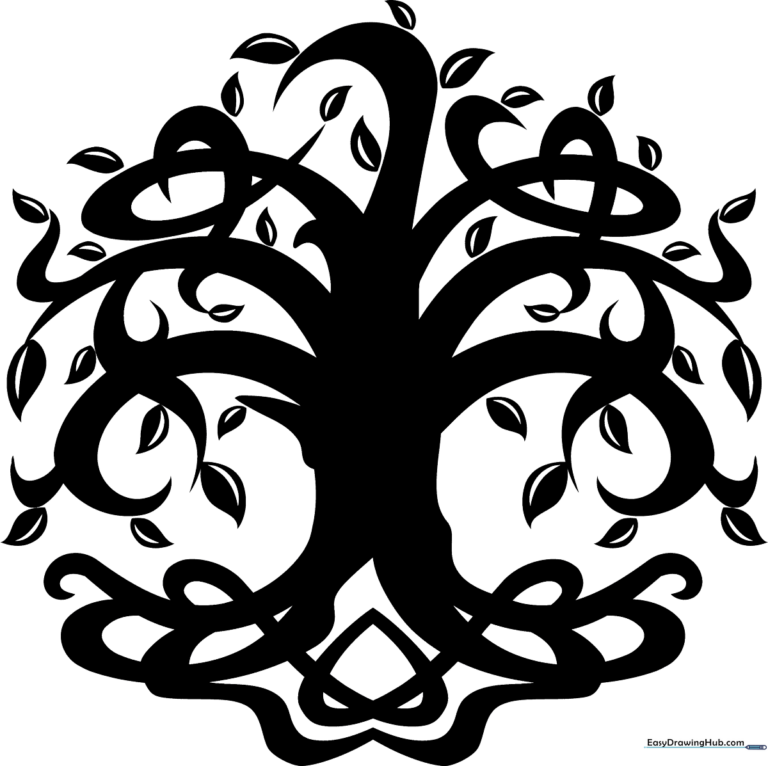
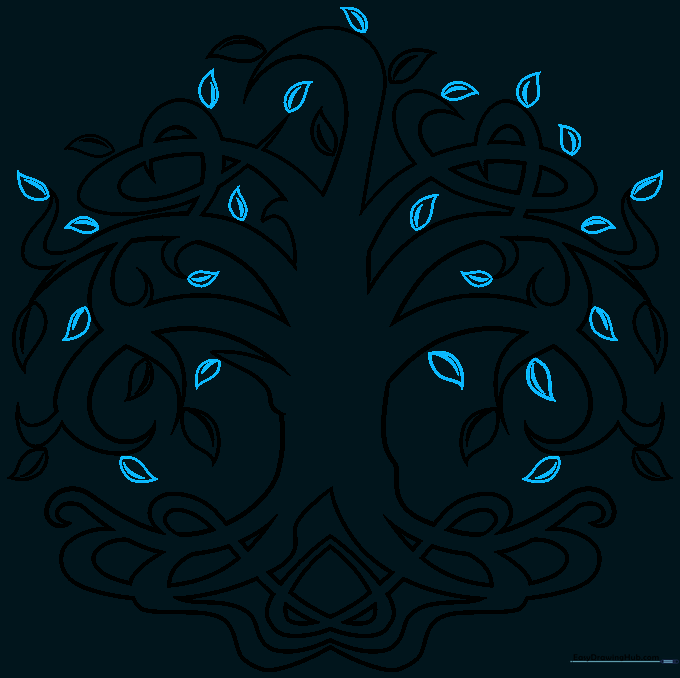
🎯 Final Result
Step-by-Step Instructions
Step 1: Sketching the Base Roots

Start by drawing the lower trunk and roots using smooth, curved lines that meet at swirling points. Teacher's Tip: Think of these like ocean waves; keep them fluid and don't press too hard with your pencil.
Step 2: Developing the Root Knots

Add more depth to the roots using short, curved lines to create small triangles and heart-like shapes. Teacher's Tip: These shapes mimic Celtic knot-work, so take your time to ensure they look interconnected.
Step 3: Connecting the Roots

Join the remaining roots together with smooth, continuous curves. Teacher's Tip: If you make a mistake, use your eraser to clean up the overlapping lines before moving to the branches.
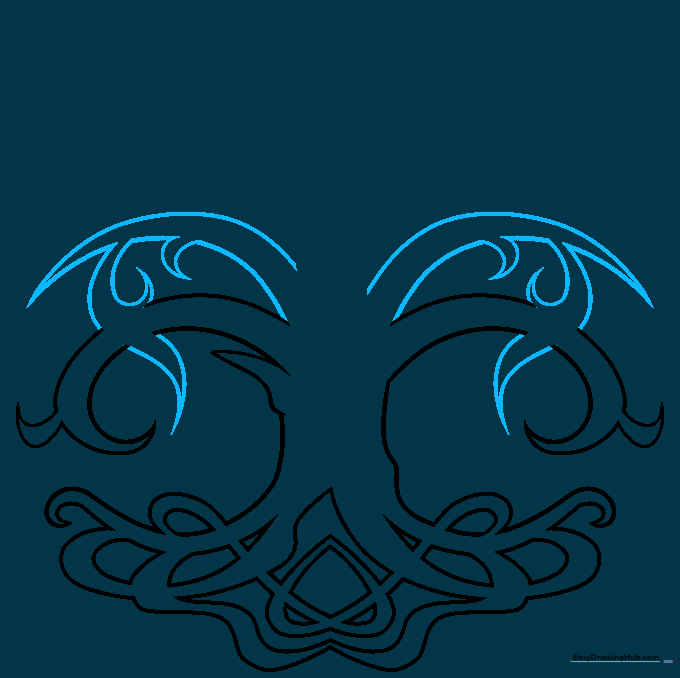
Step 4: Starting the Primary Branches

Draw your first set of branches using parallel curved lines that diverge at the tips. Connect them with a 'V' shape. Teacher's Tip: Keep the branches thick at the base and thinner as they reach outward.
Step 5: Adding Branch Complexity
Add a second layer of branches, ensuring some twigs spiral or cross over others. Teacher's Tip: Overlapping lines create a sense of 3D depth, making your tree look more realistic.
Step 6: Weaving the Knot Pattern
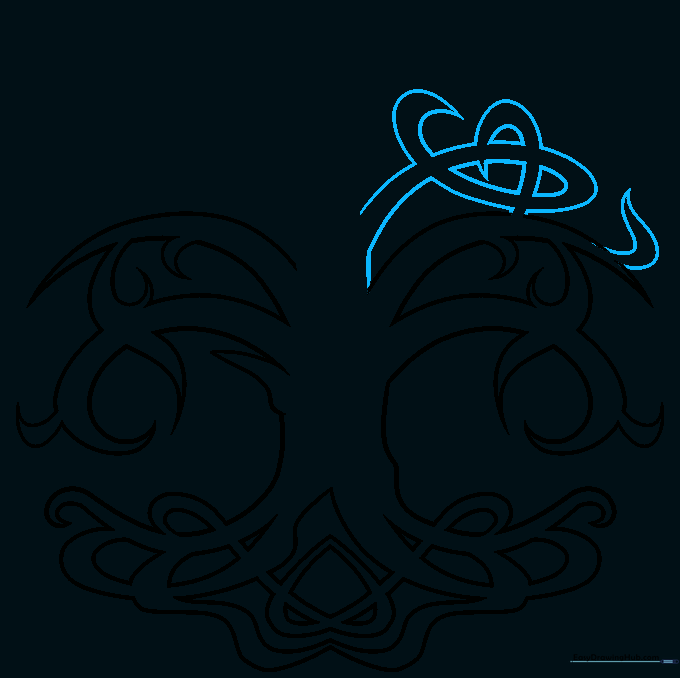
Continue adding branches that intersect with the lower ones to form a knot-like pattern. Teacher's Tip: Don't worry if it looks messy; the 'knot' style is meant to look tangled and organic.
Step 7: Expanding the Canopy
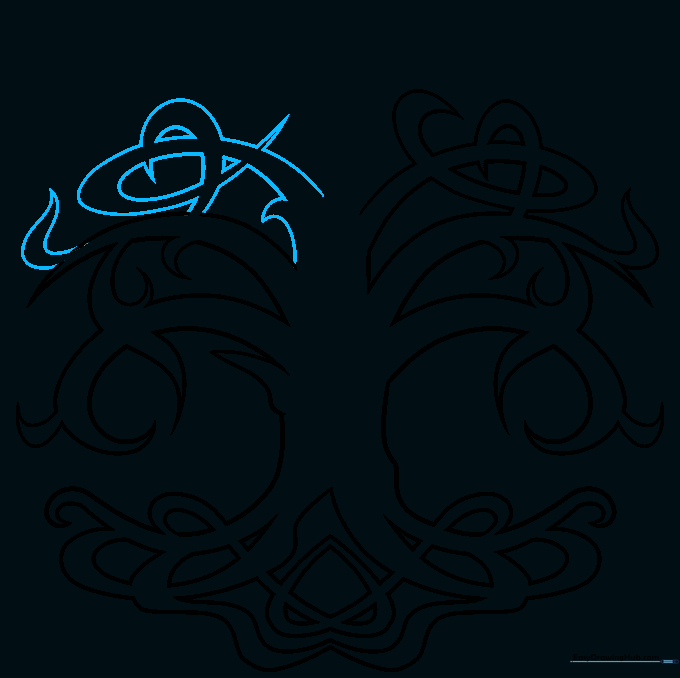
Extend the branches further outward using consistent, flowing curves. Teacher's Tip: Keep your hand relaxed to ensure the lines remain smooth and not shaky.
Step 8: Finalizing the Crown
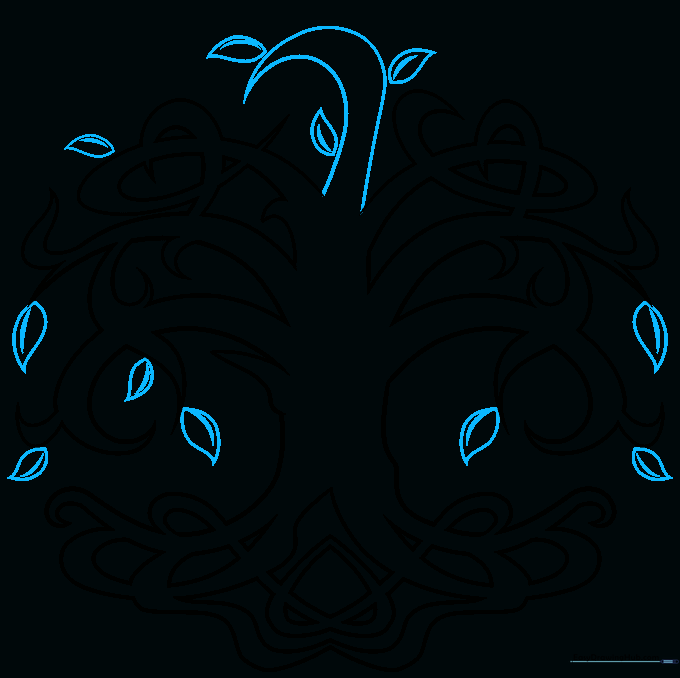
Draw the final branches at the very top of the tree. Once the structure is complete, start adding small teardrop shapes for leaves. Teacher's Tip: Vary the size of the leaves to make the tree look natural.
Step 9: Adding Leaf Detail
Complete the foliage by adding a central vein to each leaf. Teacher's Tip: Use a sharp pencil for these fine details to keep the drawing looking clean.
Step 10: Adding Color and Contrast

Fill in your tree with color. We used a solid dark tone to give it a bold, tribal tattoo aesthetic. Teacher's Tip: Use a fine-liner pen to outline your work before coloring to make it stand out.
More Tutorials


