How to Draw the TARDIS: Easy Step-by-Step Guide
Ready to travel through time and space? This tutorial is perfect for young artists ages 7+ who want to master geometric shapes while drawing their favorite time machine. You will only need a pencil, an eraser, and a ruler to keep those lines sharp. Let’s bring the TARDIS to life on your page!
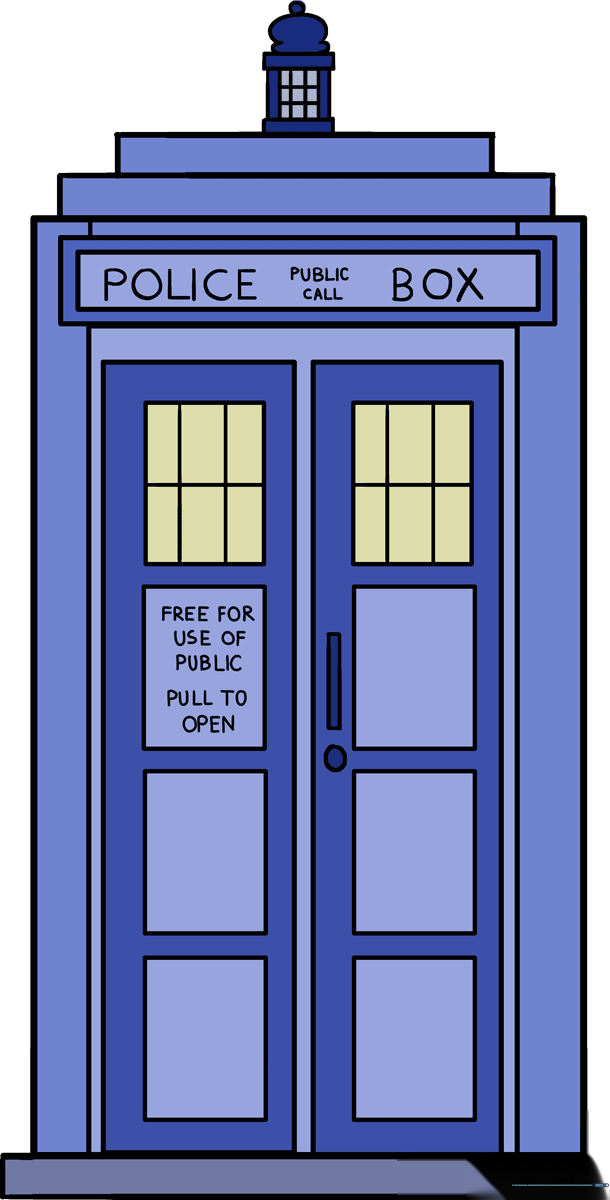
🎯 Final Result
Step-by-Step Instructions
Step 1: Sketching the Main Body

Draw a tall, vertical rectangle to serve as the main body of the TARDIS. Teacher's Tip: Use a ruler to keep your lines straight, and press lightly with your pencil so you can easily adjust the proportions later.
Step 2: Adding the Base
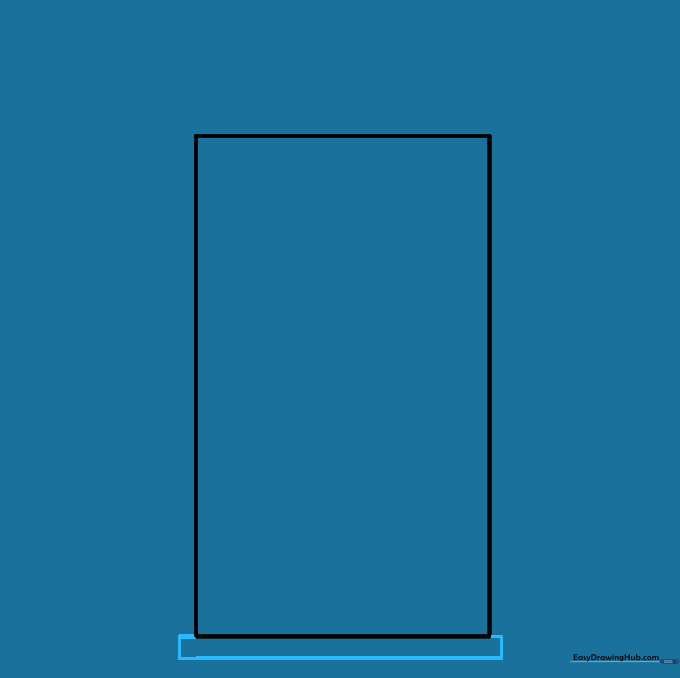
Draw a narrow, horizontal rectangle directly beneath your main shape. This creates the sturdy foundation of the police box. Tip: Make this base slightly wider than the main body to give it a grounded, realistic look.
Step 3: Defining the Roof and Doors
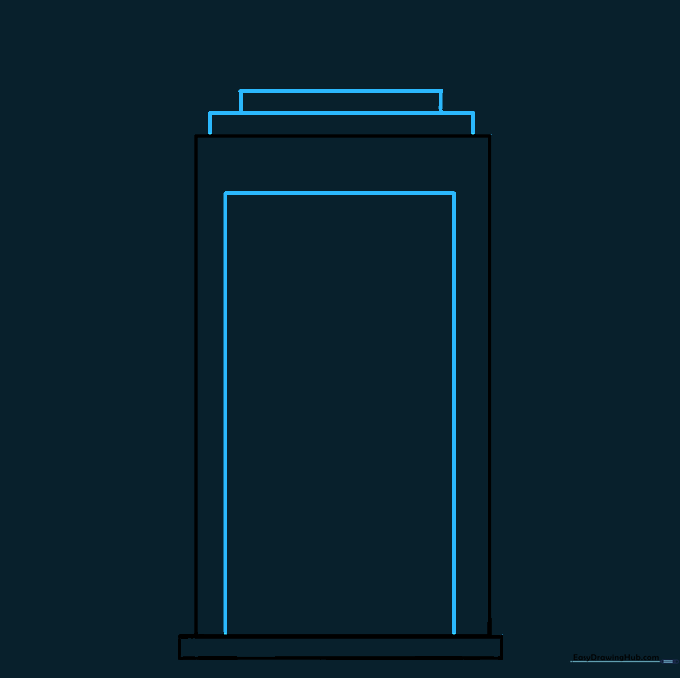
Add two thin rectangles on top of the main body for the roof structure. Then, draw a large rectangle inside the main body to frame the doors. Tip: Keep your inner rectangle centered to ensure the doors look symmetrical.
Step 4: Drawing the Sign
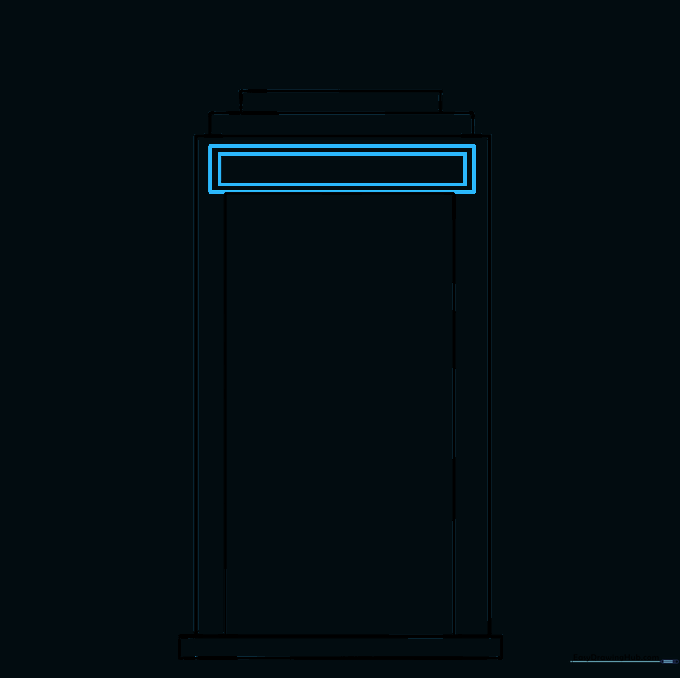
Draw a horizontal rectangle just above the doors with a smaller one inside it. This is the iconic 'Police Box' sign area. Tip: Use your ruler to ensure these lines are perfectly parallel to the top of the door frame.
Step 5: Creating the Door Panels
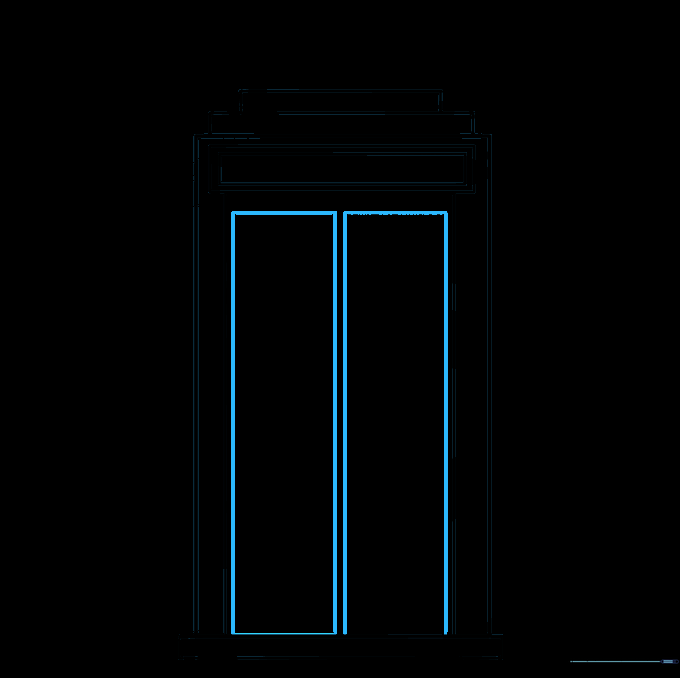
Divide the main door area into two vertical sections by drawing a line down the middle. Tip: This helps define the two separate doors that swing open to reveal the TARDIS interior.
Step 6: Adding the Windows
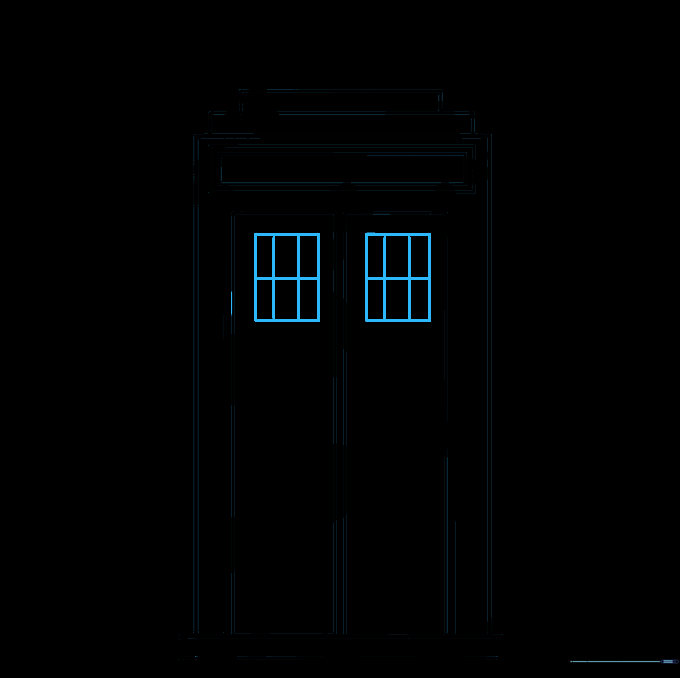
Draw small squares at the top of each door. Add a cross inside each square to create the window panes. Tip: If the squares are too small for your pencil, try using a fine-liner pen for more precision.
Step 7: Detailing the Panels
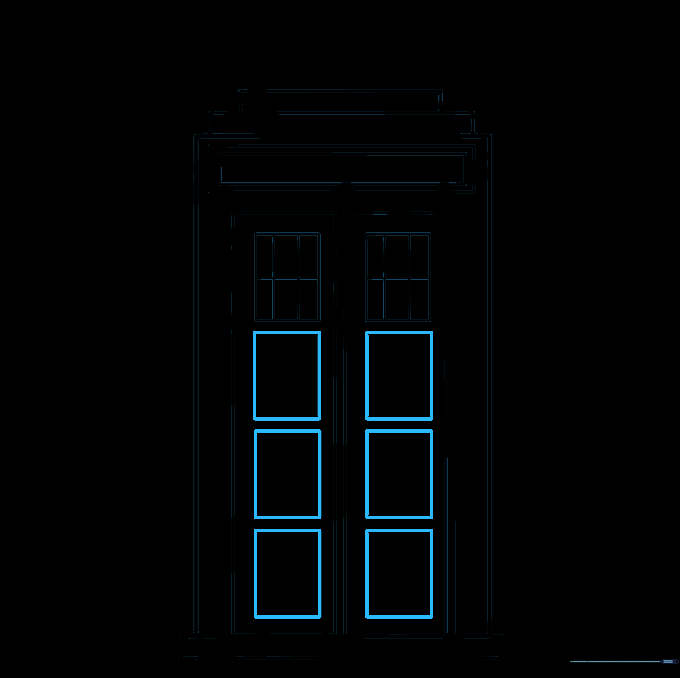
Add three rectangular panels down the length of each door. Tip: Keep them evenly spaced so your TARDIS looks neat and professional.
Step 8: Final Structural Details
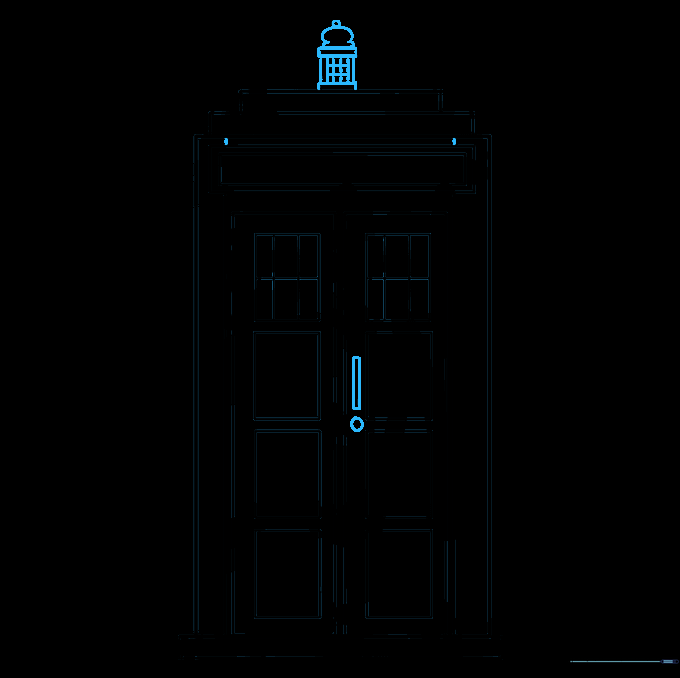
Draw the door handle, the lock, and the lantern on top. The lantern is a small bell shape with a circle on top. Tip: Take your time with the lantern—it’s the signature light that tells us the TARDIS is ready to travel!
Step 9: Adding the Signage
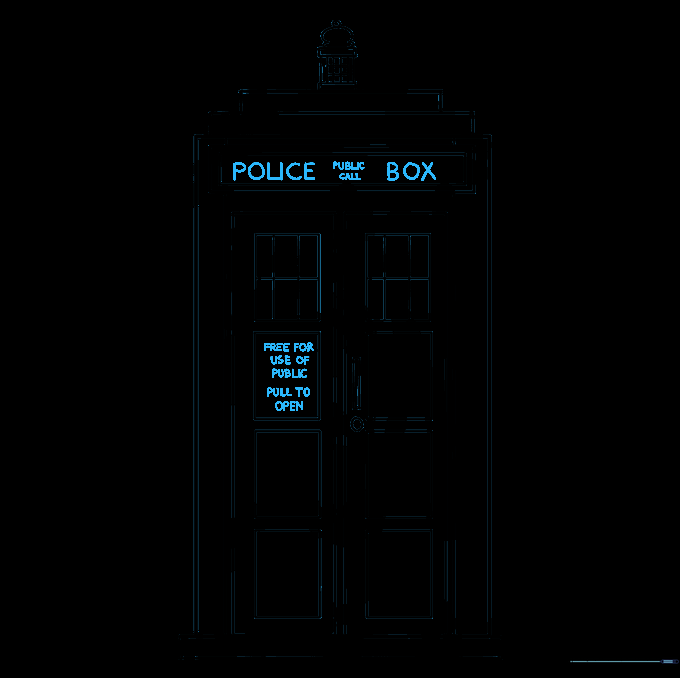
Carefully print 'POLICE BOX' on the top sign and 'FREE FOR USE OF PUBLIC' on the door. Tip: If the letters are too small, you can use a fine-tip marker or just draw small lines to represent the text.
Step 10: Bringing it to Life with Color
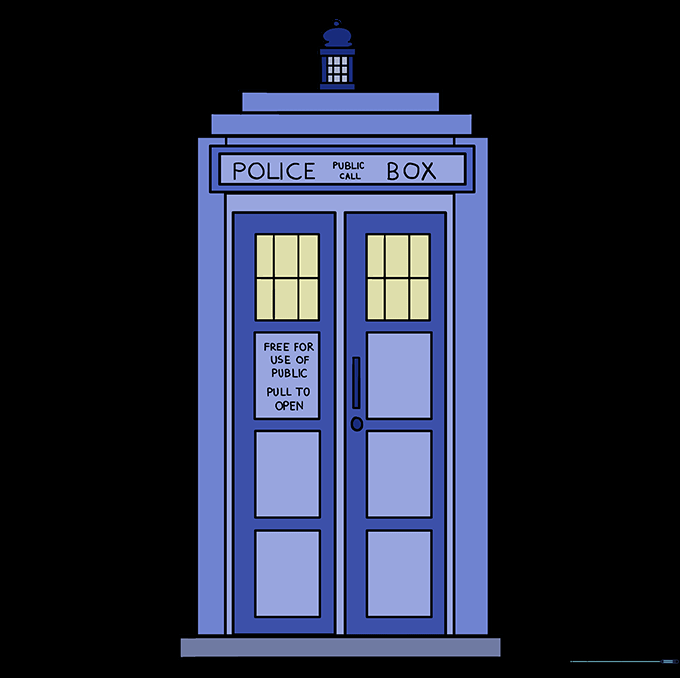
Color your TARDIS a deep, iconic blue. Use a lighter blue for the windows to make them look like they are glowing. Tip: Use colored pencils and layer your strokes to create a smooth, solid finish.
More Tutorials


