How to Draw the Sydney Opera House: Easy 9-Step Guide
Capture the beauty of Australia's most famous landmark with this approachable drawing lesson. Designed for ages 7+, this activity helps young artists practice geometric shapes and perspective. Grab a pencil, an eraser, and a piece of paper to begin building your own architectural masterpiece.
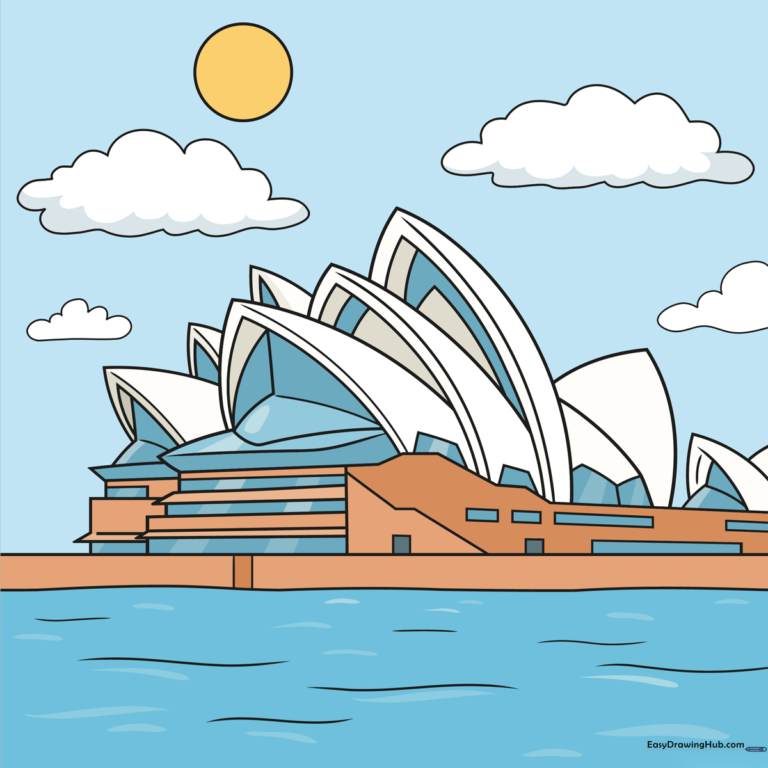
🎯 Final Result
Step-by-Step Instructions
Step 1: Establishing the Waterfront

Draw a straight horizontal line for the horizon and a wavy line below it to represent the harbor water. Connect them with vertical lines to create the base. Teacher's Tip: Keep your pencil pressure light here so you can easily erase the construction lines later.
Step 2: Sketching the Primary Roof Sails
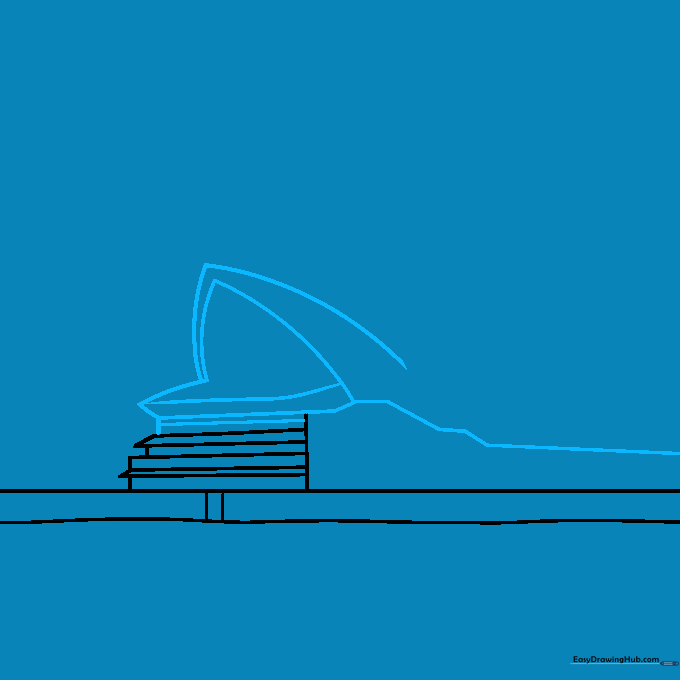
Draw the iconic 'sails' using narrow rectangles and rounded triangles. Focus on the curve of the roof. Teacher's Tip: Think of these as giant, curved paper fans—don't worry about perfect symmetry, as the building's architecture is organic and fluid.
Step 3: Adding Roof Detail
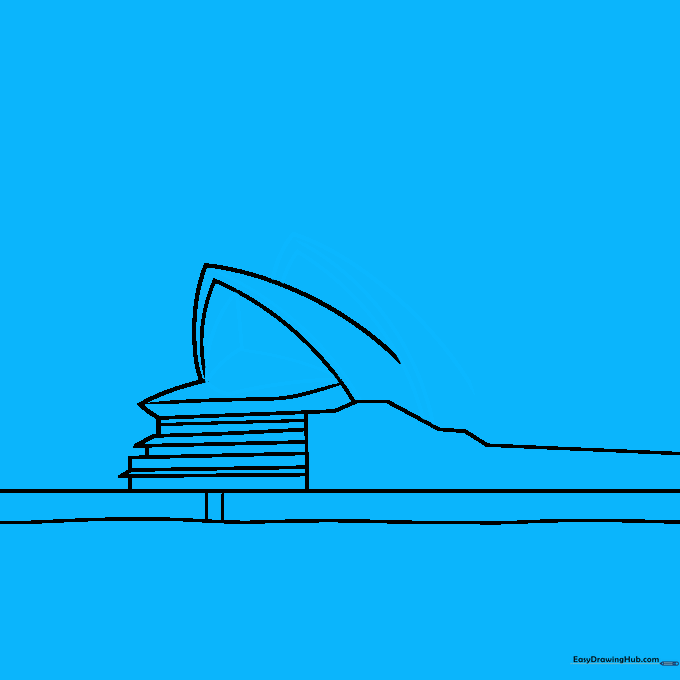
Add depth to the sails by drawing parallel curved lines along the edges. This creates the layered look of the roof tiles. Teacher's Tip: Use a steady hand to keep the lines smooth; if they wobble, it just adds character to your drawing!
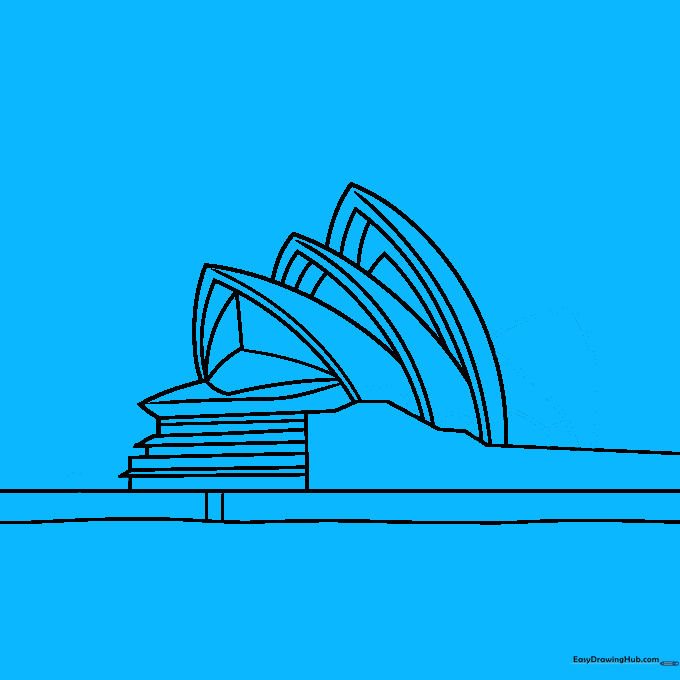
Step 4: Expanding the Roofline
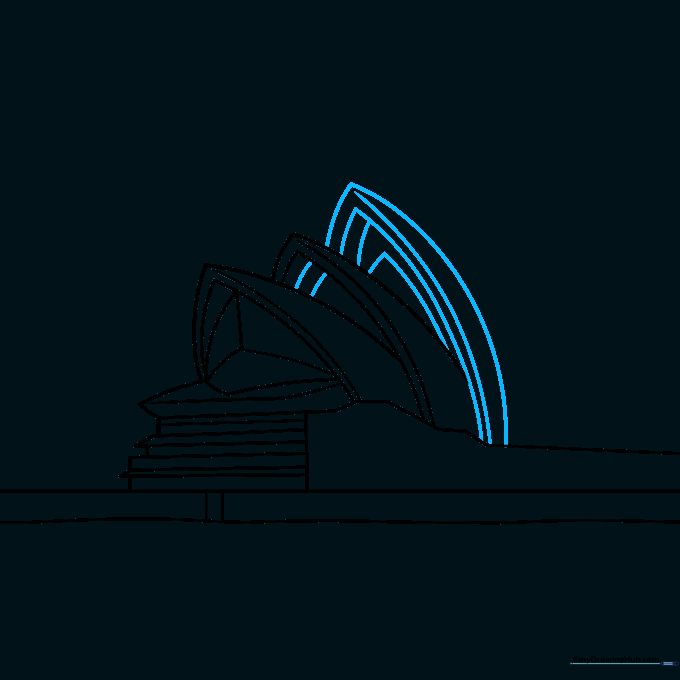
Continue adding more roof sections behind the first one using the same rounded triangle technique. Teacher's Tip: Vary the sizes of the triangles to give your drawing a sense of perspective and distance.
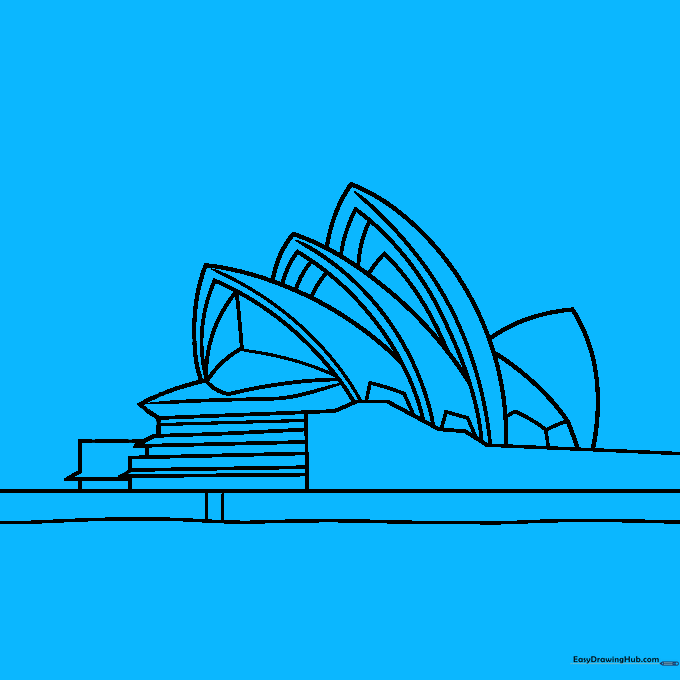
Step 5: Adding Structural Depth
Draw the base of the building using trapezoids and add a smaller structure in the background. Teacher's Tip: Use a ruler if you want the base to look extra sharp, or keep it freehand for a more artistic, sketch-like feel.
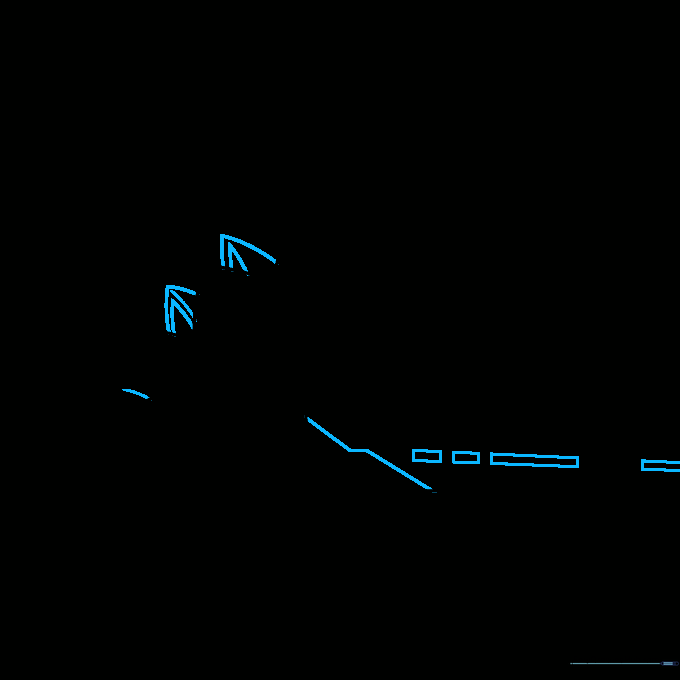
Step 6: Refining the Geometry
Add rectangles and parallelograms to the background structure to show windows and walls. Teacher's Tip: Small details like these make the building look much more realistic and grand.
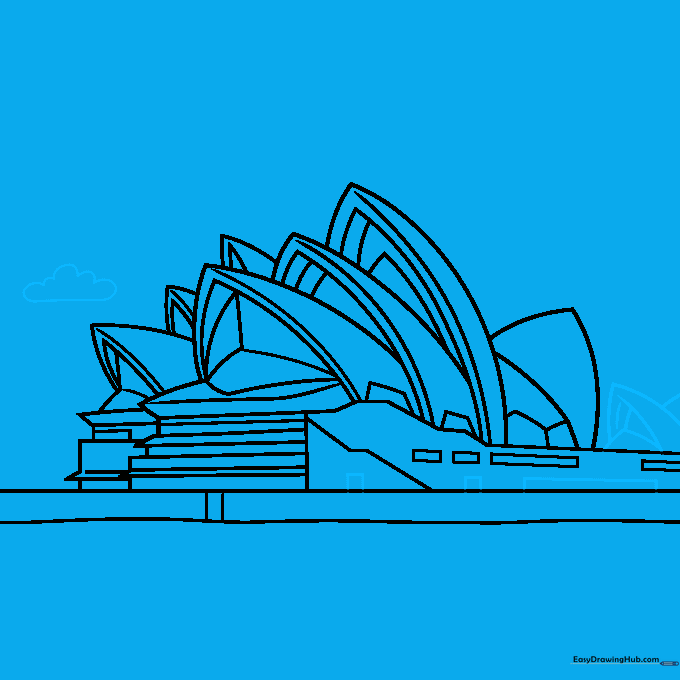
Step 7: Finalizing Roof Layers
Draw the tips of the furthest roof segments. Add narrow rectangles to the side of the building for texture. Teacher's Tip: Focus on how the lines overlap; this creates the illusion of 3D space.
Step 8: Adding Atmosphere
Sketch a fluffy cloud in the sky using soft, rounded lines. Teacher's Tip: Clouds are great for practicing 'loose' drawing—don't worry about making them perfect circles!
Step 9: Completing the Scene
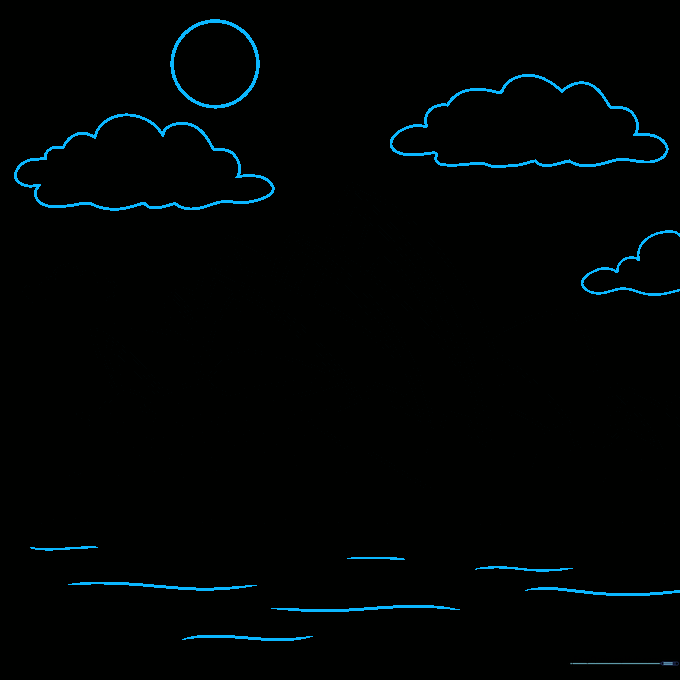
Add more clouds, a sun, and wavy lines on the water to show movement. Teacher's Tip: Use short, horizontal dashes for the water to make it look like it's sparkling.
Step 10: Adding Color

Bring your drawing to life with color! Use soft blues for the water and sky, and keep the roof sails a clean white or light grey. Teacher's Tip: Try using light shading on one side of the sails to show where the sun is hitting the building.
More Tutorials


