How to Draw the Statue of Liberty: Easy 10-Step Guide
Bring a piece of history to your sketchbook! This tutorial is perfect for artists ages 7+ looking to master architectural shapes and human proportions. All you need is a pencil, an eraser, and a piece of paper to start building your own Lady Liberty.
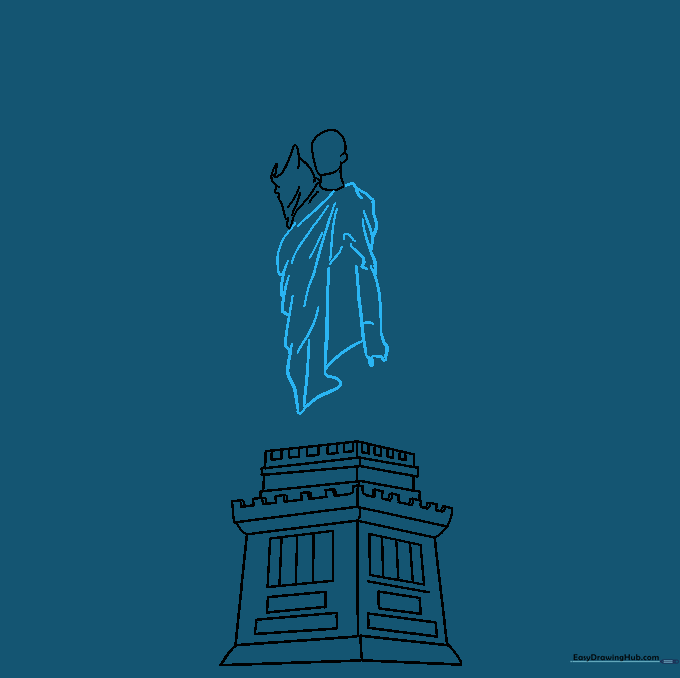
🎯 Final Result

Step-by-Step Instructions
Step 1: Sketching the Pedestal Base

Draw a 3D-style block for the base, similar to a castle tower. Use two slanted squares side-by-side, then add narrow rectangles above and below. Tip: Keep your lines straight by using the edge of a ruler if you're just starting out!
Step 2: Building the Foundation Layers

Stack narrow rectangular blocks above the serrated edge. Tip: Vary the thickness of each layer to create a sense of depth and perspective.
Step 3: Adding Architectural Detail

Add horizontal and vertical lines to the base to suggest stone blocks. Tip: Use a light touch; these details should be subtle so they don't overpower the statue itself.
Step 4: Sketching the Head and Shoulders

Draw a rounded shape for the head and a neck using three curved lines. Add a small bump for the ear. Tip: Keep the head shape simple—an oval works perfectly.
Step 5: Drawing the Robe Folds
Use long, flowing curved lines to create the folds of the garment. Tip: Think of these as 'S' curves to make the fabric look like it is hanging naturally.
Step 6: Adding the Tablet

Connect the statue to the base with curved lines and sketch a narrow rectangle for the tablet. Tip: Make sure the tablet is held at a slight angle to match the arm's position.
Step 7: Drawing the Torch

Sketch the extended arm and fingers using small ovals. Draw the torch as a curved rectangle with a flame on top. Tip: Use short, sharp strokes for the flame to make it look like it's flickering.
Step 8: Adding the Crown

Outline the hair and add the crown using narrow triangles. Tip: Ensure the triangles are evenly spaced for a balanced, regal look.
Step 9: Facial Features

Add the eyes, nose, and mouth using simple, gentle curves. Tip: Keep the expression calm and steady—less is more when drawing faces at this scale.
Step 10: Adding Color

Bring your drawing to life with color! Use a sea-green or turquoise shade to mimic the copper patina. Tip: Use light pressure for a soft look, or layer colors for more intensity.
More Tutorials


