How to Draw the Star of David: Easy 9-Step Guide
Looking for a screen-free way to practice geometry and symmetry? This step-by-step guide is perfect for artists ages 6 and up to draw a precise Star of David. All you need is a pencil, an eraser, and a ruler to achieve a clean, balanced result.
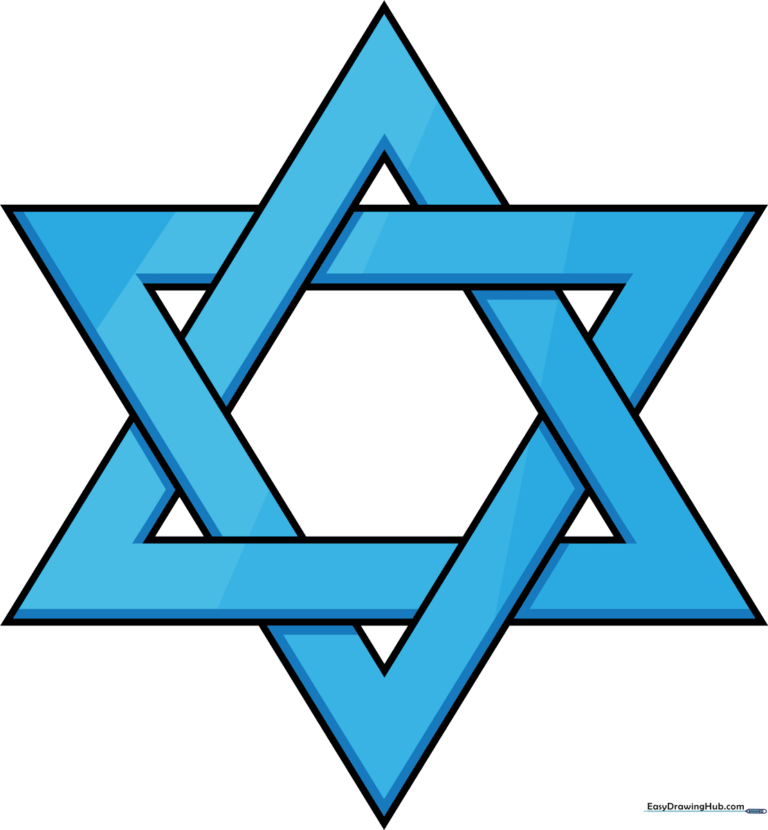
🎯 Final Result
Step-by-Step Instructions
Step 1: Sketching the First Triangle Top
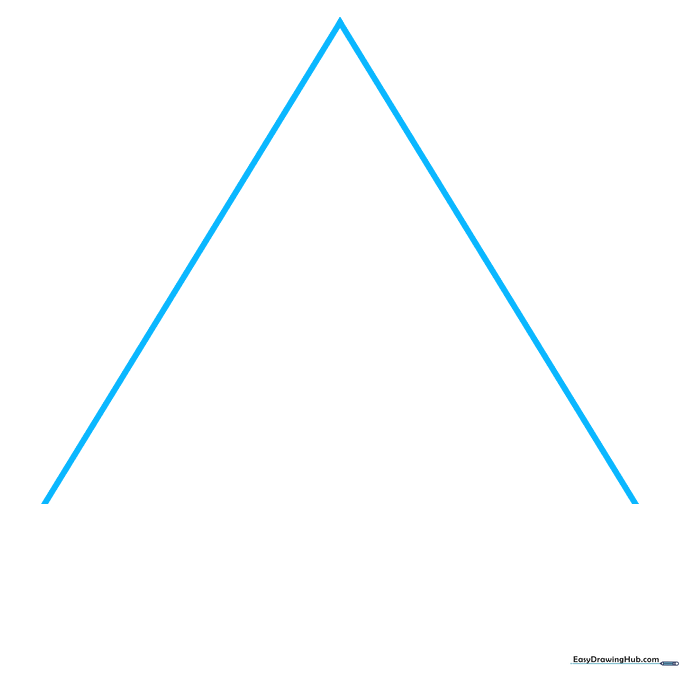
Start by drawing two diagonal lines that meet at a point to form the top peak of a triangle. Teacher's Tip: Keep your lines light; this helps when we need to erase the 'hidden' parts later.
Step 2: Defining the Base
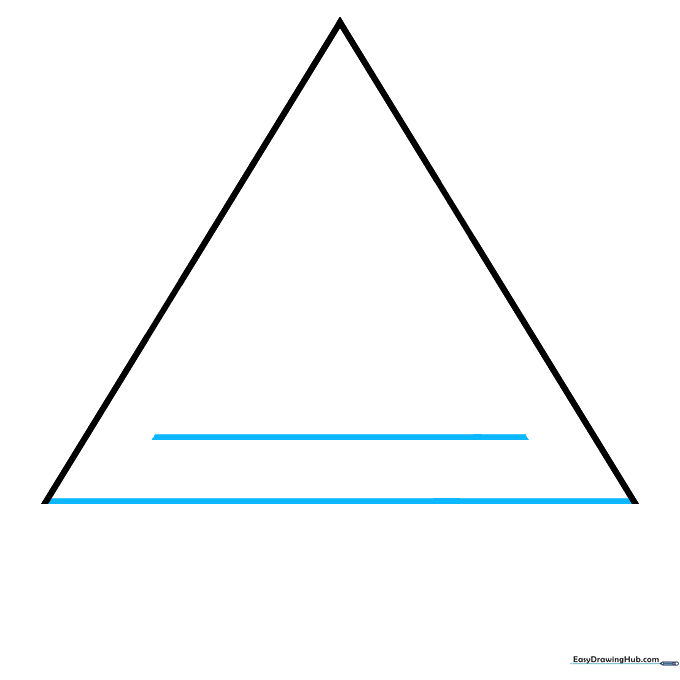
Draw a horizontal line to close the triangle. Then, add a shorter parallel line just below it. Teacher's Tip: Use your ruler to ensure the lines are perfectly straight and parallel.
Step 3: Creating the Inner Triangle
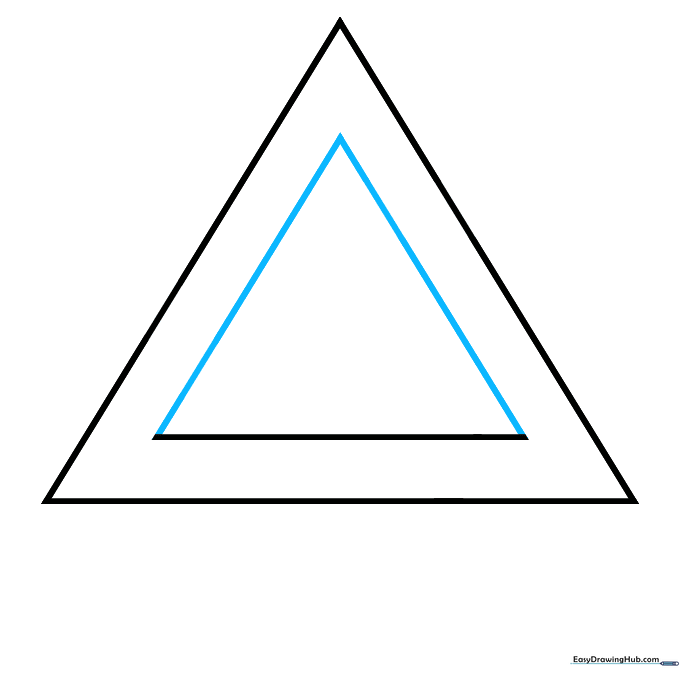
Extend lines from the shorter base to complete a second, smaller triangle. You should now see a triangle within a triangle. Teacher's Tip: Focus on keeping the angles sharp at the corners.
Step 4: Adding Diagonal Intersections
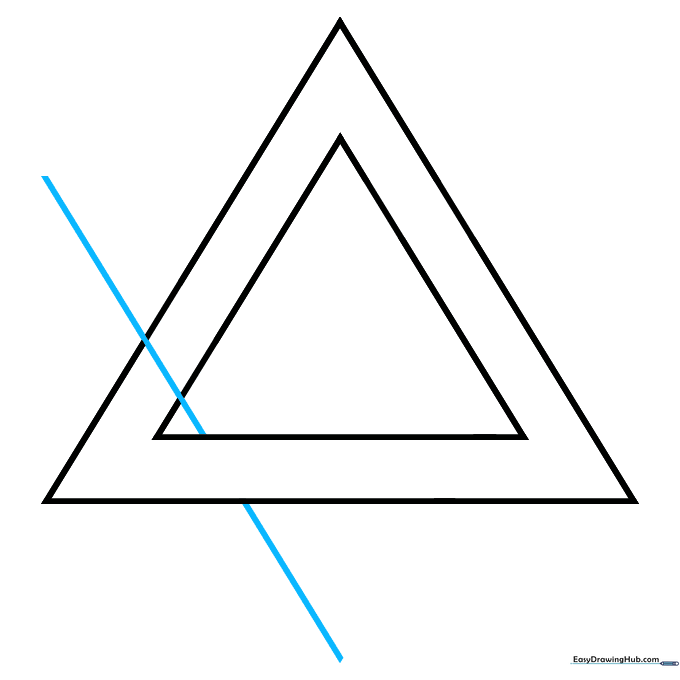
Draw a diagonal line that crosses through the bottom corner of your structure. Teacher's Tip: Imagine the line is 'weaving'—it goes over one side and under the other.
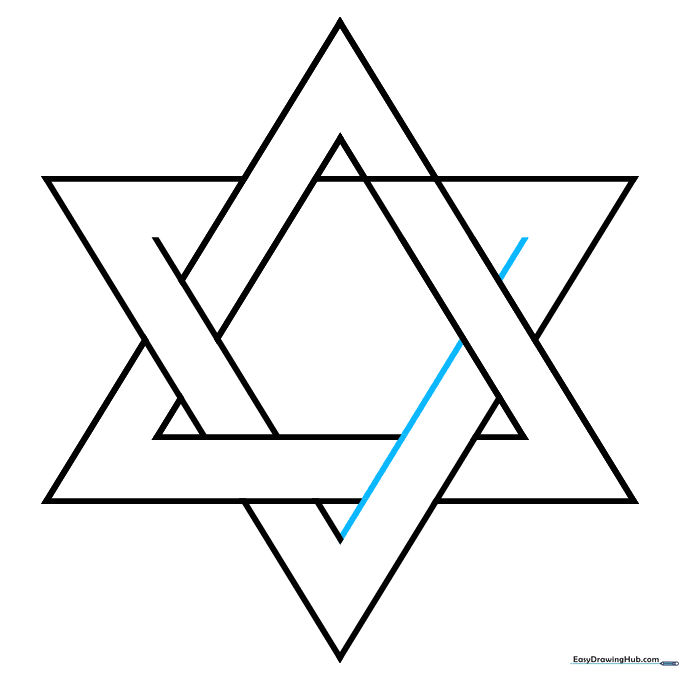
Step 5: Balancing the Star
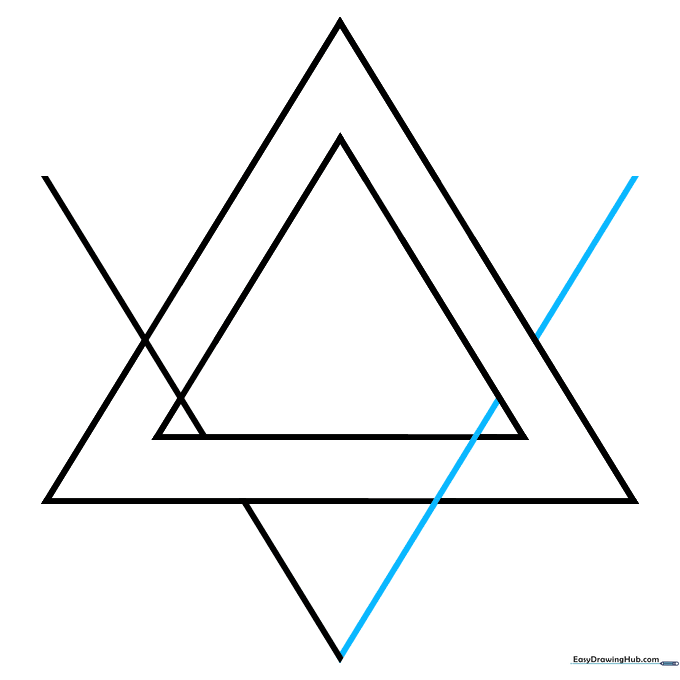
Draw a second diagonal line crossing the opposite corner to meet the first. Teacher's Tip: Ensure these lines meet at a sharp point to create the star's outer arm.
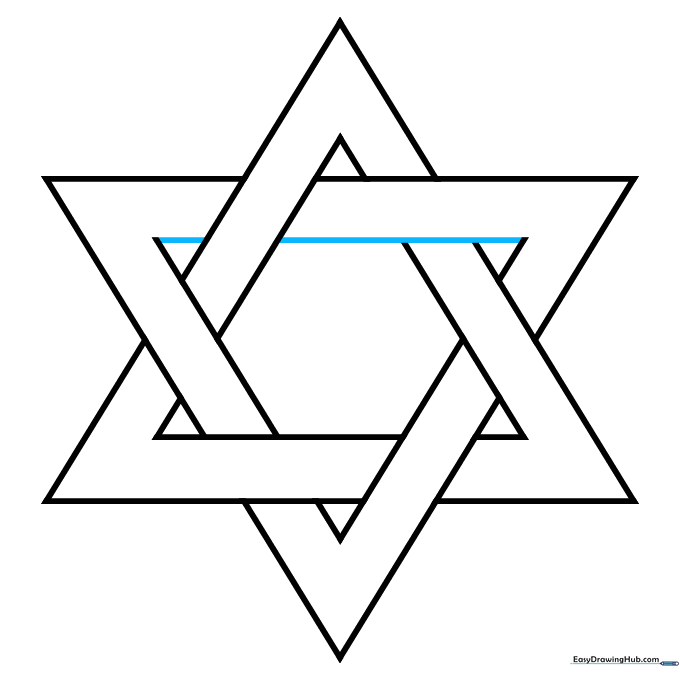
Step 6: Forming the Inverted Triangle
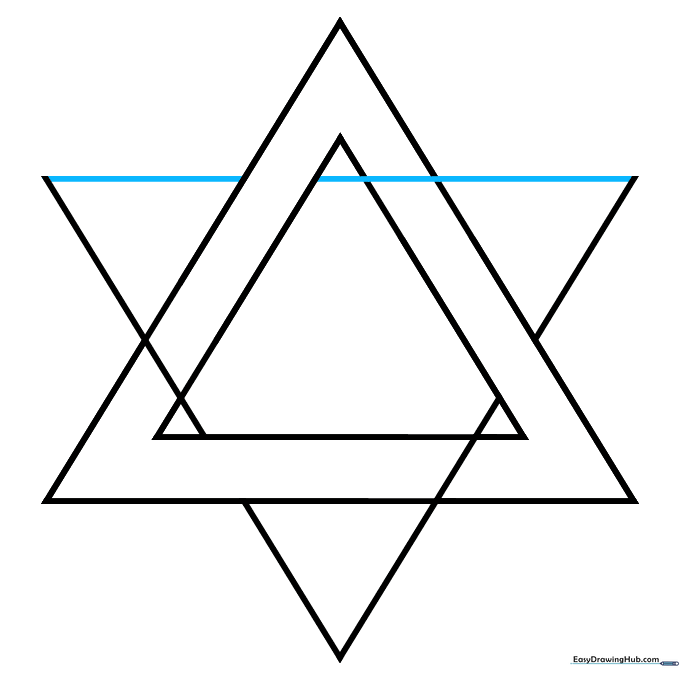
Connect your lines with a horizontal segment to complete the inverted triangle. Teacher's Tip: Check that your spacing is even on both sides for a symmetrical look.
Step 7: Refining the Overlap
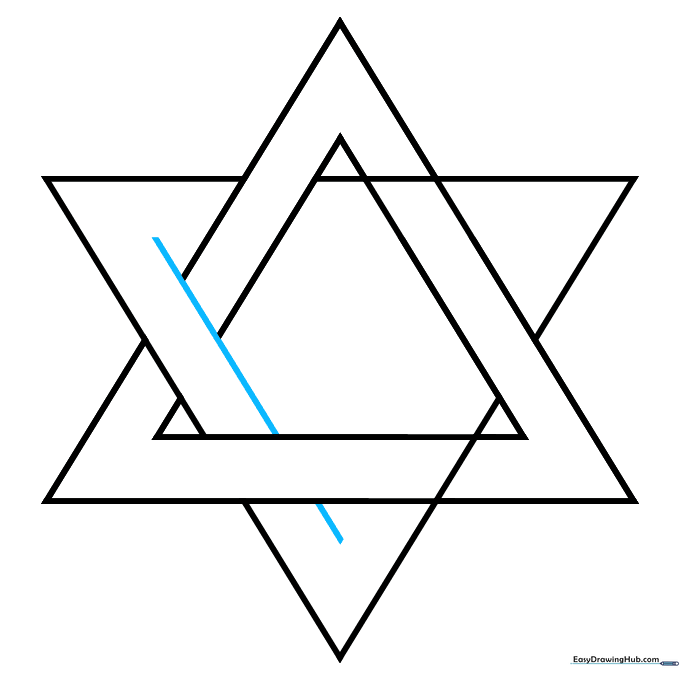
Carefully erase the internal lines where the triangles cross to create the 'interlocking' effect. Teacher's Tip: Use a kneaded eraser for precision so you don't smudge your work.
Step 8: Cleaning the Edges
Continue erasing the overlapping segments on the remaining sides. Teacher's Tip: Take your time—this is where the drawing starts to look professional.
Step 9: Final Touches
Complete the outline by ensuring all lines are crisp and clean. Teacher's Tip: Once you're happy with the shape, go over your lines with a darker pencil or fine-liner pen.
More Tutorials


