How to Draw the Sphinx: Easy 10-Step Guide for Kids
Bring ancient history to life with this step-by-step guide to drawing the Great Sphinx of Giza. Designed for young artists ages 8+, this activity requires only a pencil, paper, and an eraser. Follow along to master the iconic proportions of this legendary monument while practicing your shading and structural sketching skills.
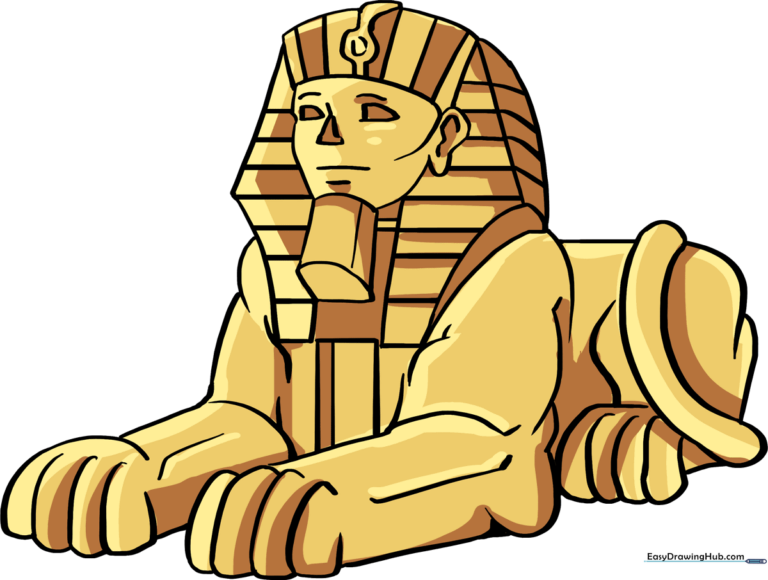
🎯 Final Result
Step-by-Step Instructions
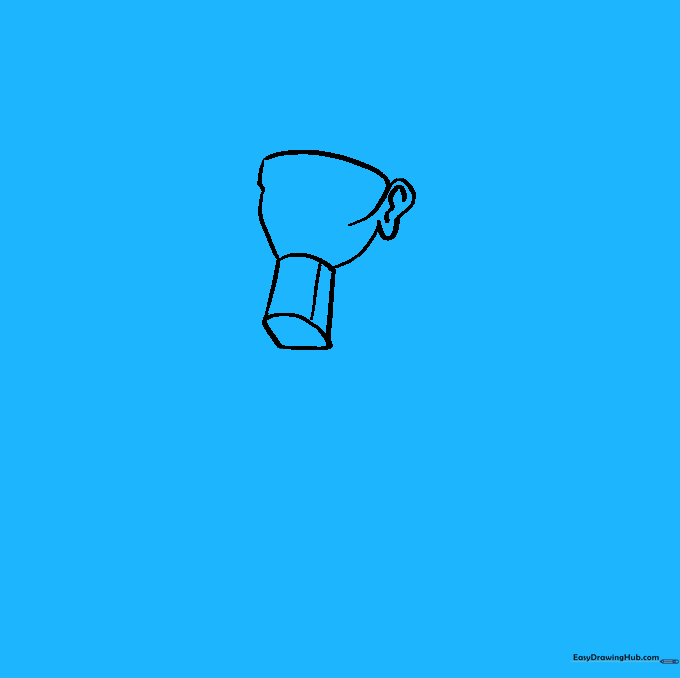
Step 1: Sketching the Face and Beard

Start by sketching the Sphinx's face using soft, curved lines. Add the ear with a small '3' shape inside. Teacher's Tip: Keep the face shape slightly oval to help with the proportions of the headdress later.
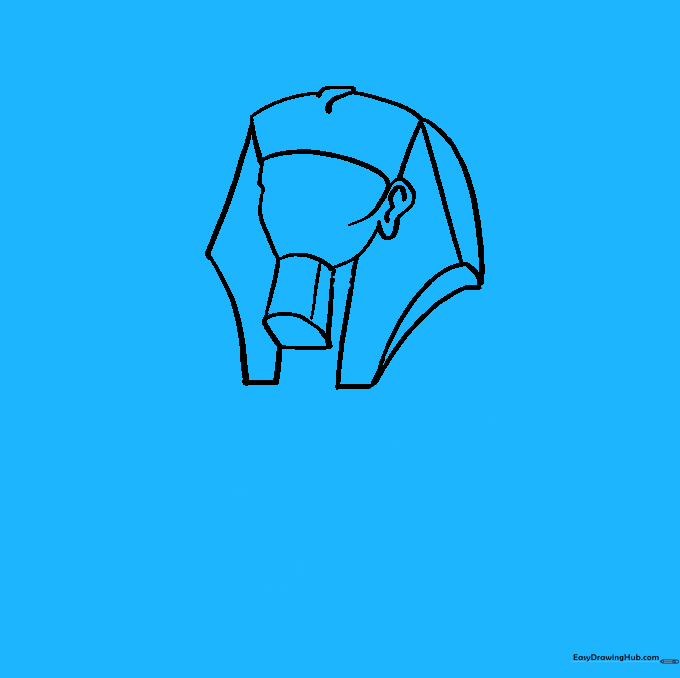
Step 2: Drawing the Nemes Headdress
Draw the iconic striped headdress by placing a curved trapezoid on top of the head. Add triangular side flaps that frame the face. Tip: Use a ruler if you want the stripes to look perfectly symmetrical.
Step 3: Sketching the Front Paw
Use overlapping 'C' shapes to sketch the toes of the front paw. Add a curved line on the forearm to suggest muscle. Tip: Think of this like drawing a cat's paw, just much larger and more solid.
Step 4: Adding Chest Detail

Draw a rectangle on the chest area to serve as the base for the decorative collar. Add a vertical line to define the center. Tip: Keep this shape simple; we will add more texture in later steps.
Step 5: Defining the Second Forearm

Sketch the second forearm using curved lines to show the weight of the statue. Ensure the lines flow naturally from the chest area. Tip: Focus on the curve of the elbow to give the statue a sense of resting strength.
Step 6: Drawing the Back and Tail

Draw a long, curved line that doubles back to form the tail. Outline the back and rump with smooth, sweeping curves. Tip: Imagine the Sphinx is a resting lion; keep the back line long and low.
Step 7: Adding the Rear Leg
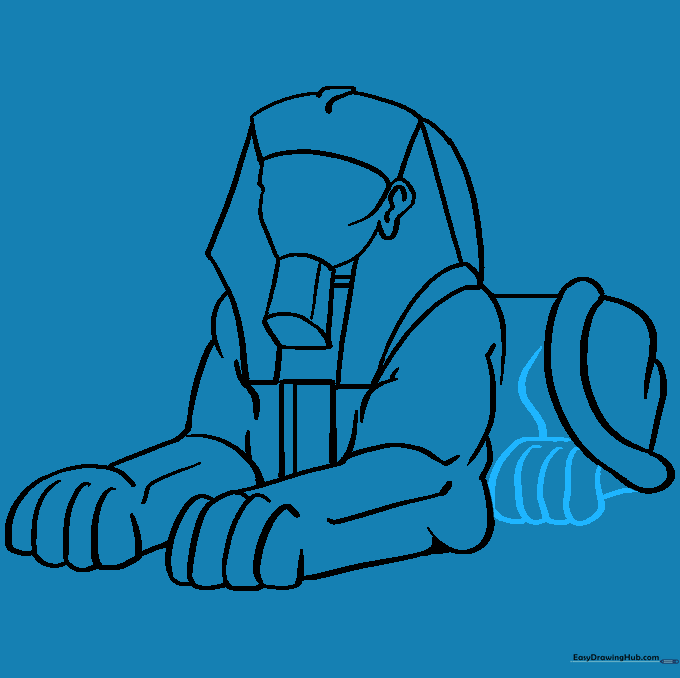
Use curved lines to outline the rear leg, tucking it neatly against the body. Form the toes to match the front paw. Tip: Make sure the rear leg looks slightly smaller than the front to show perspective.
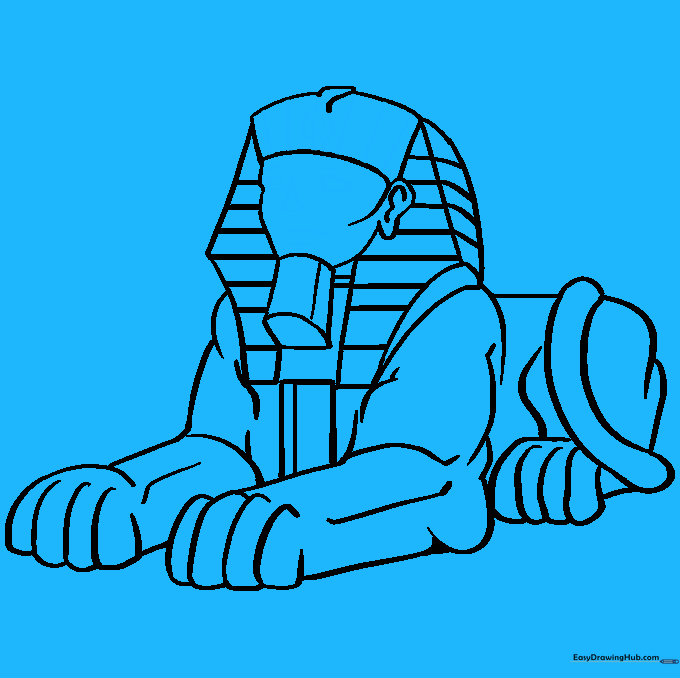
Step 8: Adding Headdress Texture

Draw straight, horizontal lines across the side flaps of the crown to create the striped pattern. Tip: Space these lines evenly to keep the drawing looking professional.
Step 9: Final Facial Details
Add the Uraeus (cobra) to the center of the crown. Detail the eyes, nose, and mouth using small, precise lines. Tip: Use a sharp pencil for these fine details to avoid smudging.
Step 10: Bringing it to Life with Color
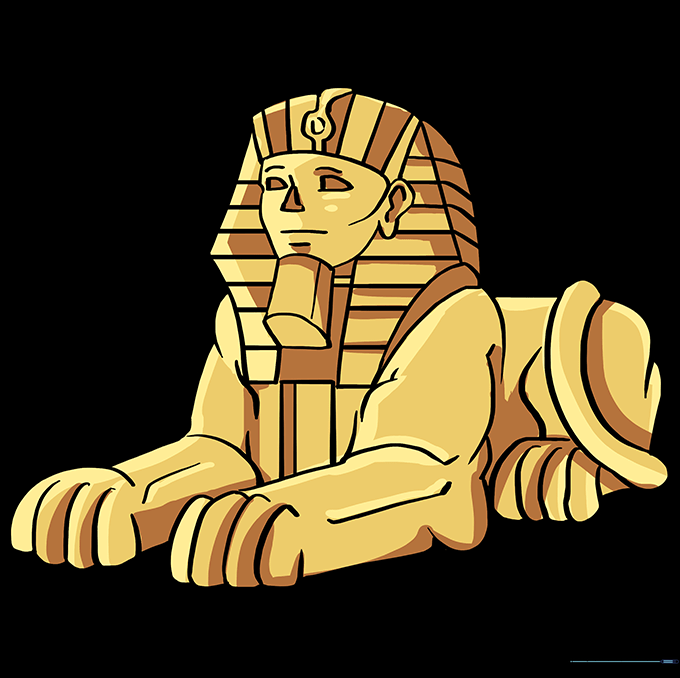
Color your Sphinx using sandy yellows, tans, and light browns. Use darker shades in the crevices to create depth and shadows. Tip: Try light, cross-hatched strokes to mimic the texture of weathered stone.
More Tutorials


