How to Draw the Solar System: Easy 10-Step Guide
Blast off into art with this simple guide to drawing our solar system! Designed for young astronomers and budding artists, this tutorial requires only a pencil, paper, and your favorite coloring tools. Follow along to map out the planets and build confidence in your drawing skills.
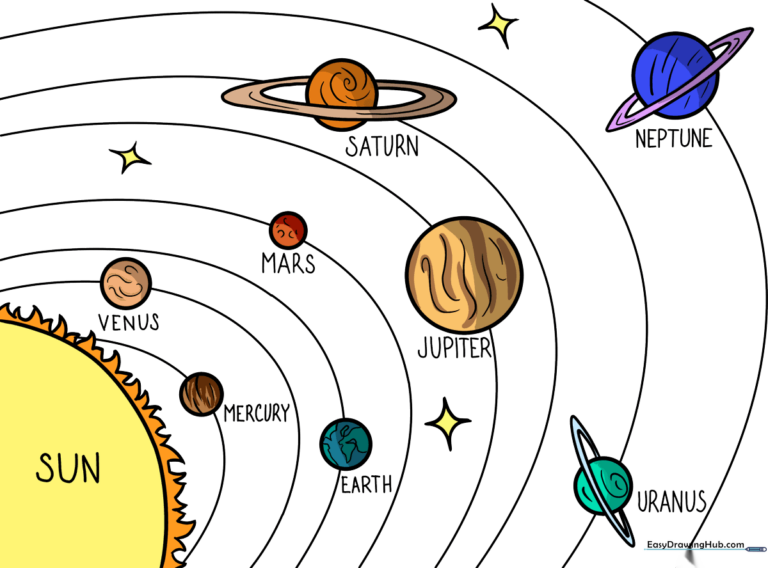
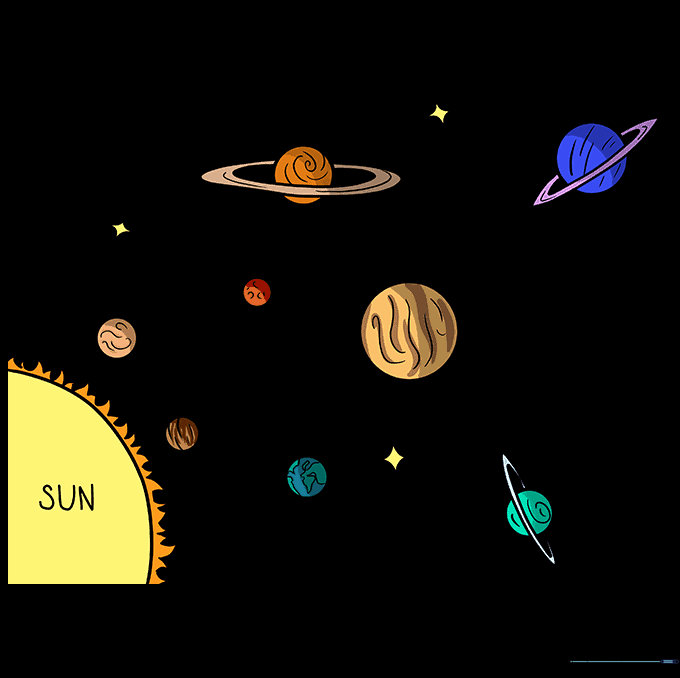
🎯 Final Result
Step-by-Step Instructions
Step 1: Sketching the Sun and Inner Planets

Draw a large, curved line in the corner for the Sun. Add two small circles nearby for Mercury and Venus. Teacher's Tip: Keep your pencil pressure light so you can easily adjust the sizes if they look a bit off!
Step 2: Adding Earth, Mars, and Jupiter
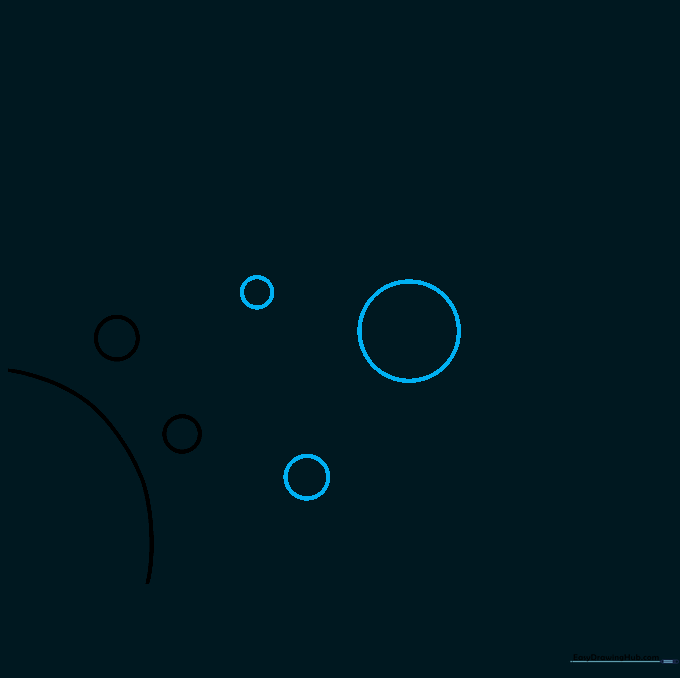
Add three more circles: Earth, Mars, and the massive Jupiter. Remember, Jupiter is our gas giant, so make it significantly larger than the rocky planets. Tip: Use a circular object like a bottle cap if you need help keeping your circles tidy.
Step 3: Sketching the Outer Planets
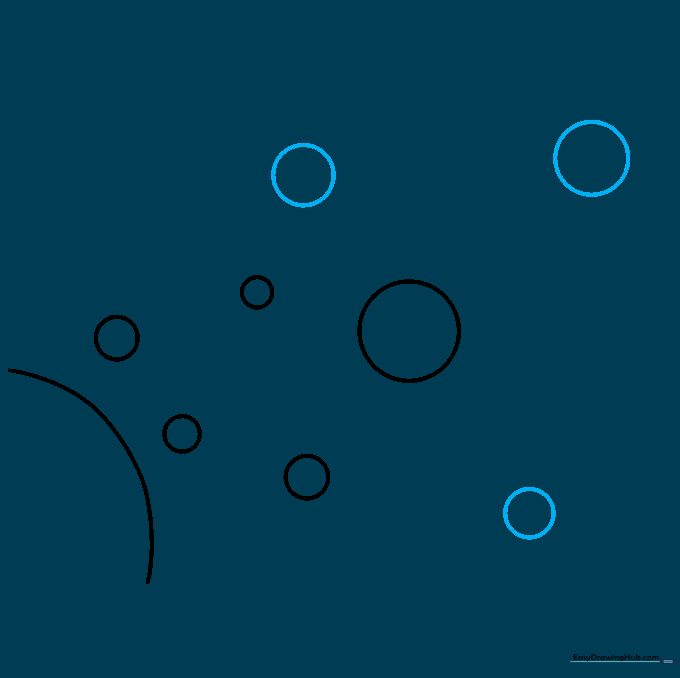
Draw three more circles for Saturn, Uranus, and Neptune. These should be smaller than Jupiter but larger than the inner planets. Tip: Space them out evenly so your drawing doesn't look crowded.
Step 4: Adding Solar Flares and Stars
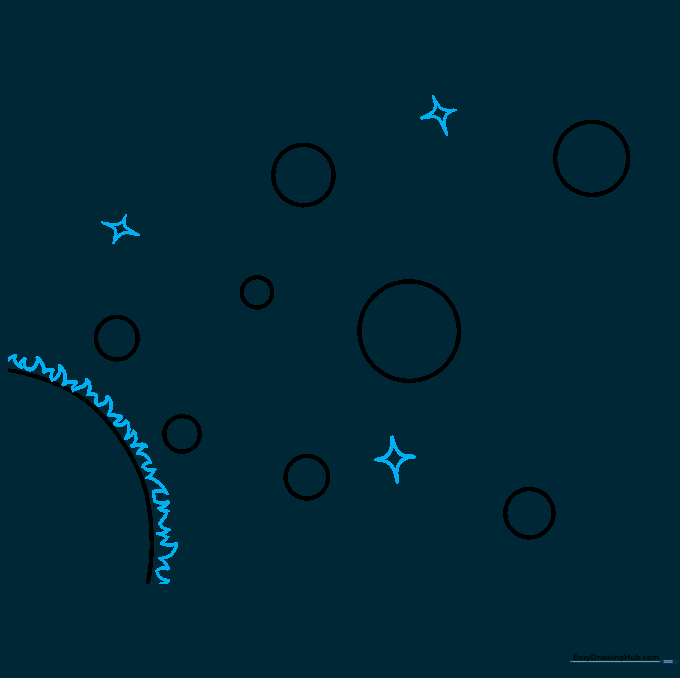
Give the Sun a fiery edge with jagged, curved lines. Add twinkling stars in the background using four-pointed shapes. Tip: Vary the size of your stars to create a sense of depth in space.
Step 5: Drawing Planetary Rings
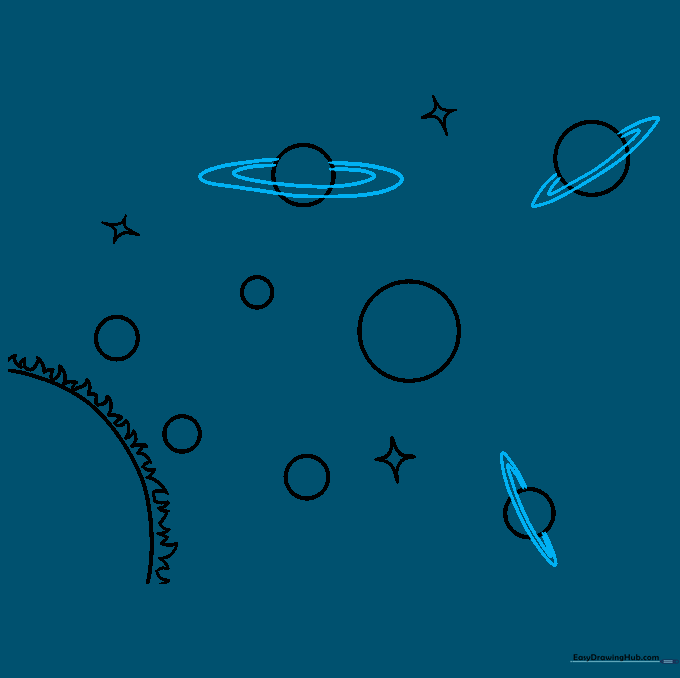
Draw rings around Saturn, Uranus, and Neptune using two curved lines for each. Tip: Make sure the rings overlap the planet slightly to show they are circling around it.
Step 6: Adding Planetary Texture

Add detail to the inner planets. Use parallel lines for Mercury and swirls for Venus and Mars. Sketch simple shapes for Earth's continents. Tip: Keep these lines faint so they don't overpower the planet's shape.
Step 7: Detailing Gas Giants
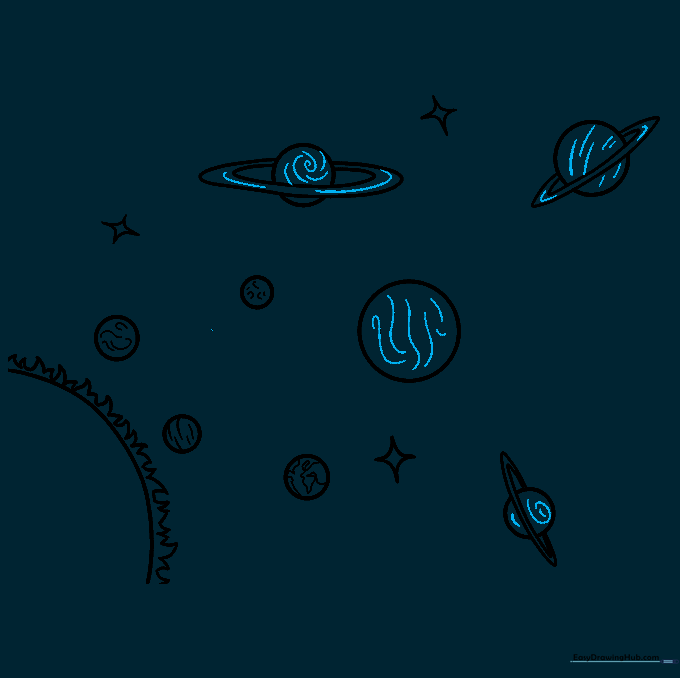
Add swirling, atmospheric lines to the gas giants. Texture the rings with small, curved lines to give them a sense of motion. Tip: Think of these as clouds moving across the planet's surface.
Step 8: Drawing Orbital Paths
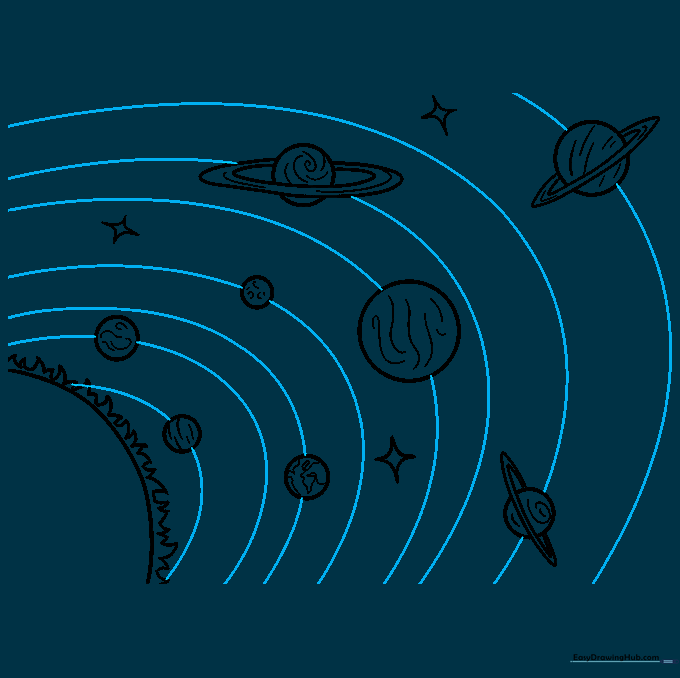
Draw long, sweeping curved lines behind the planets to represent their orbits. Tip: Use a light touch to ensure the orbits look like faint paths rather than solid walls.
Step 9: Labeling Your Planets
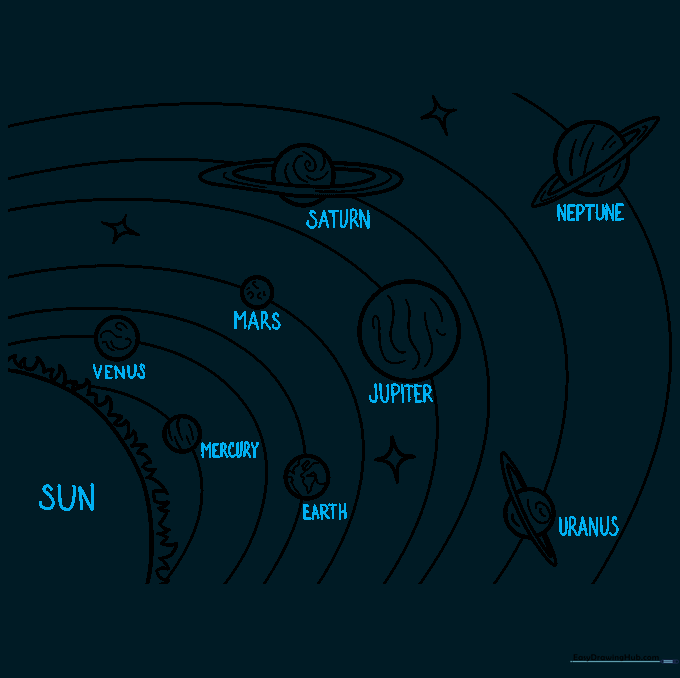
Write the names of each planet clearly near their orbit. Order: Sun, Mercury, Venus, Earth, Mars, Jupiter, Saturn, Uranus, Neptune. Tip: Use a ruler to keep your labels aligned if you want a professional look.
Step 10: Adding Color
Bring your solar system to life! Use blues and greens for Earth, fiery reds for Mars, and oranges or yellows for the gas giants. Tip: Use light, circular motions with your colored pencils for a smooth, vibrant finish.
More Tutorials


