How to Draw a Scream Mask: Easy 10-Step Tutorial
Ready to create your own spooky masterpiece? This tutorial is perfect for young artists and beginners looking to practice facial proportions and symmetry. All you need is a pencil, an eraser, and a piece of paper to bring this iconic character to life.
🎯 Final Result

Step-by-Step Instructions
Step 1: Sketching the Base Circle

Start by drawing a light circle to act as the face's foundation. Teacher's Tip: Keep your pencil pressure very light so you can easily erase these guidelines later.
Step 2: Adding Facial Guidelines
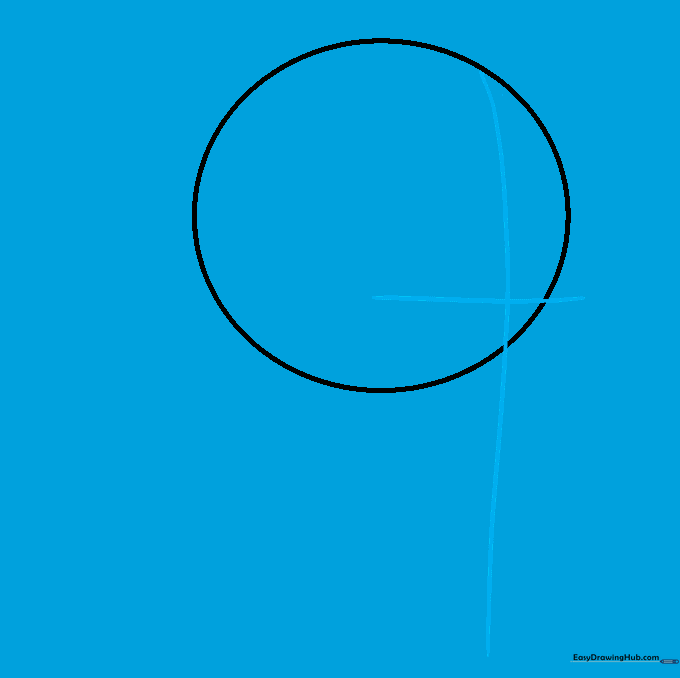
Draw two slightly curved lines crossing at a perpendicular angle inside the circle. These crosshairs help you place the eyes and nose accurately. Tip: Use a ruler if you struggle with straight lines, but keep them light!
Step 3: Outlining the Face Shape
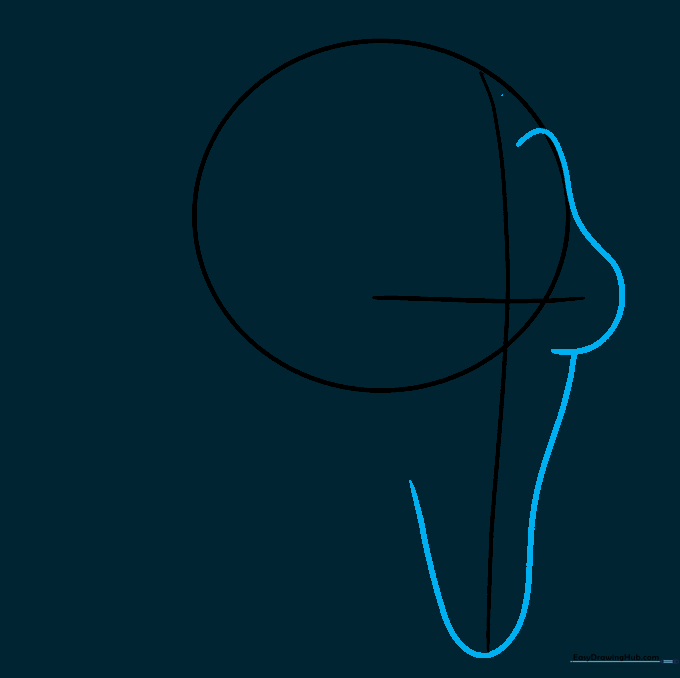
Use overlapping curved lines to define the brow, eyes, and chin. Tip: Focus on the 'droopy' nature of the mask—it should look elongated rather than perfectly round.
Step 4: Defining the Eye Sockets
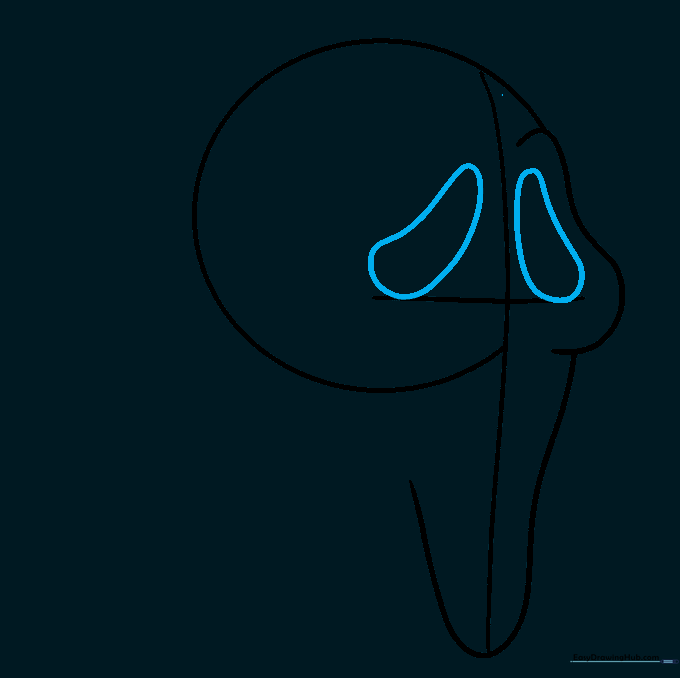
Erase the circular guide line where the eyes will be. Draw two irregular, curved shapes for the eyes using your horizontal line as a guide. Tip: Make them look slightly uneven to capture that classic 'spooky' expression.
Step 5: Adding the Nose Cavity
Erase the horizontal guideline and refine the cheekbones. Draw a small, distorted upside-down heart for the nose. Tip: Think of this as a 'ghostly' nose—it doesn't need to be perfectly symmetrical.
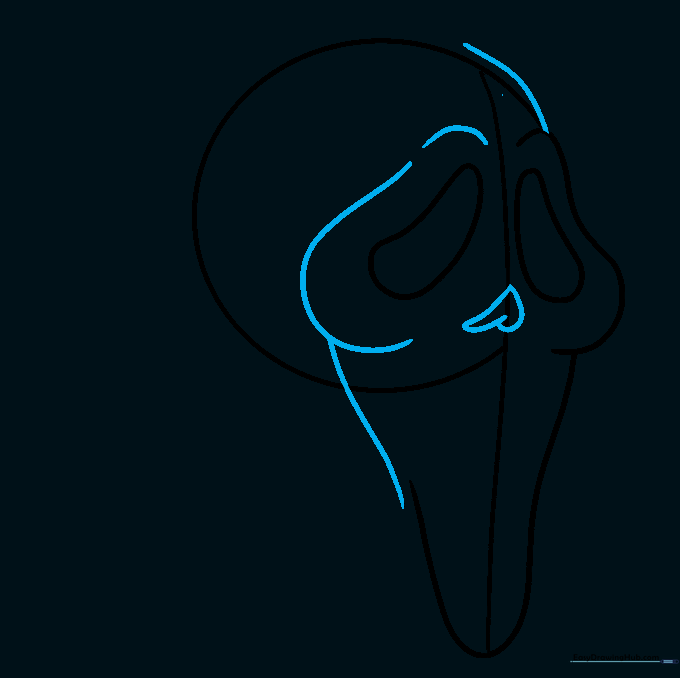
Step 6: Drawing the Mouth
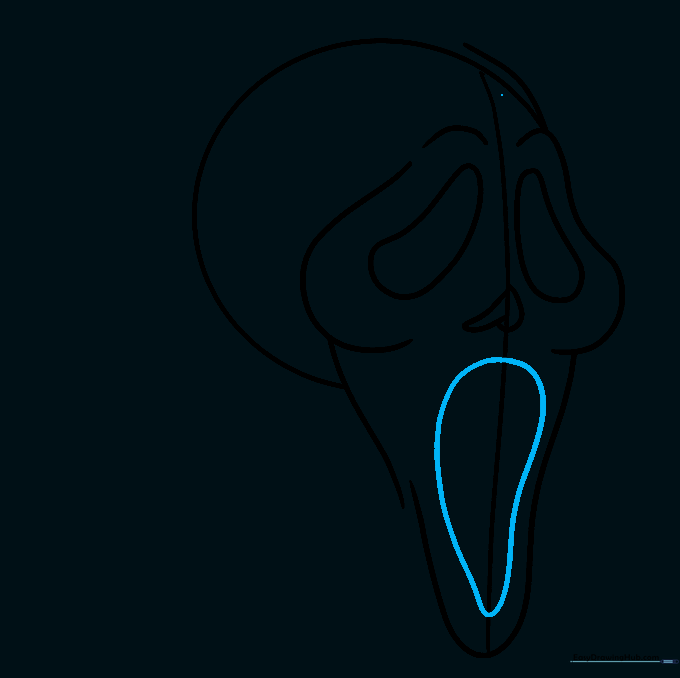
Use a long, curved line to enclose an irregular oval shape for the open mouth. Tip: Keep the lines fluid to suggest the mask is 'screaming' in motion.
Step 7: Sketching the Hood Opening
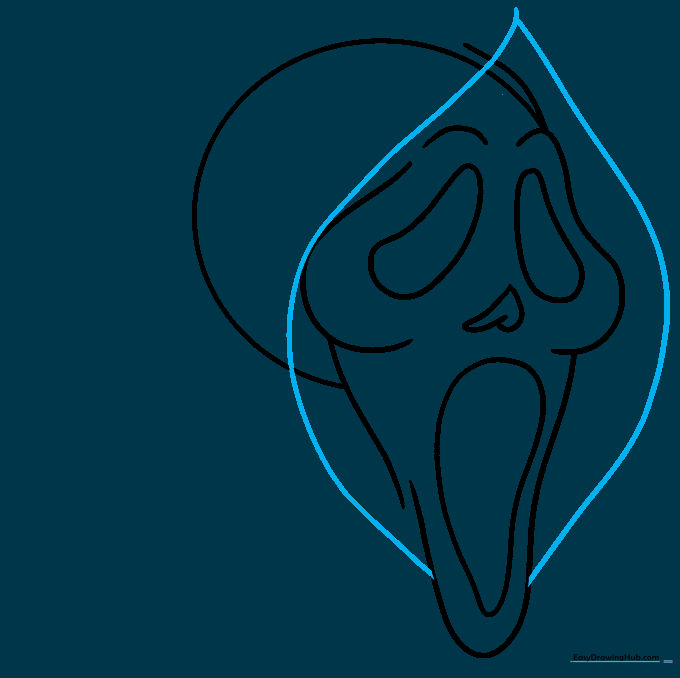
Erase the vertical guide line. Draw a large teardrop shape around the face to create the hood opening. Tip: Ensure the point of the teardrop starts above the forehead.
Step 8: Completing the Hood
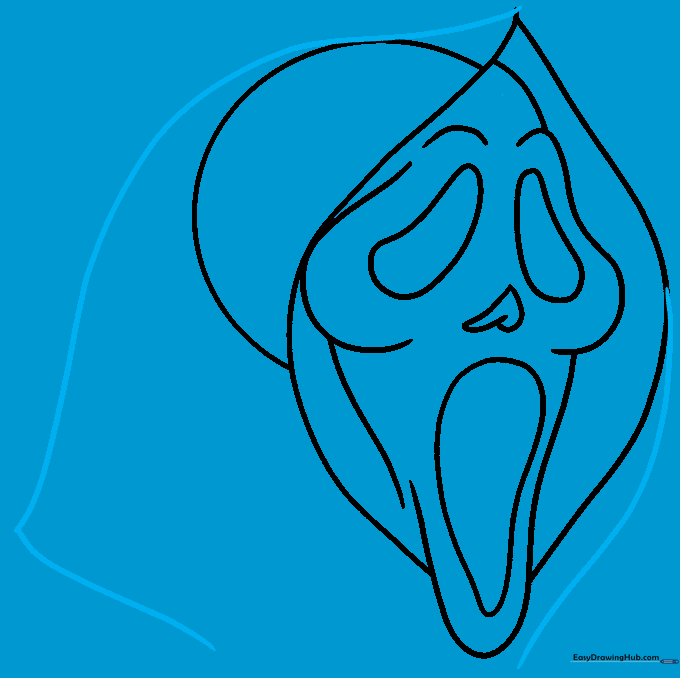
Use long, sweeping curved lines to outline the rest of the fabric hood. Tip: Don't worry about making the lines perfectly straight; fabric folds are naturally wavy.
Step 9: Adding Fabric Folds
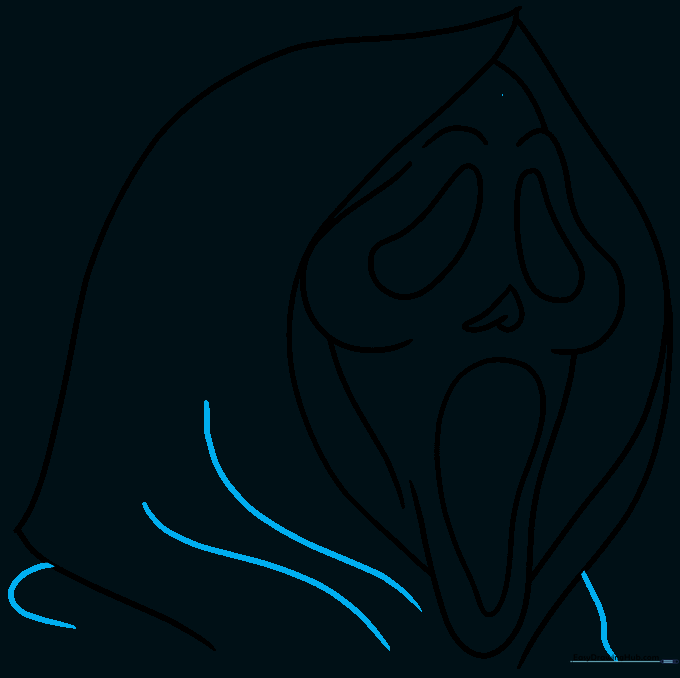
Erase any remaining circular guidelines. Add small curved lines at the base of the hood to show fabric folds and shoulders. Tip: These small details add depth and realism to your drawing.
Step 10: Adding Color

Time to color! Use white for the mask and deep black for the hood. Tip: Use a black marker for the eyes and mouth to make them pop against the white face.
More Tutorials


