How to Draw a Seed: Easy Science Diagram for Kids
Bring biology to life with this simple, step-by-step guide designed for young scientists and artists. You will need a pencil, an eraser, and some colored pencils to map out the anatomy of a seed. By the end of this lesson, you will have a clear, labeled diagram that helps you understand how plants begin to grow.
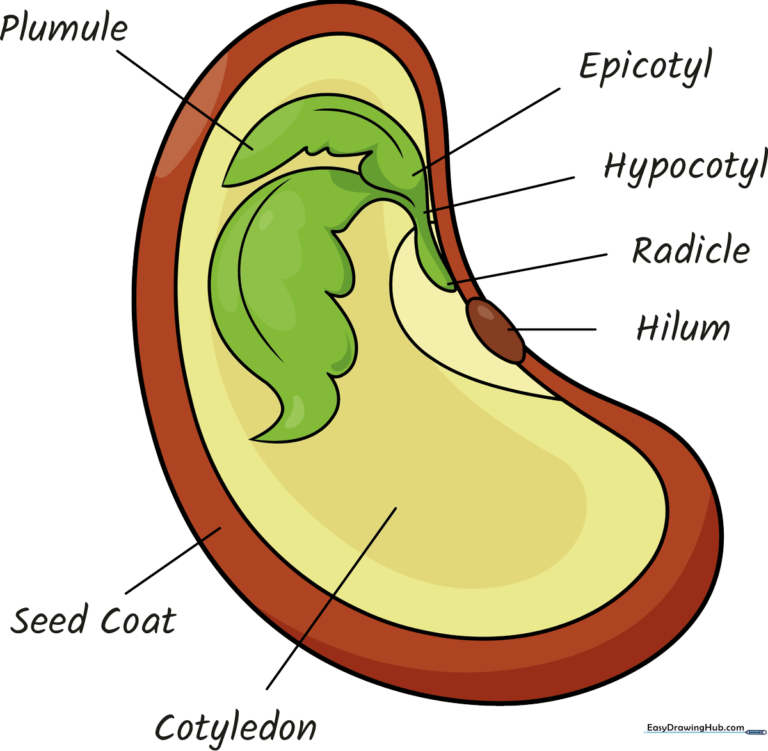
🎯 Final Result
Step-by-Step Instructions
Step 1: Sketching the Outer Shell
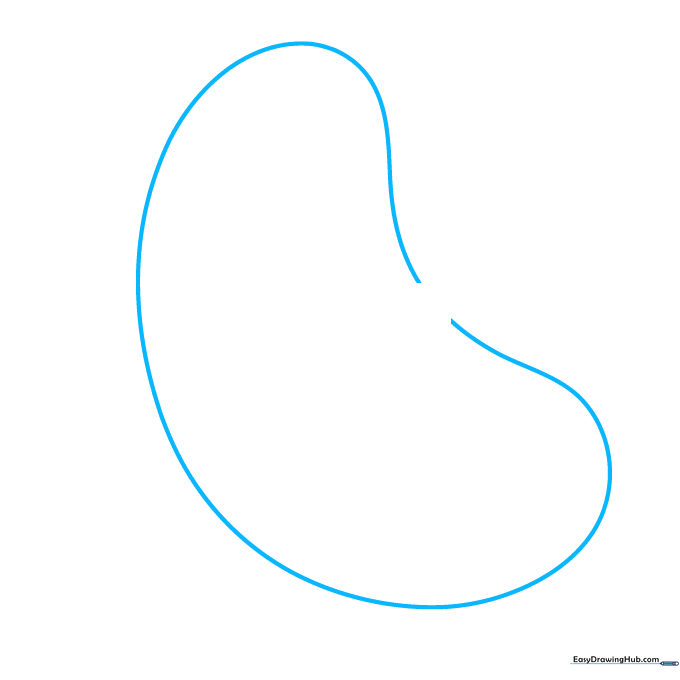
Draw a long, curved line that looks like a bean shape. Leave a small gap at the ends. Teacher's Tip: Use a light touch with your pencil; this is just the outer 'seed coat' that protects the baby plant inside.
Step 2: Defining the Internal Structure
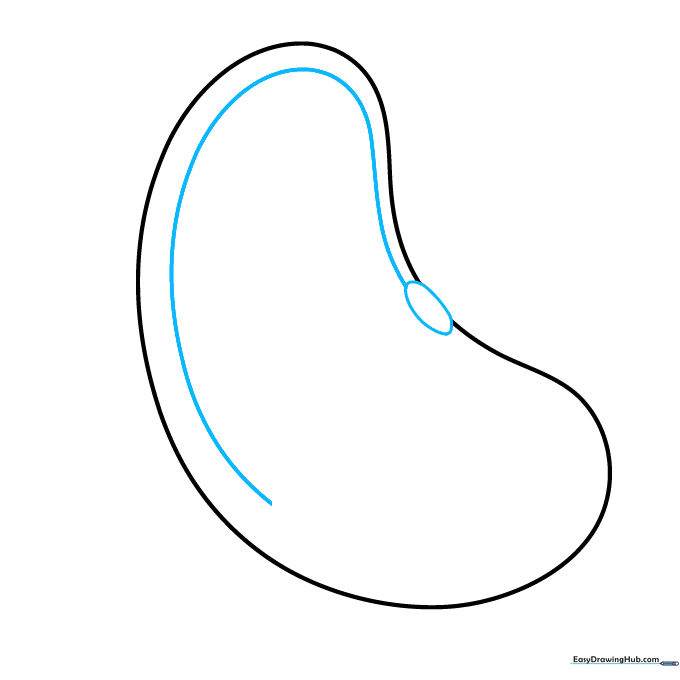
Connect the ends of your bean shape with a small oval. Then, draw a long, curved line inside that follows the outer shape. Teacher's Tip: This inner line represents the space where the plant embryo will grow.
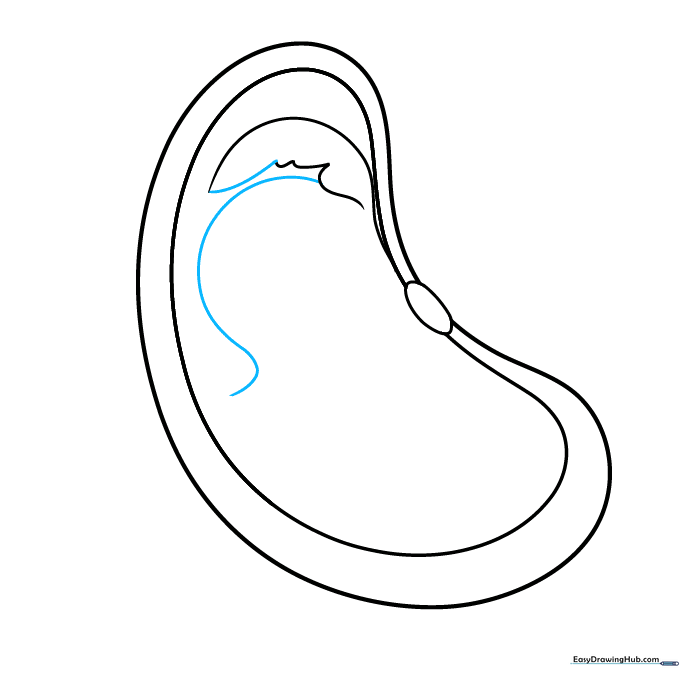
Step 3: Extending the Embryo Lines

Continue the inner curved line until it meets the oval, then draw another curve branching out. Teacher's Tip: Keep these lines smooth and flowing to mimic the organic shape of a developing plant.
Step 4: Creating the Plumule
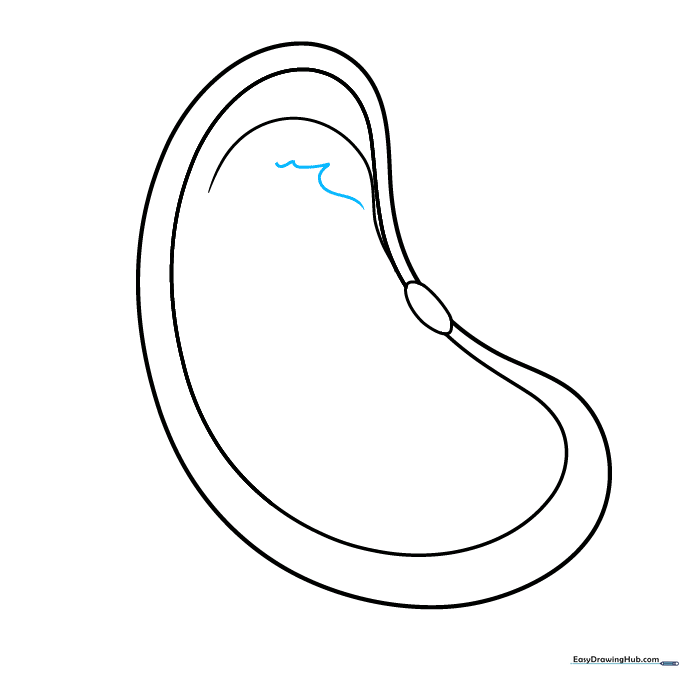
Below the curve, draw a jagged, zigzag line. Teacher's Tip: This will become the plumule, or the first tiny leaves. Make the zigzags sharp to show the texture of the young leaves.
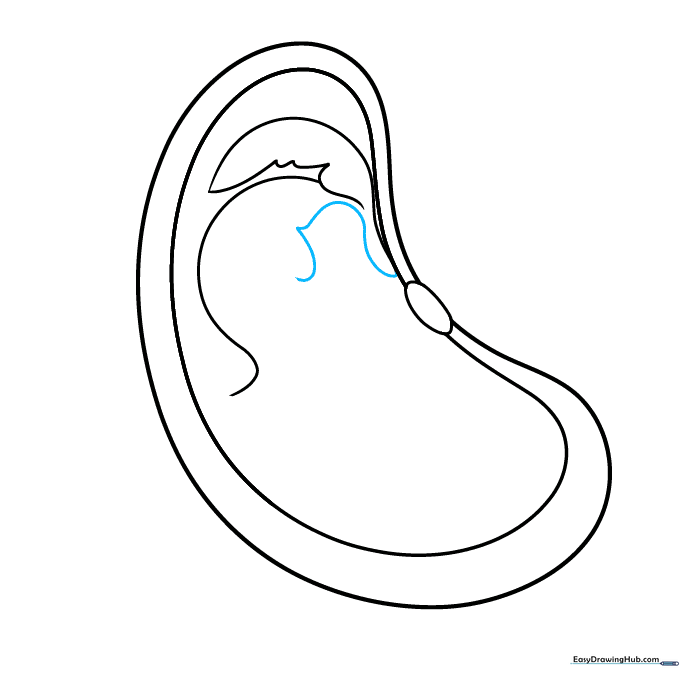
Step 5: Connecting the Embryo Parts
Extend the zigzag line to connect with the curve, then draw another long curve from that point. Teacher's Tip: You are now drawing the stem-like parts of the embryo.
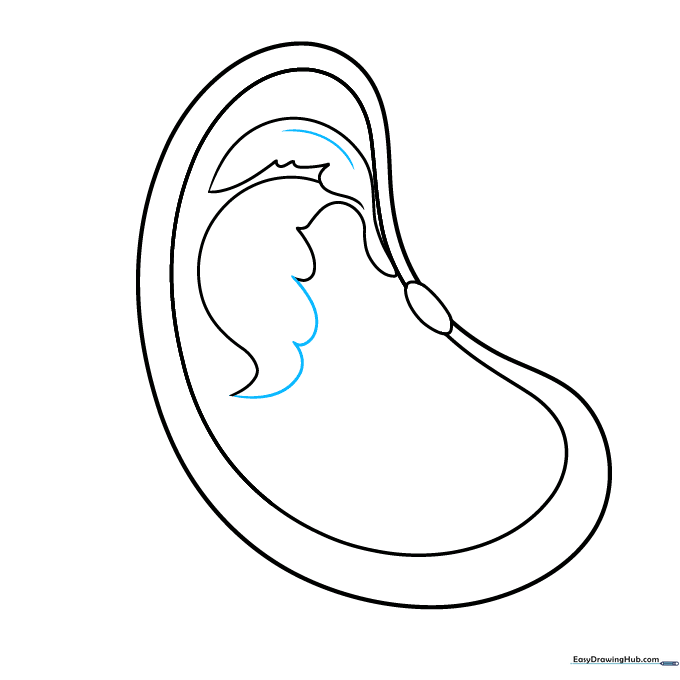
Step 6: Adding Detail to the Inner Leaf
Draw another curved line from the inner outline with a single jagged point. Teacher's Tip: This helps distinguish the different layers of the developing plant.
Step 7: Refining the Leaf Shape
Use 'U' shaped lines to close the leaf shape inside the seed. Contour it with a curved line. Teacher's Tip: Keep your 'U' shapes rounded to show the softness of the new leaves.
Step 8: Adding Labels and Details

Draw a center line down the second leaf and a half-circle over the original oval. Now, draw straight lines pointing to the seed coat to begin your labels. Teacher's Tip: Use a ruler for your label lines to keep your diagram looking neat and professional.
Step 9: Finalizing the Scientific Labels
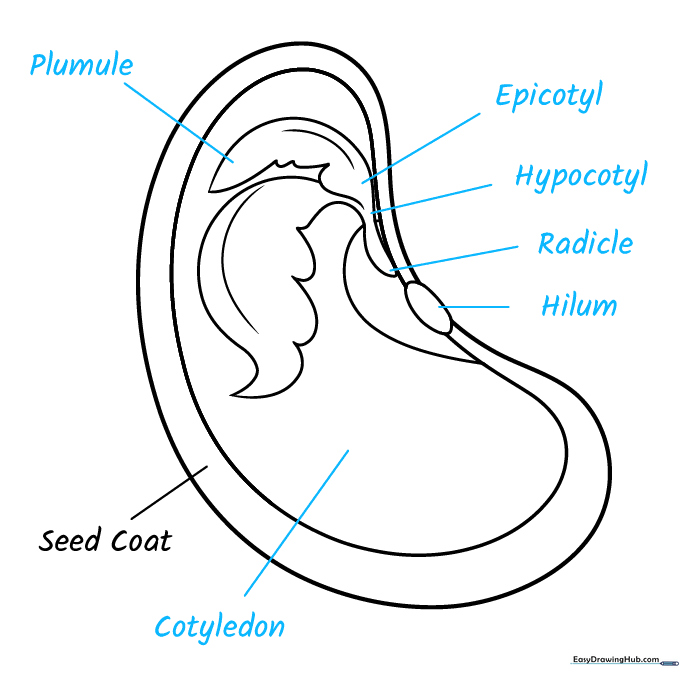
Continue labeling clockwise: plumule, epicotyl, hypocotyl, radicle, hilum, and cotyledon. Teacher's Tip: Write clearly so your diagram is easy to read for your science class!
Step 10: Adding Color
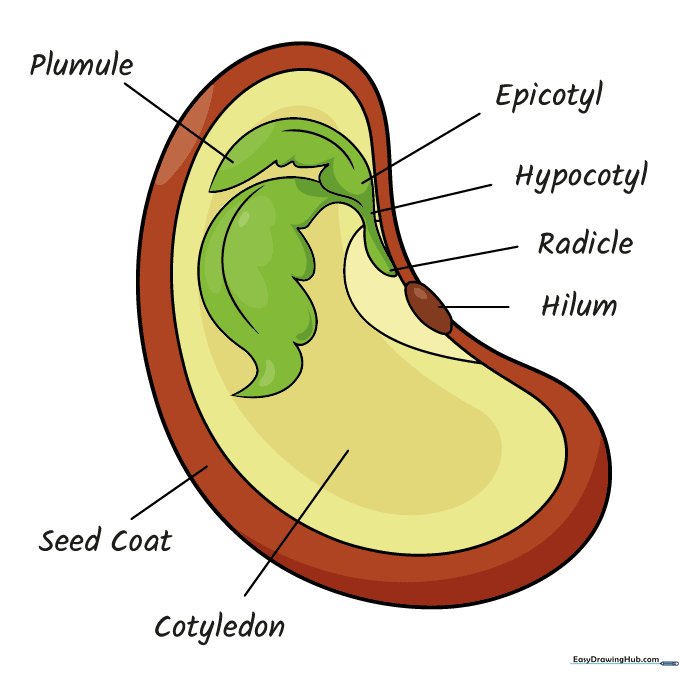
Color your diagram! Use earthy tones for the seed coat and vibrant greens for the plumule leaves. Teacher's Tip: Seeds come in many colors, so feel free to be creative, but keep the leaves green to show they are ready to photosynthesize!
More Tutorials


