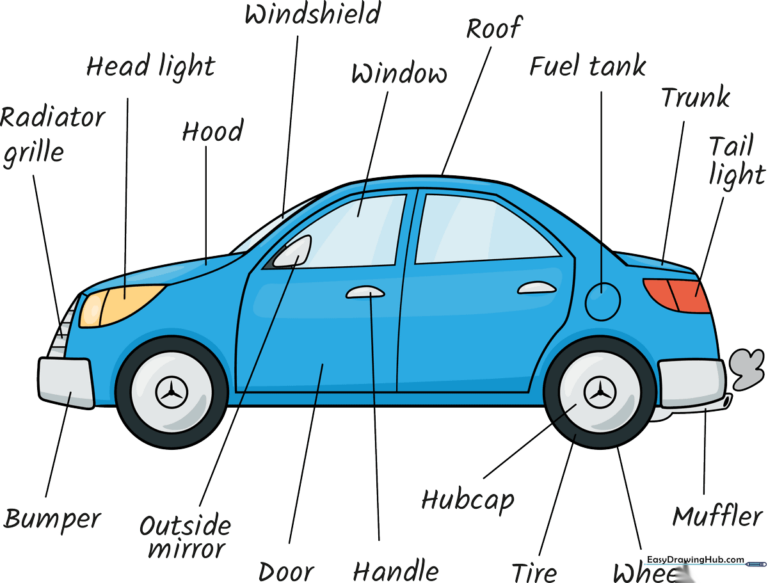
How to Draw a Car: Easy Labeled Diagram for Kids
Ready to explore how a car is put together? This guide is perfect for young engineers and artists ages 5+ to learn basic vehicle anatomy. You’ll only need a pencil, an eraser, and some paper to create your own labeled car diagram.
🎯 Final Result
Step-by-Step Instructions
Step 1: Sketching the Wheels and Bumper
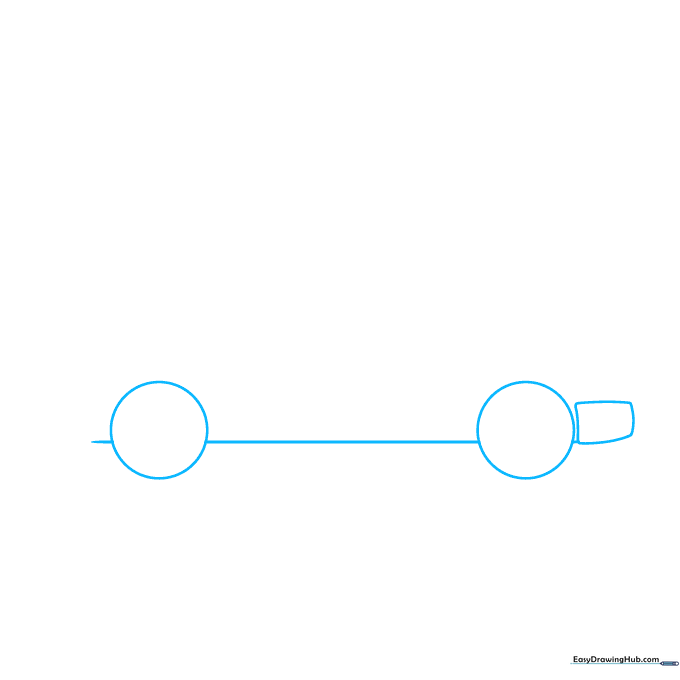
Start by drawing two circles for the tires with a straight horizontal line connecting them. Add a curved rectangle at the back for the bumper. Tip: Keep your lines light so you can easily adjust the spacing if the tires look too far apart.
Step 2: Defining the Hood and Trunk
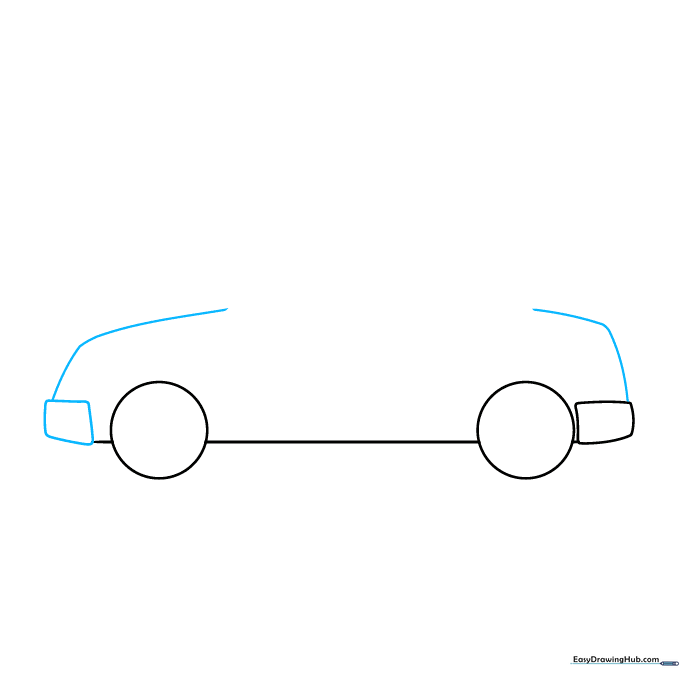
Draw an irregular rectangle at the front for the front bumper. Extend curved lines upward from both bumpers to outline the hood and the trunk. Tip: Use smooth, sweeping motions to make the car look aerodynamic.
Step 3: Adding Lights and Cabin
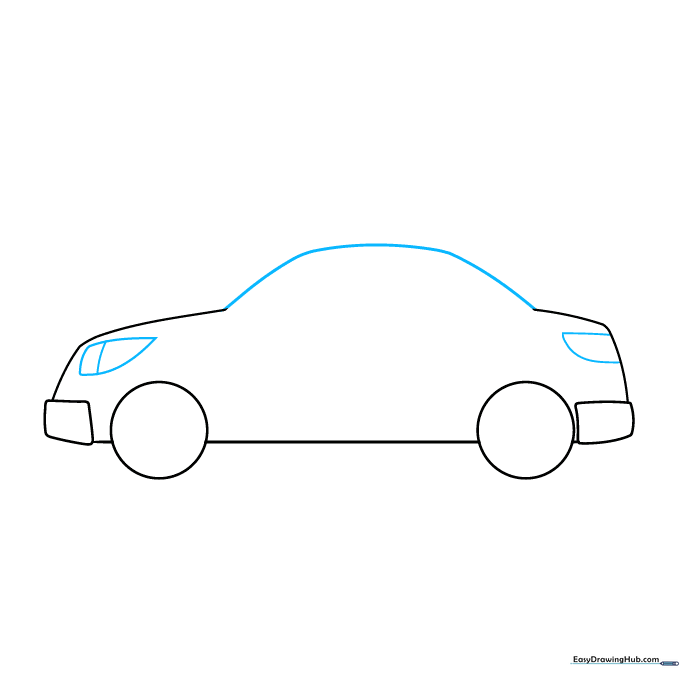
Connect the hood and trunk with a curved line to create the cabin roof. Add pointed shapes at the front and back for headlights and taillights. Tip: Add a small vertical line inside the headlight to represent the lens detail.
Step 4: Sketching Windows and Details

Draw a curved triangle for the driver's side window and a curved line for the windshield. Add small details to the hood and taillight. Tip: Keep your window shapes slightly rounded to match the car's modern look.
Step 5: Adding Doors and Back Window
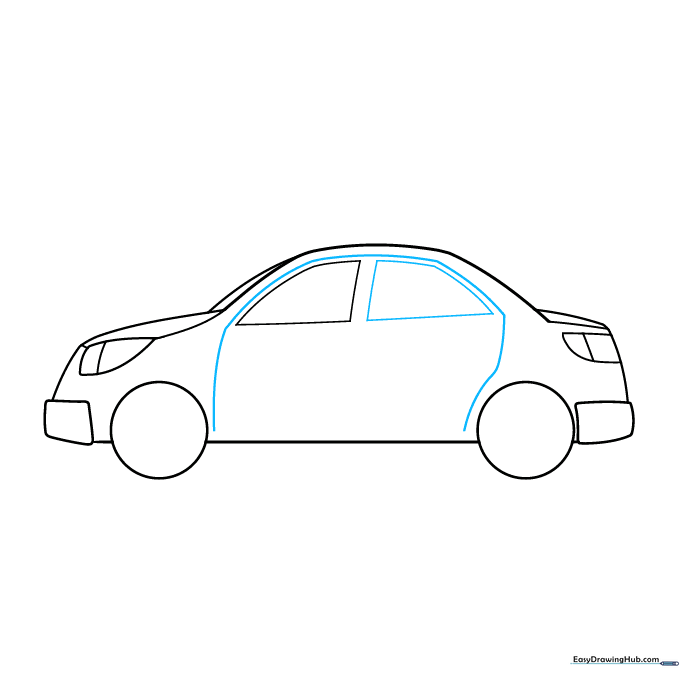
Draw a second window for the backseat and use a long curved line to define the door panels. Tip: Make sure the door line follows the curve of the car body for a realistic look.
Step 6: Adding Mirrors and Handles
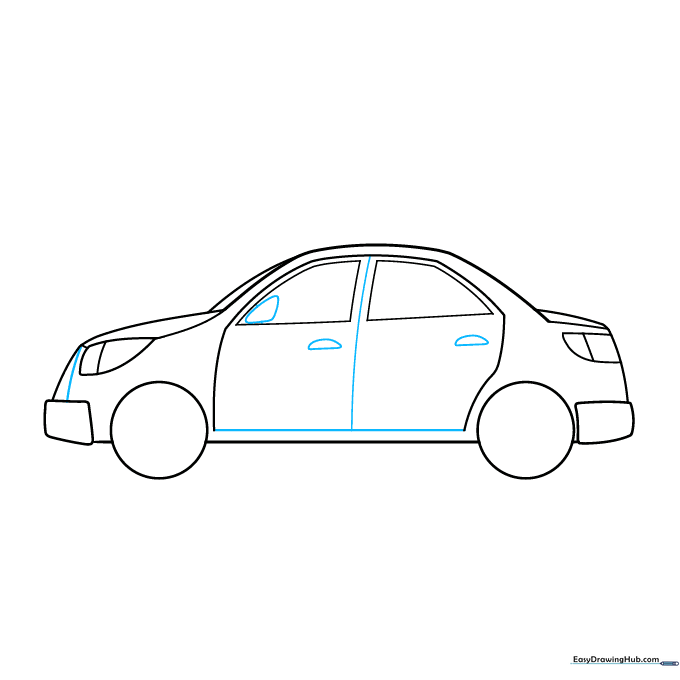
Use horizontal and vertical lines to finish the door frames. Add small rounded shapes for the side mirror and door handles, and outline the front grille. Tip: Keep the mirror small so it doesn't look too heavy for the car.
Step 7: Wheels and Hubcaps
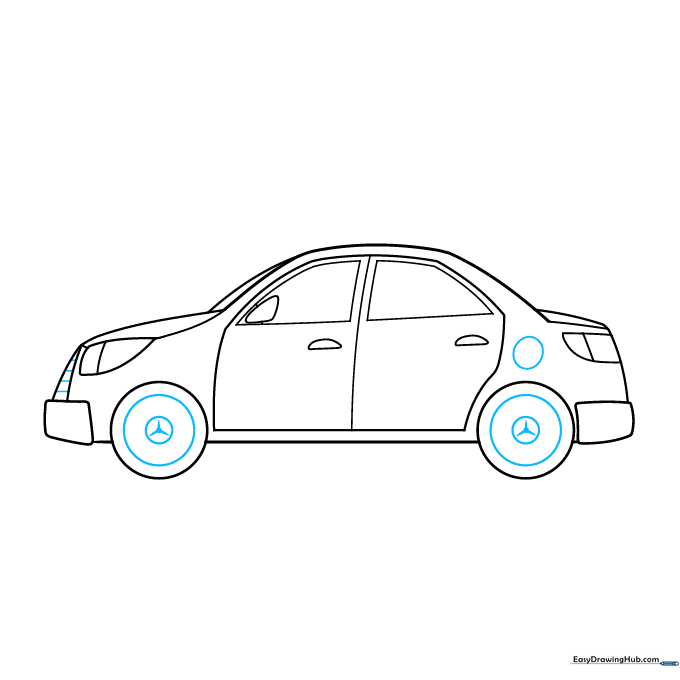
Draw circles for the gas cap, wheels, and hubcaps. Add a star-like pattern to the hubcaps. Tip: Use a steady hand for the circles; if you struggle, trace a small round object like a bottle cap.
Step 8: Labeling Your Car
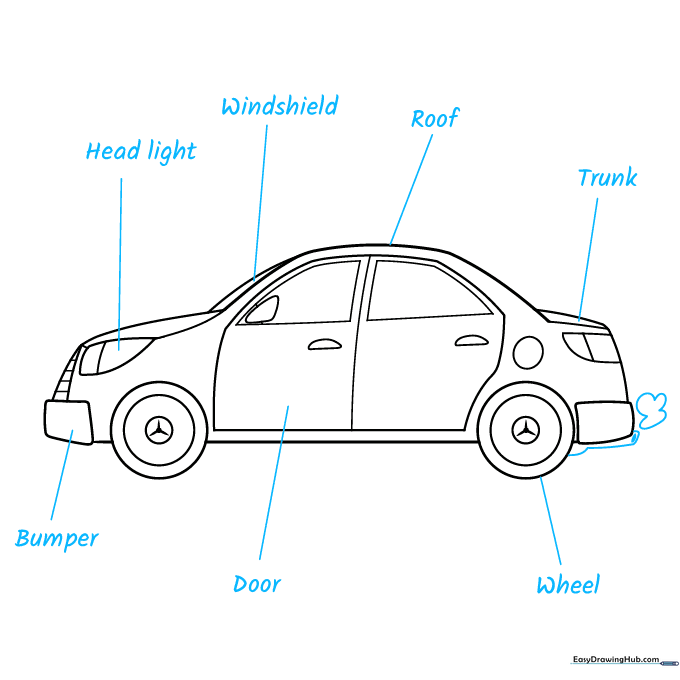
Draw the tailpipe and smoke. Now, start labeling! Draw lines from the parts (like the windshield and trunk) to clear, printed labels. Tip: Use a ruler for the label lines to keep your diagram looking professional.
Step 9: Finalizing the Labels
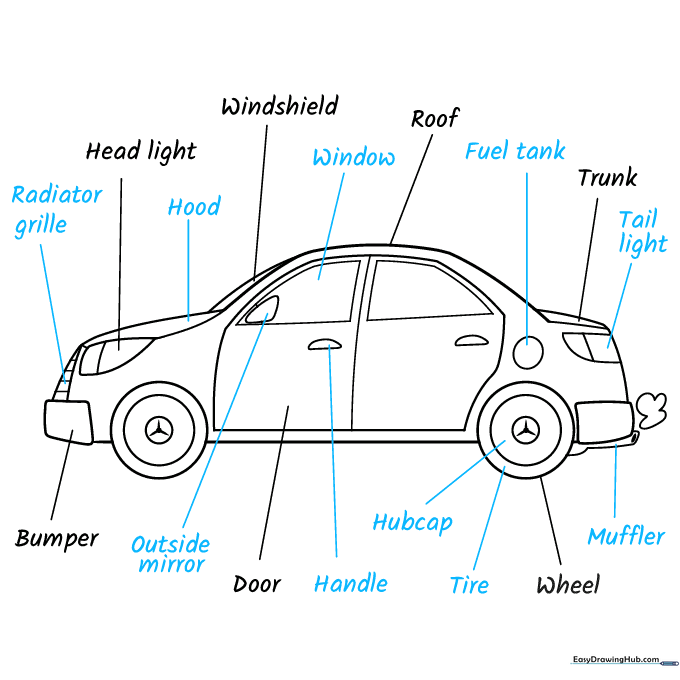
Complete your diagram by labeling the radiator grille, fuel tank, muffler, and mirrors. Tip: Double-check your spelling as you write the labels to turn this into a great study aid!
Step 10: Add Color
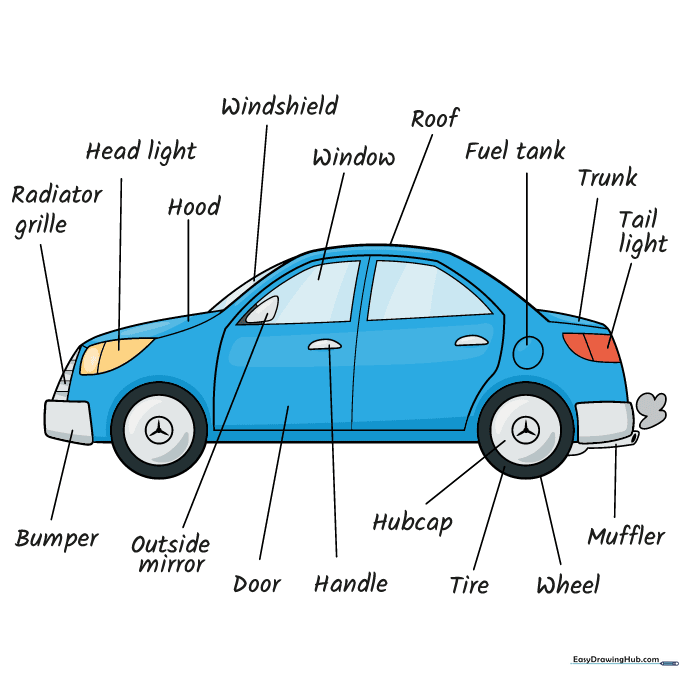
Your diagram is ready! Use your favorite markers or colored pencils to bring your car to life. Tip: Use metallic colors for the hubcaps to make them pop!
More Tutorials


