How to Draw the Parthenon: Easy 9-Step Architectural Guide
Bring Ancient Greece to life with this step-by-step Parthenon drawing guide, designed for young historians and artists ages 7+. You will need a pencil, an eraser, and a ruler to keep those iconic Doric columns straight. By the end of this lesson, you'll have a beautiful, structured sketch that captures the majesty of the Acropolis.
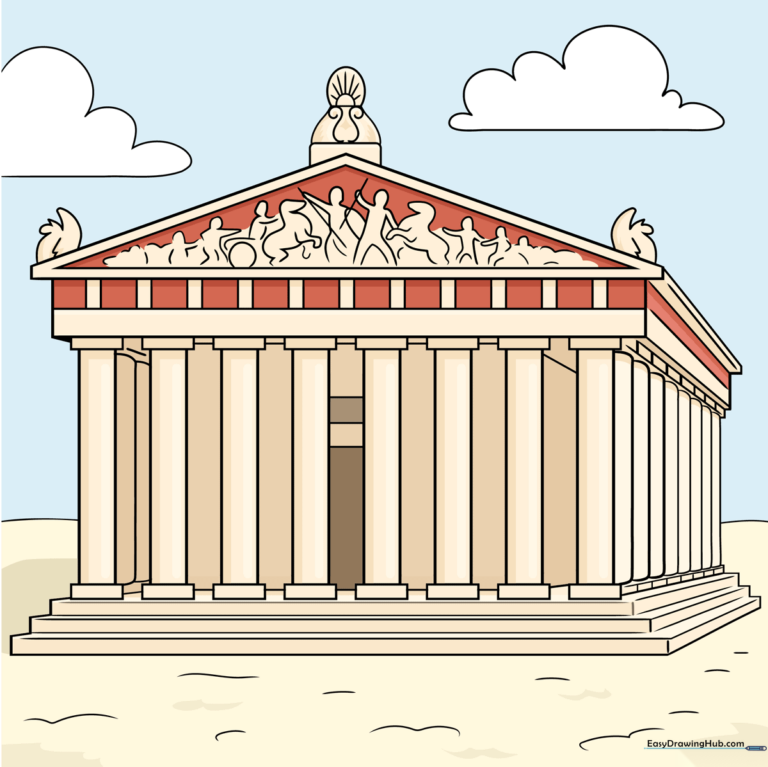
🎯 Final Result
Step-by-Step Instructions
Step 1: Establishing the Roof and Base
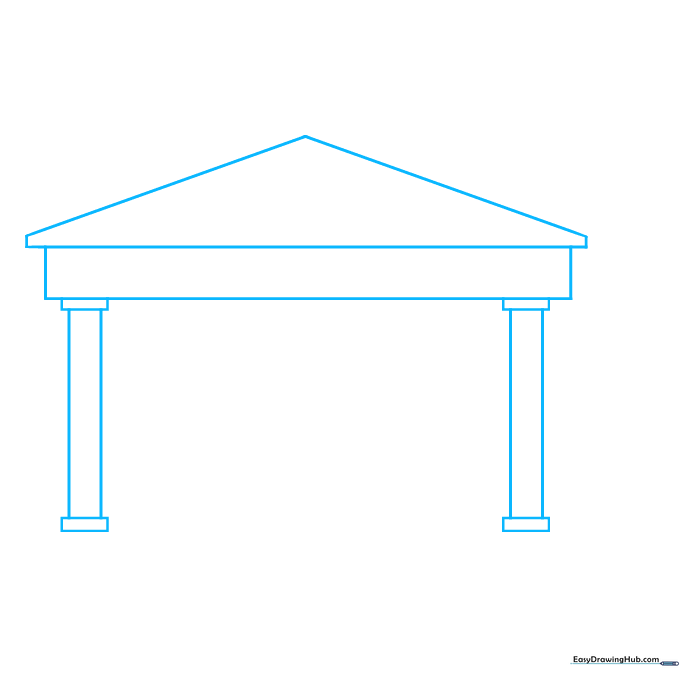
Start by drawing a large, wide triangle for the pediment (roof). Below it, draw a long, thin rectangle for the main structure. Tip: Keep your pencil lines light so you can easily erase any overlap later.
Step 2: Adding the Doric Columns
Draw six vertical columns between the roof and the base. Add three narrow, horizontal rectangles beneath the columns to create the tiered stairs. Tip: Space your columns evenly to maintain the temple's balanced look.
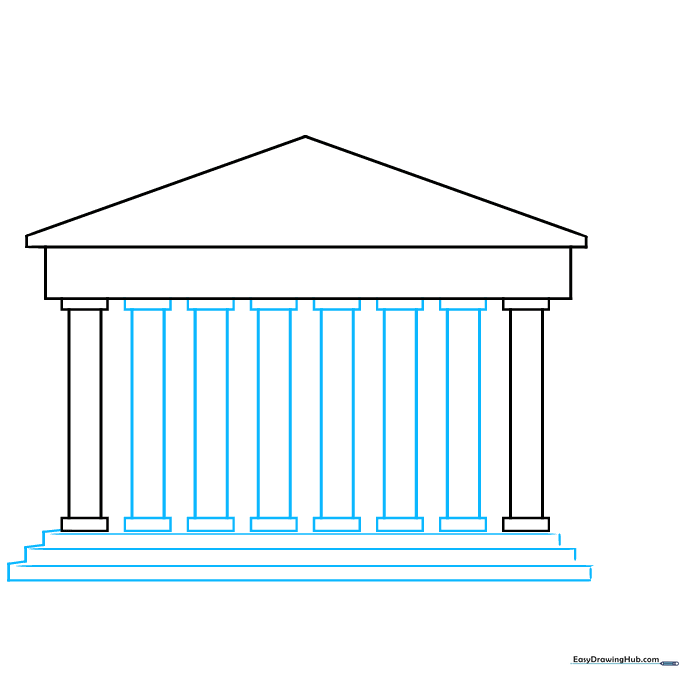
Step 3: Creating Depth
Give your temple a 3D perspective by extending the roof lines at a slight diagonal. Add more vertical lines for the columns to show depth. Tip: Think of this like looking at the building from a corner angle.
Step 4: Refining the Structure
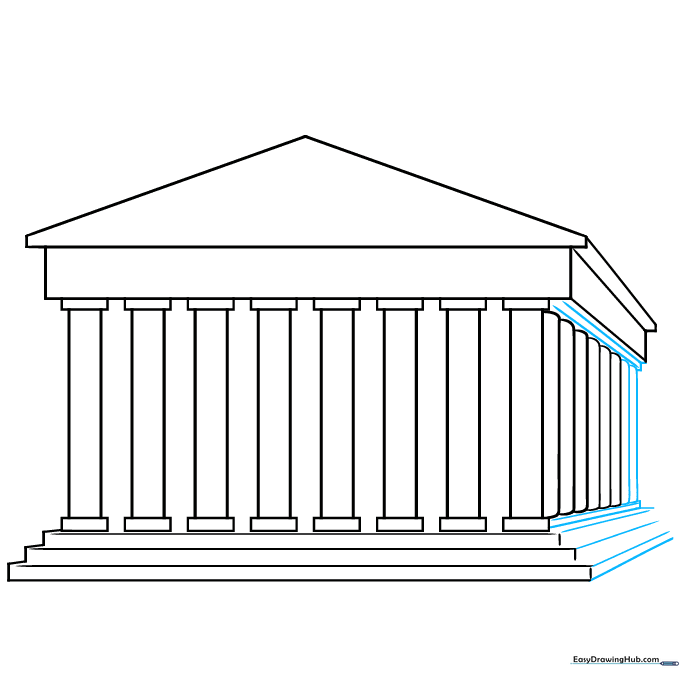
Extend the stair lines and column bases at the same diagonal angle used in the previous step. Add two more columns to the side. Tip: Use your ruler here to ensure all diagonal lines are parallel.
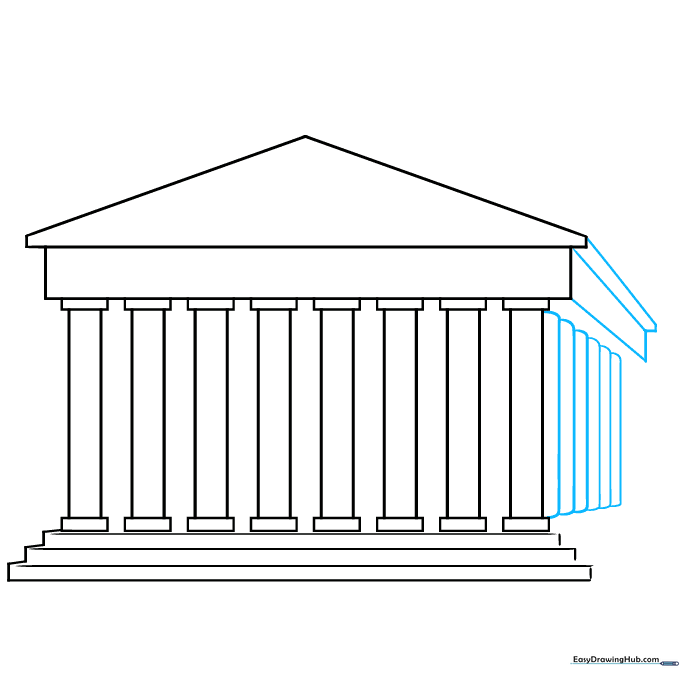
Step 5: Adding Architectural Detail
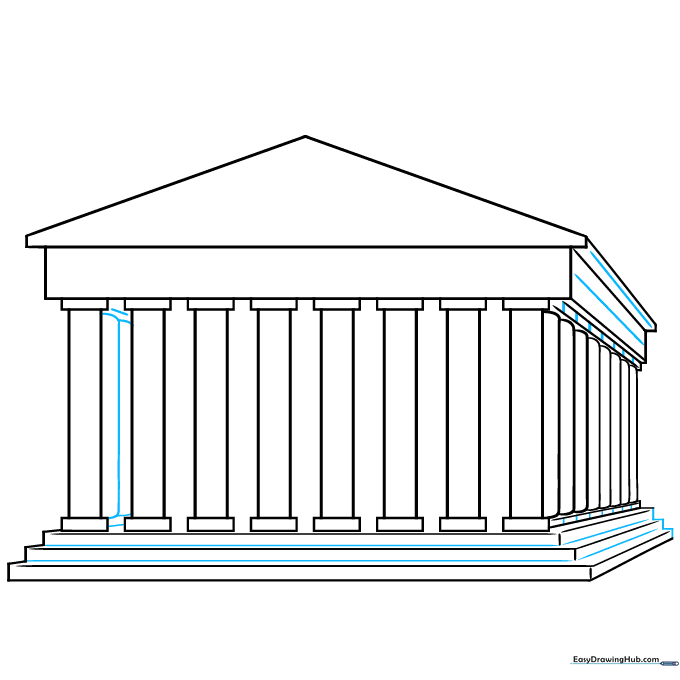
Add horizontal lines to the stairs and roof side. Draw small rectangles at the top and bottom of each column to represent the capitals and bases. Tip: Small details like these make your drawing look much more realistic.
Step 6: Completing the Roof and Columns
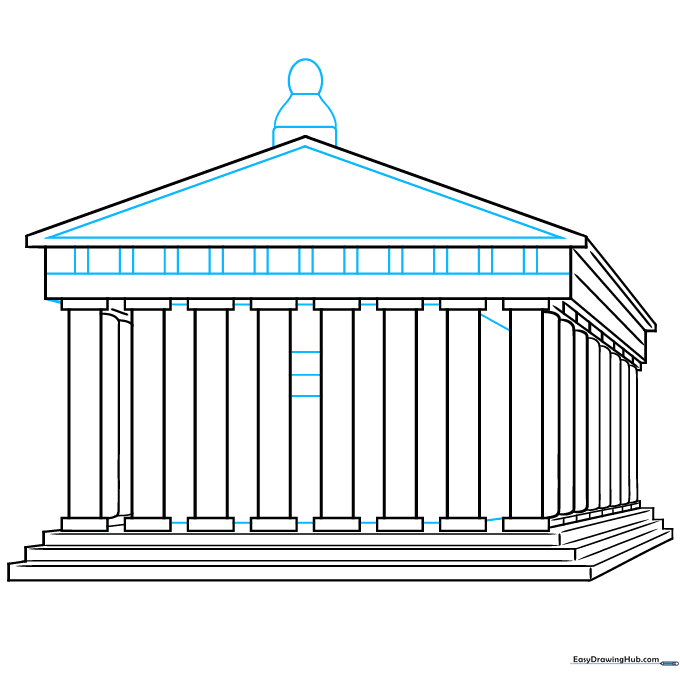
Draw the back side of the roof and add more columns to the interior. Use curved lines for the top structures. Tip: Don't worry if the lines look a bit busy; we will clean them up in the final steps.
Step 7: Adding Sculptural Elements
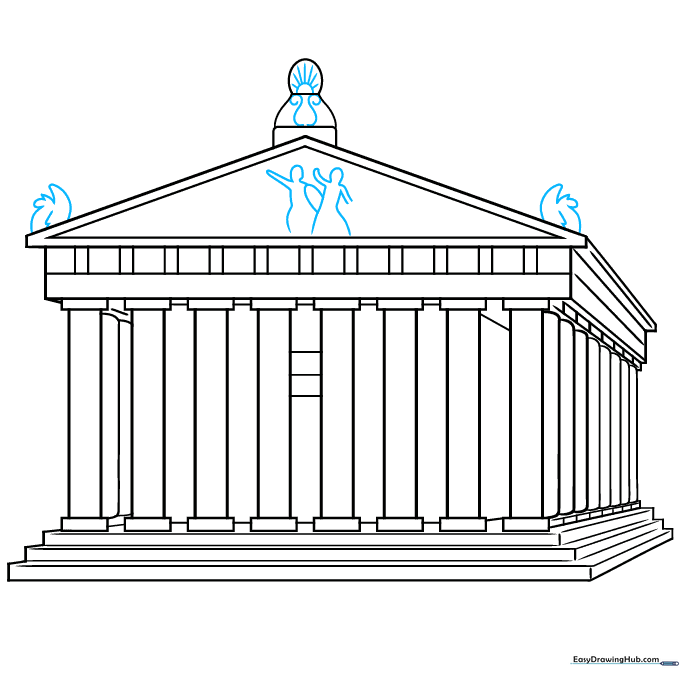
Sketch the statues on the corners and begin the frieze (the decorative band) inside the triangle. Use simple, curved lines to suggest figures. Tip: The frieze tells a story, so keep your shapes loose and expressive.
Step 8: Detailing the Frieze
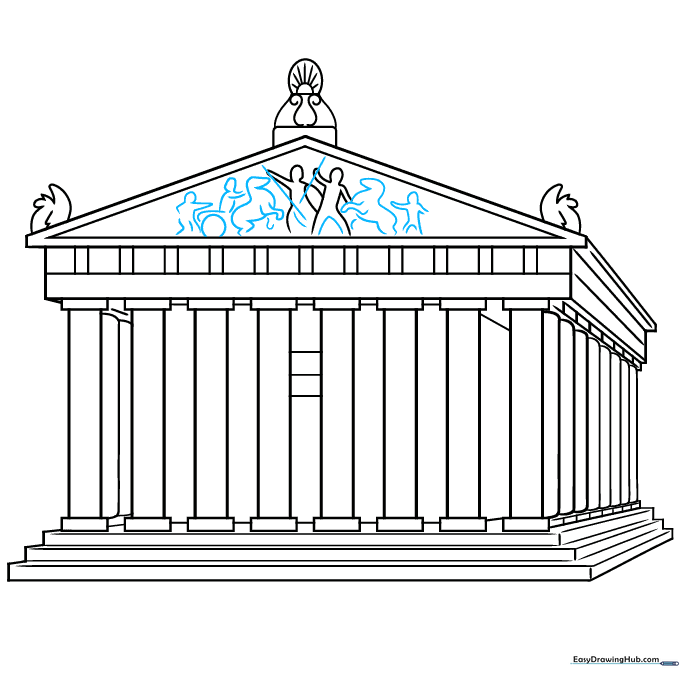
Continue adding detail to the frieze, sketching small shapes for horses and people. Use a circle to represent a chariot wheel. Tip: Focus on the rhythm of the shapes rather than perfect realism.
Step 9: Final Touches
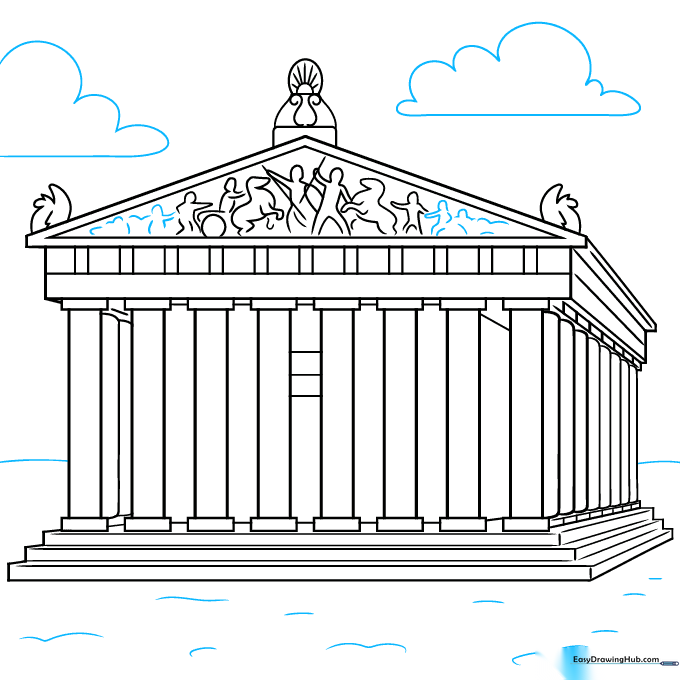
Draw a horizon line in the background and add a few soft clouds. Use your eraser to clean up any stray lines. Tip: A simple horizon line helps ground your building so it doesn't look like it's floating!
Step 10: Coloring Your Masterpiece
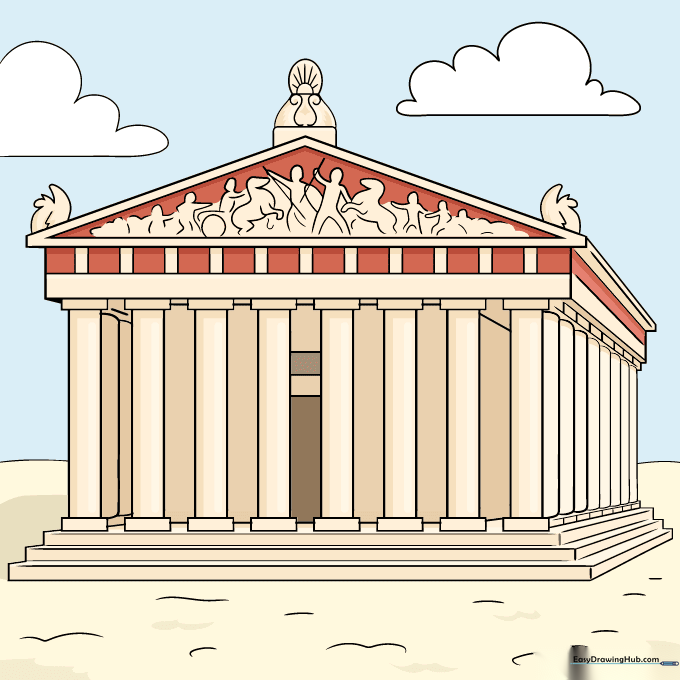
Bring your Parthenon to life with creamy beige and soft stone colors. Remember, the original marble would have been bright and clean. Tip: Use light shading on the columns to show where the sun hits the building.
More Tutorials


