How to Draw Captain Barnacles: Easy Step-by-Step Guide
Ready to lead the Octonauts on a new mission? This tutorial is perfect for young fans ages 5+ who want to draw their favorite polar bear captain. Grab a pencil, eraser, and some paper, and follow these simple steps to bring Captain Barnacles to life on your page.
🎯 Final Result

Step-by-Step Instructions
Step 1: Sketching the Face and Snout
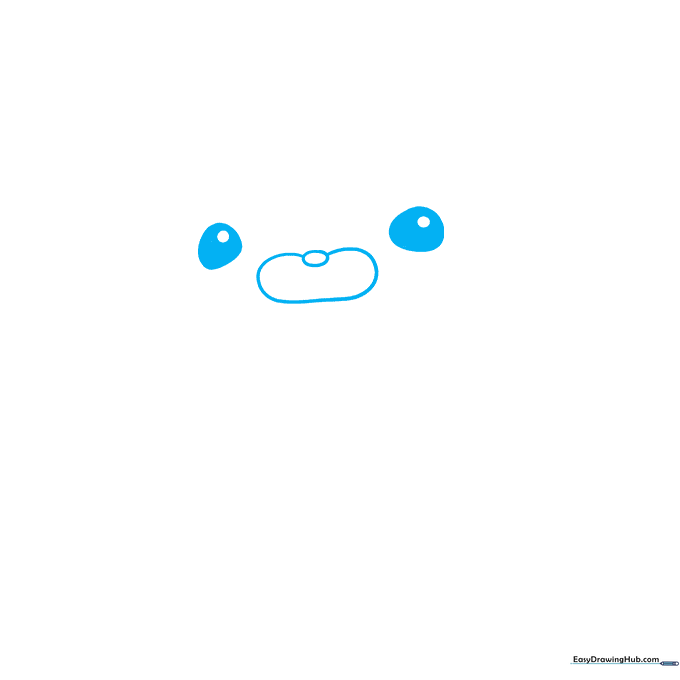
Start by drawing two small circles for the eyes, shading them in to give him that alert look. Between the eyes, add a small oval for his nose, then draw a long, soft curve below it to form his friendly snout. Tip: Keep your pencil pressure light so you can easily adjust the shape of the snout if needed.
Step 2: Defining the Head Shape
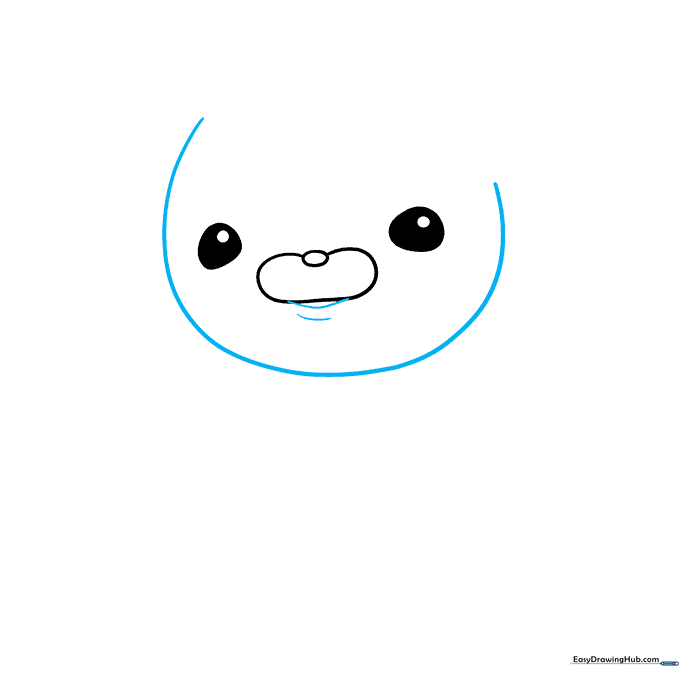
Use a wide 'C' shaped line to outline the sides of his face, connecting it to the snout area. Add two small curved lines at the bottom to define his lower lip. Tip: Think of this as drawing a soft, rounded square to capture his polar bear features.
Step 3: Adding the Bear Ears

Draw two 'C' shaped lines on each side of the head for his ears. Close the shapes with a smaller inner curve to give them depth. Tip: Make sure the ears are symmetrical so he looks balanced and ready for duty!
Step 4: Sketching the Captain's Hat
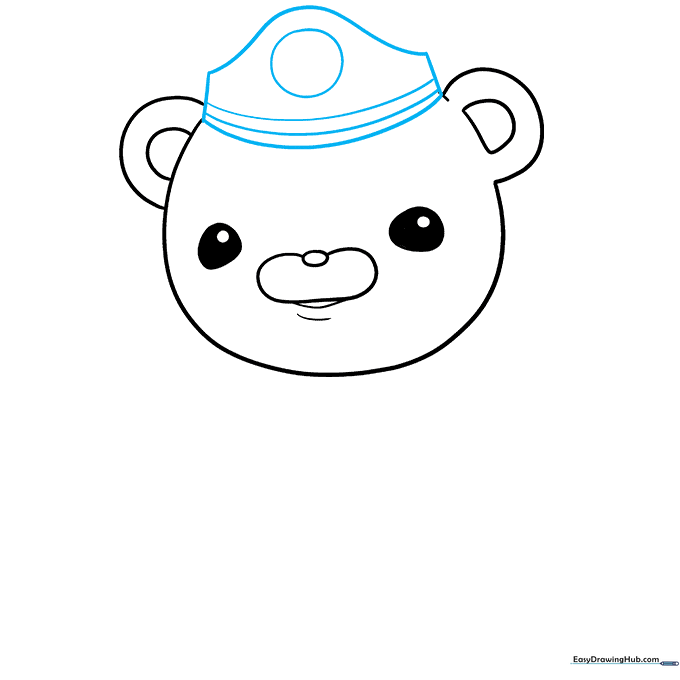
Draw a pentagon-like shape on top of his head for the hat. Add a band at the bottom with two curved lines and place a large circle in the center. Tip: This circle is where we will draw the Octonauts logo later, so keep it nice and round.
Step 5: The Logo and Uniform Collar
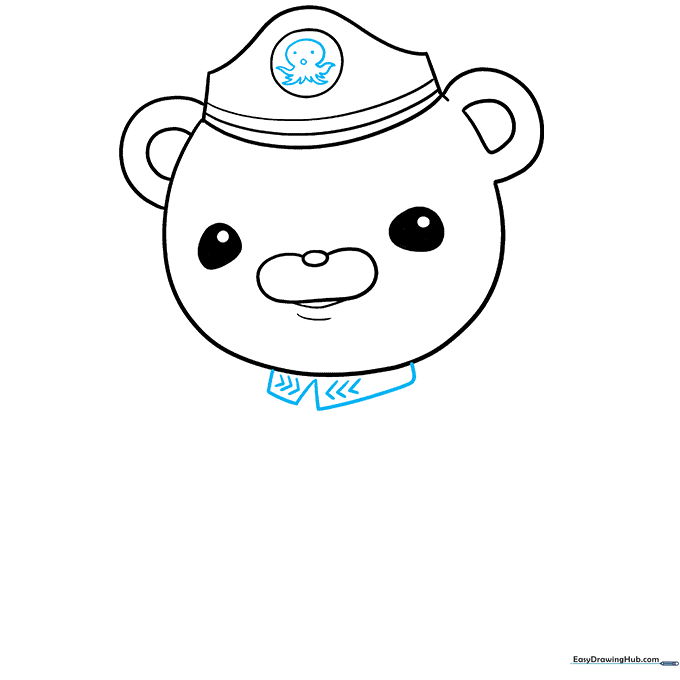
Draw the octopus logo inside the hat circle. Below the head, sketch two irregular rectangles for the collar, connected by a 'V' shape. Add three small 'V's on each side of the collar for detail. Tip: Take your time with the octopus—it's small, so use a sharp pencil tip.
Step 6: Drawing the Crossed Arms
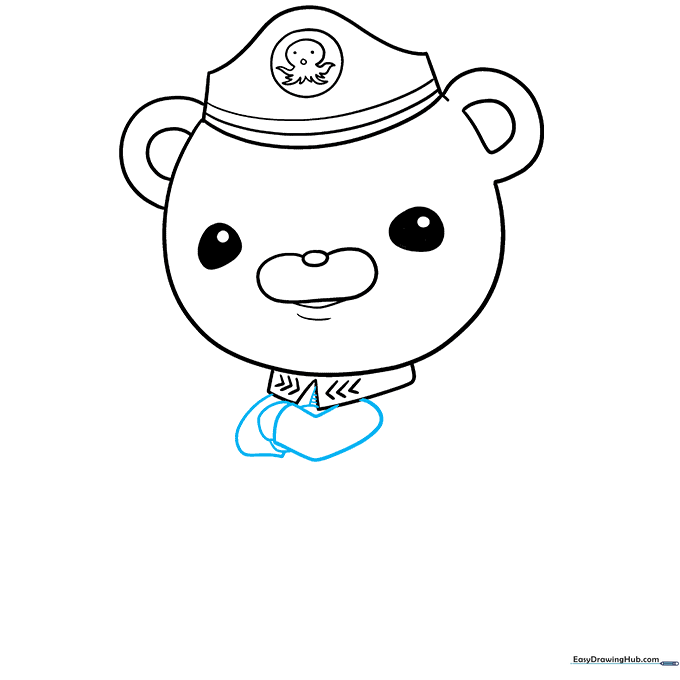
Use overlapping curved lines to draw his arms crossed over his chest. This gives him a confident, captain-like pose. Tip: Ensure the sleeve lines meet cleanly at the wrists to make the uniform look professional.
Step 7: Torso and Utility Belt
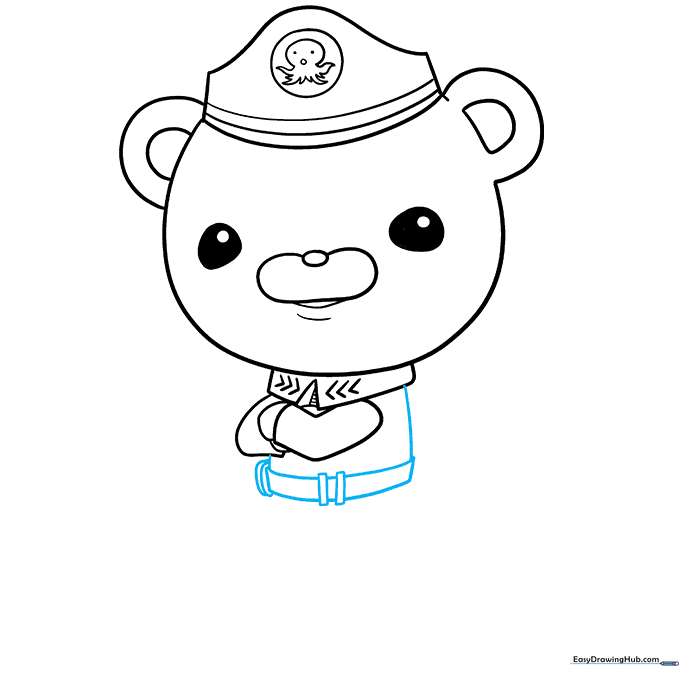
Draw a rectangular torso and add the utility belt using a series of small, narrow rectangles connected by horizontal lines. Tip: Keep the belt lines straight to contrast with the curves of his body.
Step 8: Lower Body and Legs
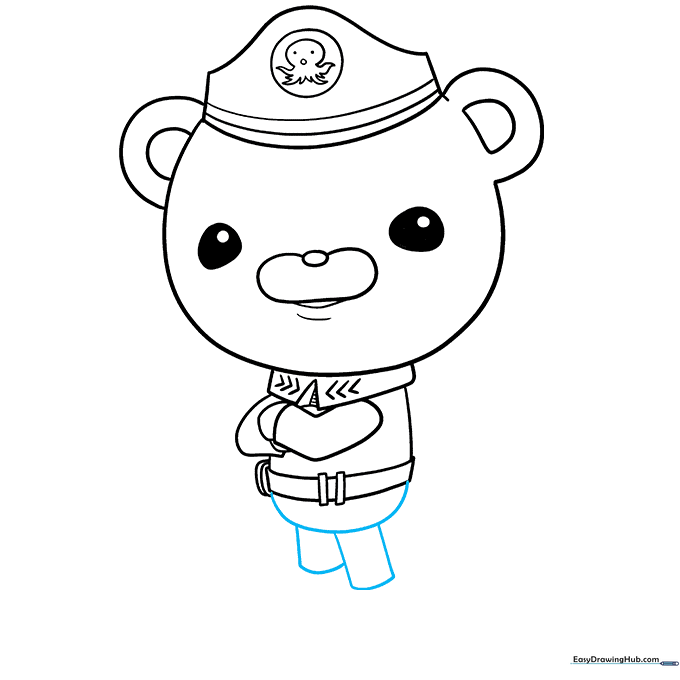
Use a long curved line to enclose the lower body, then sketch the rectangular legs below. Tip: Make the legs slightly wider at the bottom to prepare for the boots.
Step 9: Finalizing the Boots
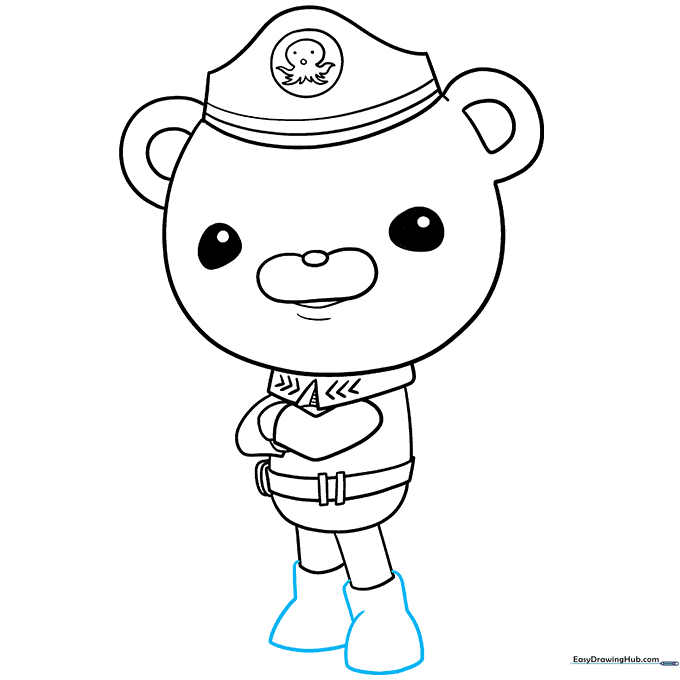
Finish the drawing by adding the boots with overlapping curved lines. These should look sturdy and ready for an underwater adventure! Tip: Check your proportions here; make sure the boots aren't too big compared to the rest of the body.
Step 10: Adding Color
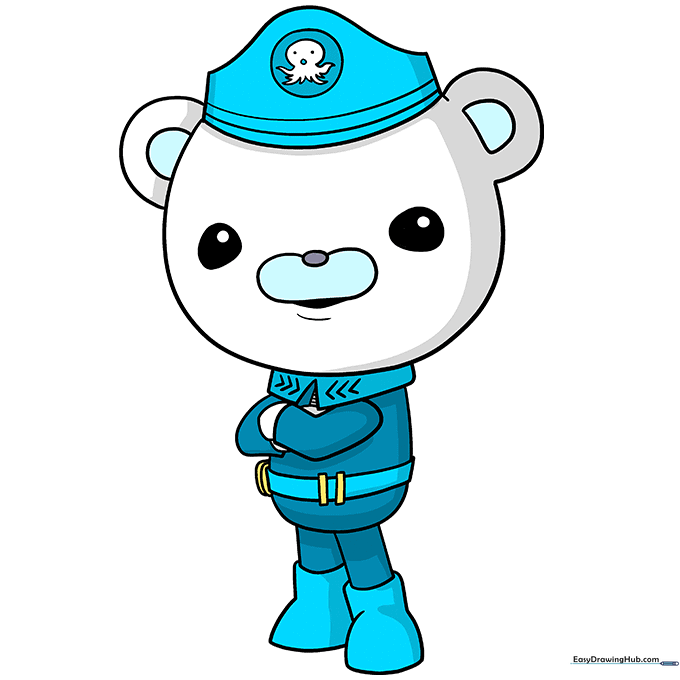
Now for the fun part! Use blue for his hat and uniform. Remember, as a polar bear, his fur is white, so you can leave that area uncolored or use a very light gray for shading. Tip: Use a light blue for the inner ears and nose to match his character design perfectly.
More Tutorials


