How to Draw Notre Dame Cathedral: Easy 9-Step Guide
Bring a piece of Parisian history to your sketchbook with this beginner-friendly tutorial. Designed for ages 7 and up, this activity helps young artists practice symmetry and geometric shapes using just a pencil, eraser, and paper. Follow along to master the majestic silhouette of this world-famous landmark.
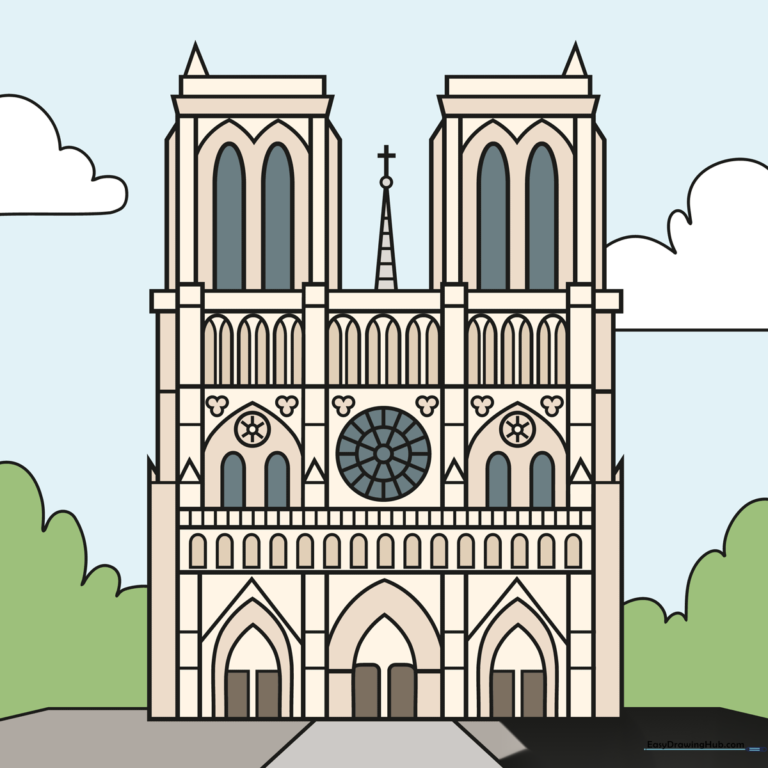
🎯 Final Result
Step-by-Step Instructions
Step 1: Establishing the Base
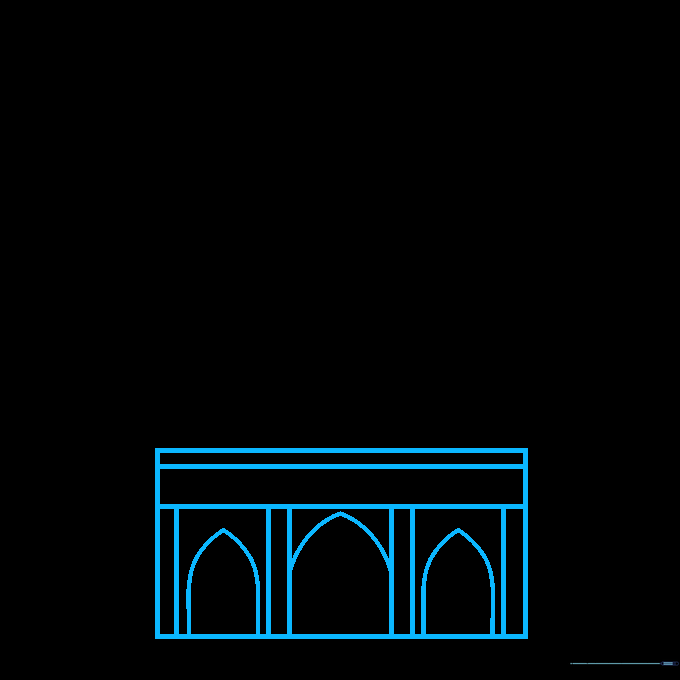
Start by drawing a large rectangle to serve as the main body of the cathedral. Add two horizontal lines across the top for the roofline, then divide the bottom half into four sections using vertical lines. Tip: Use a ruler if you want perfectly straight walls, but freehand lines give it a more artistic, organic feel.
Step 2: Building the Second Level
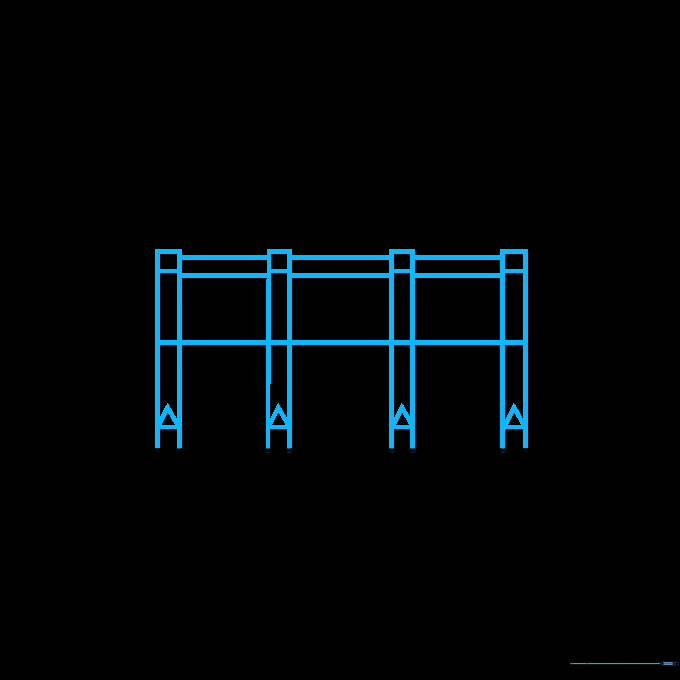
Stack a smaller rectangle on top of your first one. Extend your vertical lines upward to create the tower foundations. Connect these with short horizontal lines to create square frames. Tip: Keep your spacing consistent between the columns to ensure the building looks balanced.
Step 3: Adding Gothic Arches
Extend vertical lines for the towers and add narrow trapezoids to bridge the gaps. Inside the lower sections, sketch the iconic pointed gothic arches. Tip: To make the doors look realistic, draw two small rectangles inside each archway.
Step 4: Texturing the Facade

Add horizontal bands across the lower section to represent the stone masonry. Use small 'V' shapes above the outer arches to mimic decorative stonework. Tip: Vary the pressure of your pencil to make some lines darker than others for depth.
Step 5: The Rose Window

Draw three concentric circles in the center to represent the famous Rose Window. Connect them with straight lines like spokes on a wheel. Tip: Use a compass if you struggle with freehand circles, or trace around a small circular object.
Step 6: Refining the Upper Levels

Add more arches to the upper levels to create the cathedral's ornate look. Use light, curved lines to suggest the gallery of kings. Tip: Keep these lines delicate so they don't overpower the main structure.
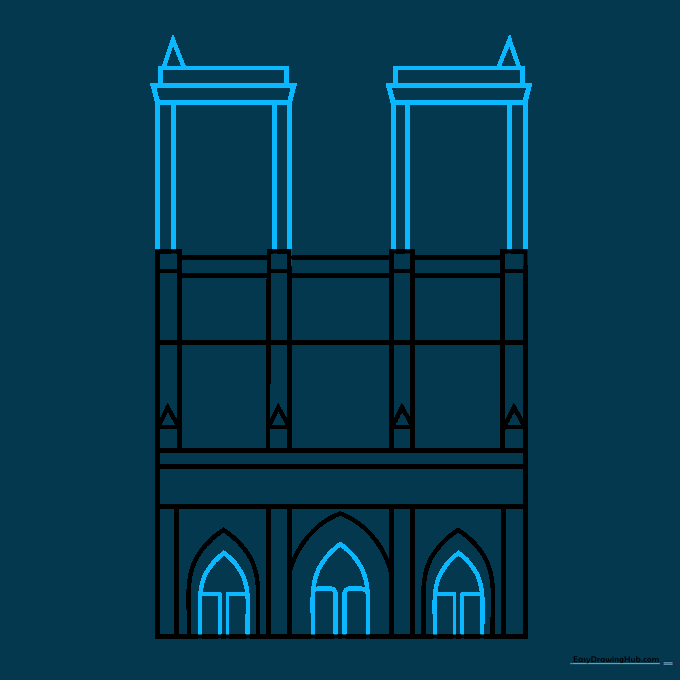
Step 7: Defining the Towers
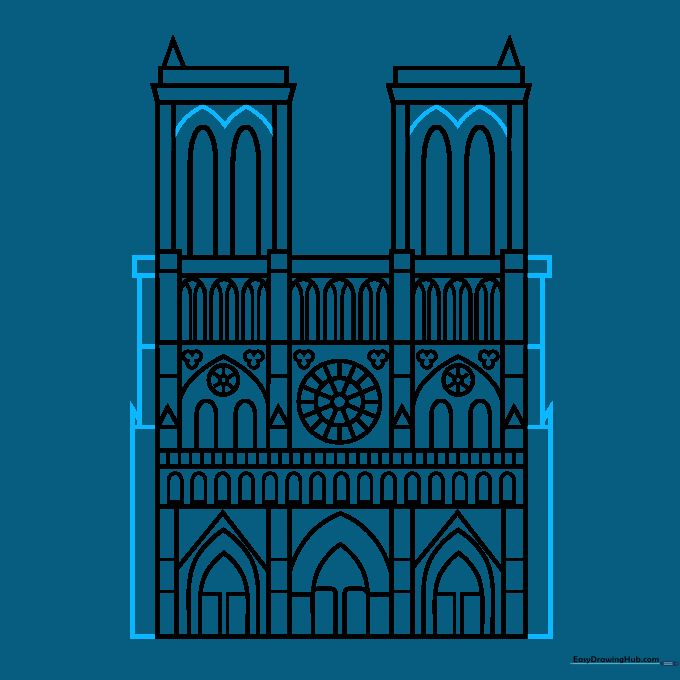
Draw a curved 'M' shape across the top of the towers to give them their distinct silhouette. Add narrow rectangles along the sides to represent the buttresses. Tip: Ensure the towers are symmetrical to maintain the building's grand appearance.
Step 8: Final Architectural Details
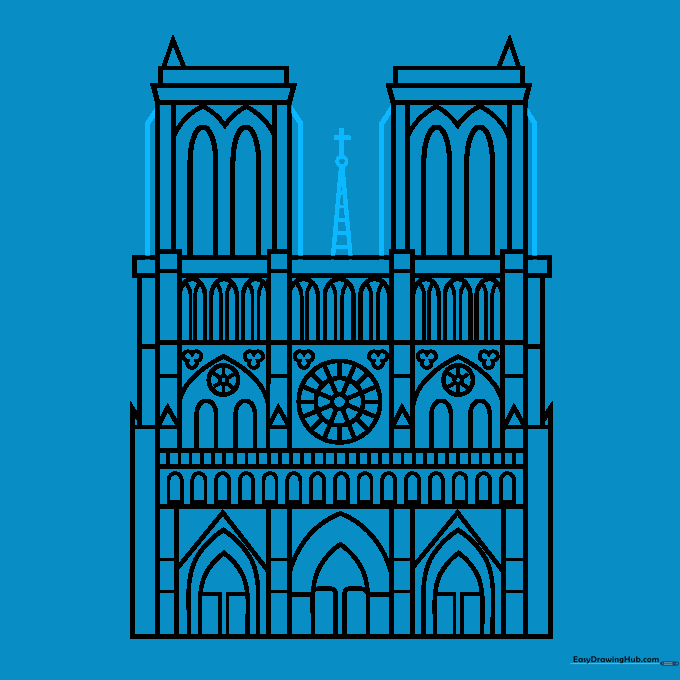
Add the final touches: a small triangle between the towers and a cross at the very top. Tip: Use a sharp pencil point here to keep the cross clean and visible.
Step 9: Setting the Scene

Complete your drawing by adding a horizon line, a path leading to the entrance, and a few distant trees. Tip: Adding clouds or birds in the sky helps ground the building and adds a sense of scale.
Step 10: Adding Color
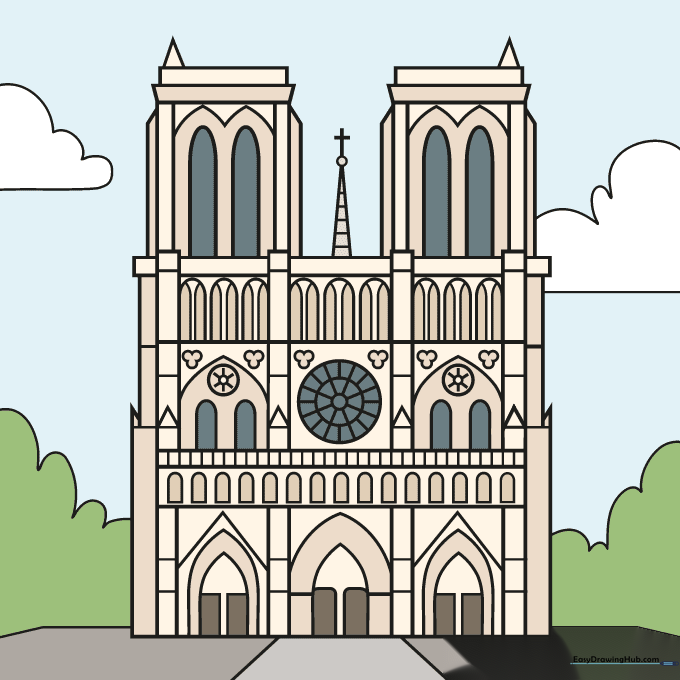
Bring your cathedral to life with color! Use light tan or soft grey for the stone walls. Tip: Use a darker grey for the shadows under the arches to give the building a 3D, realistic look.
More Tutorials


