How to Draw the New York Skyline: Easy 10-Step Guide
Capture the magic of the Big Apple with this beginner-friendly skyline tutorial. Designed for ages 6+, this activity uses basic geometric shapes to build confidence in architectural drawing. All you need is a pencil, paper, and an eraser to bring this famous cityscape to life.
🎯 Final Result

Step-by-Step Instructions
Step 1: Setting the Horizon and Base
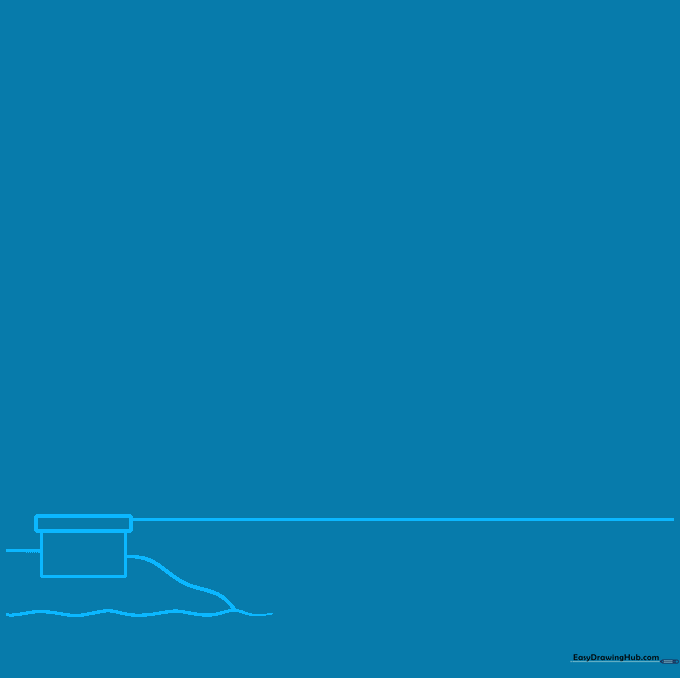
Draw a straight horizontal line across your page. Below it, sketch a narrow rectangle topped with a thicker one to create the pedestal for the Statue of Liberty. Add a wavy line behind the base to represent the harbor water. Teacher's Tip: Keep your lines light so you can easily adjust the island's shape later.
Step 2: Outlining Lady Liberty
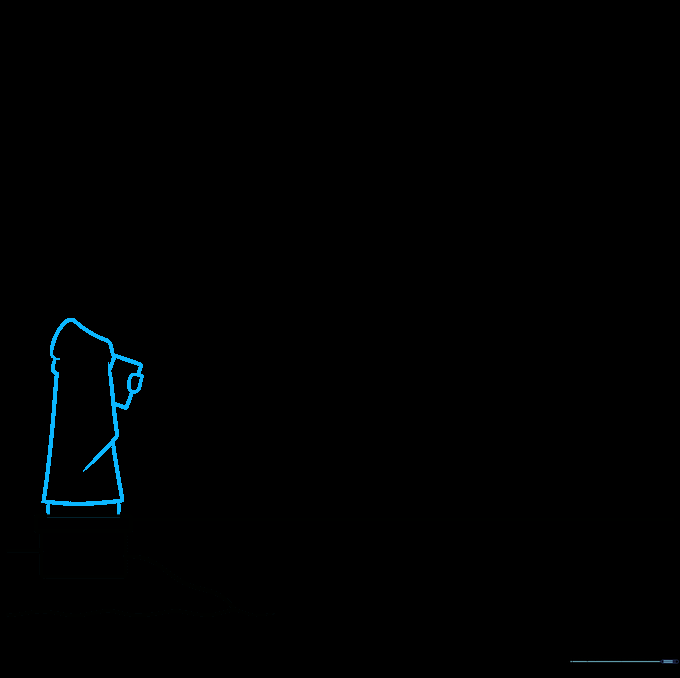
Draw short vertical lines upward from the base, connecting them with a curve for the statue's gown. Add overlapping curved lines to show the folds of her robe. Include a small rectangle for the tablet she holds. Teacher's Tip: Focus on the 'overlap'—this creates depth and makes the drawing look 3D rather than flat.
Step 3: Adding the Torch and Crown
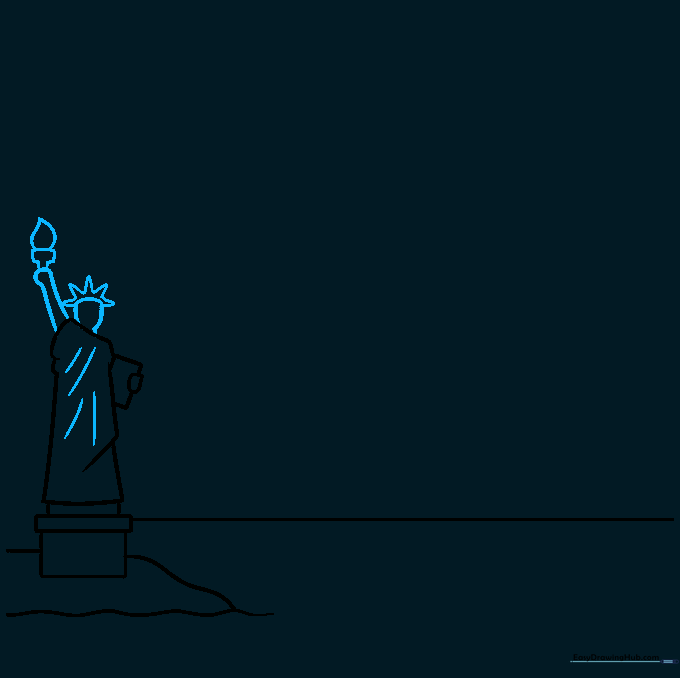
Use curved lines to define her raised arm and face. Draw a 'T' shape on the hand to support the torch, then add the flame above it. Finish the head with a sunburst pattern for the crown. Teacher's Tip: Use short, quick strokes for the crown spikes to keep them looking sharp and symmetrical.
Step 4: Sketching the First Skyscrapers

Start the city skyline by drawing tall, narrow rectangles with slanted or triangular roofs. Add a vertical line atop one to represent an antenna. Teacher's Tip: Vary the heights of your rectangles to make the city look realistic and busy.
Step 5: Building the Middle Ground

Fill in the space between your first buildings with more rectangles. Use overlapping shapes to create the illusion of depth. Teacher's Tip: Don't worry about perfect straight lines; a slightly 'sketchy' look adds character to the city.
Step 6: Drawing One World Trade Center

Draw a tall, peaked building in the center. Add small rectangles on the roof topped with a thin vertical line to represent the spire. Teacher's Tip: This is a great time to talk about landmarks—ask your child if they recognize this famous building!
Step 7: Adding the Empire State Building

Sketch the Empire State Building by stacking rectangles of decreasing width as you move toward the top. Finish with a small triangle and a vertical line. Teacher's Tip: Use a ruler if you want the edges to look extra crisp, or freehand it for a more artistic style.
Step 8: Adding Harbor Details

Draw a small boat in the water using a trapezoid for the hull and a rectangle for the cabin. Add small squares on the cabin for windows. Teacher's Tip: Keep the boat small so it doesn't distract from the massive skyscrapers behind it.
Step 9: Final Touches

Use soft, curved lines to add clouds in the sky and gentle waves on the water. This softens the hard edges of the buildings. Teacher's Tip: Use a lighter pencil pressure for the clouds so they look fluffy and distant.
Step 10: Color Your Masterpiece
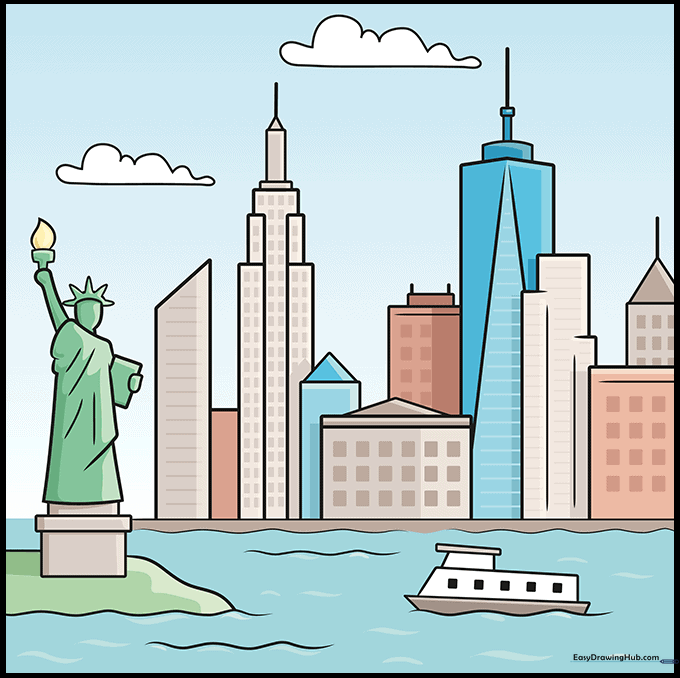
Bring your city to life with color! Use cool blues for the water and sky, and greys or tans for the buildings. Teacher's Tip: Try coloring the windows with a bright yellow to make it look like the city is glowing at night!
More Tutorials


