How to Draw the Master Sword & Hylian Shield: Easy Guide
Ready to gear up for your next adventure? This tutorial is perfect for young artists and Zelda fans looking to recreate Link’s legendary equipment. Grab your pencil, eraser, and paper, and follow these steps to build your own hero’s kit from scratch.
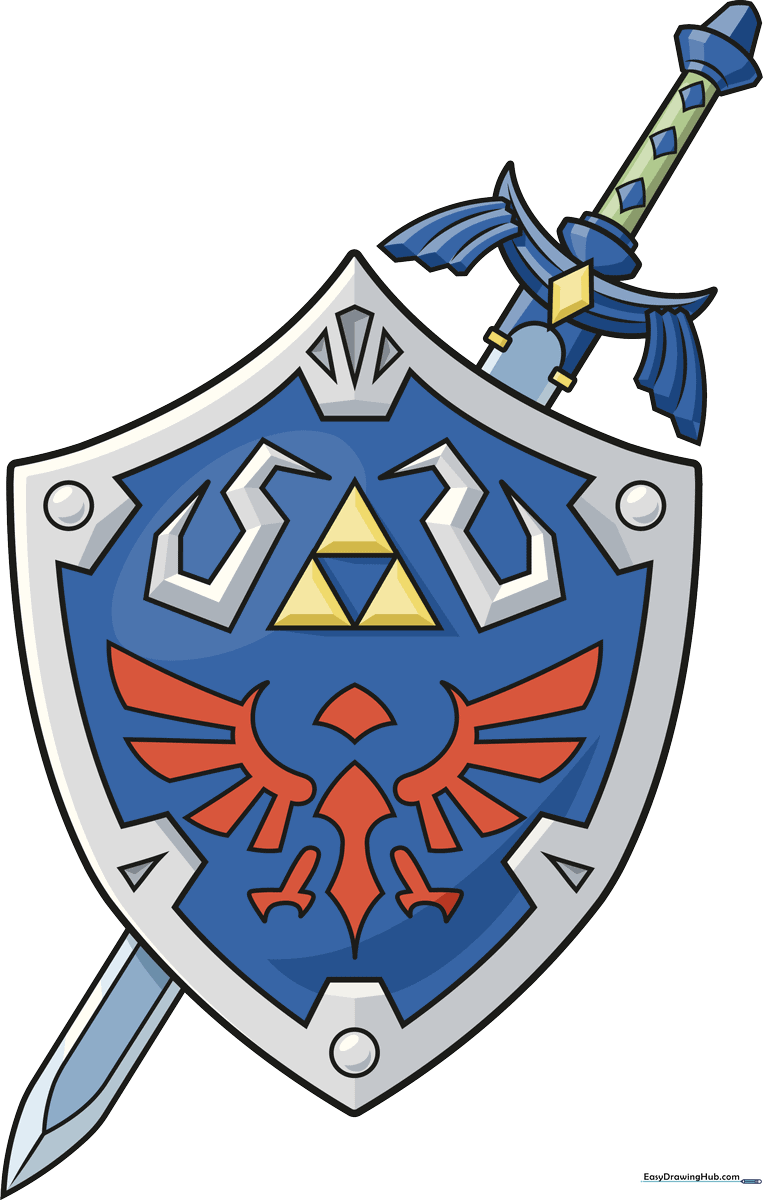
🎯 Final Result
Step-by-Step Instructions
Step 1: Sketching the Shield Base

Start by drawing a tall, elongated diamond shape using four curved lines. Teacher's Tip: Keep your pencil pressure light here; this is just the foundation for your shield's frame.
Step 2: Defining the Shield Border
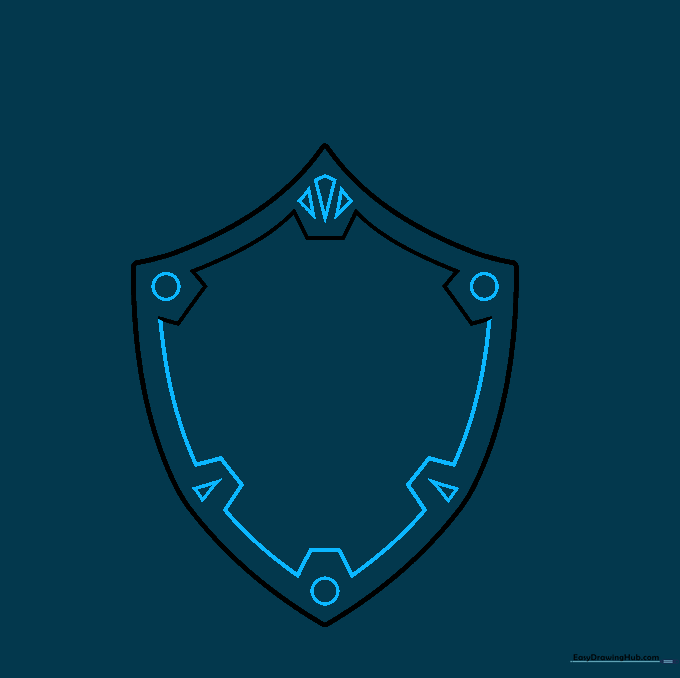
Add the outer border by drawing small trapezoid shapes at the points and connecting them with smooth, curved lines. Tip: Take your time matching the curves on both sides for a balanced look.
Step 3: Adding the Triforce
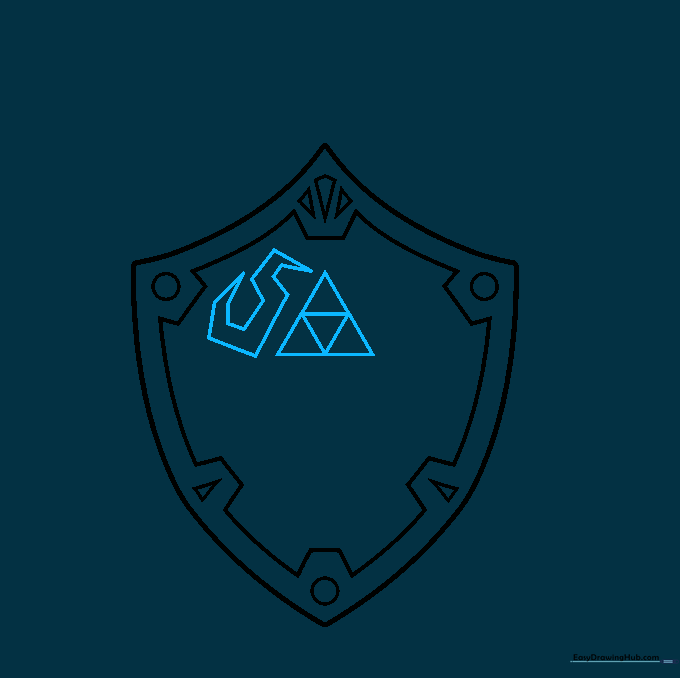
Draw a triangle in the center, then add a smaller triangle inside it to form the Triforce symbol. Tip: Use a ruler if you struggle with straight lines, but freehanding helps build steady motor control!
Step 4: Sketching the Loftwing

Draw the stylized Loftwing bird emblem using curved lines that mirror each other on both sides of the Triforce. Tip: Think of these as two 'S' shapes facing away from each other.
Step 5: Detailing the Wings
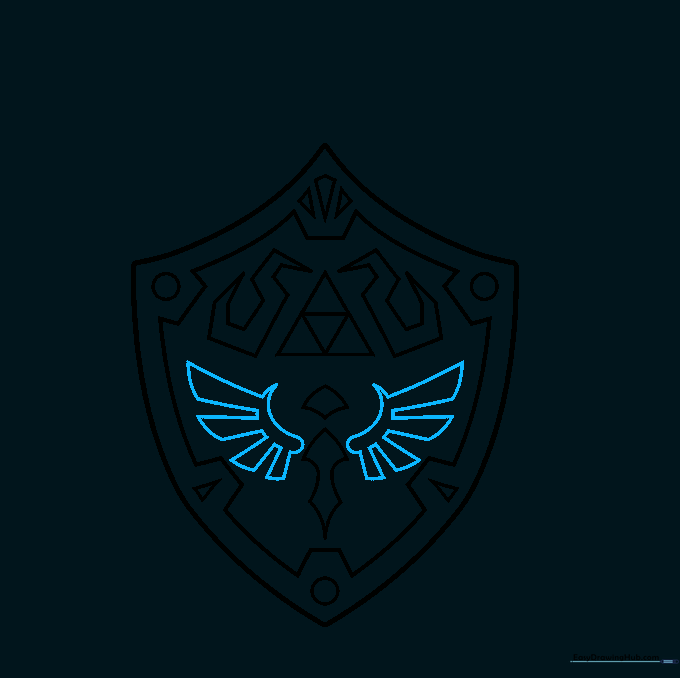
Add the wing feathers by drawing small rays connected by short lines. Tip: Keep the spacing between your lines consistent to make the wings look uniform.
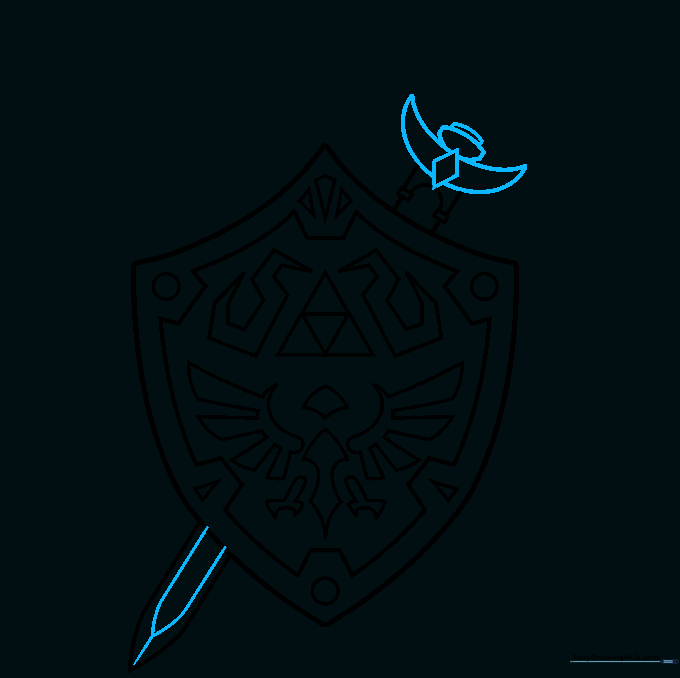
Step 6: Drawing the Master Sword Blade
Extend two long lines from the bottom of the shield to create the blade, meeting at a sharp point. Add the pommel and grip details at the top. Tip: Use a straight edge if you want the blade to look extra sharp!
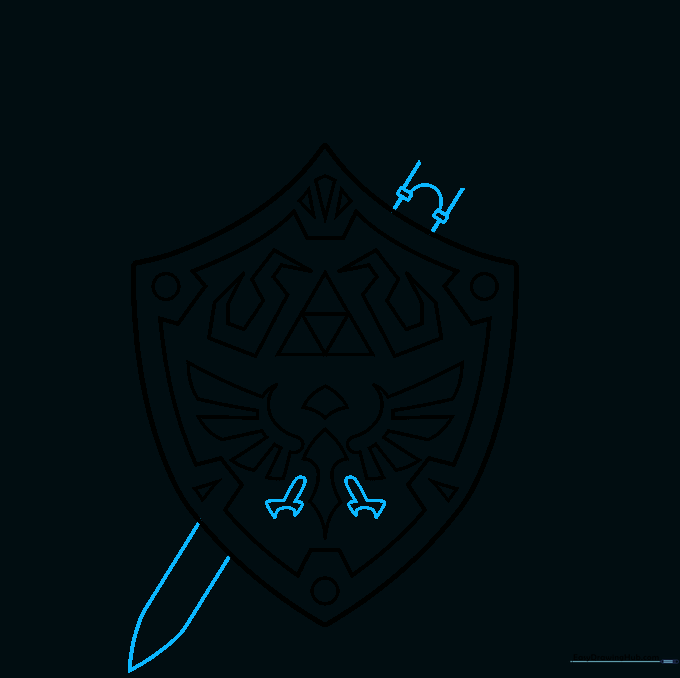
Step 7: The Sword Guard
Draw the cross-guard (chappe) by sketching a diamond shape with a crescent moon behind it. Tip: This is the most detailed part, so take your time with the curves.
Step 8: Refining the Guard
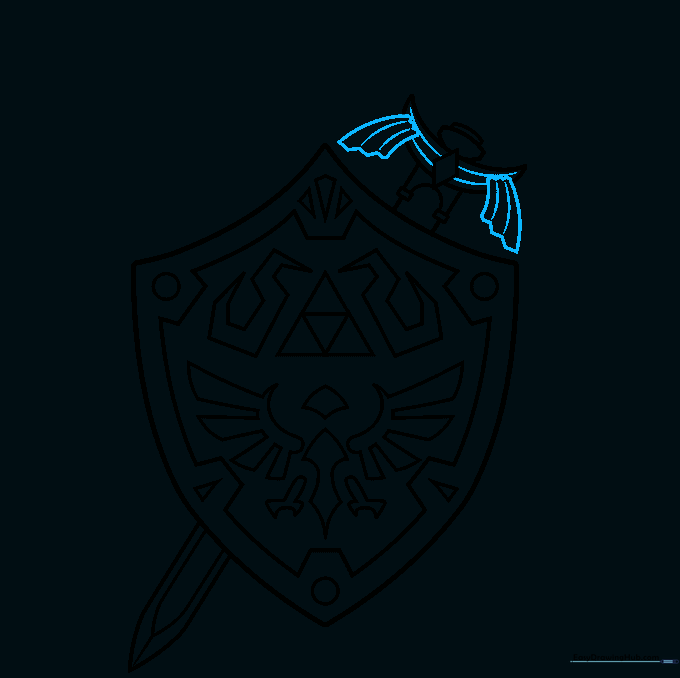
Add decorative zigzag lines to the guard. Tip: Erase any overlapping sketch lines from previous steps to keep your drawing clean and professional.
Step 9: Final Grip Details
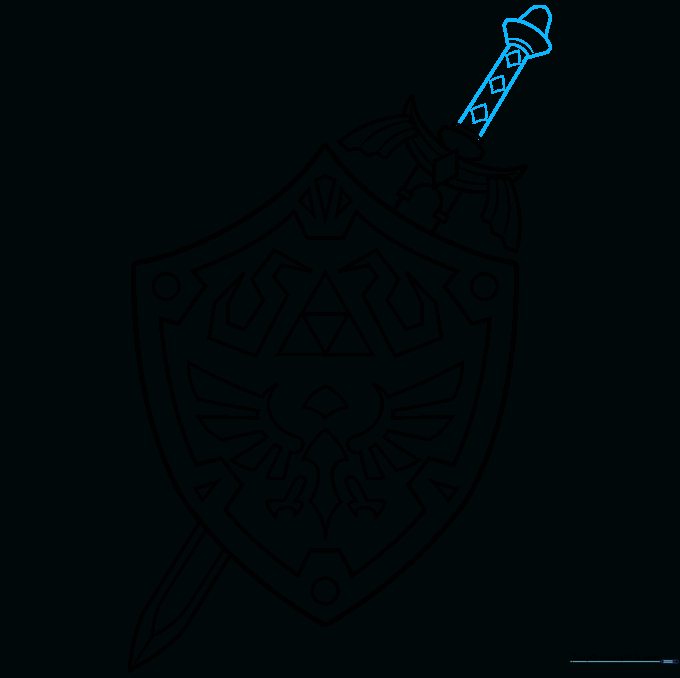
Finish the handle by drawing the grip and pommel. Add small diamond shapes for texture. Tip: A few extra lines on the pommel can help it look rounded and 3D.
Step 10: Bring It to Life with Color
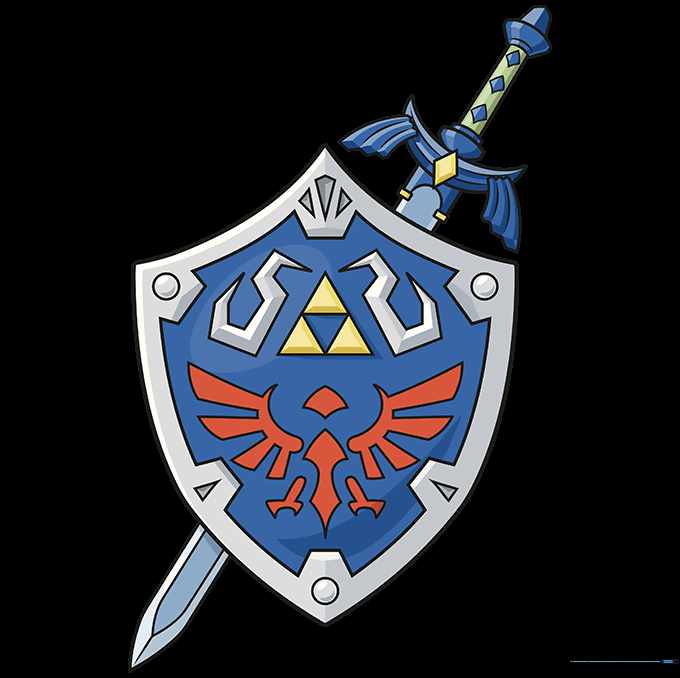
Time to color! Use deep blues for the shield, silver for the blade, and gold for the Triforce and guard. Tip: Use light pressure for a soft look or heavy pressure for bold, heroic colors.
More Tutorials


