How to Draw the London Eye: Easy 10-Step Guide
Capture the magic of London’s skyline with this guided drawing activity, perfect for artists ages 7 and up. You’ll only need a pencil, an eraser, and a piece of paper to build this iconic landmark. Follow along to master circular symmetry and architectural detailing in a fun, screen-free session.
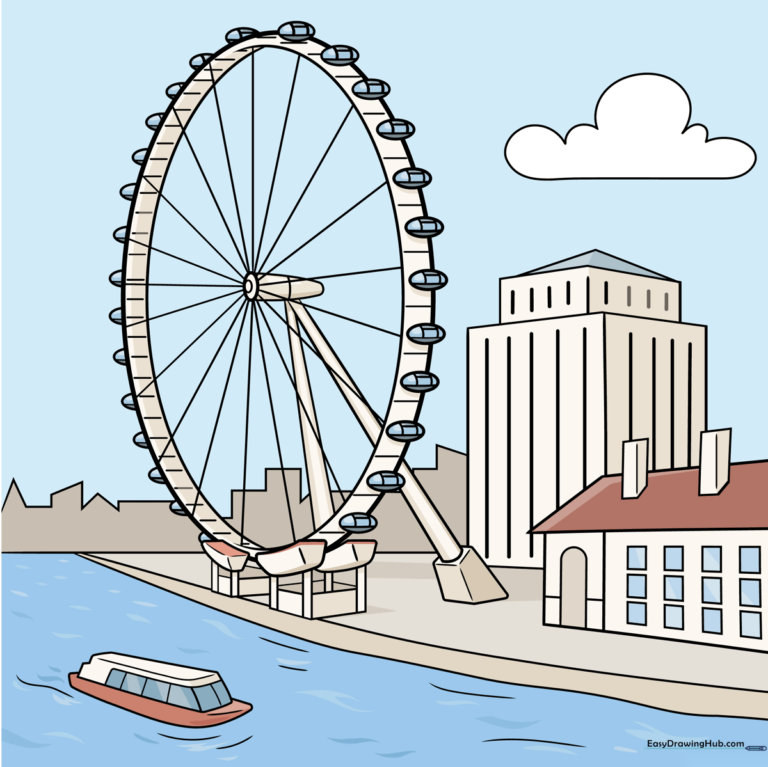
🎯 Final Result
Step-by-Step Instructions
Step 1: Sketching the Main Wheel
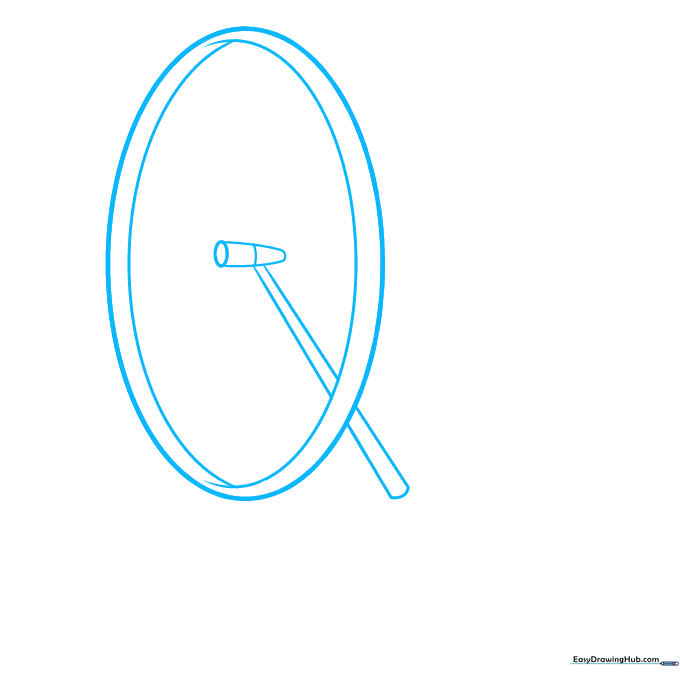
Draw a large, light oval to represent the main Ferris wheel frame. Tip: Keep your pencil pressure very light here so you can easily adjust the shape if it looks a bit wobbly! Add a smaller oval inside for the hub, then sketch the base supports extending downward.
Step 2: Establishing the Base
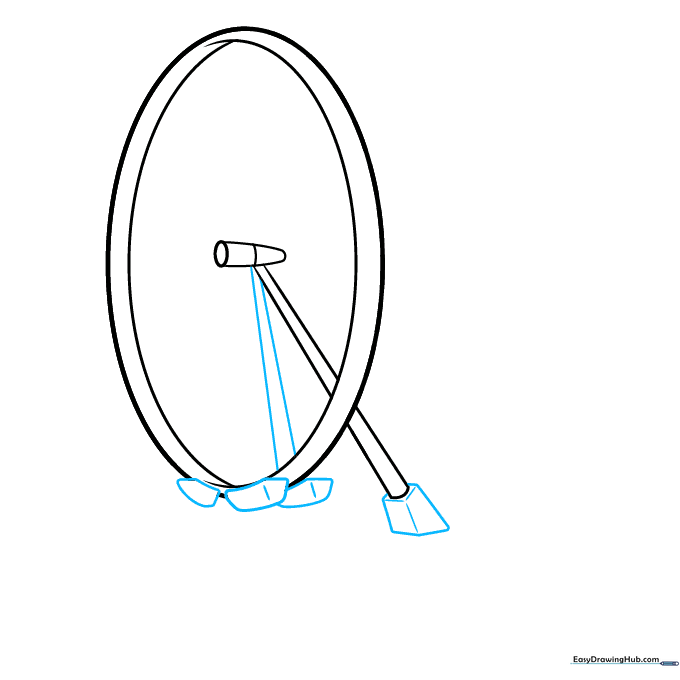
Add two diagonal lines from the center hub to the outer rim to create structural depth. Below the wheel, draw several small, irregular shapes to represent the foundation. Tip: Don't worry about perfect symmetry yet; focus on getting the placement right on the page.
Step 3: Creating the Spokes
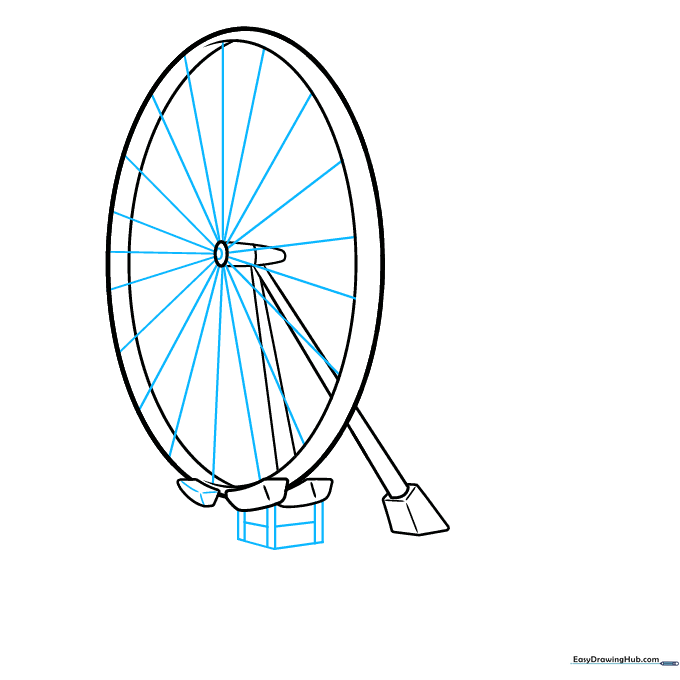
Draw a small circle in the center hub, then extend straight lines outward like a starburst to form the support cables. Detail the base supports by adding a small cube underneath. Tip: Use a ruler if you want your spokes to look extra precise!
Step 4: Adding Observation Pods
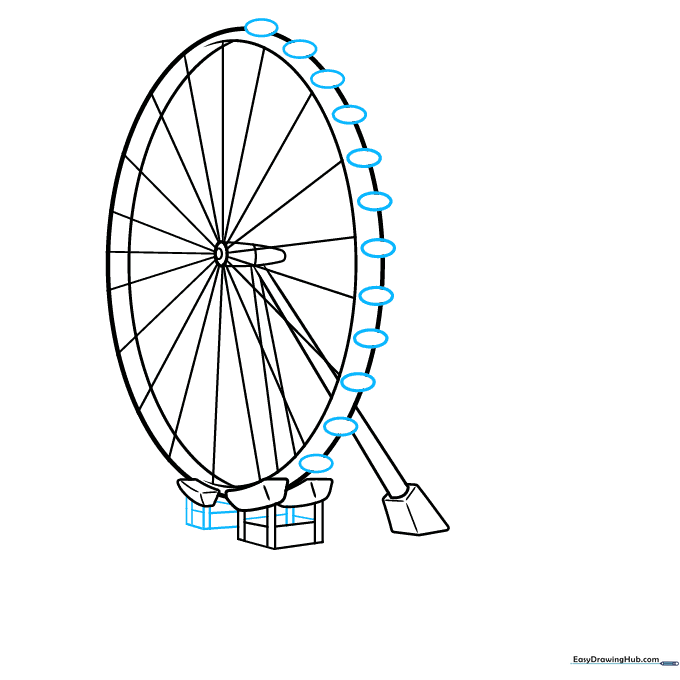
Sketch small, oval-shaped pods along the rim of the wheel. Add another cube at the base, and use horizontal lines to give it a hollow, 3D look. Tip: Keep the pods evenly spaced to make the wheel look balanced.
Step 5: Refining the Details
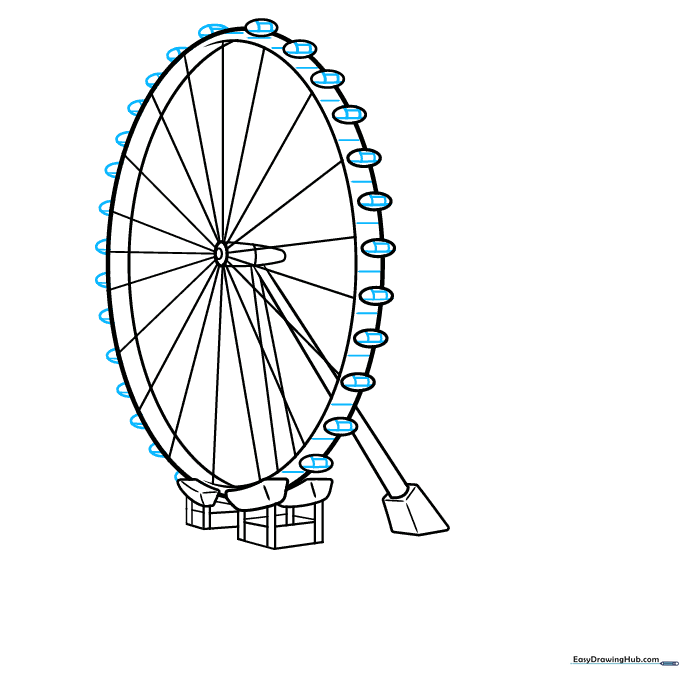
Draw partial ovals on the far side of the wheel to show perspective. Add a small rectangle on top of each pod to represent the window frames. Tip: Adding these tiny details makes the drawing look much more professional.
Step 6: Drawing the Waterfront
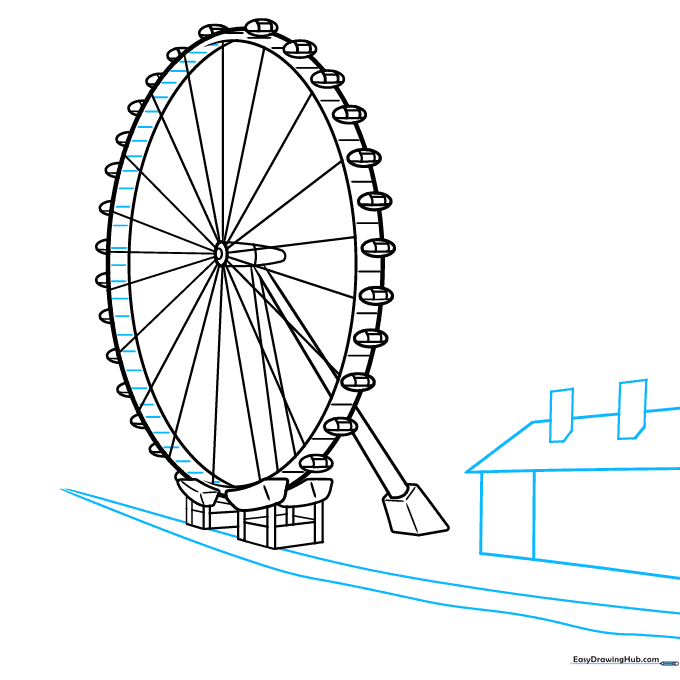
Add curved lines beneath the wheel to represent the riverbank. Beside the wheel, sketch a simple building using rectangles and a trapezoid for the roof. Tip: Use a chimney on the roof to add character to your cityscape.
Step 7: Adding Architectural Texture
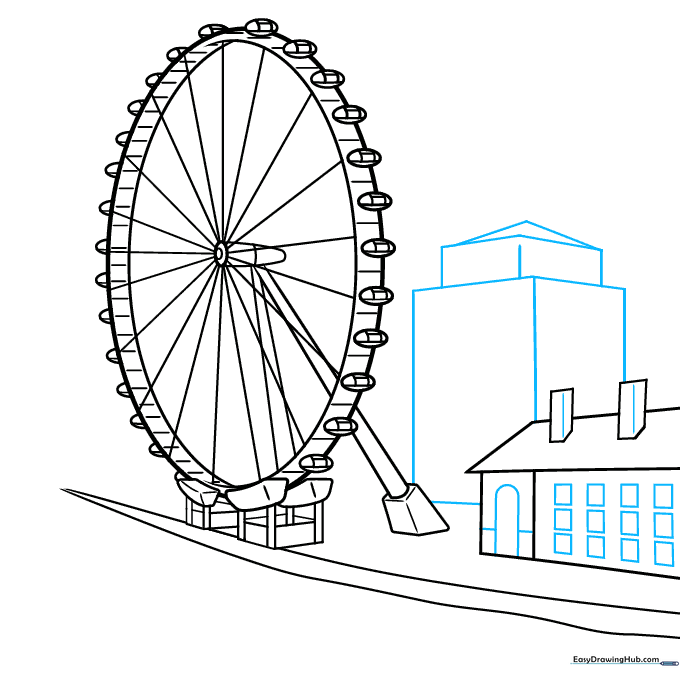
Add windows and an arched door to your building. Next, draw a second building by stacking rectangular prisms with a triangle on top. Tip: Varying the shapes of your buildings makes the scene look more realistic.
Step 8: Including the Riverboat
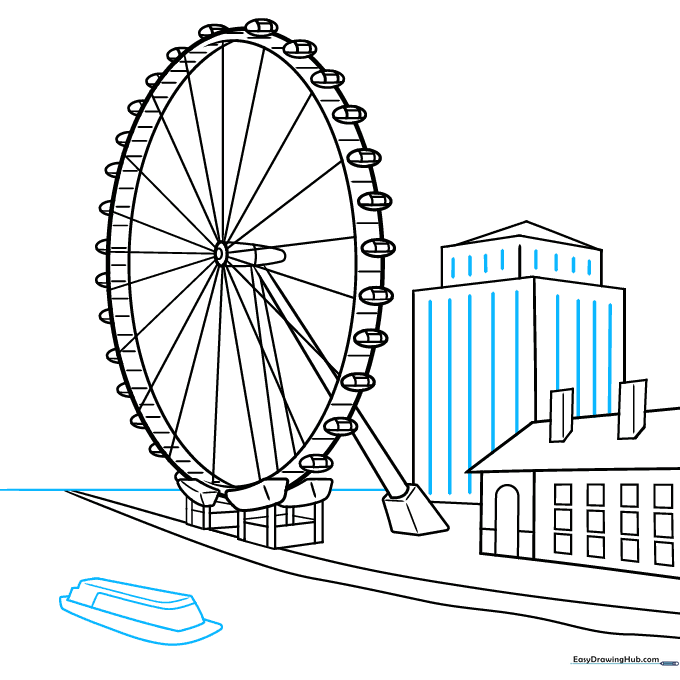
Add vertical lines to the buildings for texture. Then, draw a riverboat in the foreground using curved lines. Tip: Keep the boat simple—a few curved lines are enough to suggest movement on the water.
Step 9: Final Touches
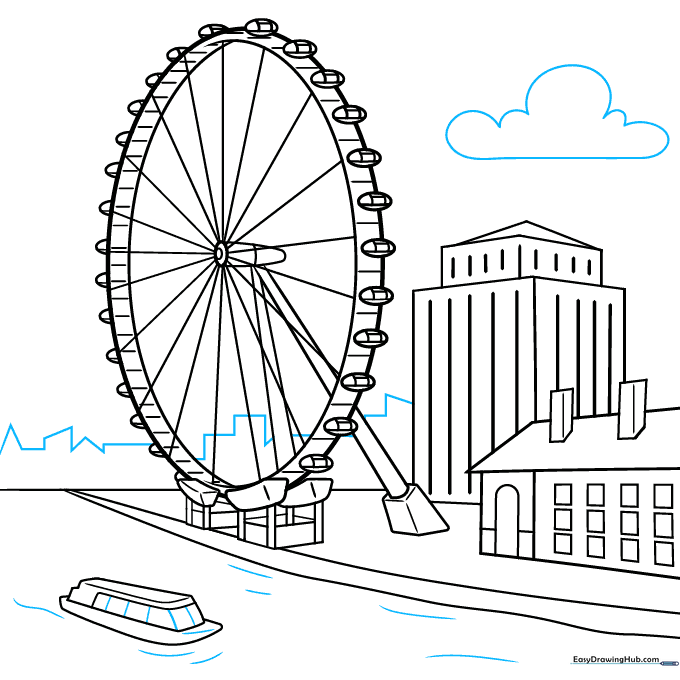
Add windows to the boat and wavy lines to the water. Sketch a jagged skyline in the distance and a fluffy cloud above. Tip: Use light, quick strokes for the clouds to make them look soft and airy.
Step 10: Color Your Masterpiece
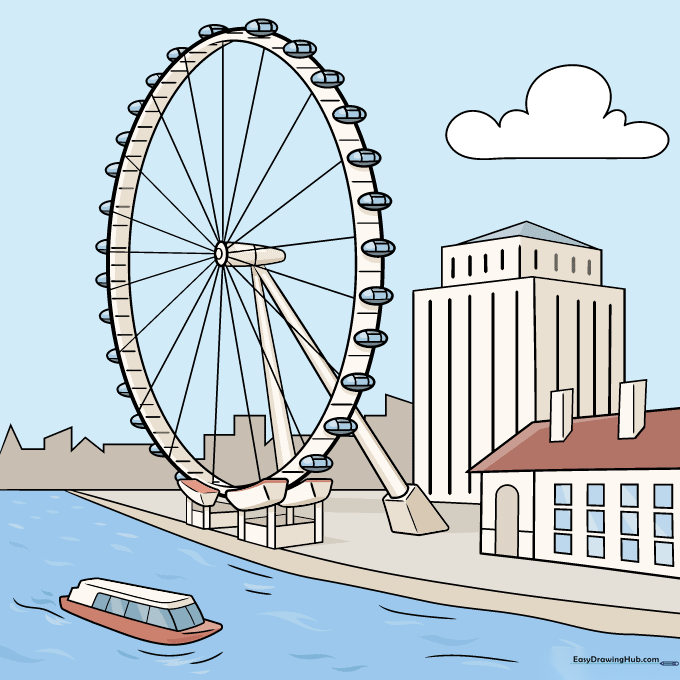
Your outline is complete! Use shades of gray for the metal structure, and feel free to use bright colors for the pods or the sky. Tip: Since the real London Eye is often lit up at night, you can use neon markers to make your drawing pop!
More Tutorials


