How to Draw the Leaning Tower of Pisa: Easy 9-Step Guide
Bring a piece of Italy to your sketchbook with this fun, screen-free activity perfect for ages 6 and up. You will only need a pencil, an eraser, and some paper to master the iconic tilt of this famous landmark. Follow along to build your confidence in drawing geometric shapes and architectural details.
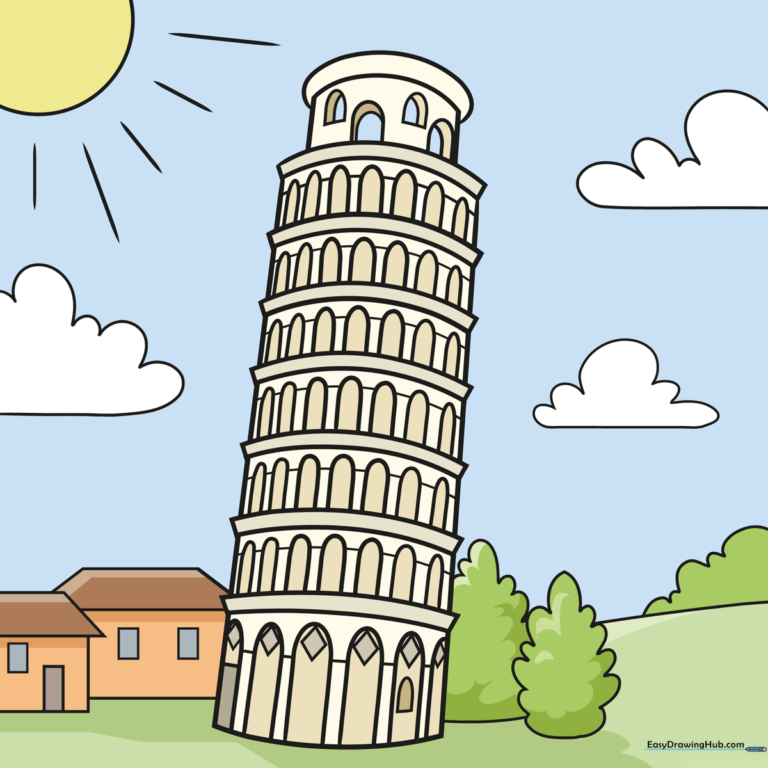
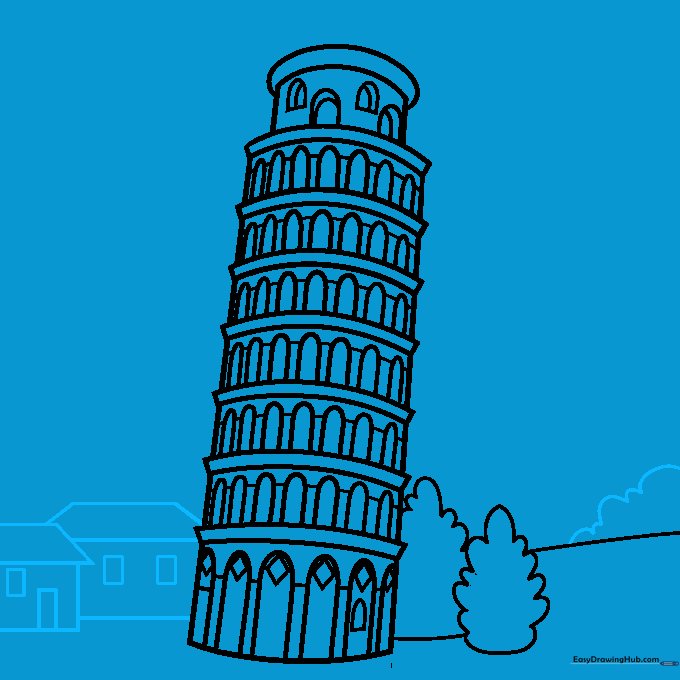
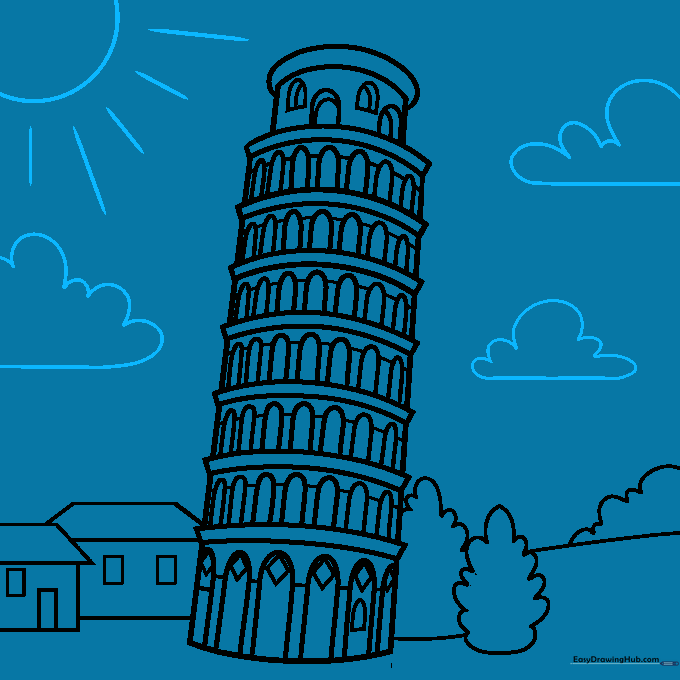
🎯 Final Result
Step-by-Step Instructions
Step 1: Sketching the Base Segments

Start by drawing three stacked segments. For each, sketch a curved rectangle topped with a narrow trapezoid. Tip: Keep your pencil strokes light so you can easily adjust the 'lean' of the tower as you go.
Step 2: Building the Tower Height
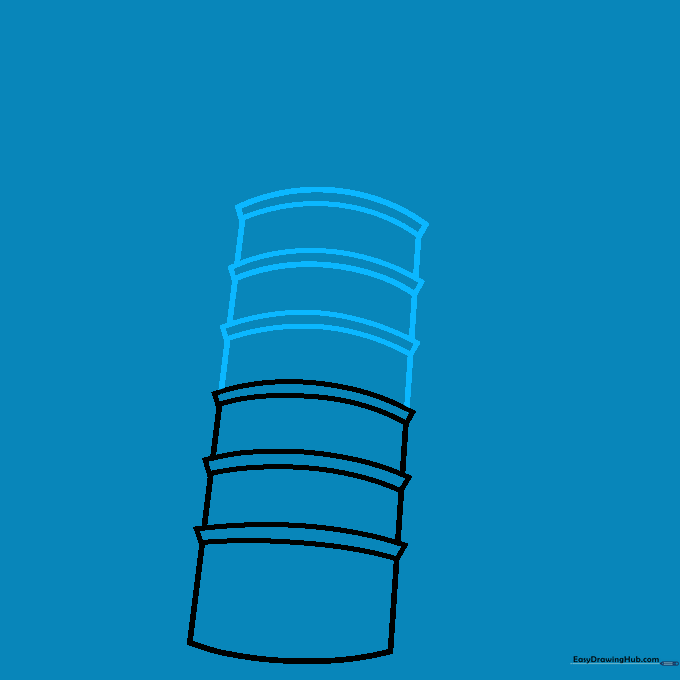
Add three more segments using the same curved rectangle and trapezoid pattern. Tip: Ensure each segment gets slightly narrower as you move toward the top to give the tower a realistic perspective.
Step 3: Adding the Belfry
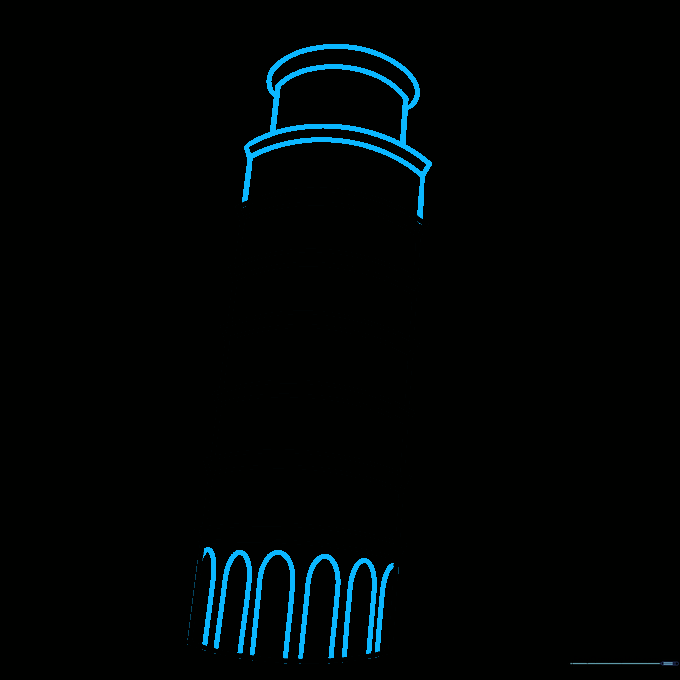
Draw the final top segment and a small curved rectangle, then cap it with a partial oval. Begin the architectural detail by sketching tall, narrow arches on the bottom segment. Tip: Use your eraser to clean up any overlapping lines inside your arches.
Step 4: Detailing the Arches
Continue adding arches along each of the tower's segments. Tip: Keep your spacing consistent to make the tower look like a professional architectural drawing.
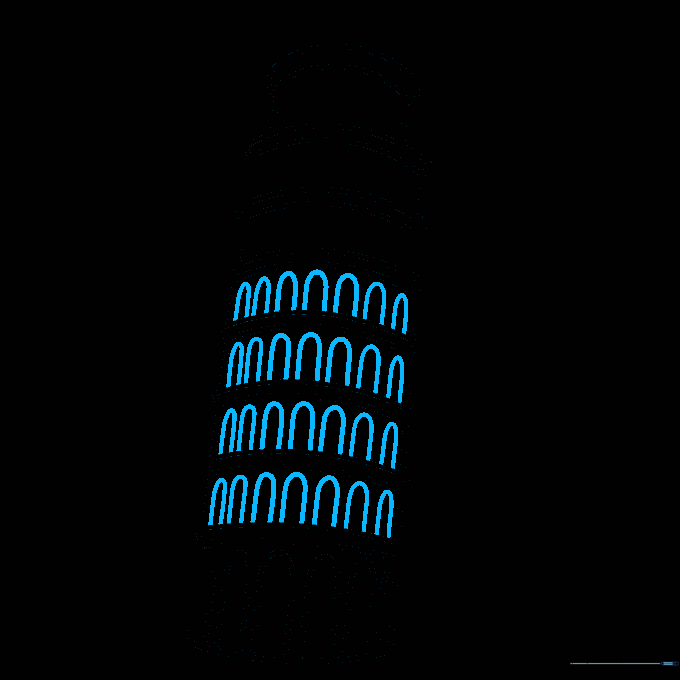
Step 5: Refining the Top Windows
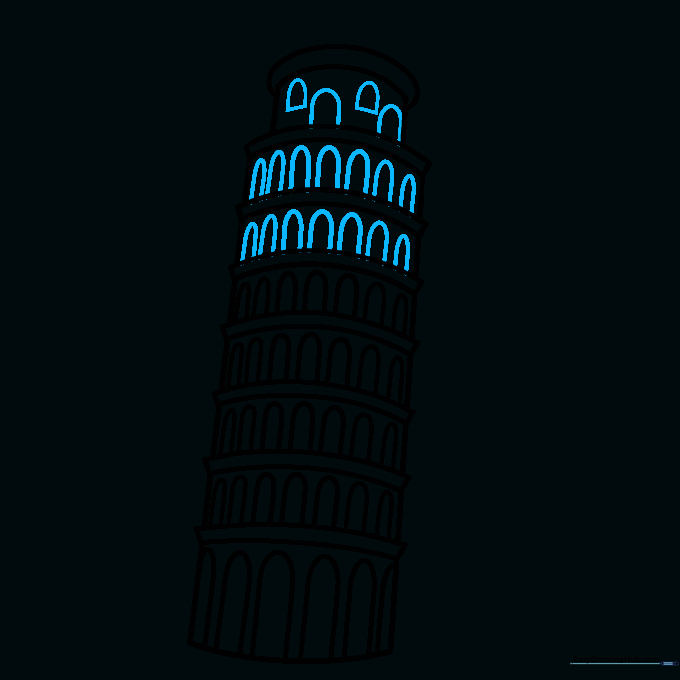
Finish the arches on the lower levels. For the smaller top section, draw fewer, taller arched windows with a straight base line. Tip: Focus on making these top windows look delicate compared to the base.
Step 6: Adding Texture and Depth
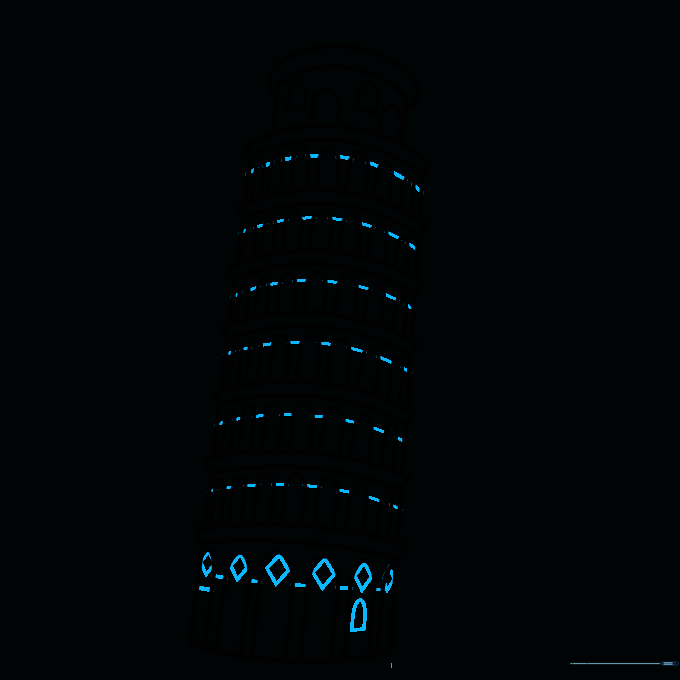
Draw a long curved line across each segment, passing behind the arches to create depth. Add small diamond shapes at the top of the base arches for extra detail. Tip: Adding these small shapes makes the drawing look much more realistic.
Step 7: Creating the Landscape
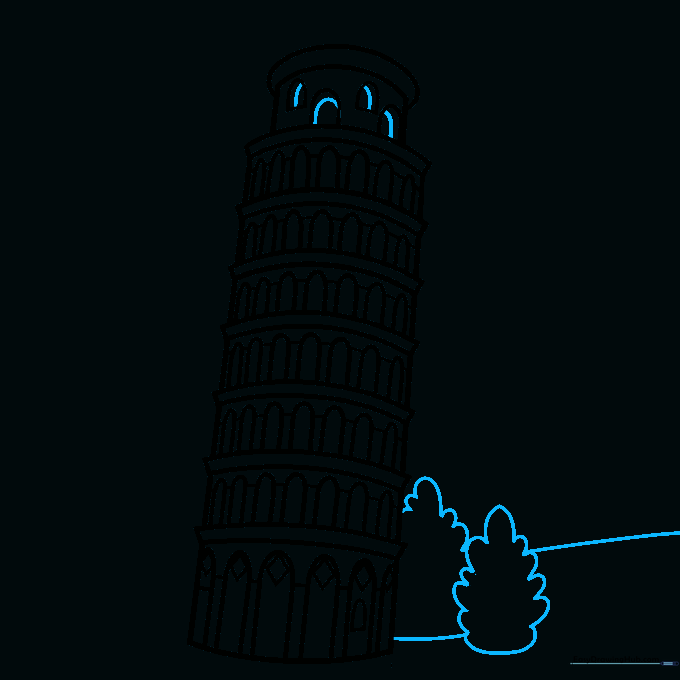
Draw the surrounding environment. Use soft, curved lines to create shrub-like trees and a sweeping line to represent the hillside. Tip: Vary the size of your trees to create a sense of distance.
Step 8: Adding Background Buildings
Sketch simple buildings in the background using rectangles and trapezoids for roofs. Keep them simple so they don't distract from the main tower. Tip: Use lighter pressure for background elements to make the tower 'pop' forward.
Step 9: Final Touches
Complete your scene by drawing a sun and fluffy clouds in the sky. Tip: Use a circular motion for the clouds to make them look soft and airy.
Step 10: Bring It to Life with Color

Color your tower using light tan or beige to mimic the stone. Use blues for the sky and greens for the landscape. Tip: Use a darker shade of tan on one side of the tower to create a simple shadow effect.
More Tutorials


