How to Draw the Joker: Easy 10-Step Character Guide
Ready to bring Gotham's most iconic villain to life? This tutorial is perfect for young artists and fans looking to practice expressive character design. Grab a pencil, an eraser, and a sheet of paper to follow along as we break down the Joker’s signature features into simple, manageable shapes.
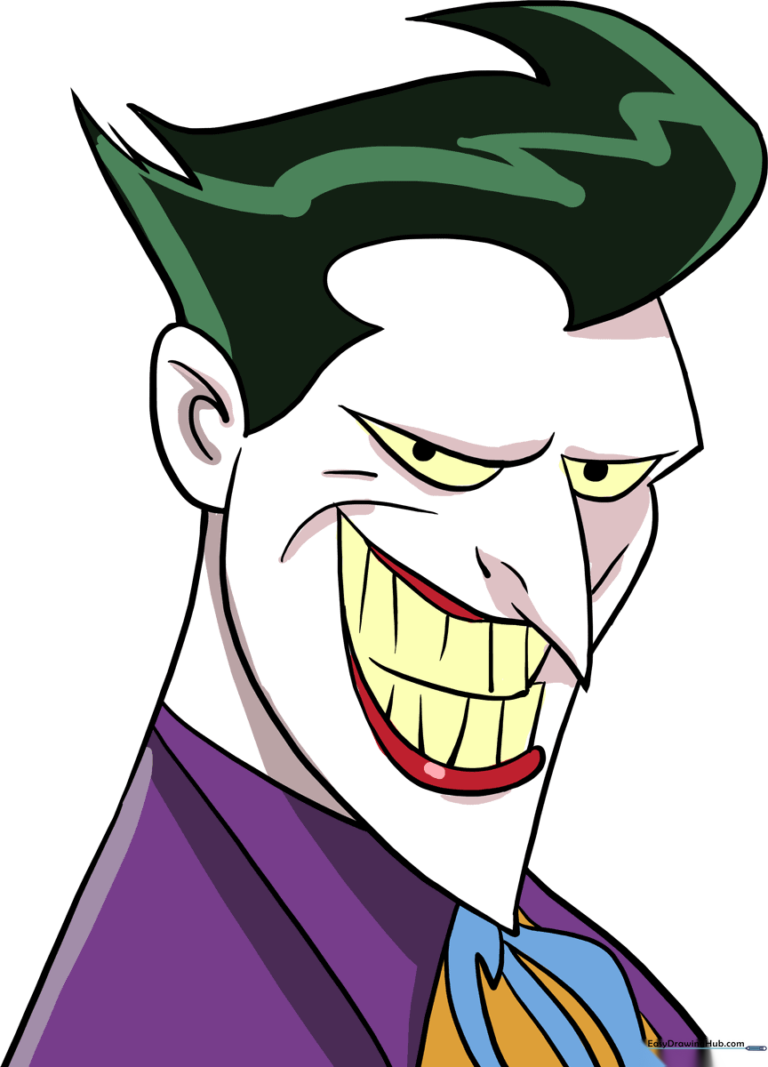
🎯 Final Result
Step-by-Step Instructions
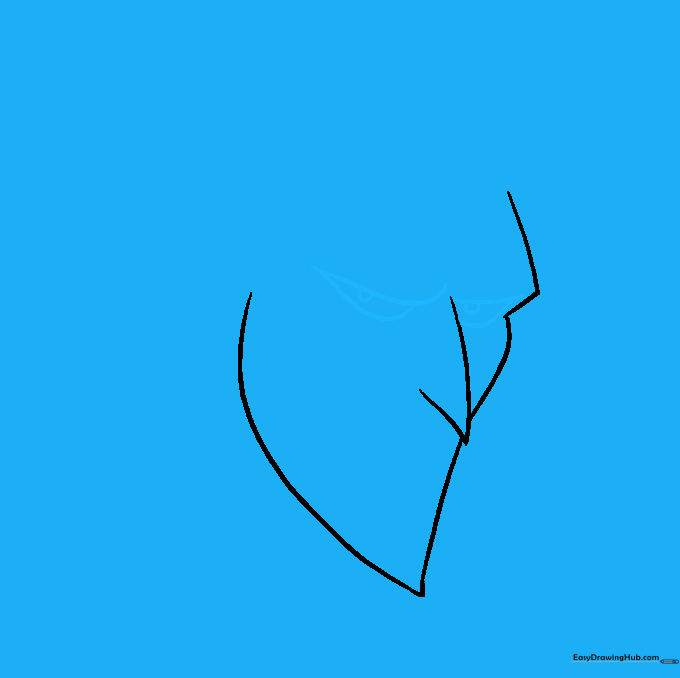
Step 1: Sketching the Face Shape

Start by sketching the Joker's face using light, curved lines. Focus on creating a sharp, pointed chin and distinct brow bones. Teacher's Tip: Keep your pencil pressure light here so you can easily adjust the proportions before we add the facial features.
Step 2: Defining the Nose

Draw the nose using two curved lines that meet at a sharp, downward-pointing tip. Tip: If you accidentally draw it too large, use your eraser to gently soften the lines before moving on.
Step 3: Adding the Eyes
Outline the eyes using two curved lines that taper to a point at each end. Add a small circle inside each for the pupils. Tip: Making the eyes slightly slanted gives the Joker that classic, mischievous look.
Step 4: Drawing the Signature Smile
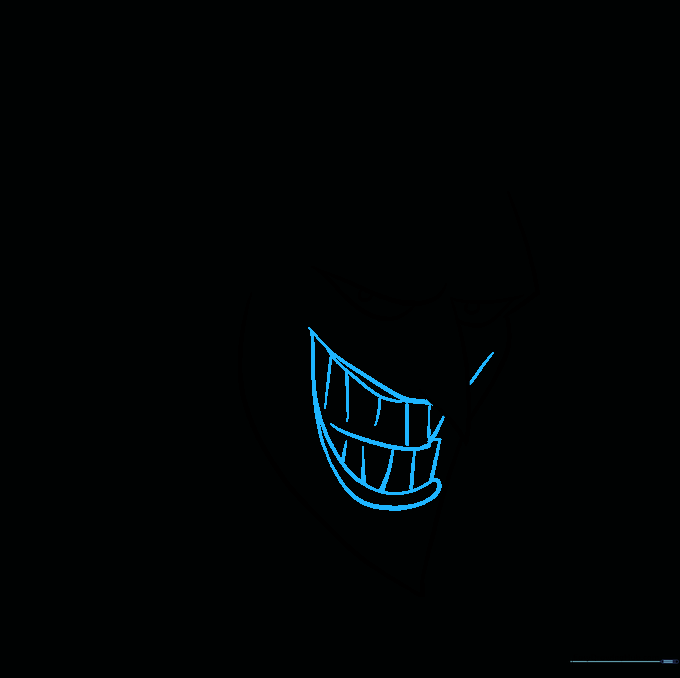
Sketch the thin lips using curved lines. Use a jagged line on one side to show the teeth, and a curved line to separate the upper and lower rows. Tip: Don't worry about making the teeth perfect; the Joker’s smile is meant to look a bit crooked and chaotic!
Step 5: Detailing the Ear
Enclose the ear with a curved line on the side of the head. Add a small, backward 'S' shape inside to represent the inner ear structure. Tip: Keep this detail small so it doesn't distract from the face.
Step 6: Sketching the Hair

Use a series of curved lines to create the hair. Focus on the rounded indentation on the forehead and sharp, spiked locks on top. Tip: Vary the length of your strokes to make the hair look messy and wild.
Step 7: Adding Neck and Shoulders
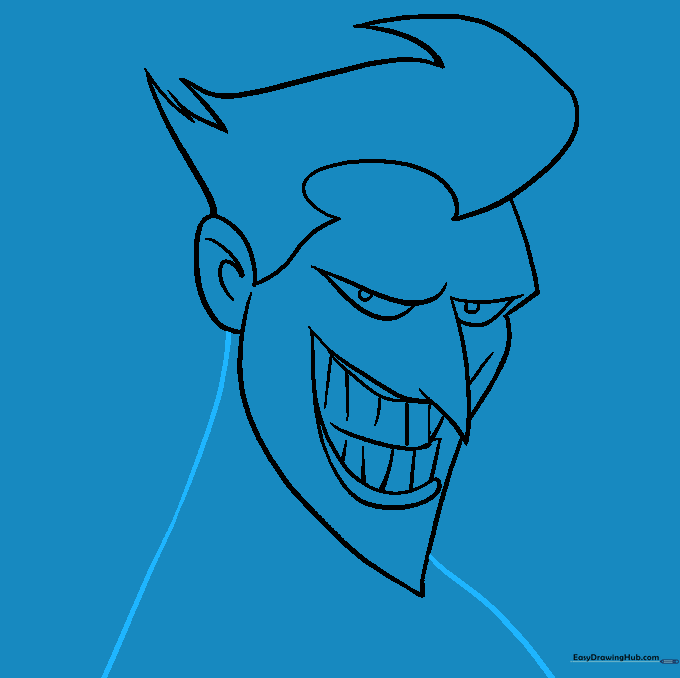
Draw long, sweeping curved lines descending from the chin to form the neck and shoulders. Tip: Make these lines smooth to contrast with the jagged, chaotic hair.
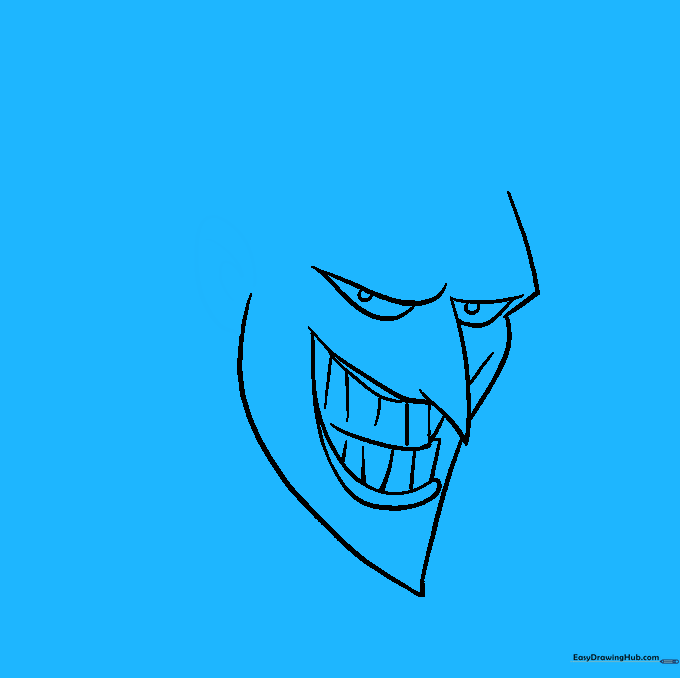
Step 8: Refining the Expression
Sketch a triangle below the neck for the collar. Add curved lines near the nose and mouth to create deep smile lines, giving him a more 'demented' look. Tip: These small lines are what really bring the character's personality to life!
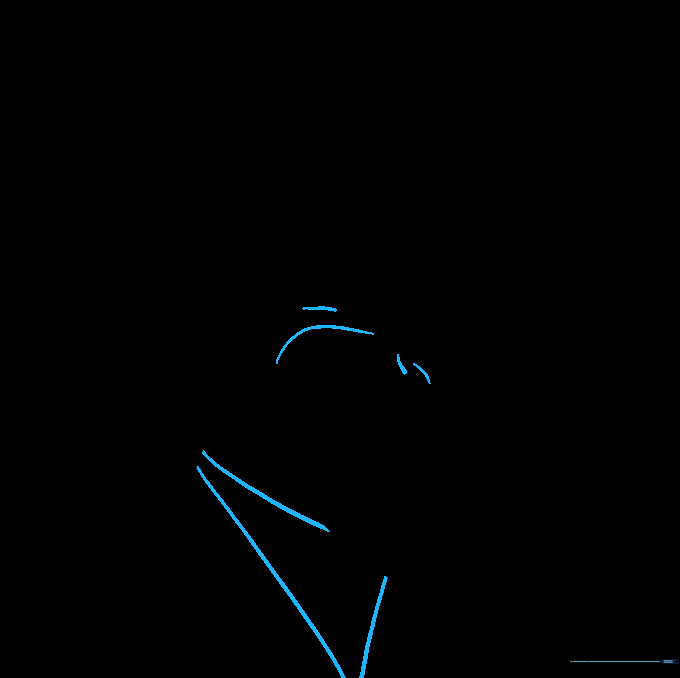
Step 9: Adding the Bow Tie
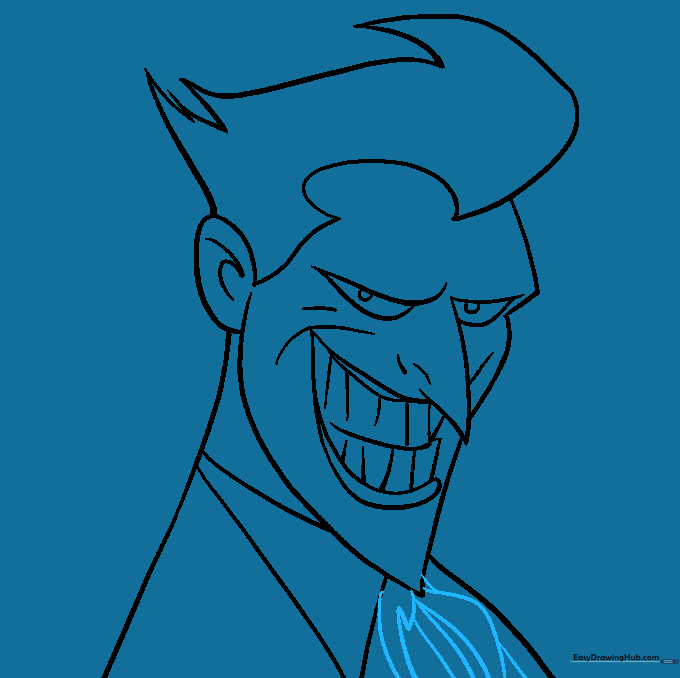
Use curved lines to draw a floppy bow tie beneath the collar. Tip: Keep the edges slightly rounded to give it a soft, fabric-like appearance.
Step 10: Bringing Him to Life with Color
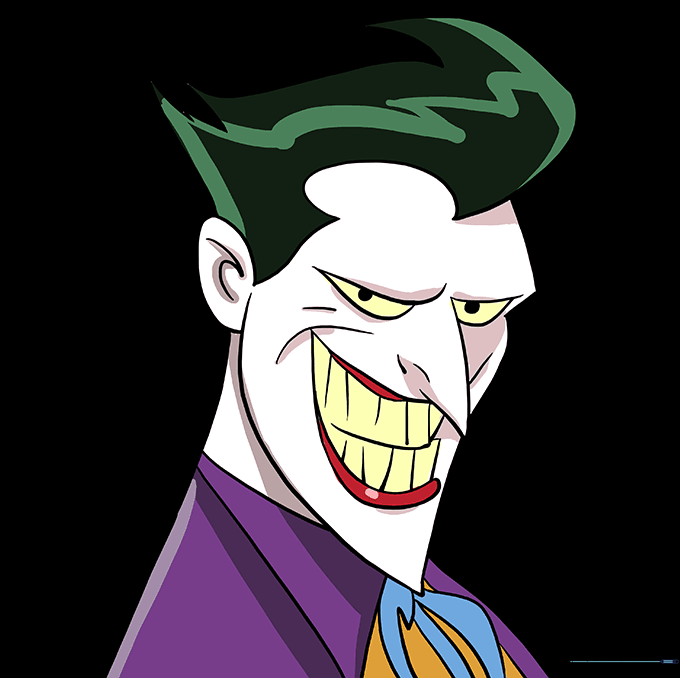
Time to color! Use a pale white for the face, vibrant green for the hair, and classic red for those wide lips. Tip: Use a yellow pencil for the teeth to keep them looking slightly discolored and authentic to the character.
More Tutorials


