How to Draw an Indominus Rex: Easy 10-Step Dinosaur Guide
Bring the king of the hybrids to life with this step-by-step drawing guide designed for young dinosaur enthusiasts. You will only need a pencil, an eraser, and a piece of paper to master this prehistoric predator. Follow along to build confidence in your sketching skills while creating a fierce, detailed Indominus Rex.
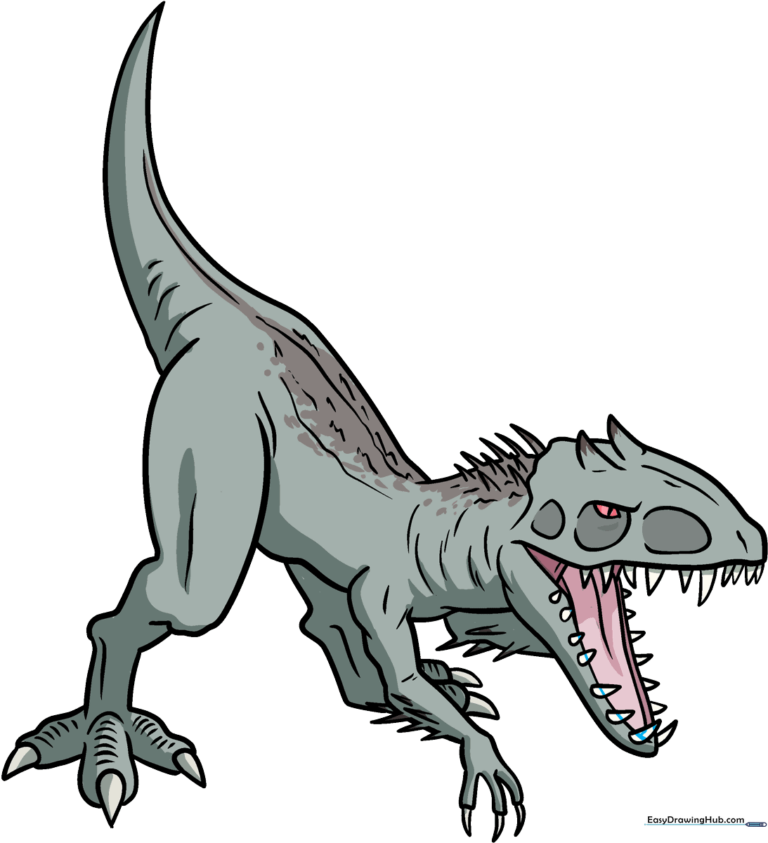
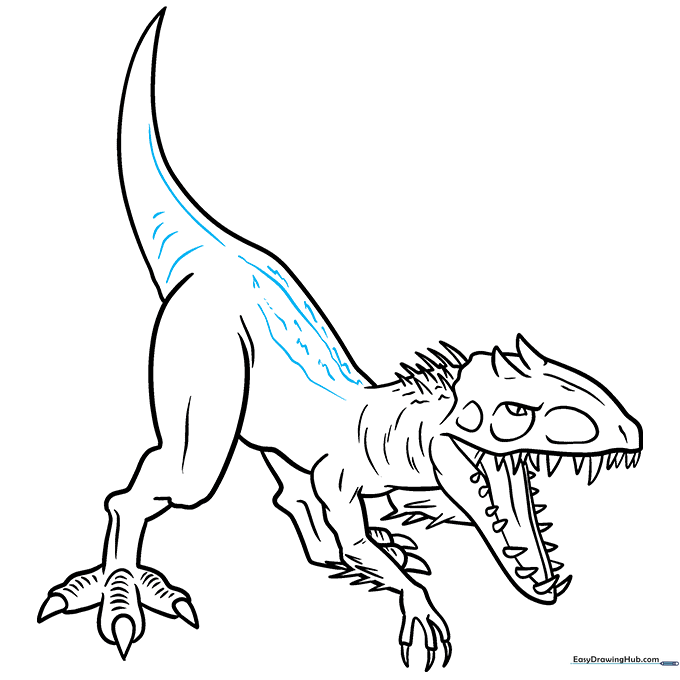
🎯 Final Result
Step-by-Step Instructions
Step 1: Sketching the Head and Brow
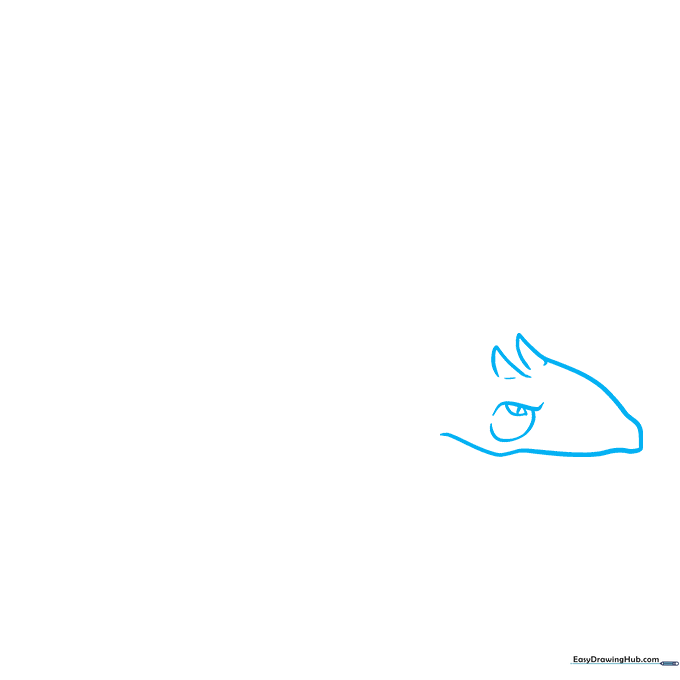
Start by drawing a squiggly line that doubles back on itself to form the snout. Add two small, incomplete triangles for the horns. Teacher’s Tip: Keep your pencil pressure light here so you can easily refine the brow ridge and eye shape later.
Step 2: Defining the Upper Jaw
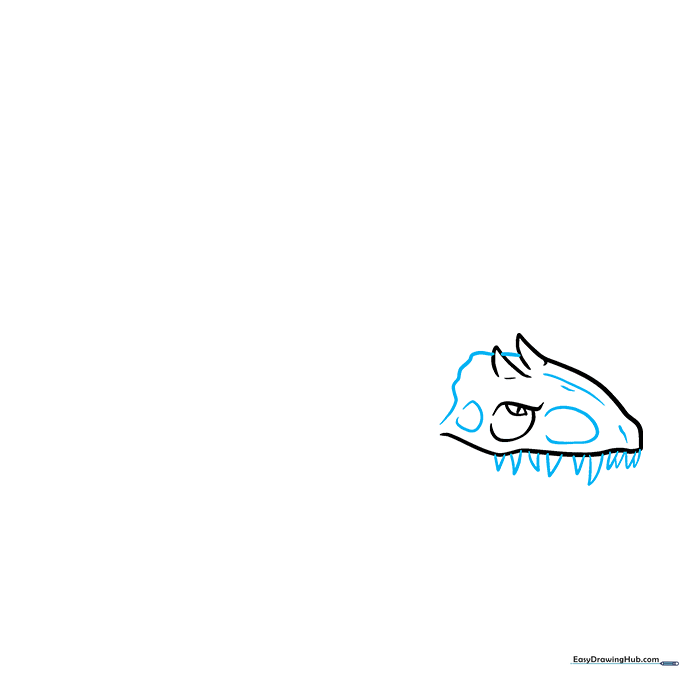
Add detail to the head using short, curved lines to suggest tough skin. Draw sharp, triangular teeth of varying sizes along the top jaw. Teacher’s Tip: Varying the size of the teeth makes the dinosaur look more natural and menacing.
Step 3: Creating the Lower Jaw
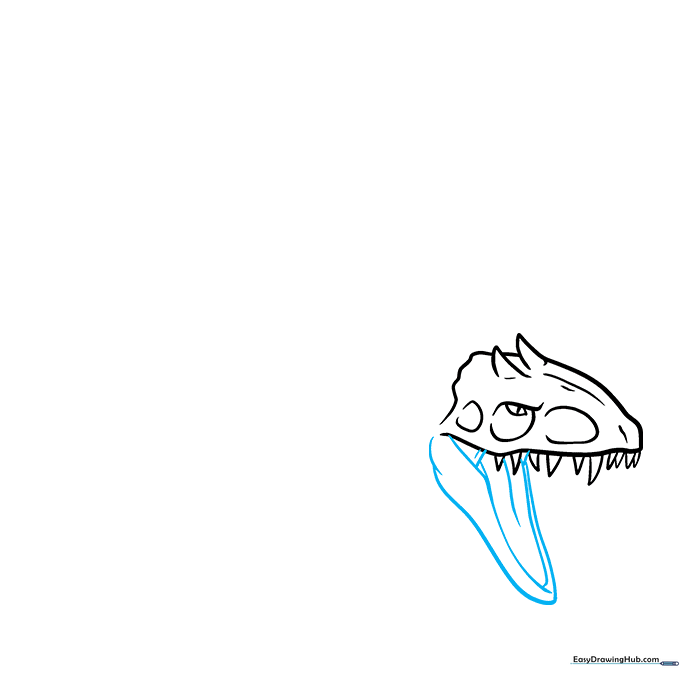
Draw the open lower jaw using curved lines to enclose the tongue and mouth corner. Add texture lines to the tongue to give it depth. Teacher’s Tip: Ensure the lower jaw looks slightly wider than the upper to show the mouth is wide open.
Step 4: Adding Teeth and Neck Spikes
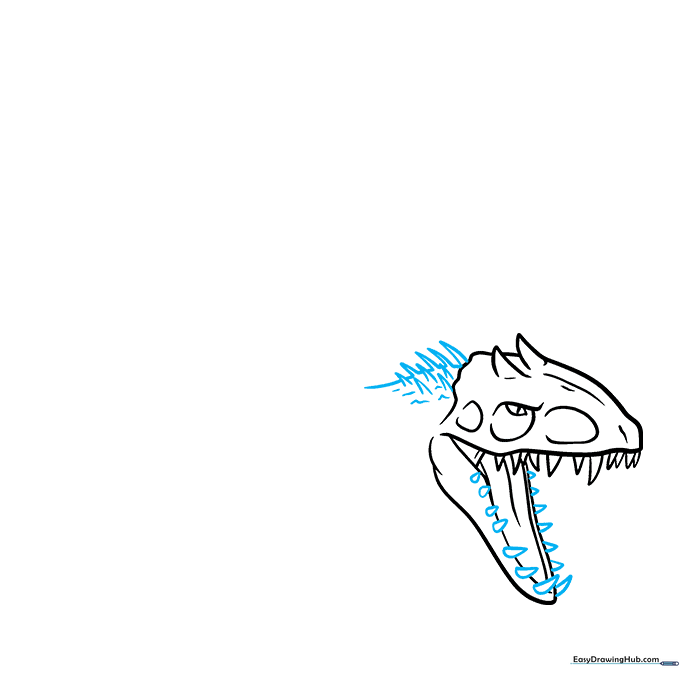
Add the lower teeth and create a series of sharp, triangular strips along the back of the neck. Connect these with wavy lines. Teacher’s Tip: Use your eraser to clean up any overlapping lines where the teeth meet the jaw.
Step 5: Sketching the Arm and Claws
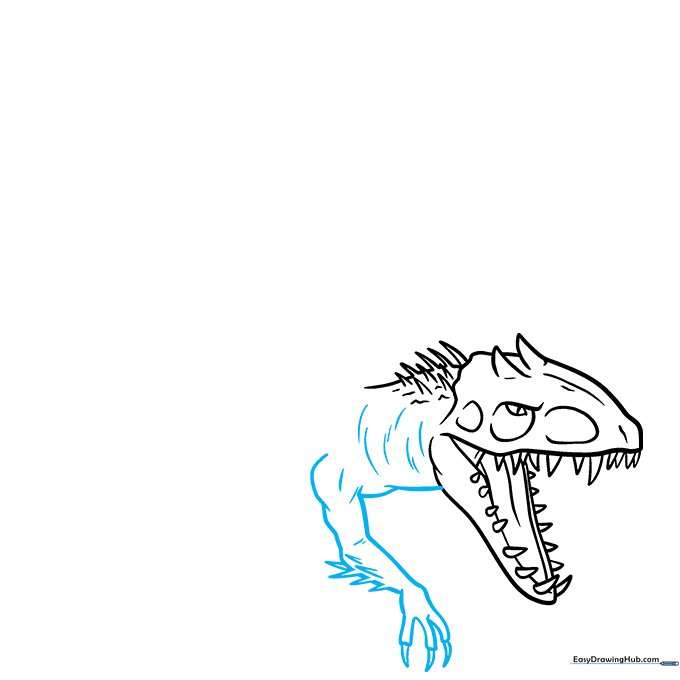
Draw the muscular forearm using overlapping curved lines. Add narrow spikes to the arm and sharp triangles for the claws. Teacher’s Tip: Focus on the 'muscular' look by using rounded, heavy lines for the shoulder area.
Step 6: Drawing the Back and Tail
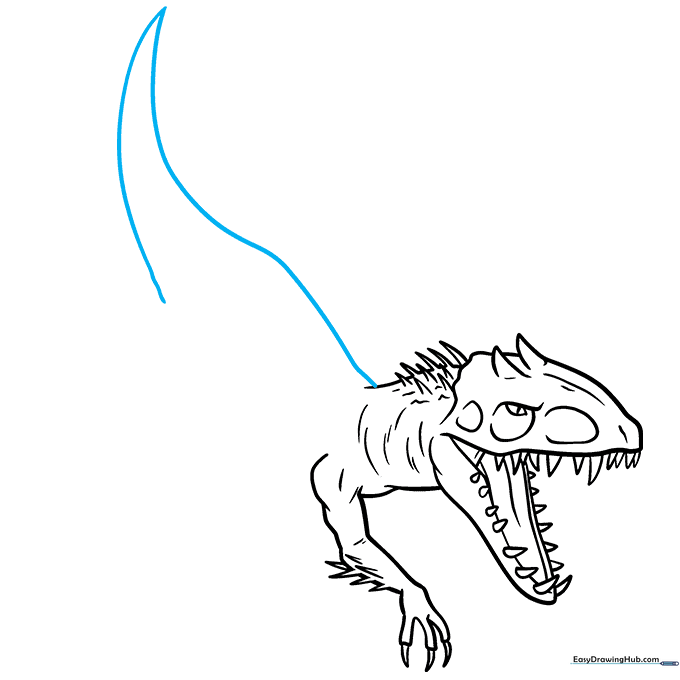
Extend a long, sweeping curved line from the neck to form the back and the long, pointed tail. Teacher’s Tip: Keep this line fluid and continuous to give the dinosaur a sense of motion.
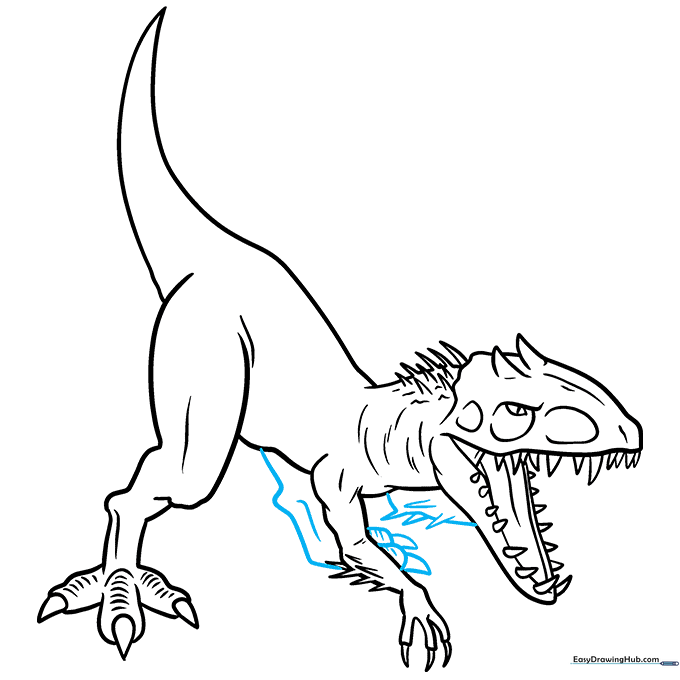
Step 7: Adding the Hind Leg

Draw the belly and the powerful rear leg using overlapping curves. Add rounded triangles for the claws. Teacher’s Tip: Use contour lines on the thigh to show muscle definition.
Step 8: Final Details and Throat Sac
Sketch the second rear leg partially behind the first. Add the frog-like vocal sac under the throat using 'V' shaped spikes. Teacher’s Tip: The vocal sac adds a unique, scary detail that makes your drawing stand out.
Step 9: Adding Skin Texture
Texture the back and tail with a mix of long and short curved lines to represent scales. Teacher’s Tip: Don't overdo it; a few well-placed lines are better than cluttering the drawing.
Step 10: Coloring Your Dinosaur

Your outline is complete! Use shades of gray to color your Indominus Rex, just like in the movies. Teacher’s Tip: Use a darker gray for the shadows under the belly and neck to make your dinosaur look 3D.
More Tutorials


