How to Draw an Impossible Triangle: Easy 10-Step Optical Illusion
Ready to trick your eyes? This classic Penrose triangle is a fantastic way for artists ages 8+ to practice parallel lines and 3D perspective. You only need a pencil, a ruler for crisp edges, and an eraser to create this mind-bending optical illusion.
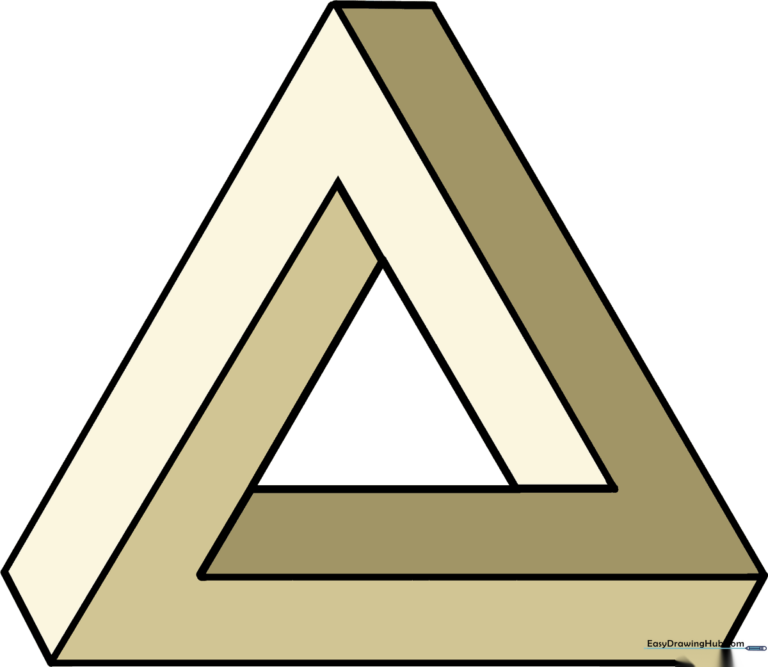
🎯 Final Result
Step-by-Step Instructions
Step 1: Sketch the Inner Triangle

Draw a small, equilateral triangle in the center of your page. Teacher's Tip: Use a ruler to ensure all three sides are equal, as this forms the 'hole' of your illusion.
Step 2: Extend the Corner Guides
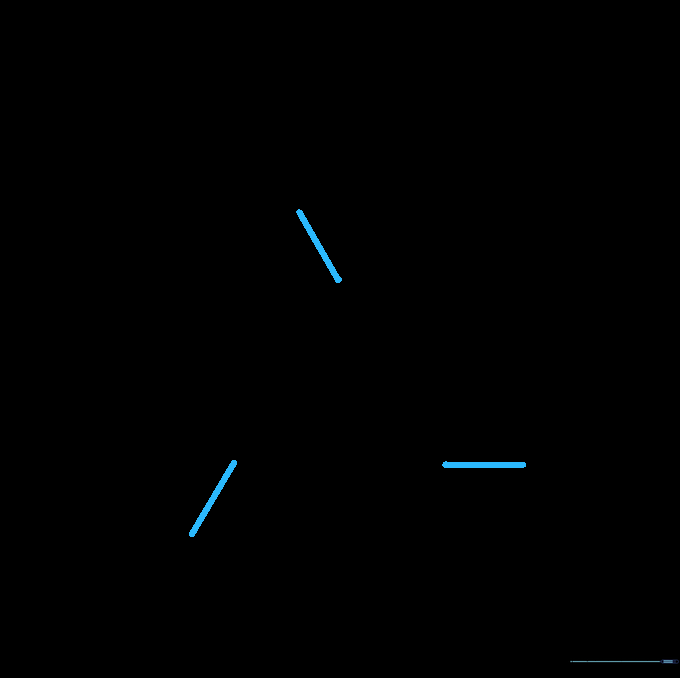
Extend a short, straight line diagonally outward from each of the three points. Tip: Keep these lines light; they act as the scaffolding for your 3D structure.
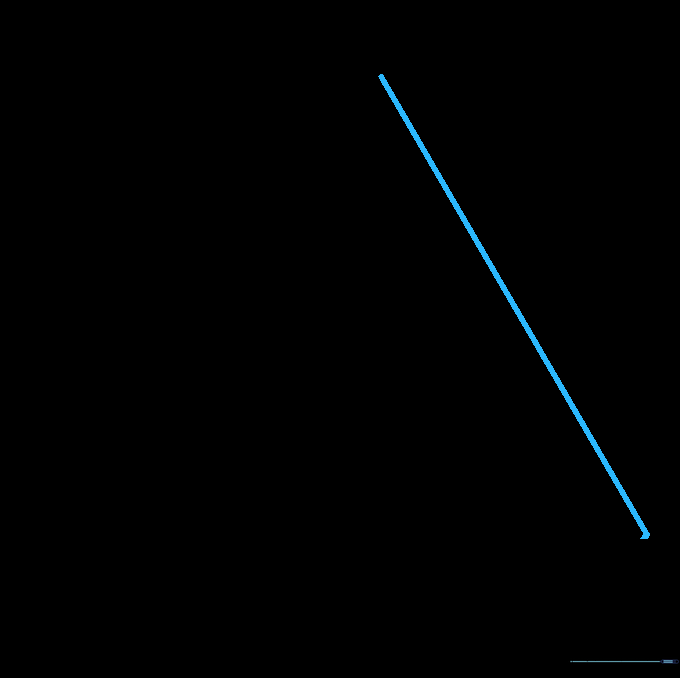
Step 3: Build the First Side
From the top diagonal line, draw a line parallel to the side of your inner triangle. Then, draw a second line parallel to the bottom side. Tip: Precision is key here—use your ruler to keep the lines perfectly parallel.
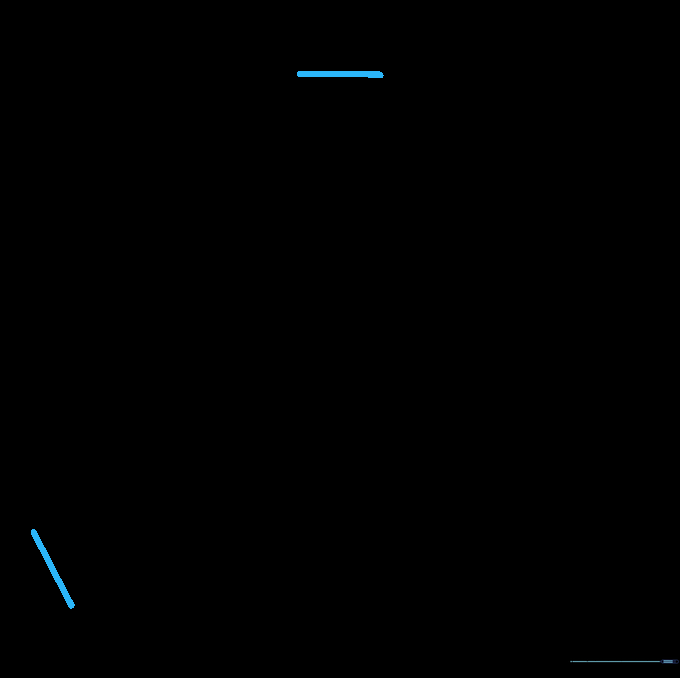
Step 4: Establish the Base

Draw a horizontal line from the lowest diagonal. Ensure it is equidistant from the other lines to maintain the illusion of depth.
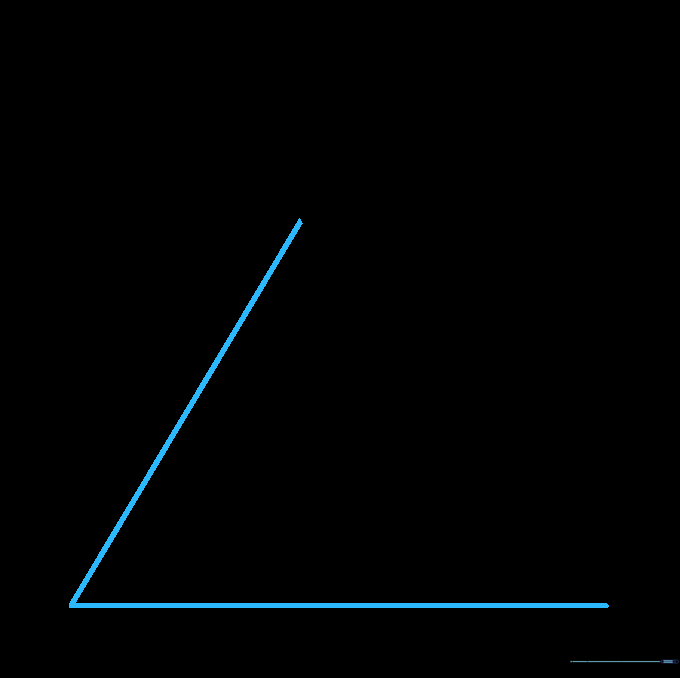
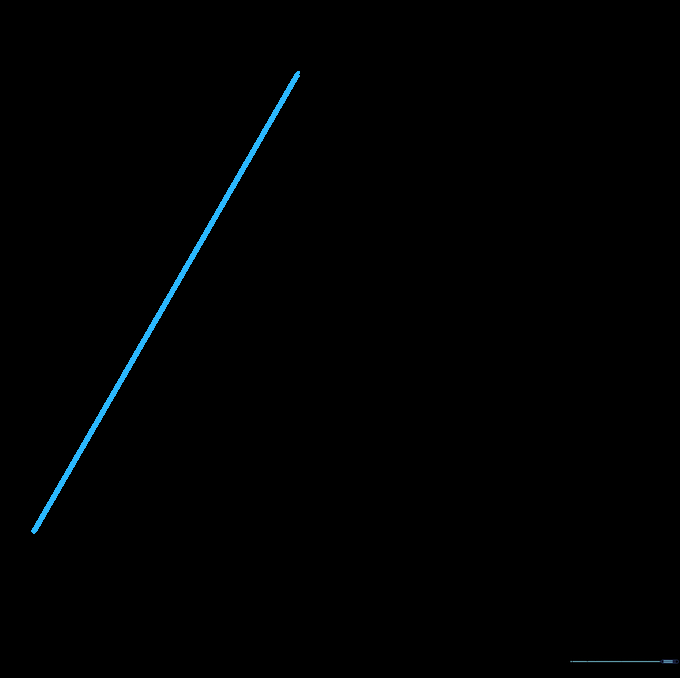
Step 5: Extend the Left Side

Draw a long line upward from the remaining diagonal, keeping it parallel to the inner triangle's side. Tip: Think of this as building the outer wall of a box.
Step 6: Connect the Top Corner
From the top of your last line, draw a long line parallel to the opposite side of the triangle. You are now closing the loop of the shape.
Step 7: Add the Final Vertical
Extend a line upward from the middle horizontal section. This creates the final 'impossible' overlap.
Step 8: Close the First Corner

Connect the lines to close one of the corners. Tip: Use short, clean strokes to ensure the corners look sharp and intentional.
Step 9: Finalize the Outline
Close the remaining two corners with short, straight lines. Your impossible triangle is now complete! Erase any stray guide lines to make it pop.
Step 10: Add Color and Depth

Add shading to the inner faces to enhance the 3D effect. Tip: Use a darker shade on the 'shadowed' sides to make the triangle look like it's popping off the page!
More Tutorials


