How to Draw a Hydra: Easy Step-by-Step Mythical Creature Guide
Ready to bring a legendary beast to life? This tutorial is perfect for young artists ages 8+ who want to master drawing multiple heads and flowing necks. Grab your pencil, eraser, and a fine-liner pen to create your own mythical Hydra masterpiece.
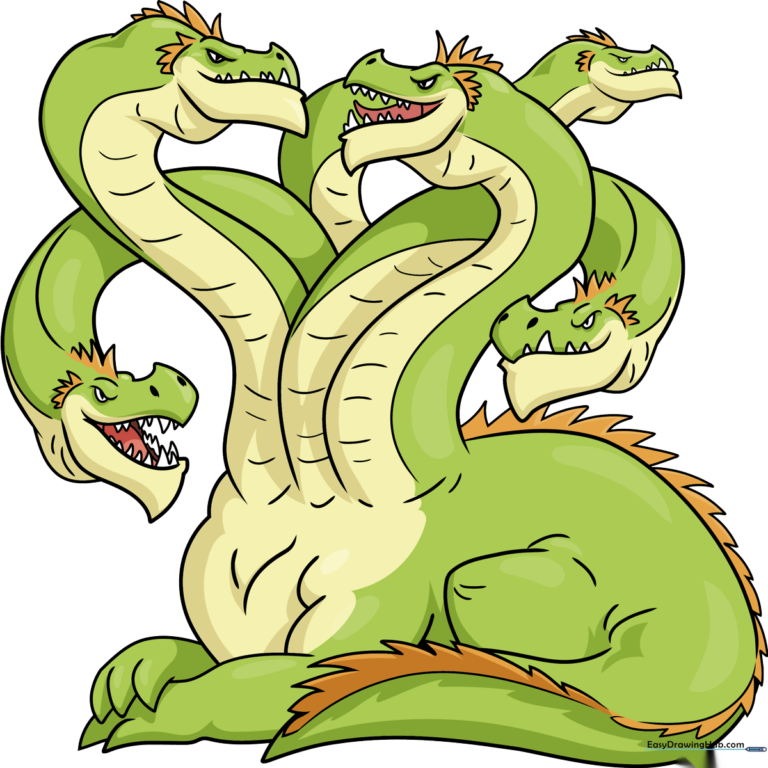
🎯 Final Result
Step-by-Step Instructions
Sketching the First Head
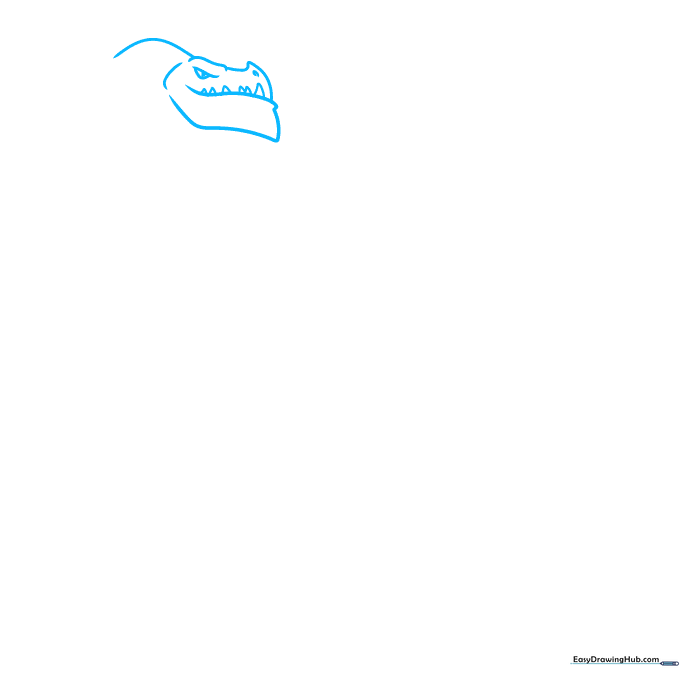
Draw a small, rounded hill for the top of the head, then sketch an uneven line ending in a triangle for the snout. Add a curved mouth with small, sharp triangles for teeth. Teacher's Tip: Keep your pencil lines light so you can easily erase the overlapping lines later.
Defining the First Neck
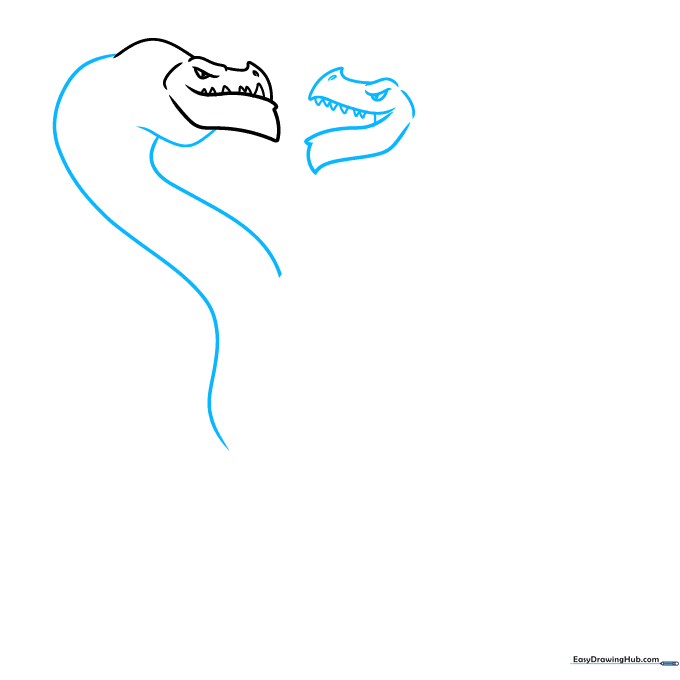
Sketch a bump beneath the head and use two sweeping S-curves to form the neck. Add a second head on the right using the same triangular snout technique. Teacher's Tip: Think of the neck as a flexible tube; let it curve naturally to give the creature movement.
Adding More Heads
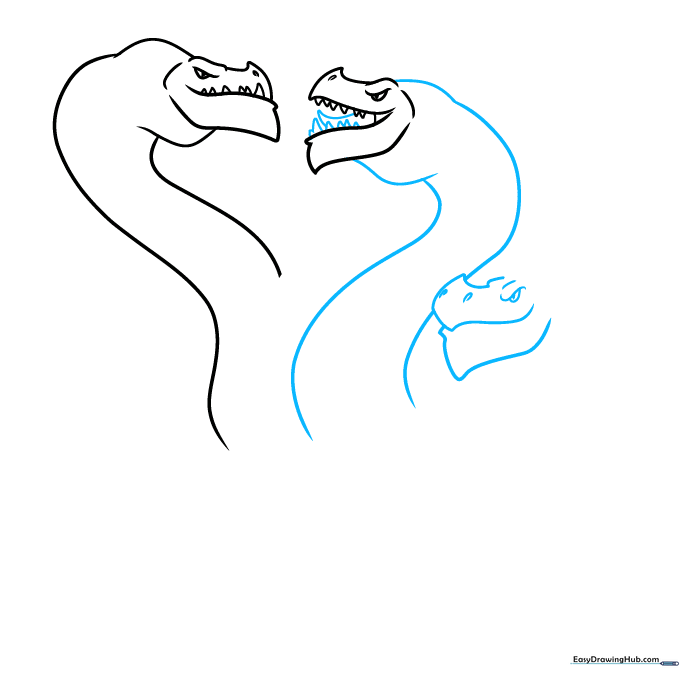
Repeat the head-drawing process to add a third head. Use small triangles for the teeth and a curved line for the tongue. Teacher's Tip: Vary the height of each head so they don't look like they are all standing in a straight line.
Expanding the Hydra
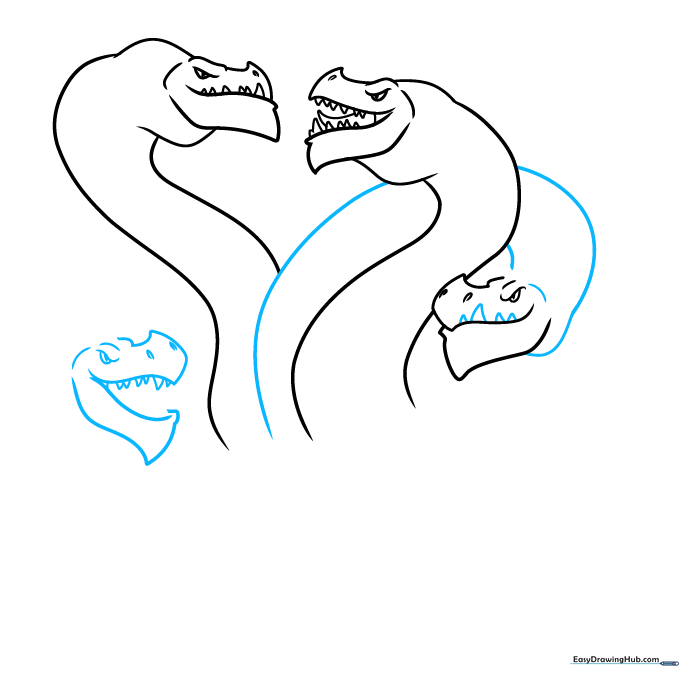
Draw a fourth head with a wider, open mouth. Outline the neck as a long, thick tube. Teacher's Tip: A wider mouth adds character—try making this one look like it's roaring!
Building the Body
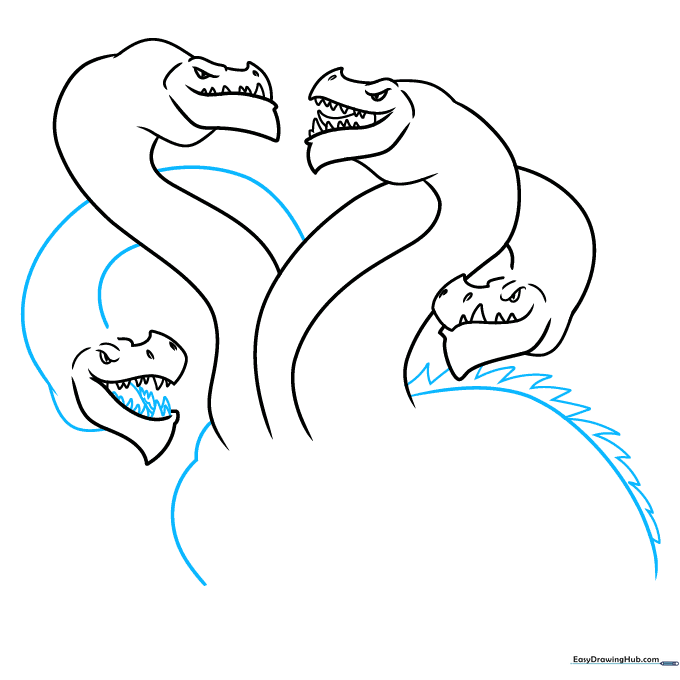
Connect the necks to a central body using wavy lines. Add loose triangles along the back for scales. Teacher's Tip: Don't worry about making the scales perfectly symmetrical; nature is rarely perfectly even.
Drawing the Tail and Legs
Create a long, sweeping tail using two curved lines. Add triangle spikes along the top and bottom, then sketch the legs and stomach. Teacher's Tip: Use long, fluid strokes for the tail to make it look like it's swishing.
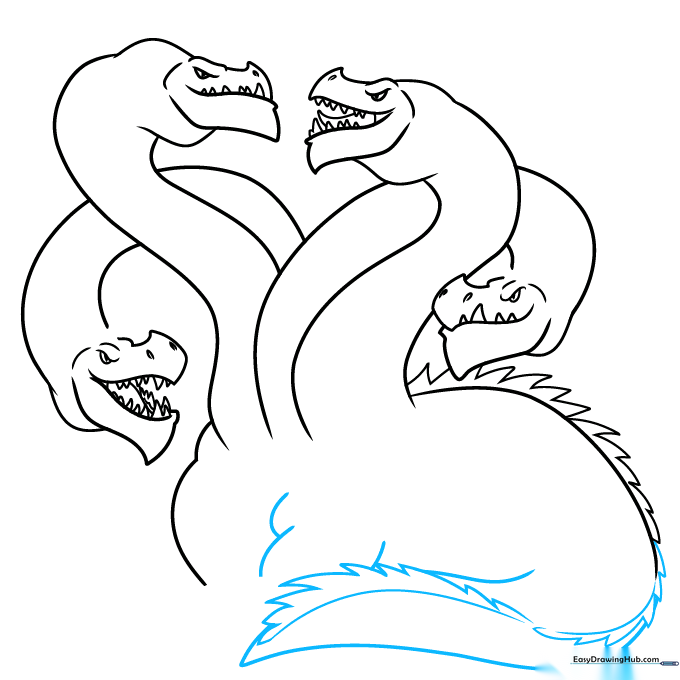
Adding Final Limbs and Heads
Sketch an additional head in the background to create depth. Add triangular toes to the feet and complete the arms with curved lines. Teacher's Tip: Overlapping the background head makes your drawing look more three-dimensional.
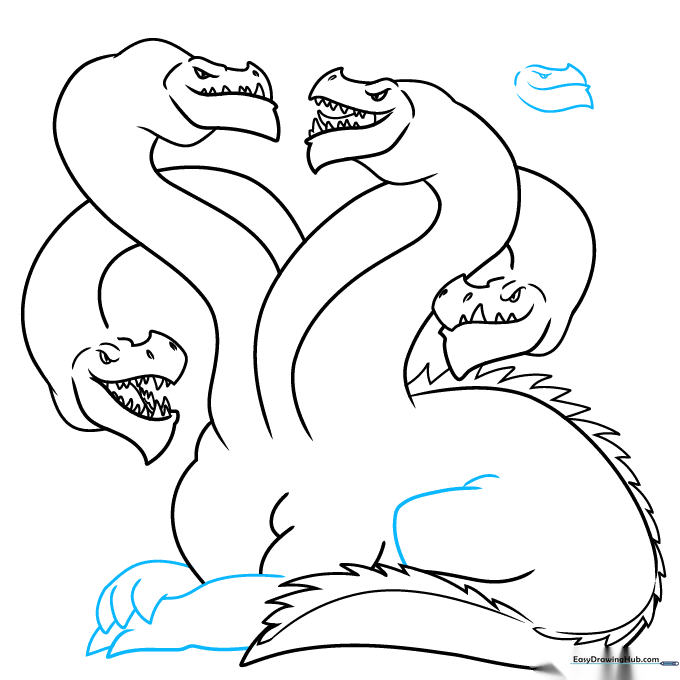
Refining the Necks
Attach the final head with a long, graceful neck. Add more teeth and scale details to the tops of each head. Teacher's Tip: Ensure the necks don't look too stiff—give them a slight curve to show they are alive.
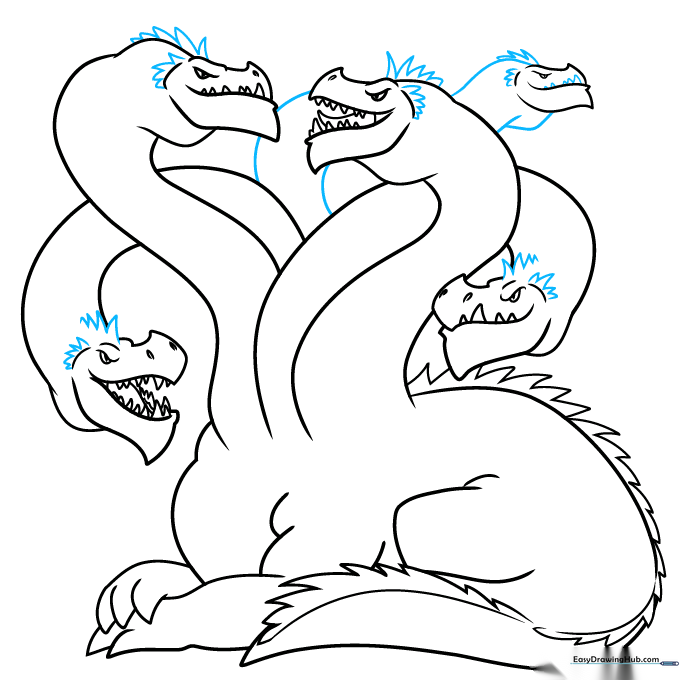
Final Outline
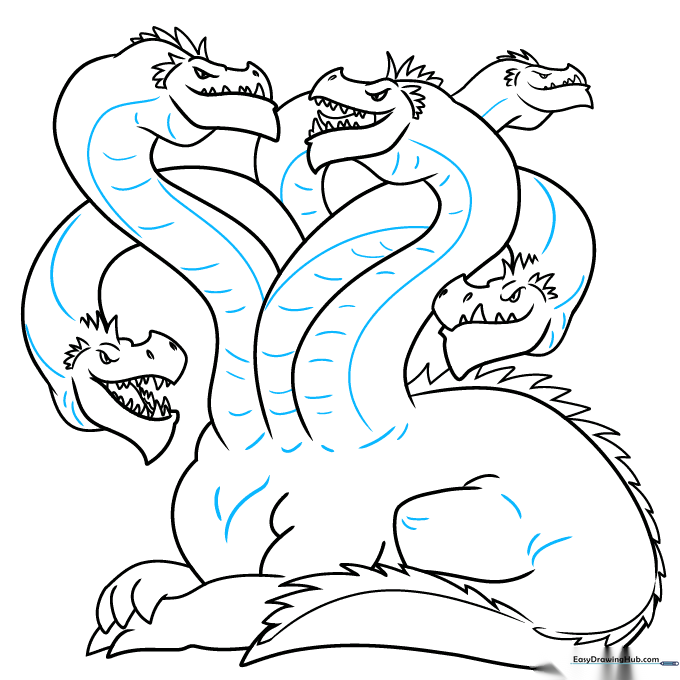
Add curved lines and horizontal dashes to the necks and body for texture. Use a black ink pen to outline your drawing, then erase any remaining pencil marks. Teacher's Tip: Take your time with the ink; slow, steady lines look much cleaner than fast, shaky ones.
Coloring Your Hydra
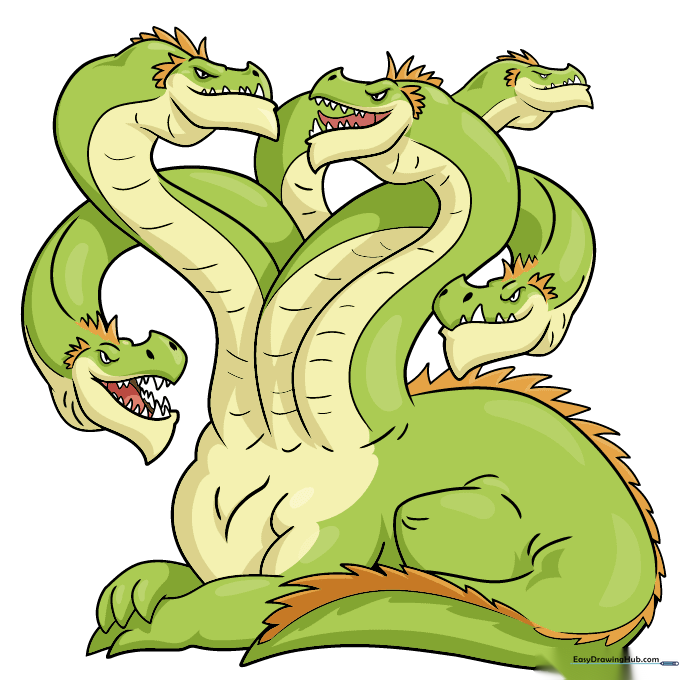
Bring your Hydra to life with color! Use green for the body, orange for the scales, and dark pink for the mouths. Leave the teeth and eyes white for a sharp, clean look. Teacher's Tip: Use light pressure with your colored pencils to create smooth gradients.
More Tutorials


