How to Draw the Hollywood Sign: Easy 9-Step Guide
Capture the magic of Tinseltown with this beginner-friendly drawing guide. Designed for ages 6+, this activity uses basic geometric shapes to build the famous landmark, helping young artists practice perspective and steady line control. Grab your pencil, eraser, and paper to bring this California icon to life.
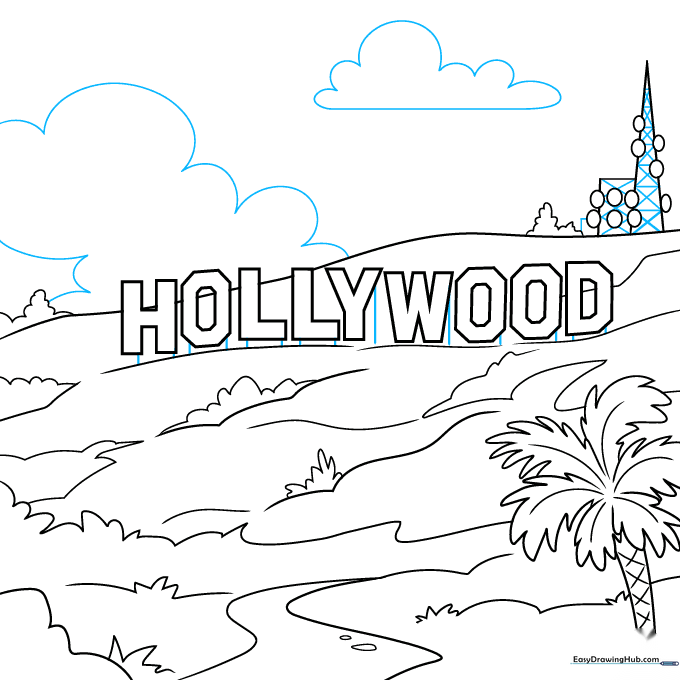
🎯 Final Result

Step-by-Step Instructions
Step 1: Establishing the Horizon Line
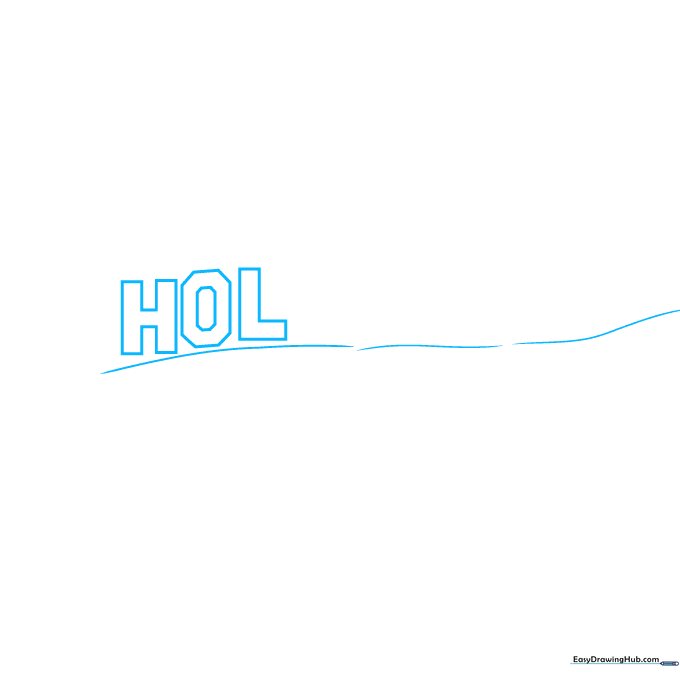
Draw a series of soft, curved lines on a slight diagonal slant to represent the ridge of Mount Lee. Then, sketch the first three letters—'H', 'O', and 'L'—using simple, bold rectangles. Teacher's Tip: Keep your pencil pressure light here so you can easily adjust the spacing if the letters look too crowded.
Step 2: Completing the Lettering
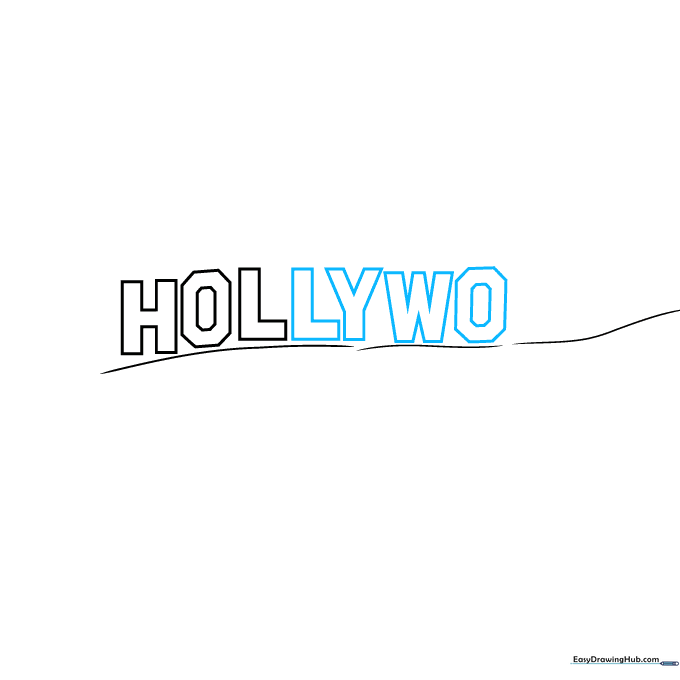
Continue the sequence by adding the remaining letters: 'L', 'Y', 'W', 'O', 'O', and 'D'. Notice that even the 'O' is constructed from short, straight segments rather than a perfect circle. Teacher's Tip: Think of these letters as blocks; keeping them blocky makes the sign look more realistic and sturdy.
Step 3: Adding the Mountain and Palm Tree
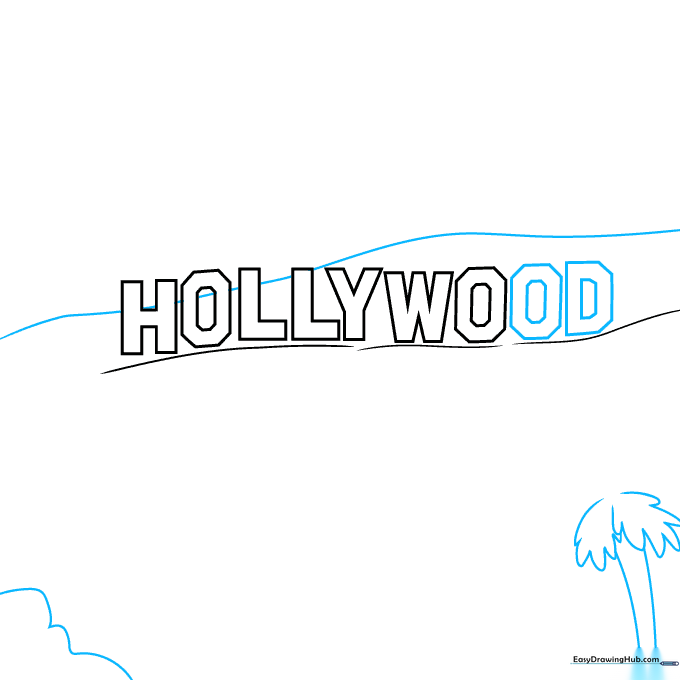
Draw a long, sweeping curved line behind the letters to define the peak of Mount Lee. At the bottom, sketch a boulder and a palm tree using two curved lines for the trunk. Teacher's Tip: Palm tree trunks aren't perfectly straight, so give yours a slight, natural bend.
Step 4: Detailing the Palm Fronds
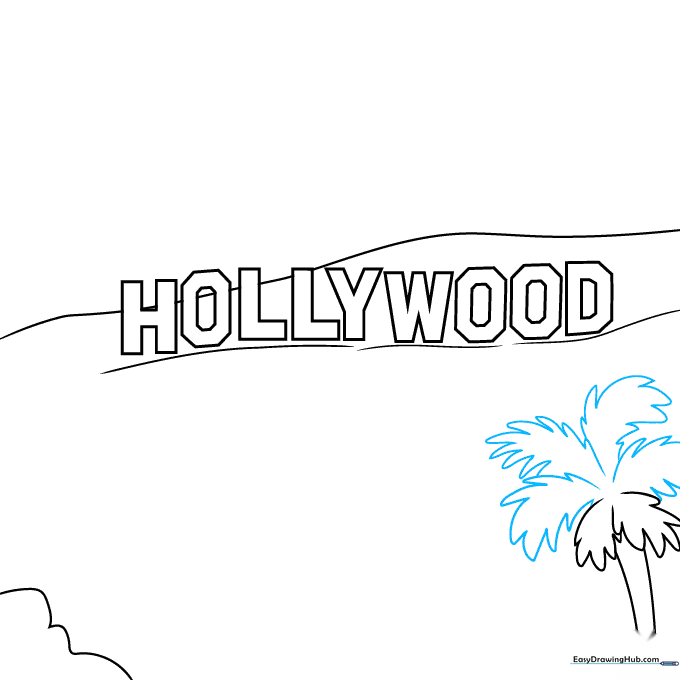
Create the palm leaves using a series of connected 'U' shaped lines. This creates that classic, jagged tropical look. Teacher's Tip: Don't worry about making every leaf identical; nature is asymmetrical, and variety makes your drawing look more authentic.
Step 5: Adding Texture and Landscape
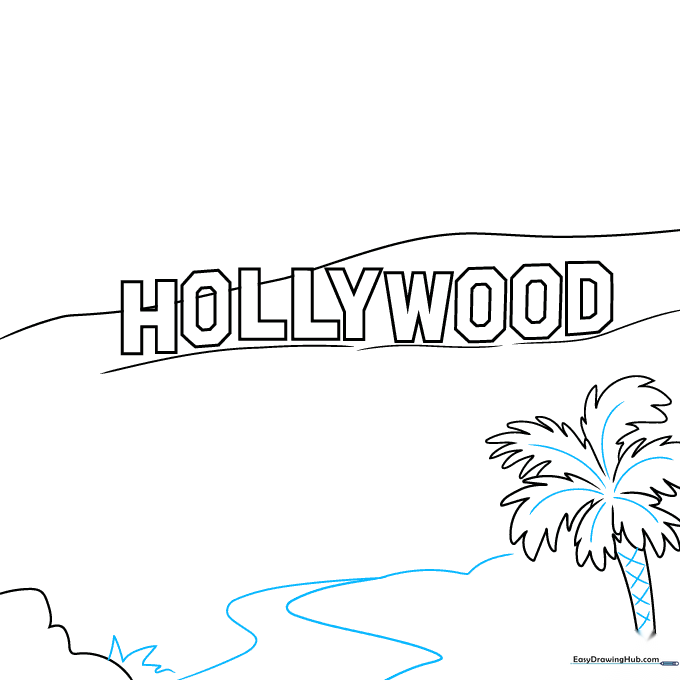
Add 'X' patterns to the palm trunk for texture. Sketch the outline of Lake Hollywood in the distance using long, flowing curves, and add a tuft of grass near your boulder. Teacher's Tip: Use short, quick strokes for the grass to give it a realistic, spiky texture.
Step 6: Mountain Details
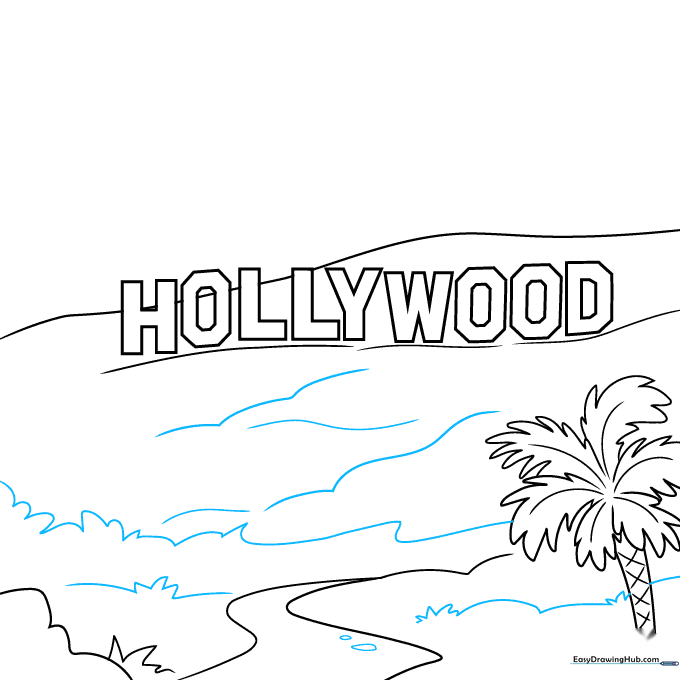
Add depth to the mountain by drawing long, curved lines that follow the slope. Add small, circular shapes in the lake area to represent ripples. Teacher's Tip: Vary the length of your lines to suggest different types of rocky terrain.
Step 7: Refining the Scenery
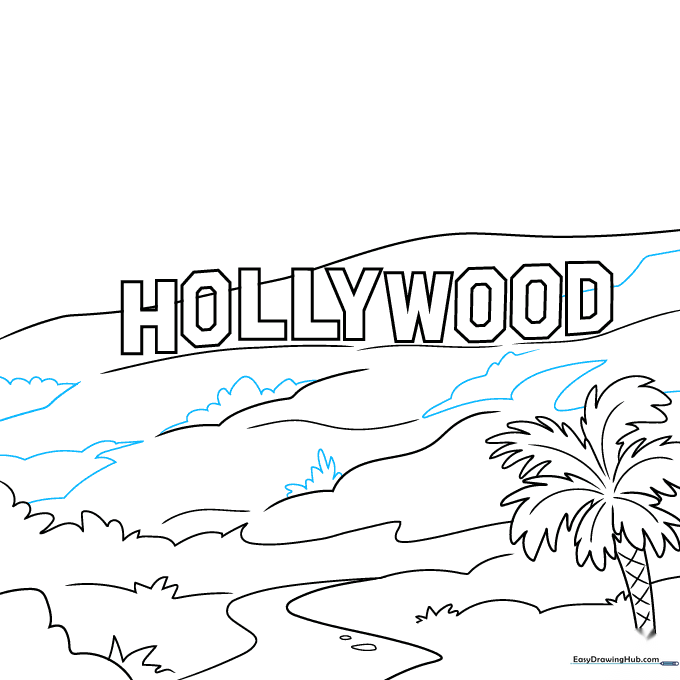
Continue adding ridges and small bushes along the mountain slope using clusters of curved lines. Teacher's Tip: Grouping your bushes in clusters of three makes the landscape look more balanced and intentional.
Step 8: Adding Infrastructure
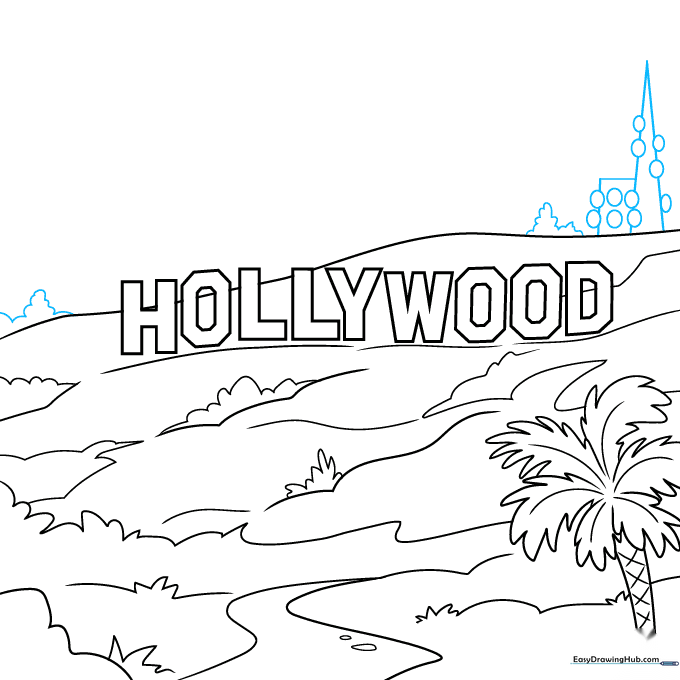
Draw the communications facility by sketching a narrow triangle and a rectangle. Add small ovals to represent antennas. Teacher's Tip: Use a ruler if you find it hard to keep the building edges straight!
Step 9: Final Touches
Add 'X' patterns to the building, sketch fluffy clouds in the sky, and draw vertical lines descending from the letters to show the sign's support structure. Teacher's Tip: Keep the clouds light and airy to contrast with the solid, heavy look of the sign.
Step 10: Coloring Your Masterpiece

Bring your drawing to life! Use white for the letters, and earthy browns, greens, and tans for the mountain. Teacher's Tip: Use a light blue for the sky to make the white letters really stand out.
More Tutorials


