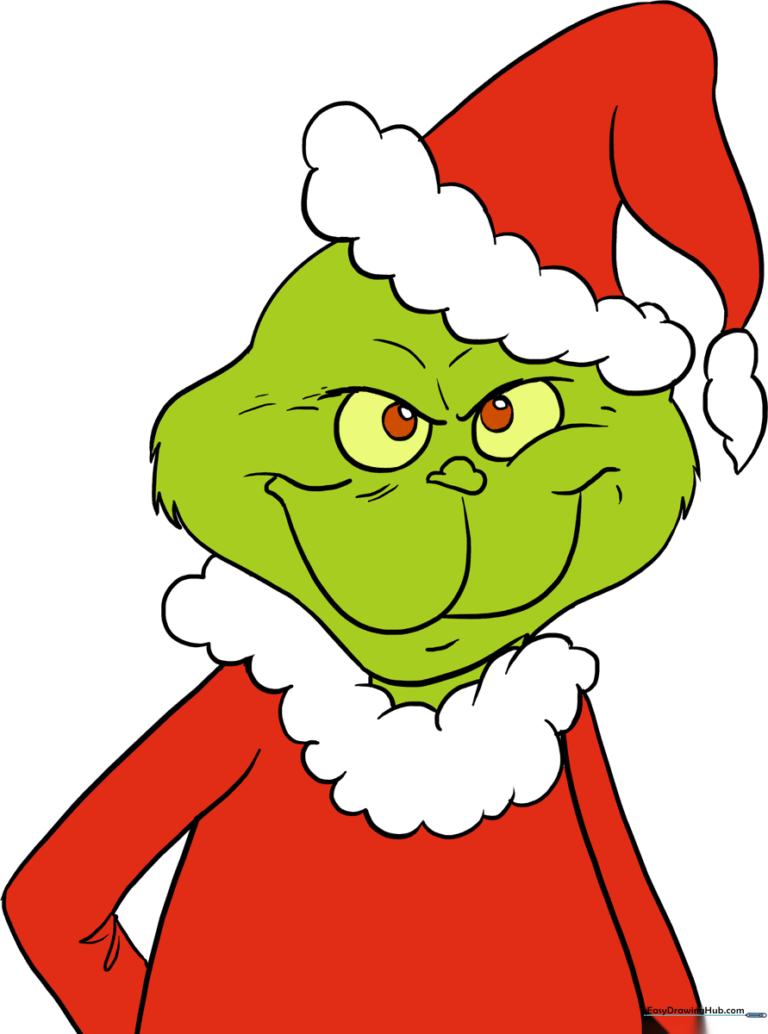
How to Draw the Grinch: Easy 10-Step Guide for Kids
Bring everyone’s favorite holiday grouch to life with this simple, 10-step drawing guide. Designed for children ages 5 and up, this activity helps develop fine motor skills and spatial awareness using basic shapes. All you need is a pencil, an eraser, and your favorite green and red markers to complete your masterpiece.
🎯 Final Result
Step-by-Step Instructions
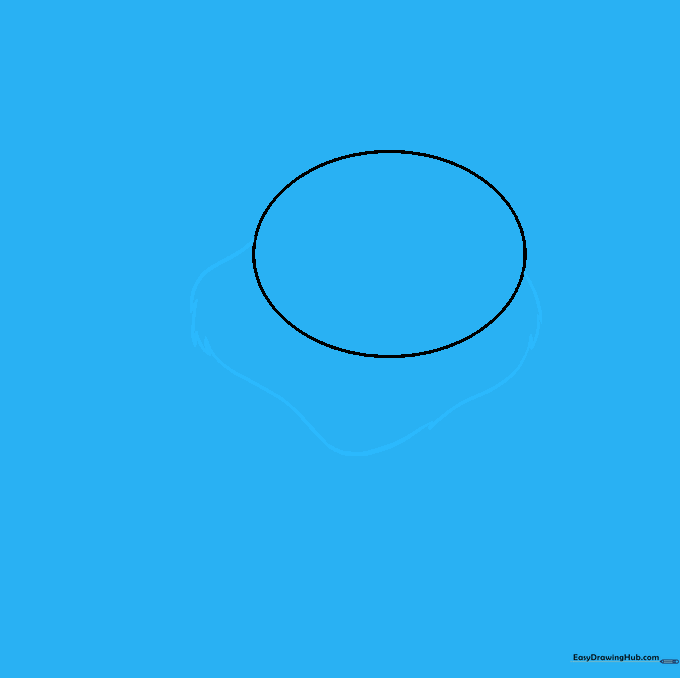
Step 1: Sketching the Head Base

Draw a light oval in the center of your paper to act as the foundation for the head. Teacher's Tip: Keep this shape loose and light—it's just a guide, and we will refine the edges in the next step!
Step 2: Defining the Furry Face
Trace over your oval using short, jagged, and curved lines to create the Grinch's signature furry cheeks and chin. Teacher's Tip: Use quick, flicking motions with your pencil to make the fur look textured rather than smooth.
Step 3: Adding the Neck
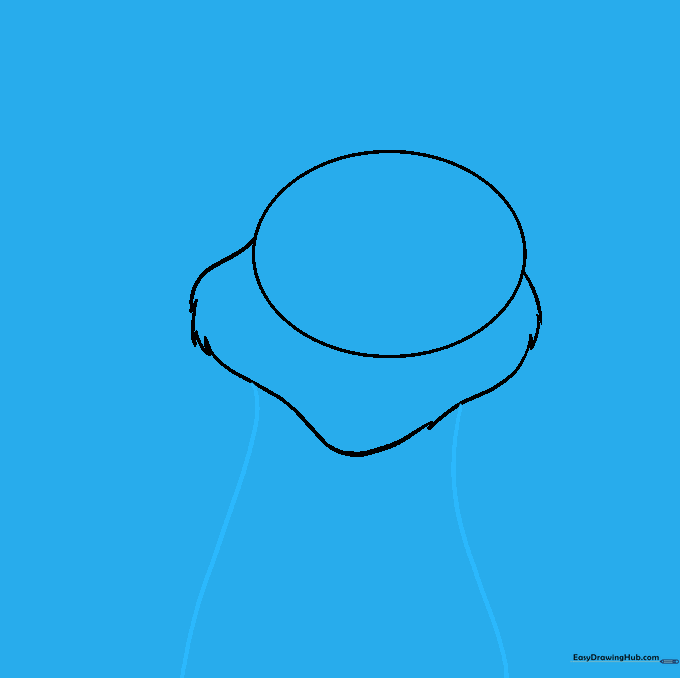
Draw two slightly curved lines extending downward from the base of the face to form the neck. Teacher's Tip: Make sure the lines are symmetrical to keep your character looking balanced.
Step 4: Drawing the Hat and Collar
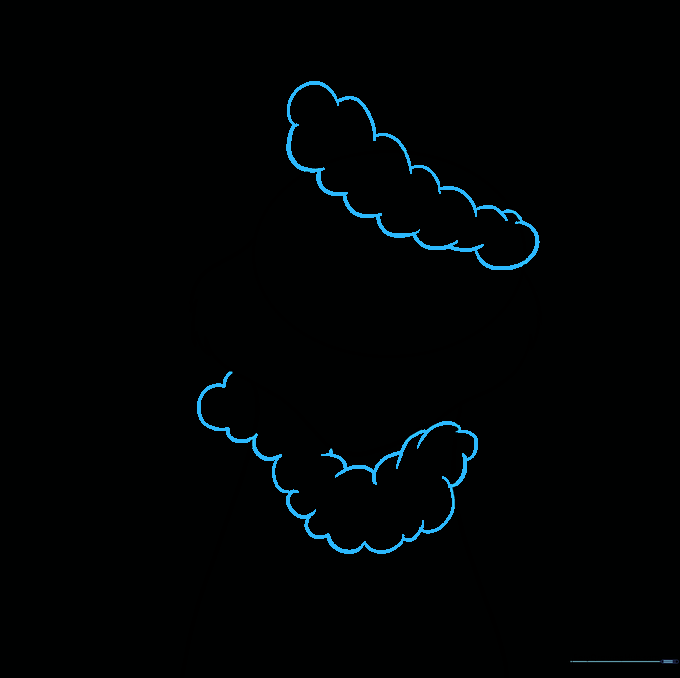
Use short, connected curved lines to create a fluffy, cloud-like trim for the bottom of his hat and his collar. Teacher's Tip: Think of these as small 'bumps' or 'scallops' to give the fabric a soft, wintery look.
Step 5: Cleaning Your Sketch

Gently erase the original oval guide lines inside the hat and collar area. Teacher's Tip: Use a soft eraser and hold the paper down firmly so you don't accidentally crinkle it.
Step 6: Shaping the Hat
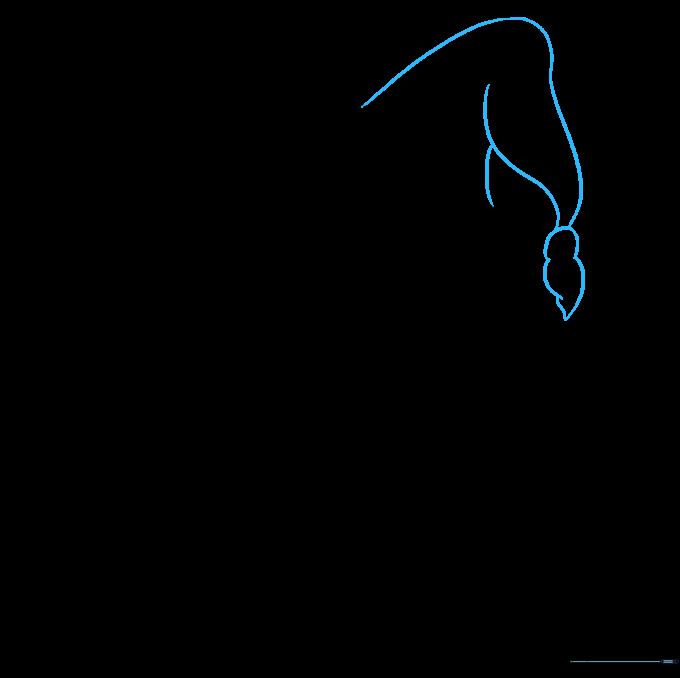
Draw a tall, curved triangle shape for the hat, bending the tip over to one side. Add a small, irregular puff at the very end. Teacher's Tip: A slight bend in the hat makes the character look more dynamic and playful.
Step 7: Sketching the Arms
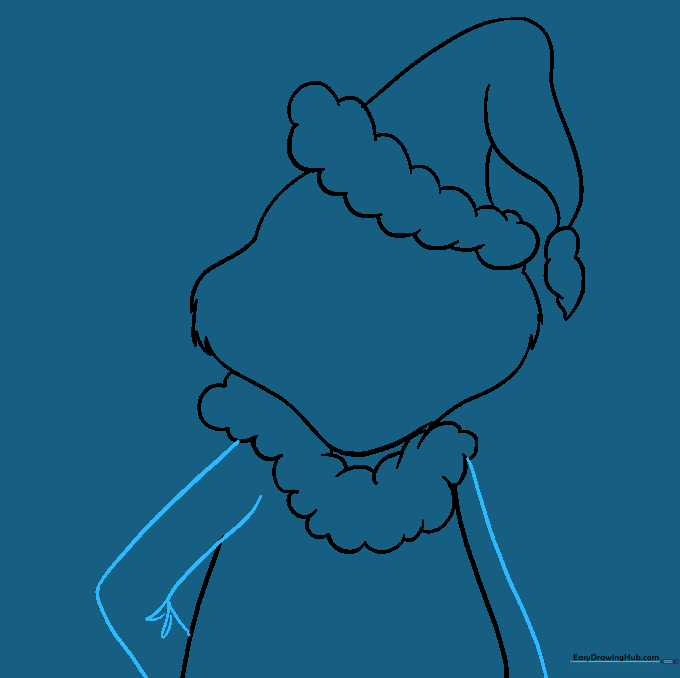
Draw two parallel 'L' shaped lines for the arms, adding small details at the elbows. Teacher's Tip: Keep the arms slightly bent to give your Grinch a mischievous, sneaky posture.
Step 8: Adding Facial Features
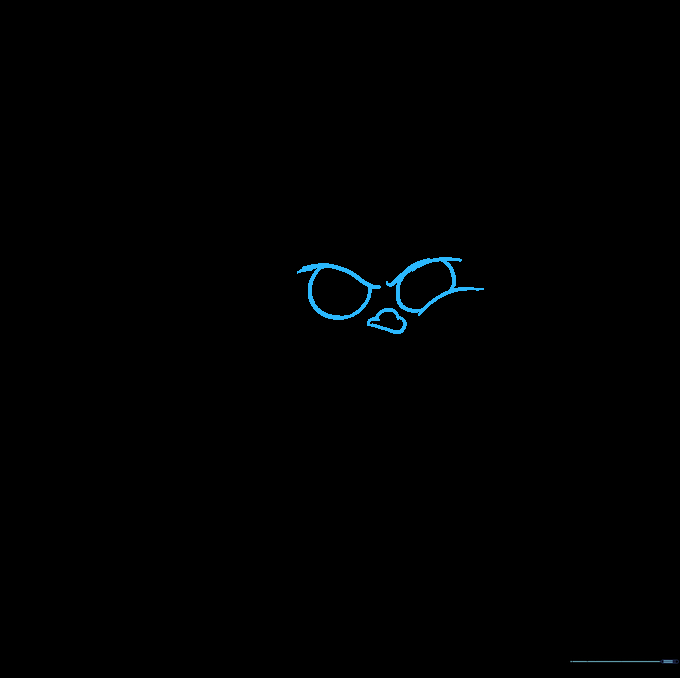
Draw two curved lines for the eyebrows, circles for the eyes, and a small, irregular shape for the nose. Teacher's Tip: Place the eyebrows low and angled toward the nose to give him that classic 'Grinchy' scowl.
Step 9: Finalizing the Face
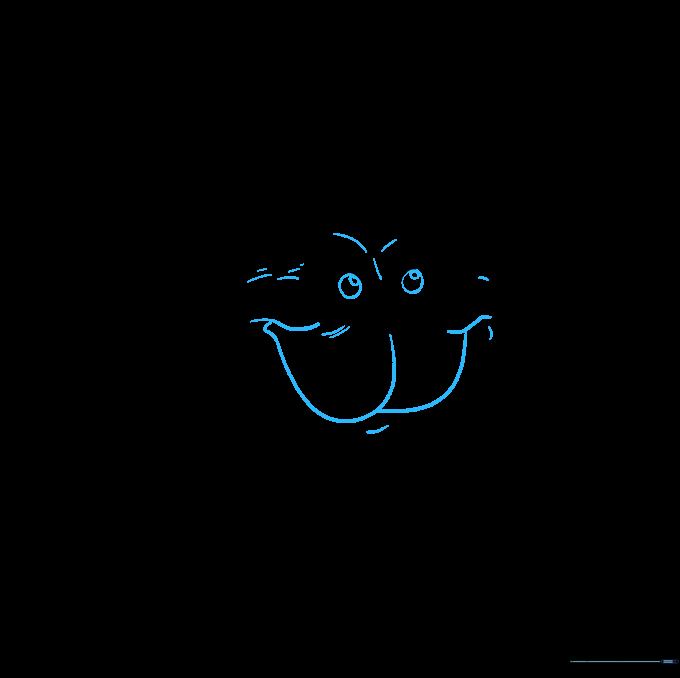
Draw a wide, mischievous mouth with wavy ends and add pupils to the eyes. Add small, short lines around the cheeks and mouth for extra texture. Teacher's Tip: The pupils should be small circles with an even smaller dot inside to make the eyes pop!
Step 10: Bringing Him to Life with Color
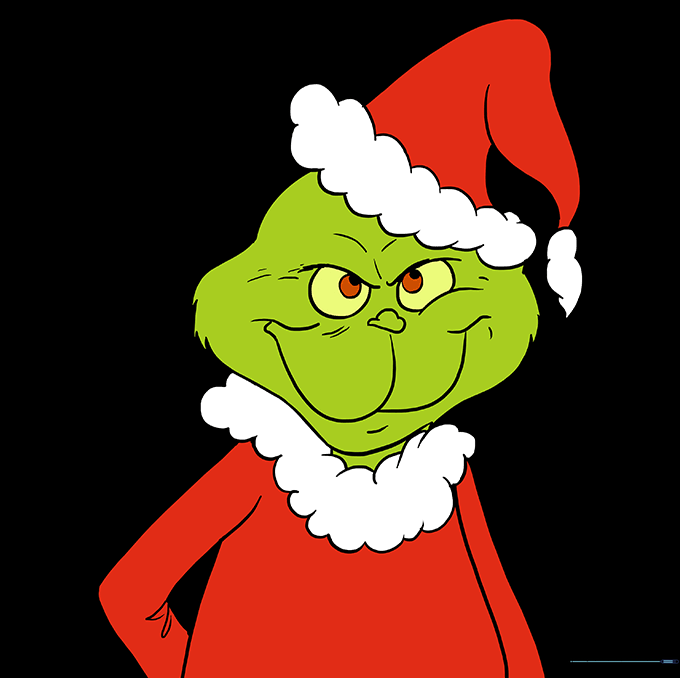
Time to color! Use a vibrant lime green for his fur and bright red for his hat and collar. Teacher's Tip: Use a darker green pencil to add light shading under the chin and around the eyes to give your drawing more depth.
More Tutorials


