How to Draw the Golden Gate Bridge: Easy 10-Step Guide
Bring this iconic San Francisco landmark to life with a simple, step-by-step drawing lesson perfect for ages 6 and up. All you need is a pencil, an eraser, and a piece of paper to master the basics of perspective. By the end of this session, you'll have a beautiful, hand-drawn bridge to color and display.
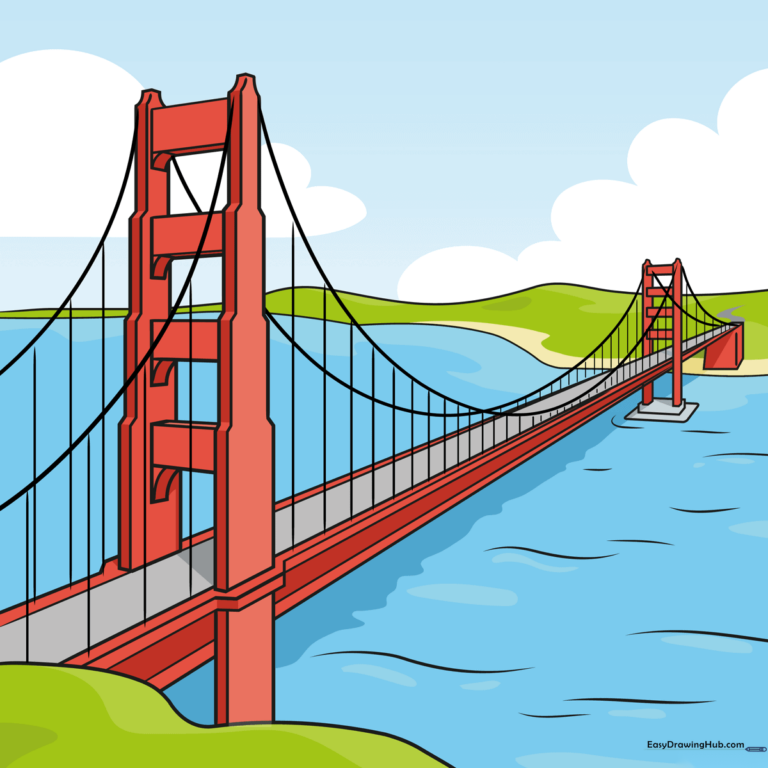
🎯 Final Result
Step-by-Step Instructions
Step 1: Establishing the Perspective

Draw three long, diagonal lines to form the roadway. Tip: Make sure the lines get closer together as they move toward the horizon to create a realistic sense of depth.
Step 2: Constructing the First Tower
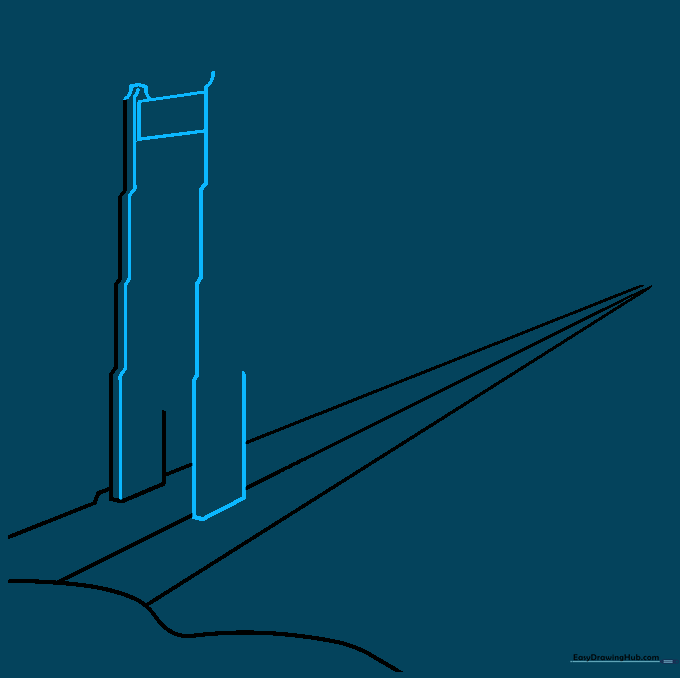
Sketch the vertical tower using parallel lines. Connect the top with a rectangle. Tip: Keep your pencil strokes light so you can easily erase any overlapping guidelines later.
Step 3: Adding Tower Girders
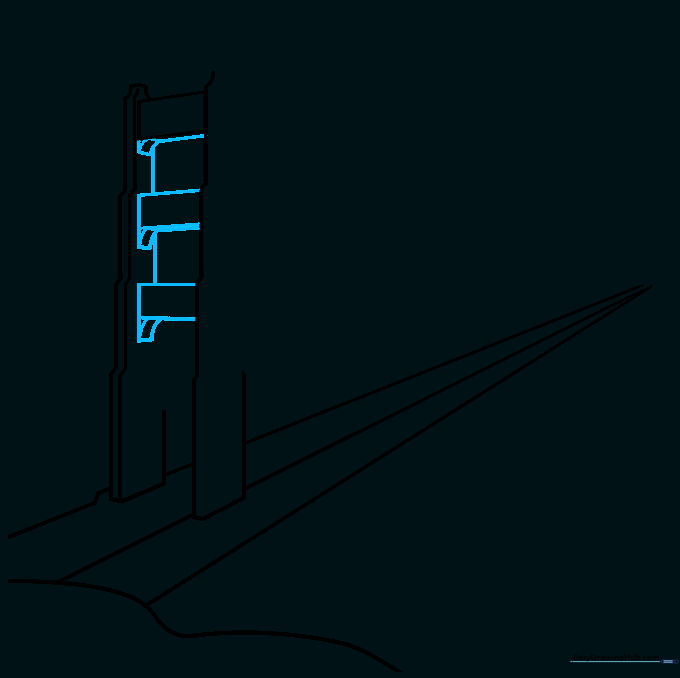
Add rectangular girders between the tower sections. Tip: Draw small curved rectangles beneath each girder to give them a 3D, structural look.
Step 4: Refining the Tower Base

Complete the tower outline and add a parallel line at the base to connect it to the roadway. Tip: Use a steady hand to keep these structural lines clean and sharp.
Step 5: Adding Texture and Detail
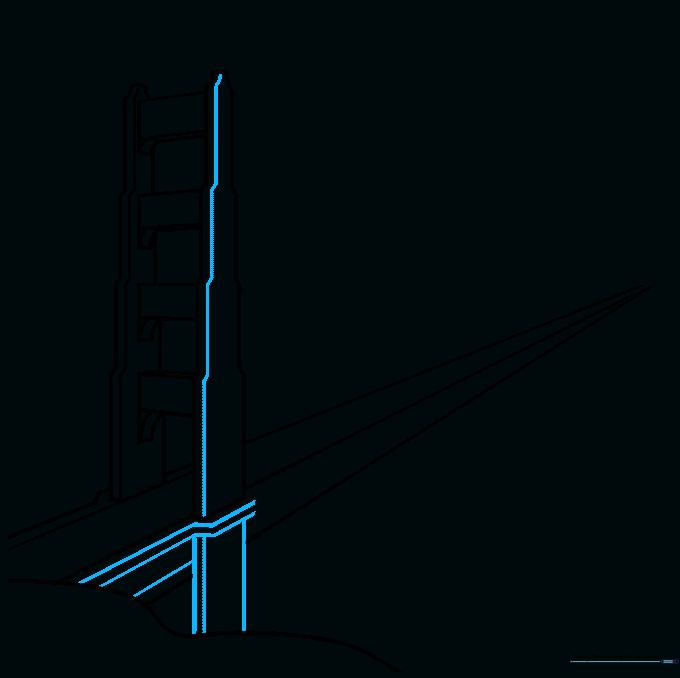
Add vertical lines along the tower and bridge sides to represent the steel beams. Tip: If you make a mistake, use your eraser to clean up the lines before moving to the next step.
Step 6: Drawing the Distant Tower
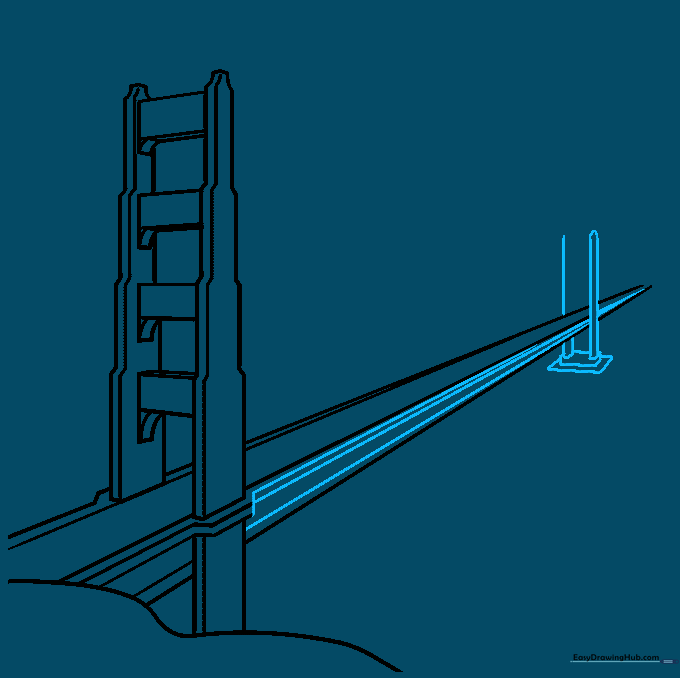
Draw a smaller, simplified version of the tower in the distance. Tip: Drawing objects smaller as they get further away is a fundamental rule of perspective.
Step 7: Sketching the Main Cables
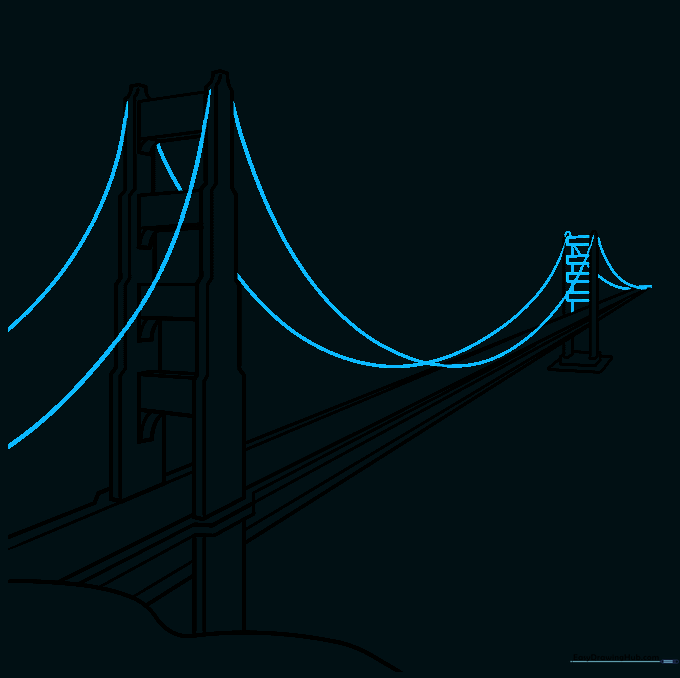
Draw long, sweeping curved lines connecting the tops of the towers to the bridge deck. Tip: These curves define the bridge's silhouette, so take your time to make them smooth.
Step 8: Adding Suspender Cables
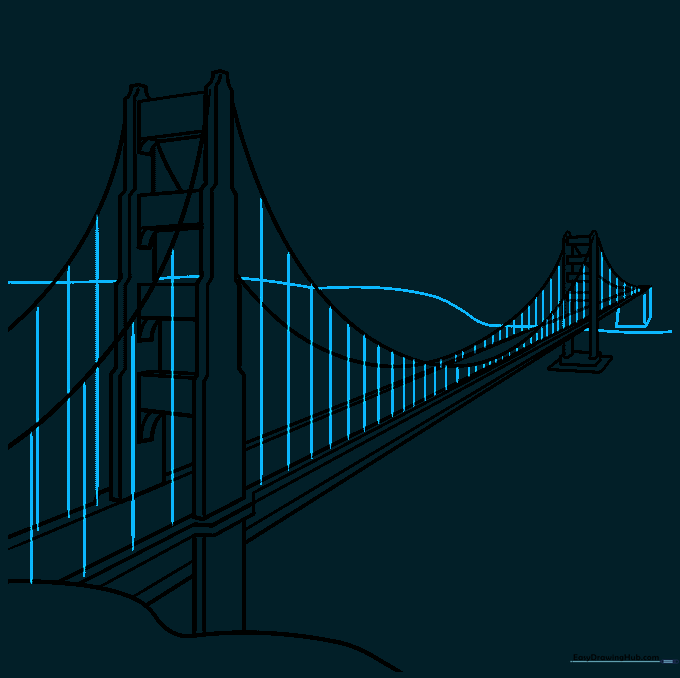
Draw short, vertical lines connecting the main cables to the roadway. Tip: Keep these lines evenly spaced to make the bridge look professional and balanced.
Step 9: Adding Scenery
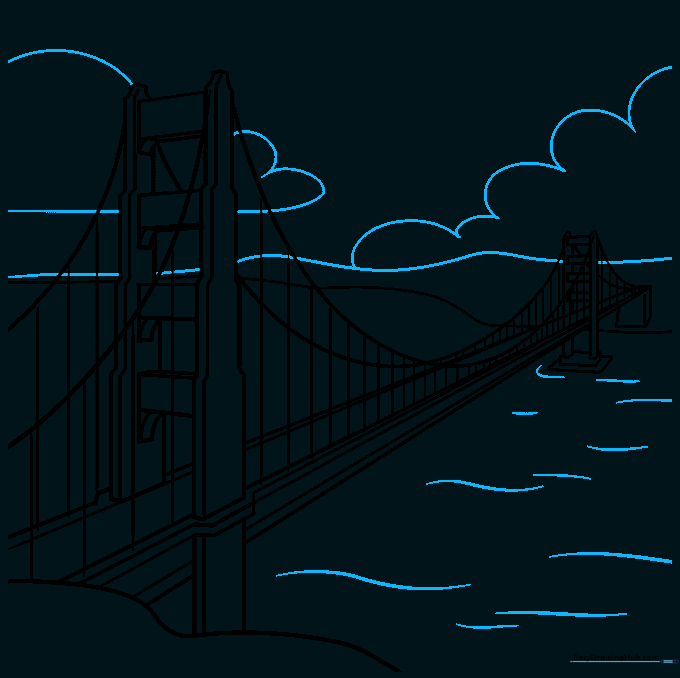
Draw the horizon line, distant mountains, and fluffy clouds. Tip: Use wavy lines for the water to create a sense of movement beneath the bridge.
Step 10: Adding Color
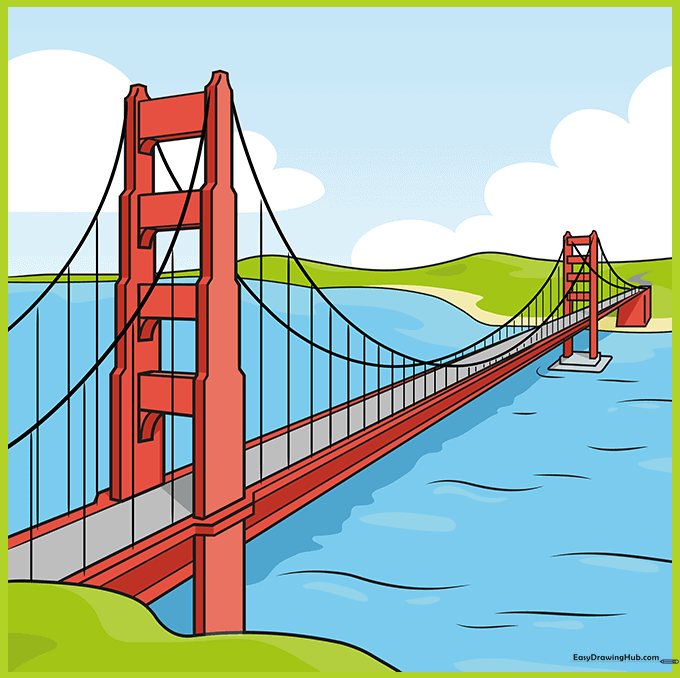
Color your bridge using a signature orange-red shade. Tip: This color was chosen for the real bridge to make it visible in thick fog—a fun fact to share while you color!
More Tutorials


