How to Draw a Food Chain: Simple Science Art Lesson
Combine art and biology with this engaging food chain drawing tutorial, perfect for students ages 7 and up. You will need a pencil, eraser, and paper to map out how energy flows through an ecosystem. By the end of this lesson, you will have a clear, visual diagram of a predator-prey relationship.
🎯 Final Result

Step-by-Step Instructions
Step 1: Sketching the Producer (Cattails)
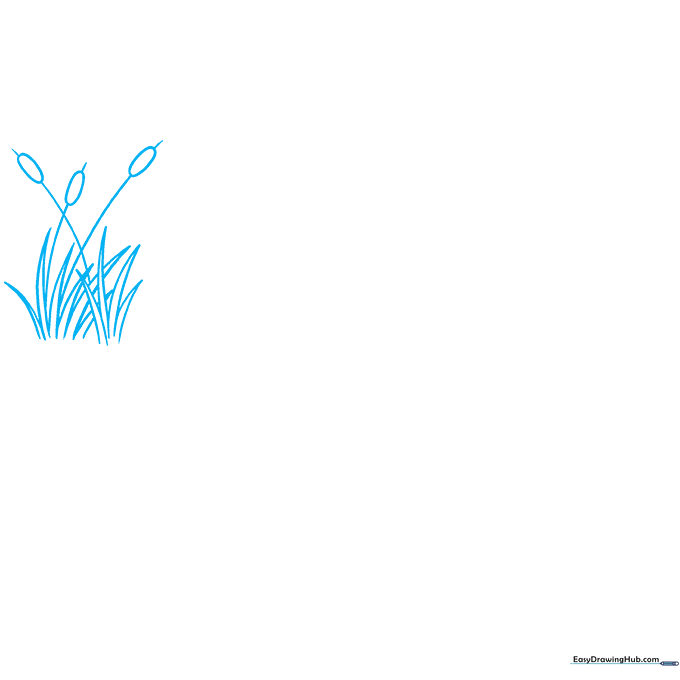
Start your food chain with the producer: the cattail plant. Use pairs of lines that meet at sharp points for the grass-like leaves. Add long, curved stems topped with flattened ovals for the cattail heads. Teacher's Tip: Keep your pencil lines light so you can easily adjust the spacing for the other animals later.
Step 2: Adding the Primary Consumer
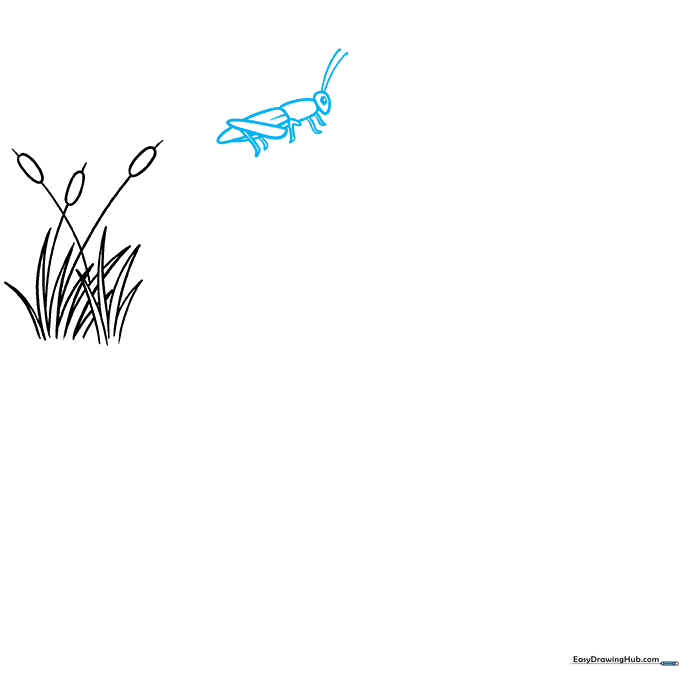
Draw the grasshopper that feeds on the plants. Use curved lines to form the head, thorax, and abdomen, adding a thick, bent leg for jumping. Draw an oval-within-an-oval for the eye and shade the center. Teacher's Tip: Focus on the 'Z' shape of the back leg to give your grasshopper a realistic, active pose.
Step 3: Sketching the Secondary Consumer
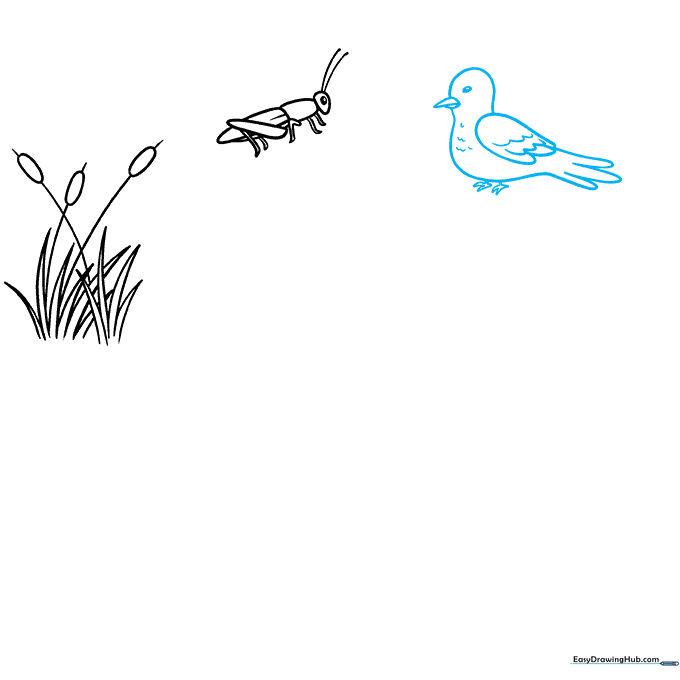
Next, draw a pigeon to represent the secondary consumer. Use 'U' shaped lines to create soft, overlapping feathers on the chest and wings. Add a small triangular beak and 'V' shaped toes. Teacher's Tip: Use short, quick strokes for the feathers to make the bird look soft and textured.
Step 4: Adding the Predator
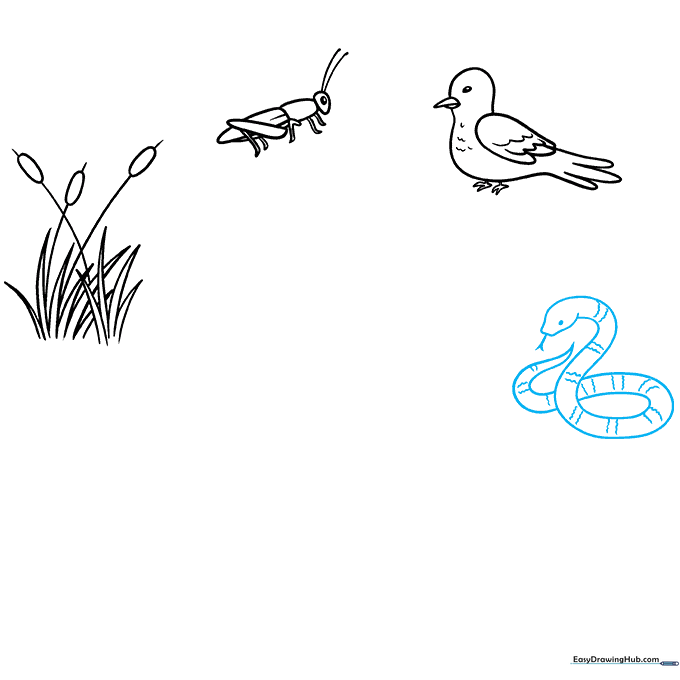
Draw a snake as the next predator. Use two long, parallel curved lines that taper to a point at the tail. Add a 'Y' shaped forked tongue and band the body with small, squiggly lines for scales. Teacher's Tip: Vary the thickness of the snake's body to show it moving in a natural 'S' curve.
Step 5: Drawing the Apex Predator
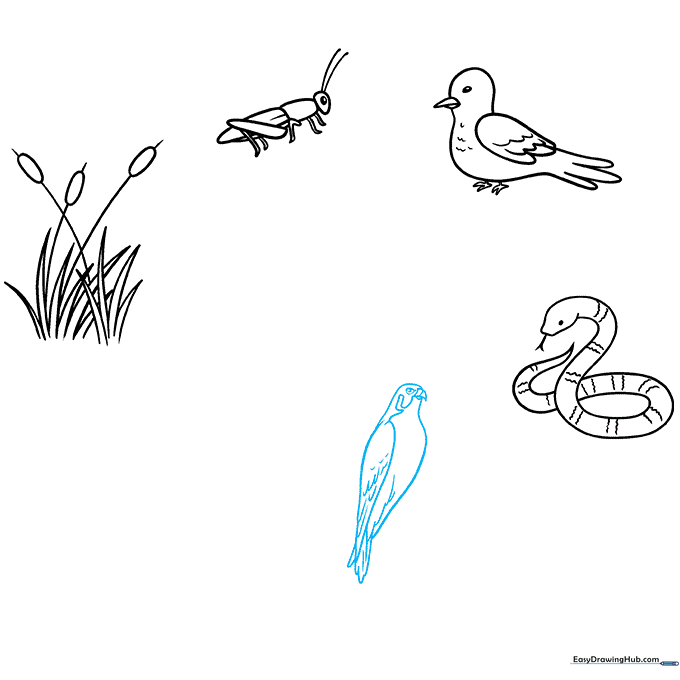
Draw a hawk to complete the animal chain. Use long, sweeping curved lines for the wings and body. Add detail to the face and belly feathers. Teacher's Tip: Hawks have sharp, focused eyes; draw a small brow line above the eye to give it a fierce, predatory expression.
Step 6: Adding Talons and Perch
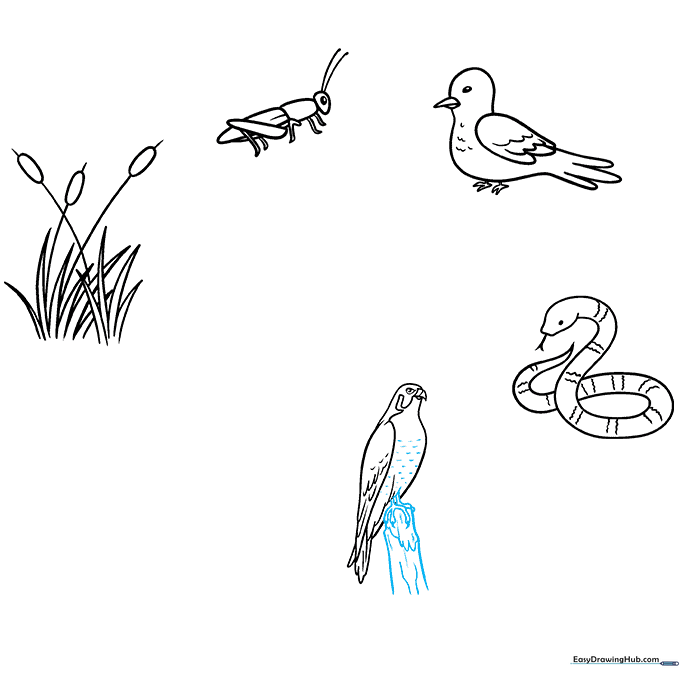
Draw the hawk's legs with sharp, triangular talons. Then, sketch a wooden post for the hawk to roost on, using vertical lines of varying lengths to suggest wood grain. Teacher's Tip: Use a darker pencil pressure for the talons to make them stand out as a key feature of the predator.
Step 7: Adding Decomposers
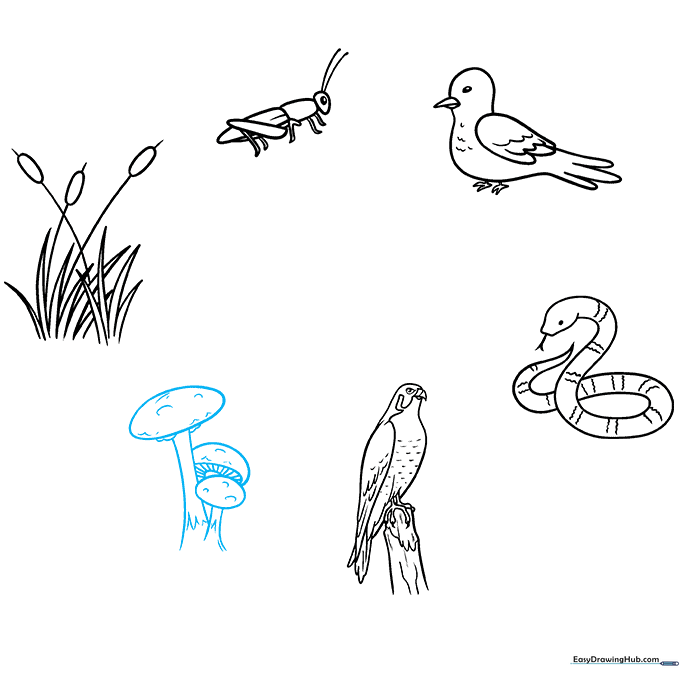
Draw mushrooms at the base to represent decomposers. Use pairs of curved lines for stems and ovals for caps. Add jagged lines at the base for texture. Teacher's Tip: Show the underside of one mushroom cap with horizontal lines to represent gills—this adds great scientific detail!
Step 8: Connecting the Chain
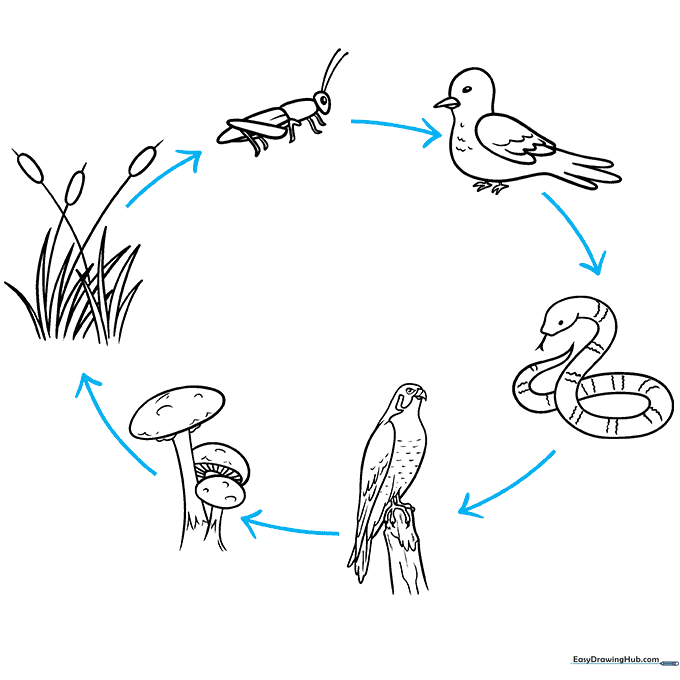
Draw arrows between each organism to show the flow of energy. Teacher's Tip: Remind students that the arrow points from the food source to the consumer—it shows where the energy is going!
Step 9: Labeling Your Diagram
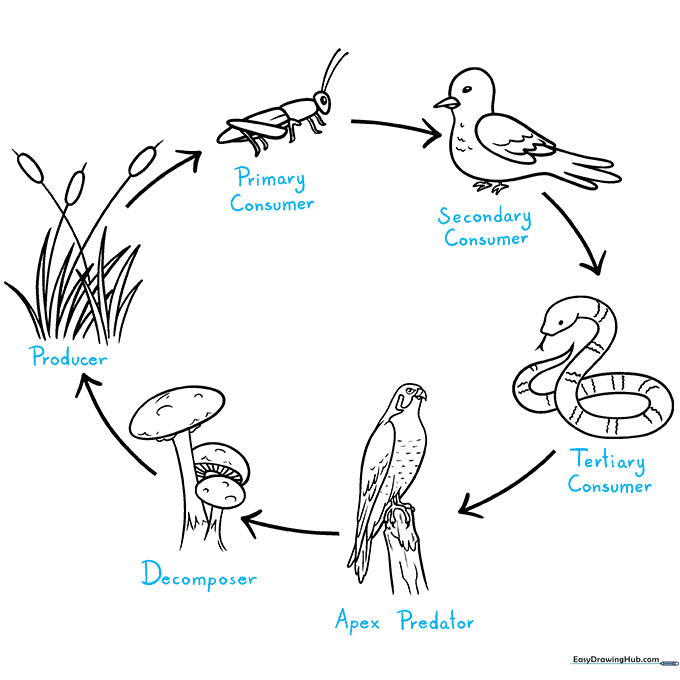
Complete your diagram by adding clear labels for each organism (Producer, Primary Consumer, etc.). Teacher's Tip: Use a ruler to draw neat lines for your labels to keep the science project looking professional.
Step 10: Adding Color
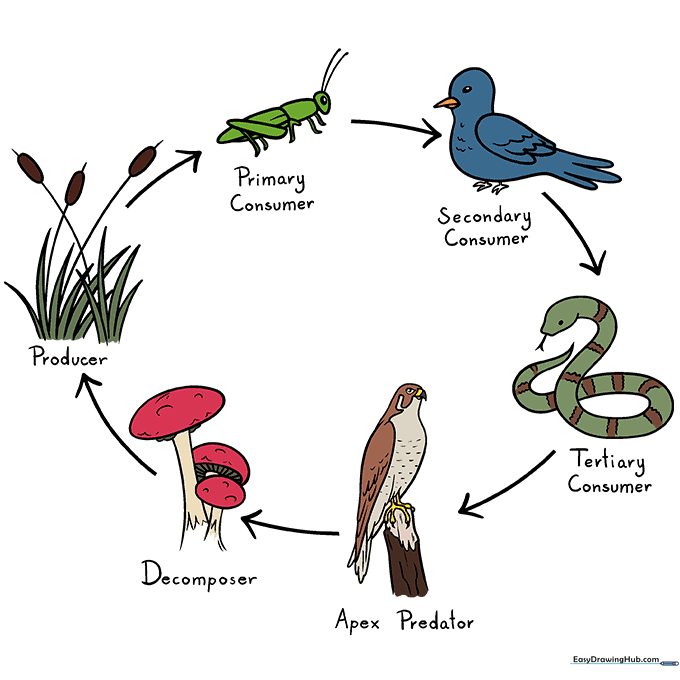
Bring your food chain to life with color! Use greens for plants, earthy tones for the animals, and bright colors for the arrows to make the energy flow stand out. Teacher's Tip: Use colored pencils to layer shades for a more realistic, professional look.
More Tutorials


