How to Draw an Elf on the Shelf: Easy 10-Step Guide
Bring some holiday magic to your sketchbook with this friendly Elf on the Shelf drawing tutorial. Designed for young artists and beginners, this project uses basic shapes to build confidence. Grab a pencil, an eraser, and some markers to start your festive masterpiece today.
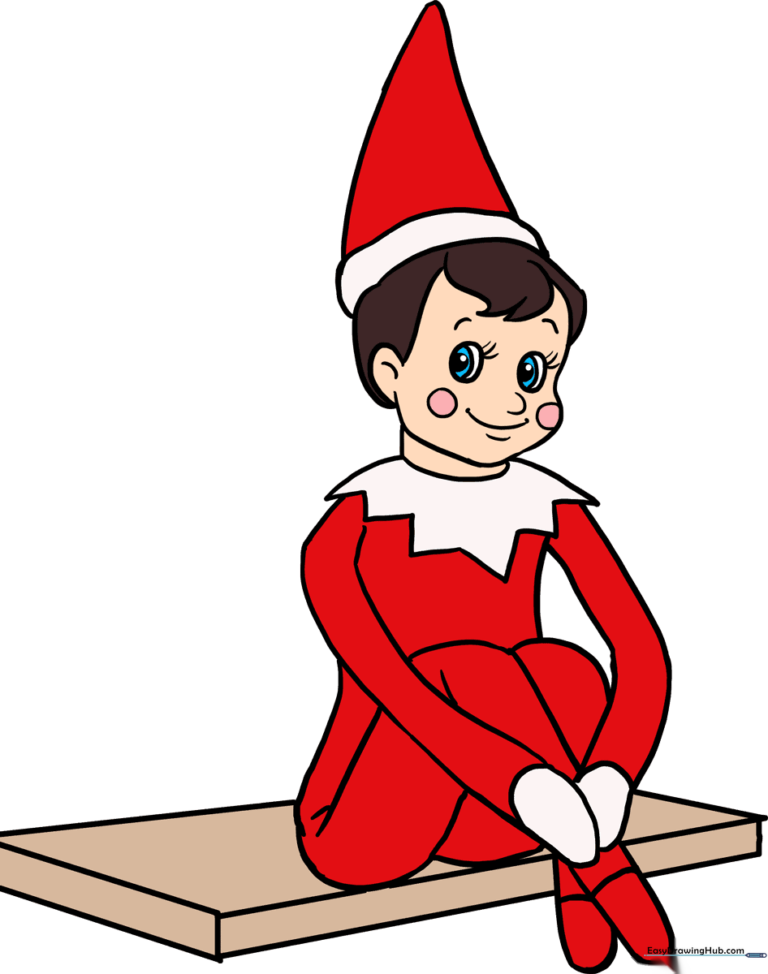
🎯 Final Result
Step-by-Step Instructions
Step 1: Sketching the Head and Hair

Draw a soft, rounded shape for the face and jaw. Add a small 'C' curve for the ear and a series of zig-zag points for the bangs. Teacher's Tip: Keep the face shape loose and light; it’s okay if it isn't perfect on the first try!
Step 2: Adding the Collar

Draw a curved line under the head to define the neck, then add a wide, zig-zag collar around it. Teacher's Tip: Make the points of the collar sharp to give it that classic elf-costume look.
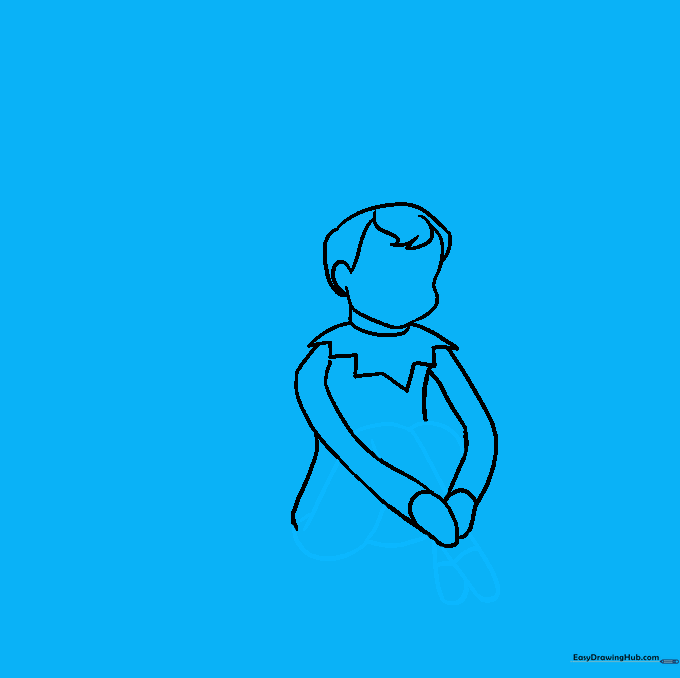
Step 3: Drawing the First Arm

Extend a long, curved line from the collar and loop it back to form the arm. Cap it off with a simple curve for the hand. Teacher's Tip: Think of the arm like a soft 'S' shape to make it look natural.
Step 4: Drawing the Second Arm

Draw the second arm overlapping the first to create depth. Add a hand at the end. Teacher's Tip: Overlapping lines is a great way to show that the elf is sitting with arms crossed.
Step 5: Outlining the Torso

Draw two curved lines descending from the arms to form the elf's body. Teacher's Tip: Keep these lines smooth to suggest the soft fabric of the elf's suit.
Step 6: Sketching the Legs
Sketch the bent legs tucked under the body. Use small bands to define the feet. Teacher's Tip: Imagine the legs are folded like a pretzel to get the positioning right.
Step 7: Adding the Hat
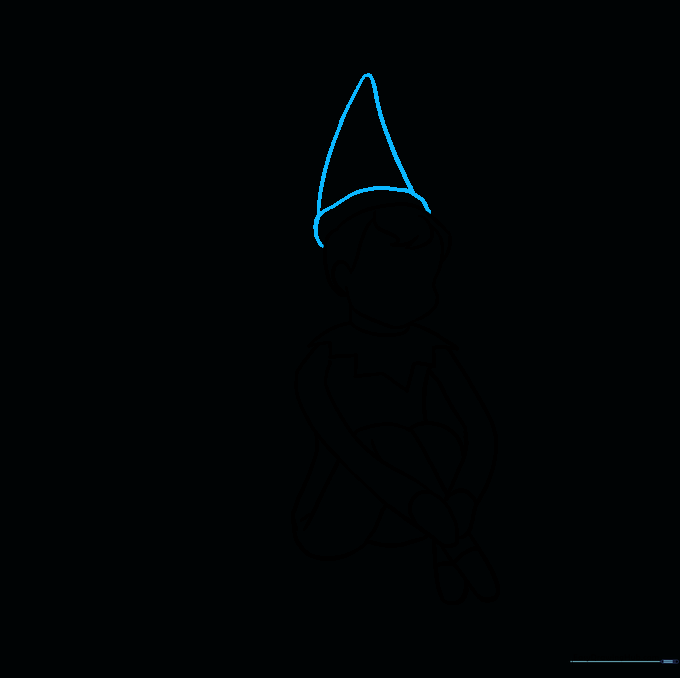
Draw a curved shape on top of the head, then add a pointed triangle above it for the hat. Teacher's Tip: Make the hat slightly floppy to give the elf a playful personality.
Step 8: Adding Facial Features

Add a smiling mouth, nose, eyes, and rosy cheeks. Teacher's Tip: Use small, light circles for the cheeks to make the elf look extra cheerful and friendly.
Step 9: Drawing the Shelf
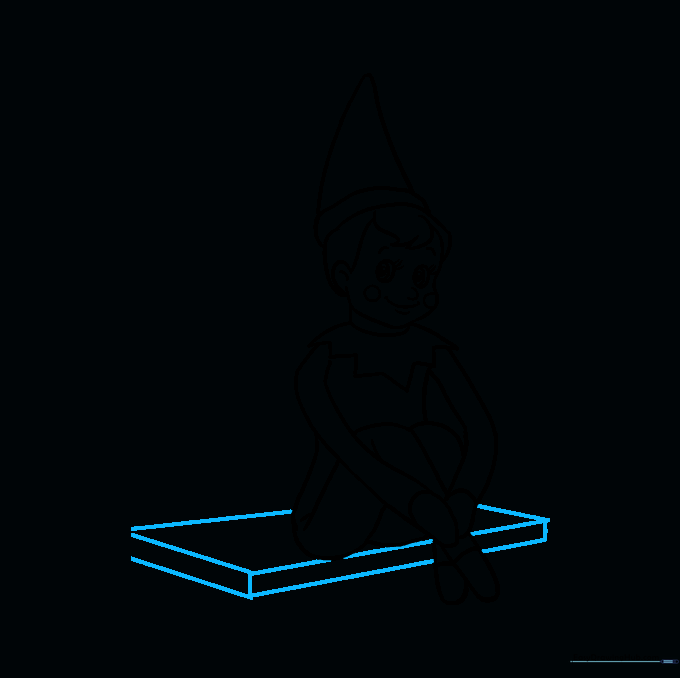
Draw an angled rectangle beneath the elf to create the shelf. Add depth with short vertical lines at the corners. Teacher's Tip: Use a ruler if you want the shelf edges to look perfectly straight.
Step 10: Adding Color
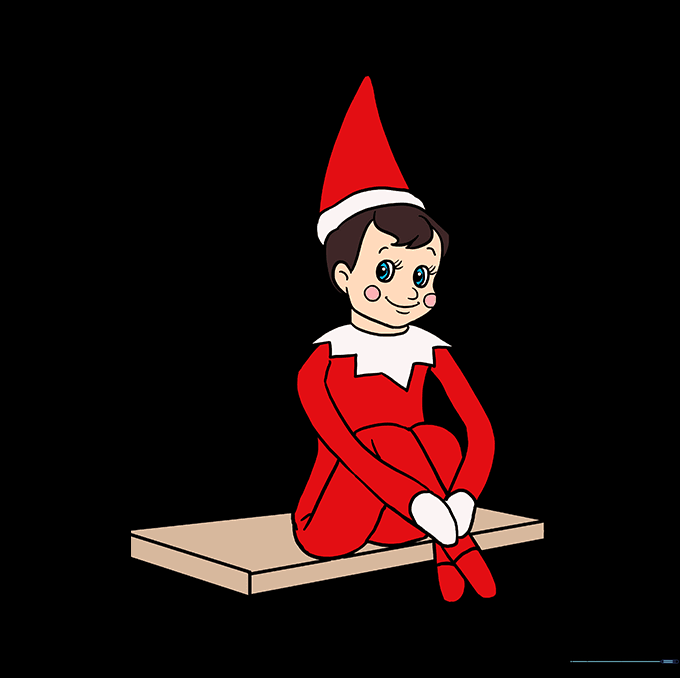
Fill in your elf with classic red and white colors. Teacher's Tip: Use light pressure with your red pencil to create a smooth, even look for the suit.
More Tutorials


