Draw the Digestive System: Easy 9-Step Science Diagram
Turn biology class into an art project! This guide is perfect for students ages 8+ looking to create a clear, labeled diagram of the human digestive system. You will need a pencil, an eraser, and a fine-liner pen to map out the journey of food through the body.
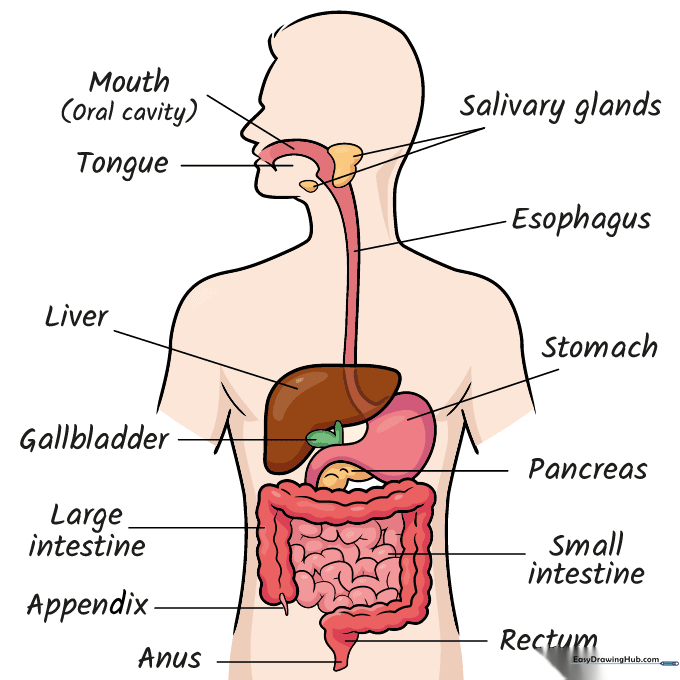
🎯 Final Result

Step-by-Step Instructions
Step 1: Sketching the Profile
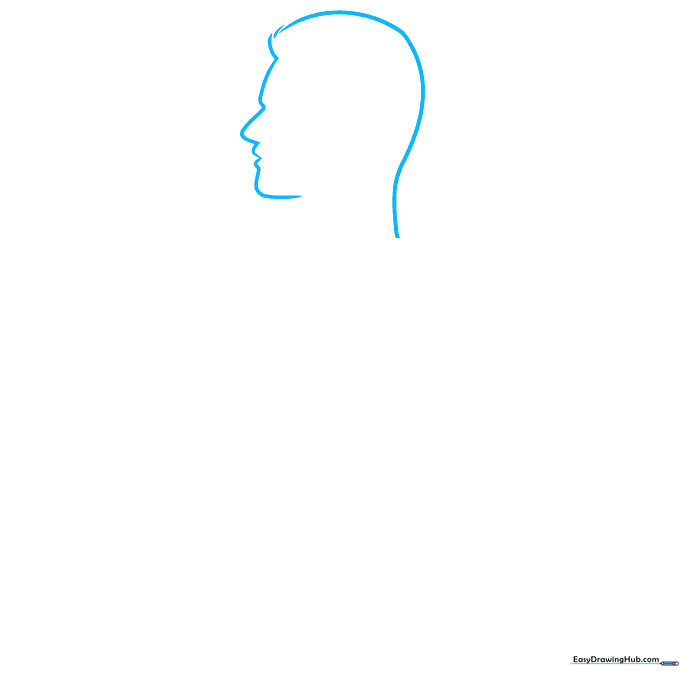
Start by drawing the outline of the face and head in profile using smooth, curved lines. Teacher's Tip: Keep your pencil pressure light here so you can easily adjust the chin shape if it looks a bit too sharp.
Step 2: Defining the Torso
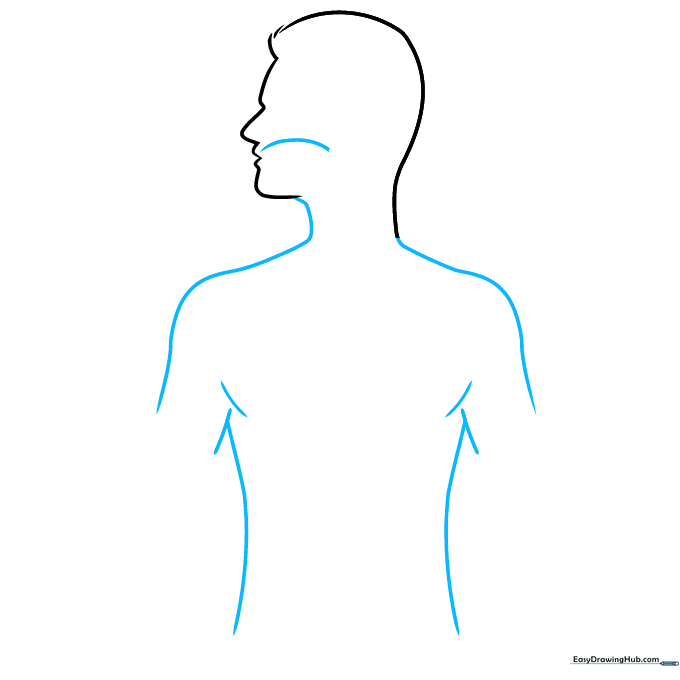
Use long, sweeping curves to sketch the neck and shoulders, then add overlapping lines for the underarms and torso. Add a small curved line behind the mouth area to mark the start of the esophagus. Tip: Think of the torso as a simple frame that holds all our organs.
Step 3: Drawing the Liver
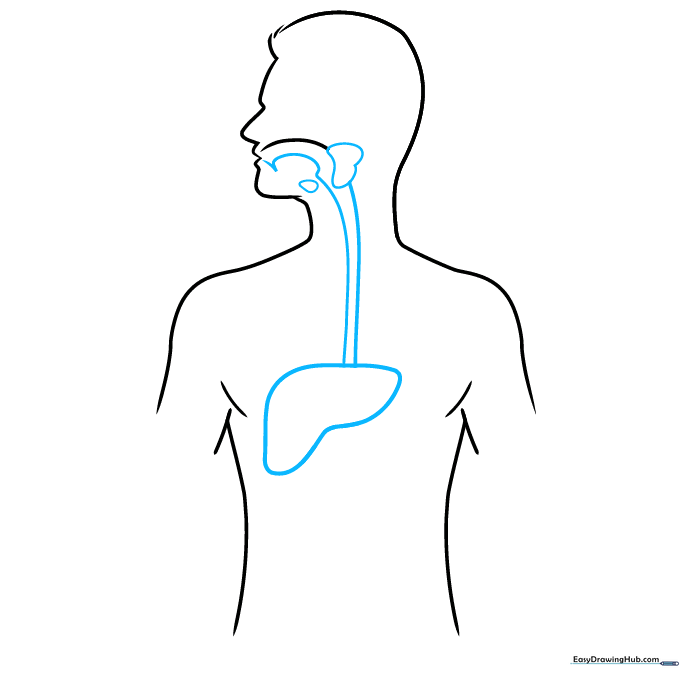
Draw a 'C' shape behind the mouth and connect it with a short line. Below this, draw a large, fortune-cookie-shaped organ—this is the liver. Tip: The liver is the largest internal organ, so make sure it takes up a good amount of space on the right side of the torso.
Step 4: Adding the Stomach and Gallbladder
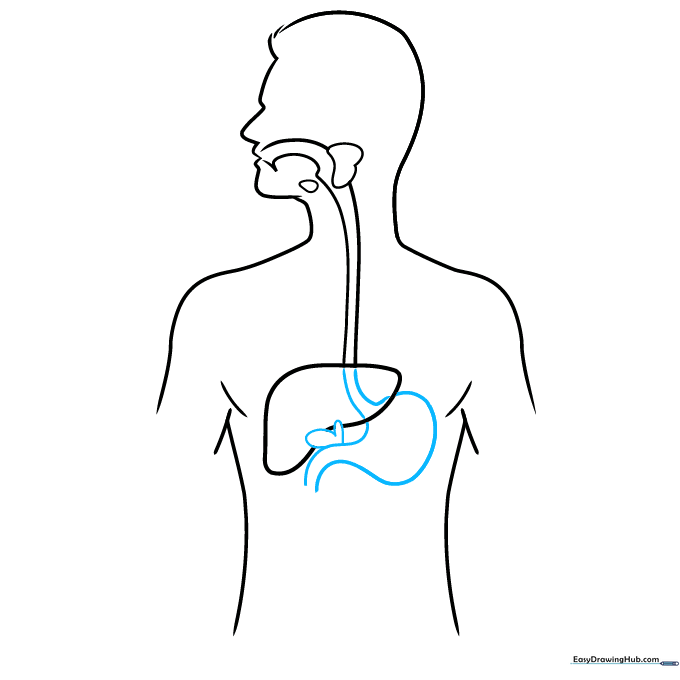
Extend the esophagus lines down to form the round shape of the stomach. Add a small, uneven heart shape attached to the side for the gallbladder. Tip: Don't worry about perfect symmetry; organs are naturally organic and slightly irregular in shape.
Step 5: The Large Intestine and Pancreas
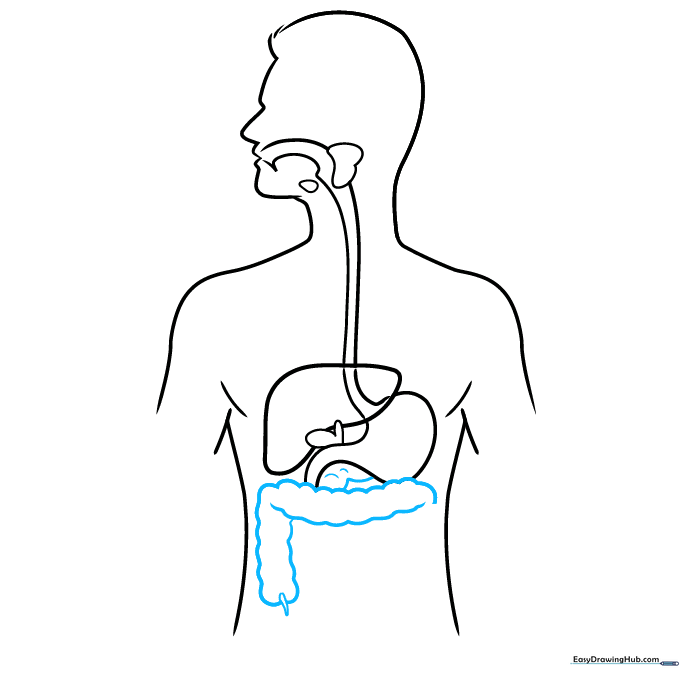
Use a scalloped, 'L' shaped pattern to draw the large intestine. Tuck the pancreas behind the stomach and add a small teardrop shape at the bottom for the appendix. Tip: Use a rhythmic 'up-and-down' motion with your pencil to get that scalloped texture right.
Step 6: Completing the Large Intestine
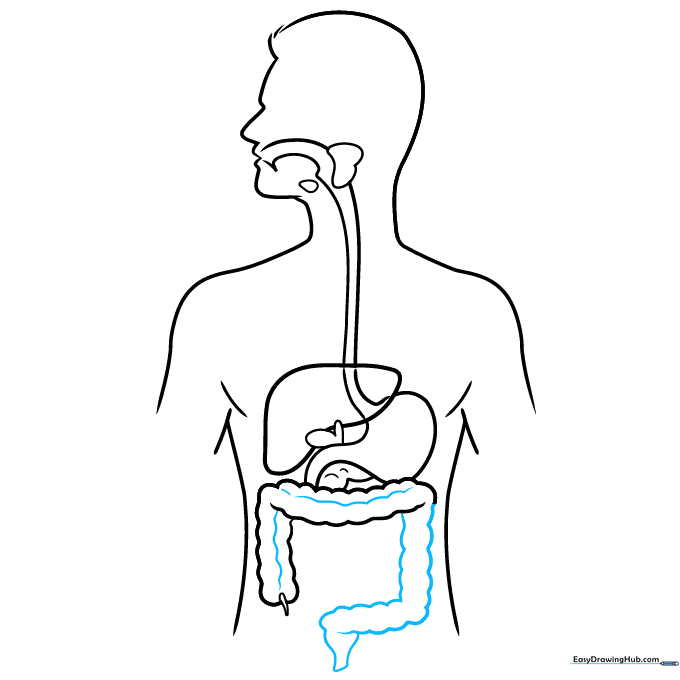
Continue the large intestine on the opposite side, mirroring the scalloped pattern. Add wavy lines throughout the intestine to give it a textured, realistic look. Tip: Keep your lines loose; the intestines are coiled and folded in real life.
Step 7: Drawing the Small Intestine
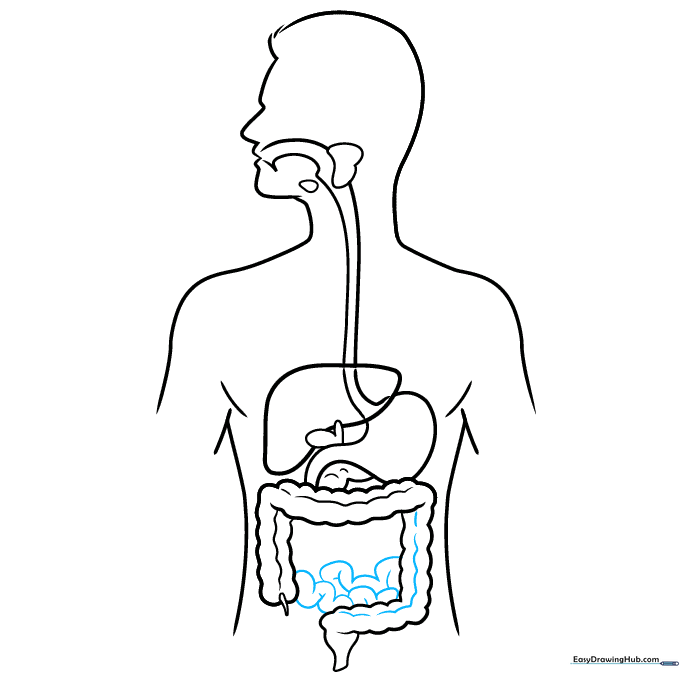
Now for the fun part! Use 'S' shaped lines that loop and double back on themselves to fill the center space with the small intestine. Tip: Don't worry about making it look perfect—the small intestine is very long and naturally tangled.
Step 8: Adding Labels
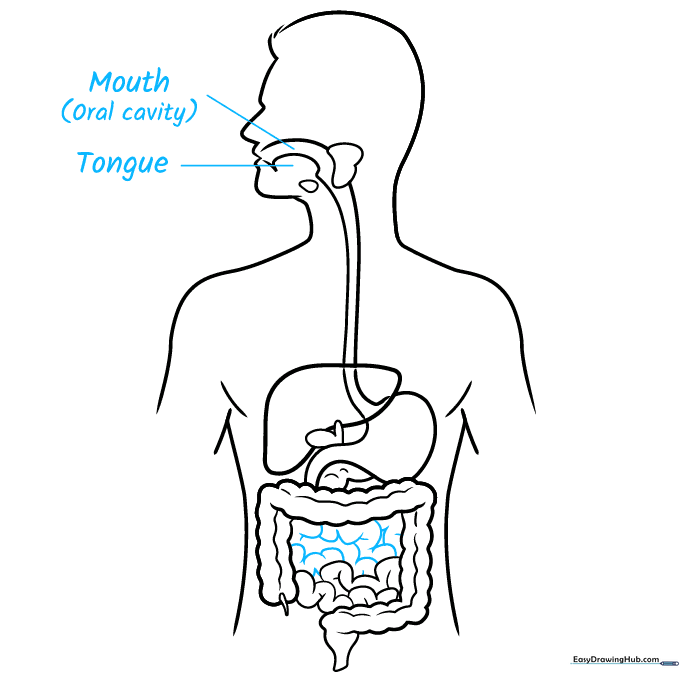
Finish the small intestine and start labeling your diagram. Draw straight, clean lines from the mouth and tongue to their names. Tip: Use a ruler for your label lines to make your science project look professional and easy to read.
Step 9: Finalizing the Diagram

Complete your labels by working clockwise: salivary glands, esophagus, stomach, pancreas, small intestine, rectum, anus, appendix, large intestine, gallbladder, and liver. Tip: Double-check your spelling as you write the labels!
Step 10: Color and Review
Bring your diagram to life with color! Use different shades to distinguish between the organs. Tip: Use a color key at the bottom of your page so viewers can easily identify each part of the digestive system.
More Tutorials


