How to Draw the Declaration of Independence: Easy 9-Step Guide
Bring history to life with this fun, screen-free drawing activity perfect for ages 7 and up. You will need a pencil, an eraser, and a piece of paper to recreate this iconic document complete with a quill and inkwell. Follow these steps to practice your line work and learn how to illustrate a piece of American history.
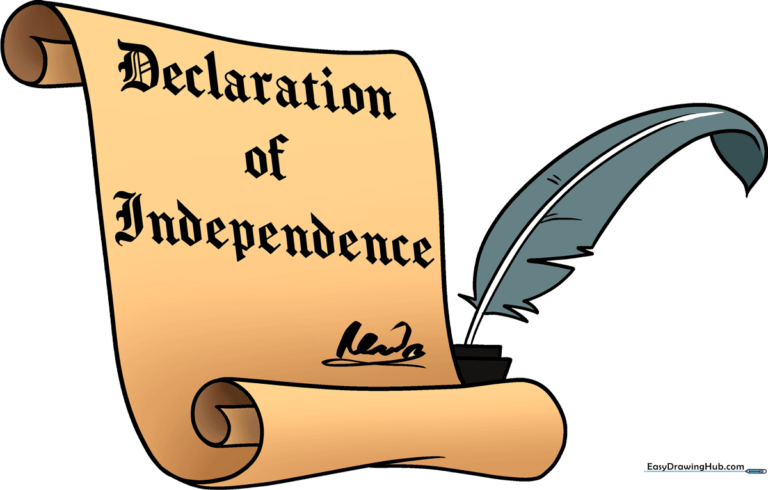
🎯 Final Result
Step-by-Step Instructions
Step 1: Sketching the Rolled Edge

Start by drawing a small, tight spiral to represent the rolled edge of the parchment. Tip: Keep your pencil pressure light; this helps you maintain a delicate, paper-like look.
Step 2: Defining the Paper's Edge
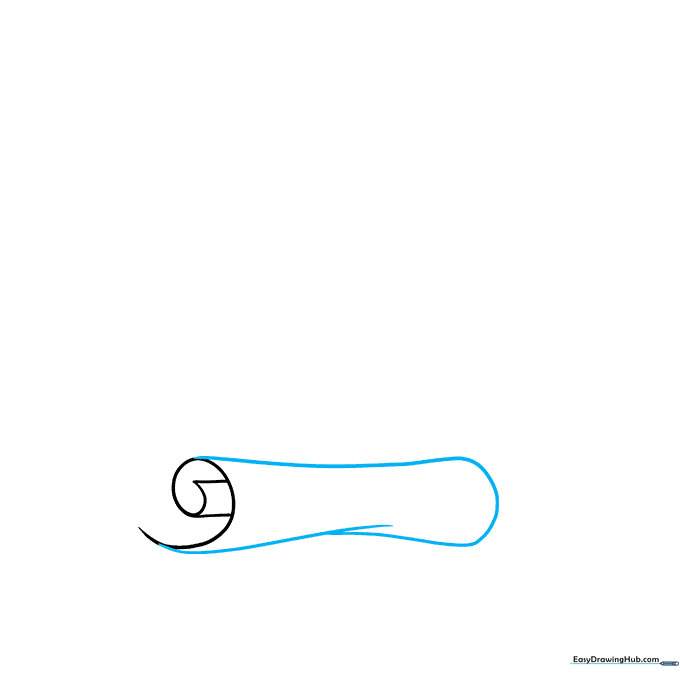
Extend two long, graceful curved lines from your spiral to form the side of the document. Tip: Imagine the paper is slightly flexible, so avoid perfectly straight, rigid lines.
Step 3: Adding the Top Scroll
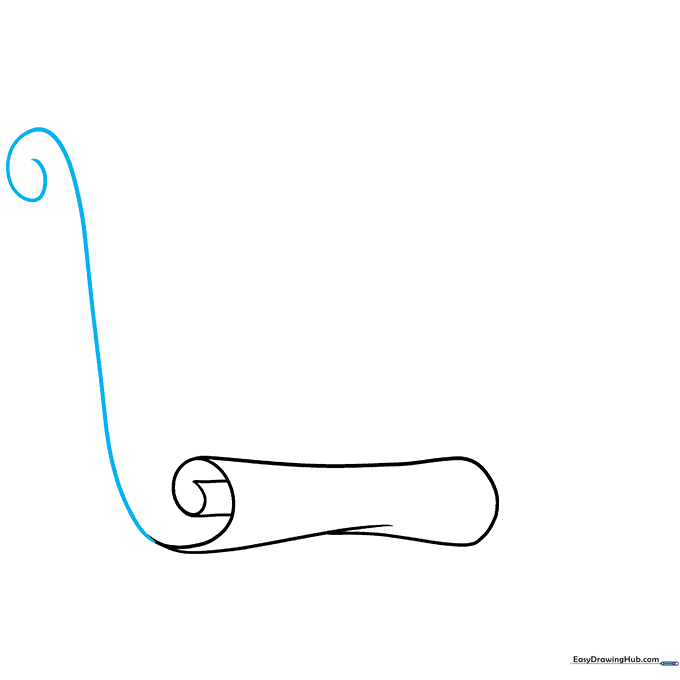
Extend the top of your paper into another small coil. Tip: Think of this like a ribbon; the curve adds a sense of movement and depth to your drawing.
Step 4: Connecting the Document Body
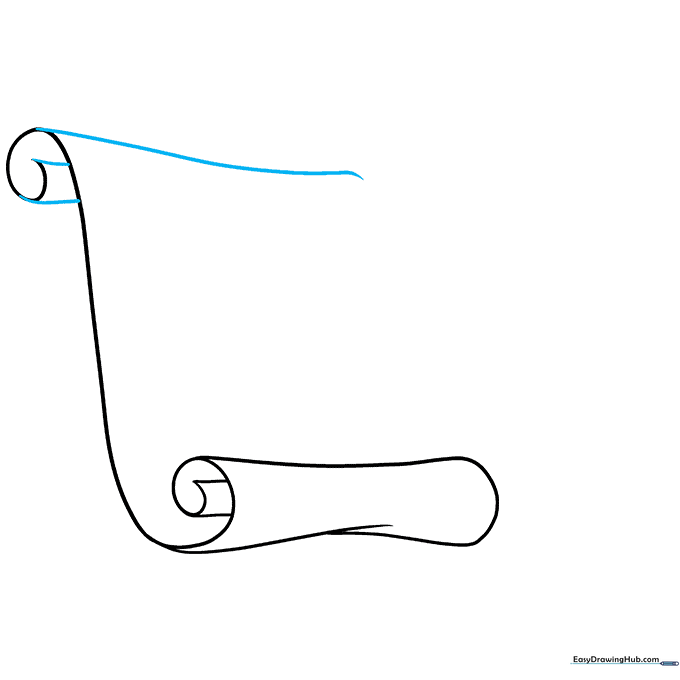
Draw long, sweeping lines connecting the top and bottom spirals. Tip: Use a continuous motion to keep your lines smooth and fluid.
Step 5: Sketching the Inkwell Base

Complete the parchment outline and add an 'L' shape nearby for the inkwell. Tip: Keep the inkwell shape simple—a small boxy base is all you need to ground the composition.
Step 6: Drawing the Quill Pen
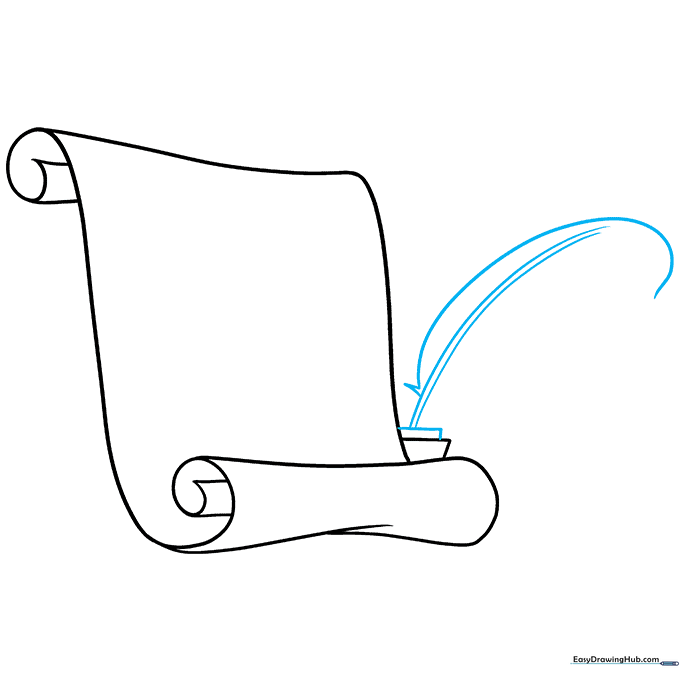
Add a small rectangle on top of the inkwell and extend two parallel lines upward for the quill shaft. Tip: Make the feather part look soft by using a 'V' shape to connect it to the shaft.
Step 7: Adding Feather Texture
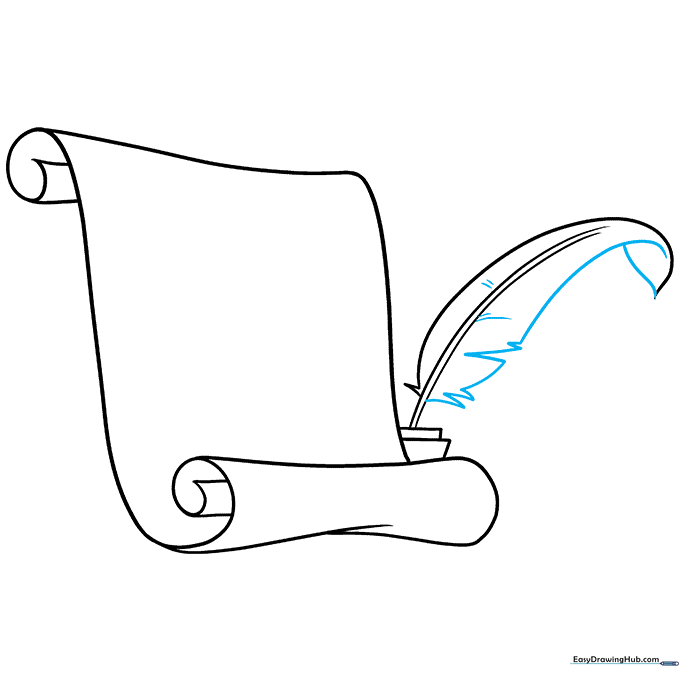
Use short, jagged lines along the edge of the quill to create a feathery texture. Tip: Don't worry about making it perfect; feathers are naturally irregular and organic.
Step 8: Lettering the Title
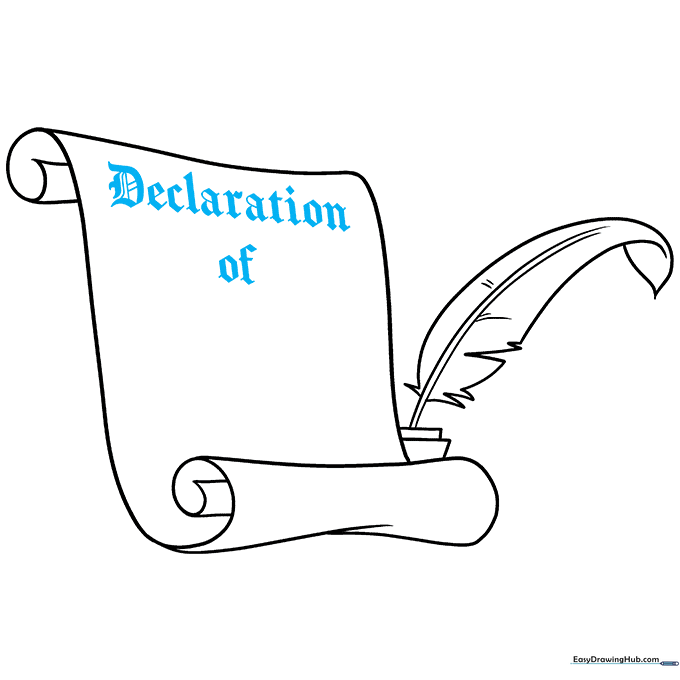
Carefully print 'Declaration of' in a bold, fancy font style at the top of your parchment. Tip: Use a ruler or a light guide line to keep your text straight.
Step 9: Final Touches and Signature
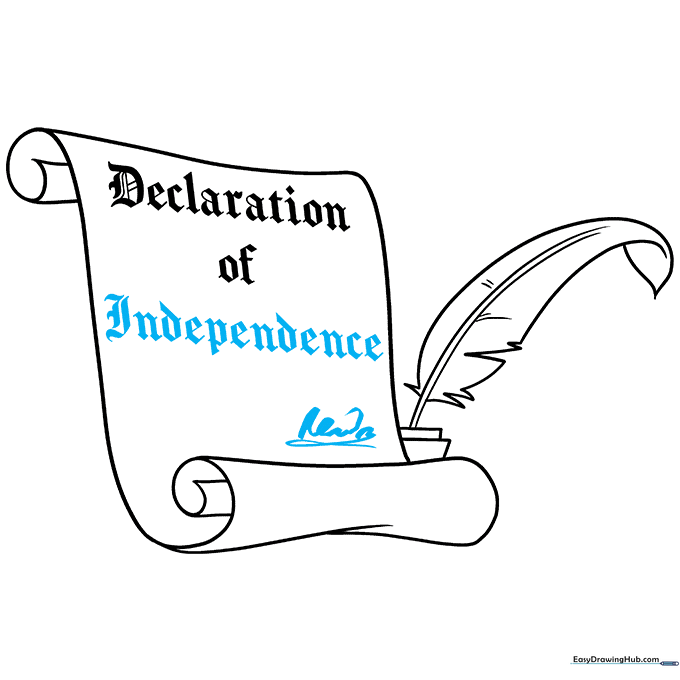
Write 'Independence' below your first line and add a decorative signature at the bottom. Tip: A simple squiggle or underline adds a professional, historical touch to your work.
Step 10: Adding Color
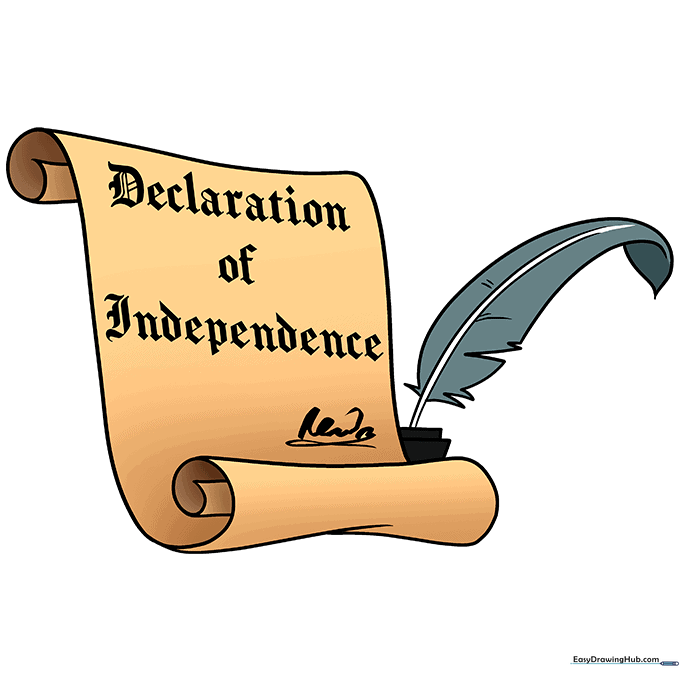
Bring your drawing to life with color! Use light beige or soft yellow to give the paper an aged, antique look. Tip: Use a darker brown for the inkwell to create contrast.
More Tutorials


