How to Draw a Chimera: Easy Step-by-Step Guide
Ready to bring a legendary beast to life? This tutorial is perfect for young artists ages 8+ who want to practice combining different animal features into one cohesive character. Grab your pencil, eraser, and paper, and let’s build this mythical creature together.
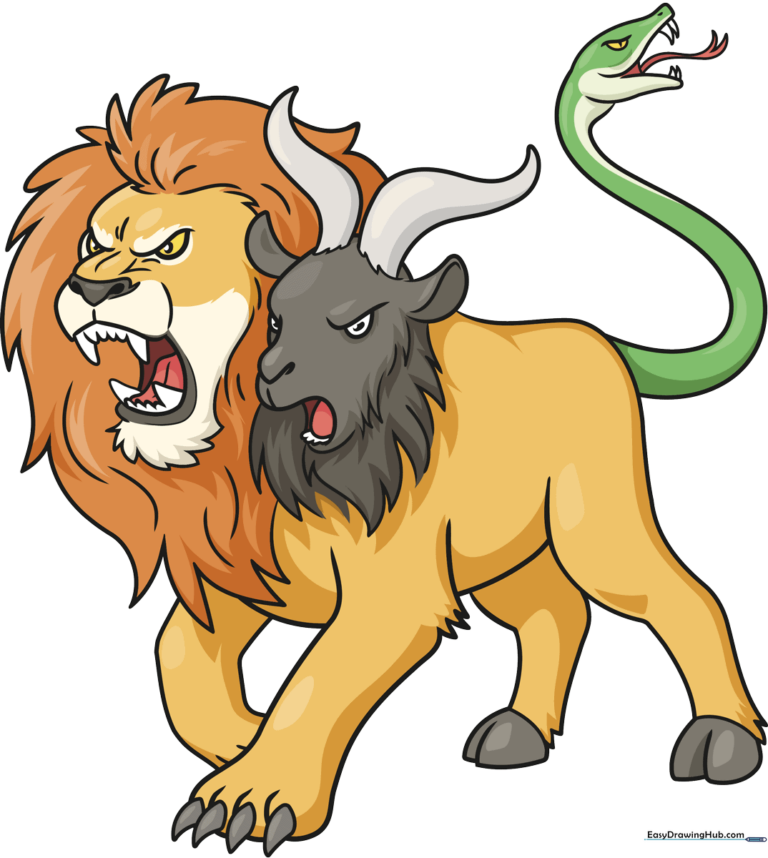
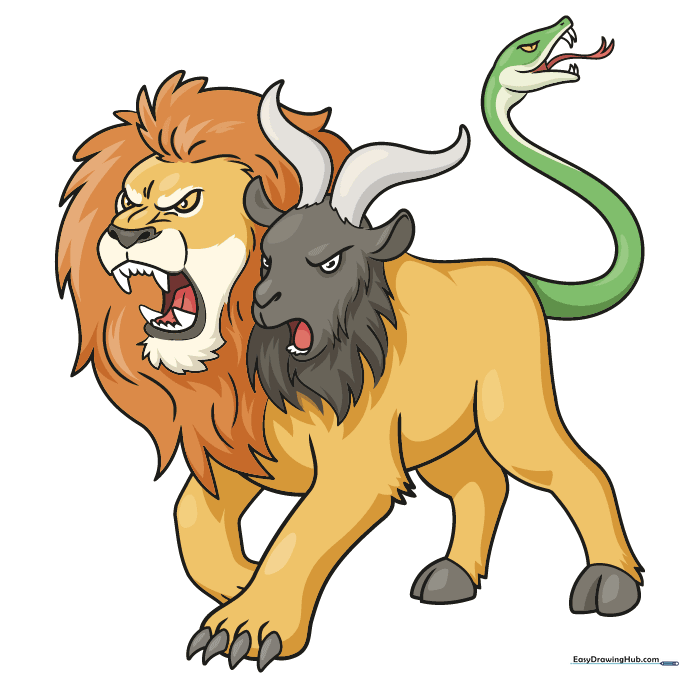
🎯 Final Result
Step-by-Step Instructions
Step 1: Establishing the Lion's Face
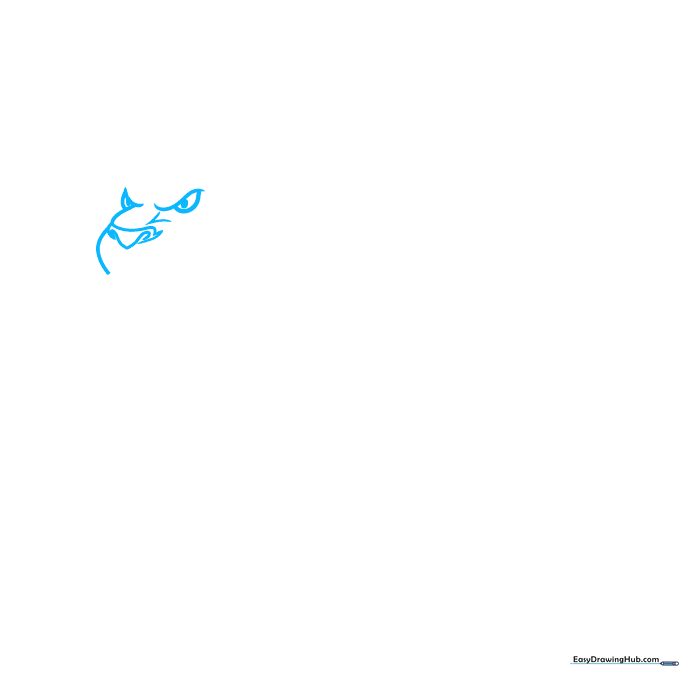
Sketch two curves with loops beneath them for the eyes. Add a V-shape with loops on the ends for the nose. Teacher's Tip: Keep your pencil pressure light here; you want these guidelines to be barely visible for later steps.
Step 2: Defining the Lion's Mouth
Draw the mouth using an upside-down V-shape and a deep curve beneath it. Add small triangles for the teeth. Teacher's Tip: Don't worry about perfect symmetry; a slightly uneven mouth gives your creature more personality.
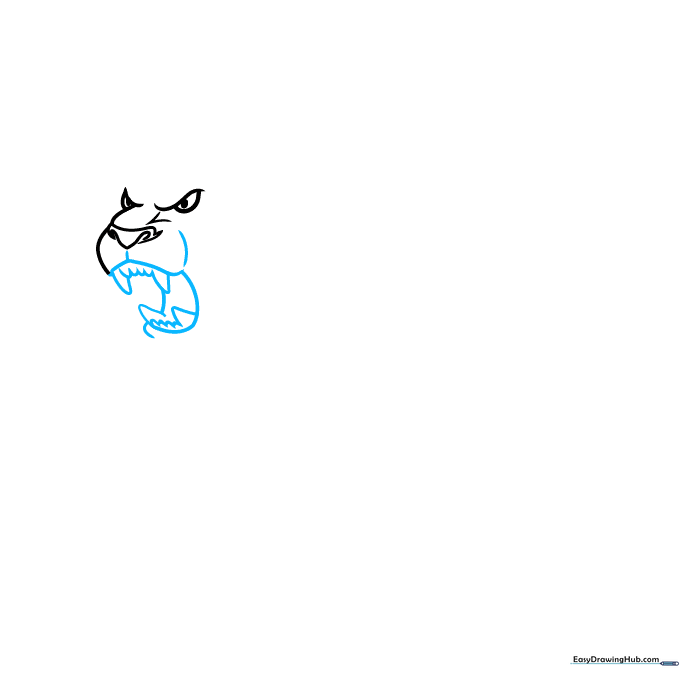
Step 3: Adding Scruffy Fur and Mane

Use loose S-shapes for the tongue and uneven triangles on the chin for scruffy fur. For the mane, use sketchy, overlapping triangles. Teacher's Tip: Use quick, flicking motions with your pencil to make the fur look textured rather than stiff.
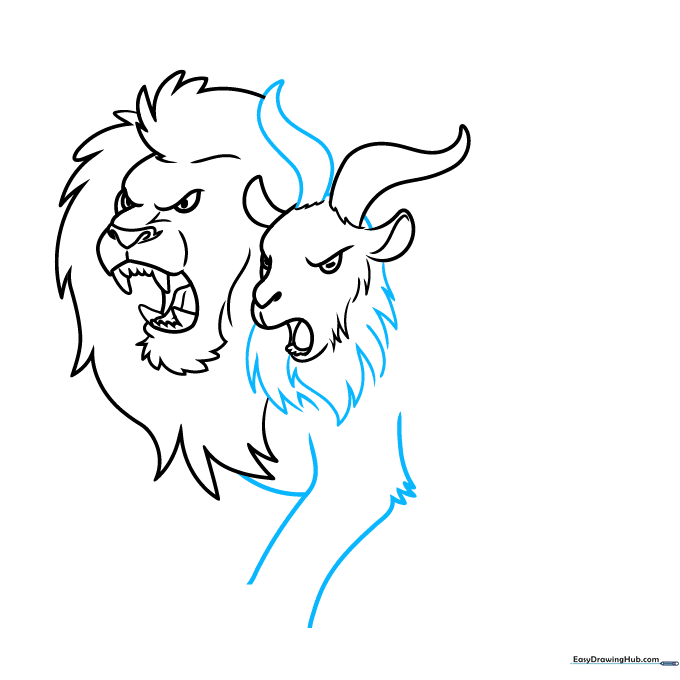
Step 4: Sketching the Goat's Head

Now, add the goat head by drawing a loop for the mouth and a hook for the nose. Sketch the eye with a small oval pupil. Teacher's Tip: Keep the goat's features smaller than the lion's to create a sense of scale.
Step 5: Defining Horns and Ears
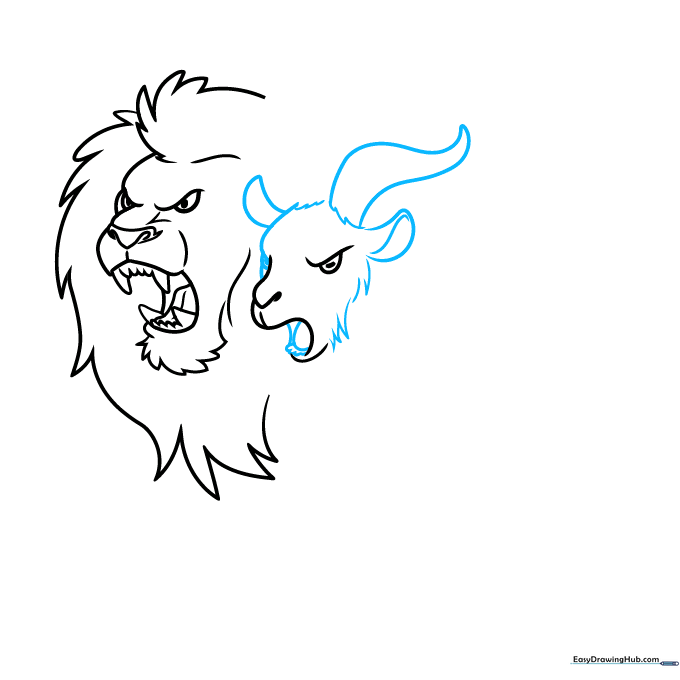
Draw the goat's horn with a long, wavy triangle and add curved lines for the ears. Surround the face with more sketchy triangles to blend the two heads. Teacher's Tip: Vary the size of your triangles to make the fur look natural.
Step 6: Constructing the Front Leg
Add a second horn and start the front arm using loose L-shapes and triangles. Connect the arm to the mane area. Teacher's Tip: Use your arm to draw long, sweeping lines rather than short, choppy ones for a smoother look.
Step 7: Drawing the Body and Hoof
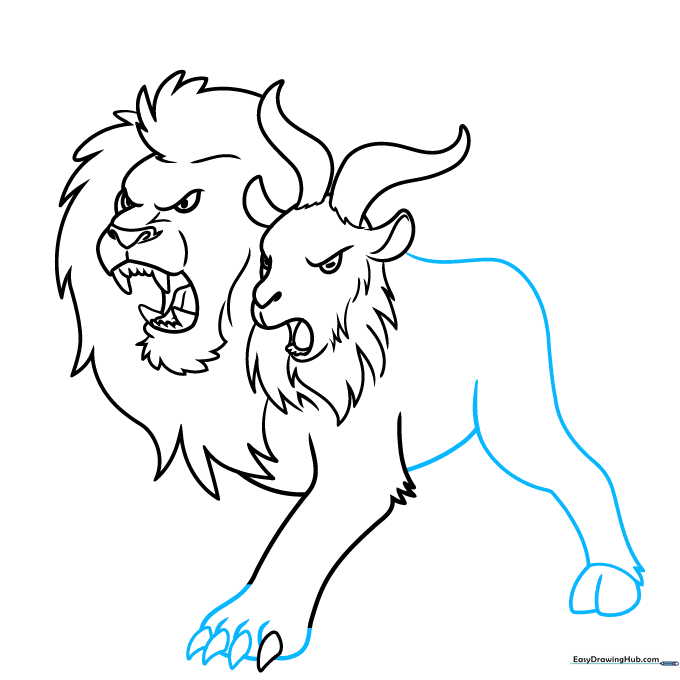
Draw the front foot with ovals and overlapping triangles. Sketch the back of the body with a wavy line, then outline the hoof. Teacher's Tip: Check your proportions here—ensure the leg looks strong enough to support the body.
Step 8: Adding the Tail
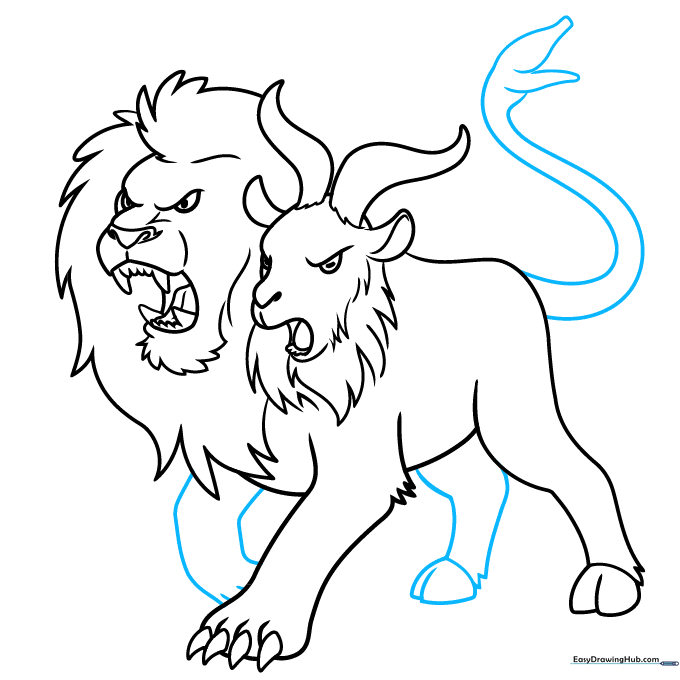
Repeat the leg process for the other side. For the tail, sketch a long S-shape with triangular spikes at the end. Teacher's Tip: A long, flowing tail helps balance the weight of the two heads on the front of the drawing.
Step 9: Finalizing the Details
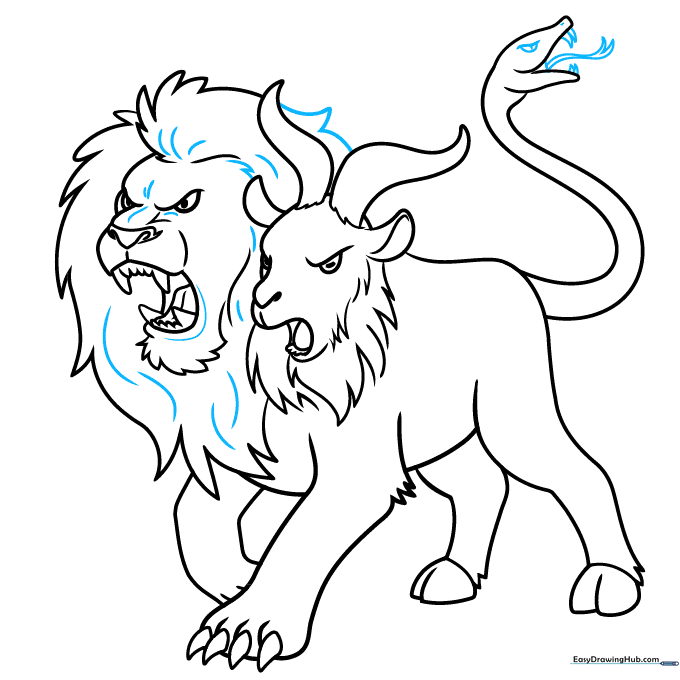
Add final details to the face and mane. Use a black pen to outline your drawing, pressing firmly for the main contours. Teacher's Tip: Once the ink is dry, wait a full minute before erasing your pencil lines to prevent smudging.
Step 10: Bringing it to Life with Color
Use yellowish-orange for the lion's body, gray for the hooves and goat head, and green for the snake tail. Teacher's Tip: Use light pressure for the base color, then add a second layer for shadows to make your drawing pop!
More Tutorials


